Fix your RF
By sheer coincidence, on Tuesday's episode of ZeroPage Homebew, James posted a poll asking if people used a video mod or stock RF to output video from their 2600s. Overwhelmingly, people answered RF. So the timing of this blog post is pretty good, since I've been working on this particular entry for well over a week.
RF tends to have a bad rap with the Atari 2600. It's the standard connection between your console and TV, and was designed for a time when the only input that TVs had was for an antenna (either a pair of terminal screws, or an F-type coaxial cable connector).
The reason RF gets a bad rap is twofold: 1) It's fuzzy 2) It's noisy.
Now, there's not much we can do about the fuzziness. The reason for that is because of how RF works.
The 2600 creates video as luminance (brightness) and chrominance (color) signals. It then takes those signals, and mushes them together into a single composite video signal, and then modulates that with the audio signal onto a radio wave that the TV tuners of the day would see as a channel and demodulate it back into video and audio. So because it's mushing the luma and chroma together, everything gets a bit soft and indistinct. That's just the way RF is. The signal is carrying a lot of stuff that has to be separated back out at the other end.
To get a sharper picture means modifying the 2600 so you're taking video and audio directly from the output of the TIA (Television Interface Adapter) chip, before they get to the RF modulator, and then outputting them directly using either a composite (luma and chroma merged) or S-Video (separate luma and chroma) signal, with audio sent separately. To go beyond S-Video requires a special mod that can transcode luma and chroma into either RGB (separate red, green and blue signals) or component video (which is... confusing ![]() ). Both further separate the components of the video signal, maintaining the best possible color definition.
). Both further separate the components of the video signal, maintaining the best possible color definition.
But modding a console has drawbacks. First, you have to have some ability to solder small electronics. There are no fully plug-and-play mods available. If you don't know how to solder, that means either learning, or finding someone else to do it for you. Second, you're altering your original console, which some people simply don't want to do. Either because of the risk of damaging it, or just because they want to keep it original (although mods can usually be removed).
So if you don't want to mod your console, but want the best RF picture you can get, then it's time to clean up the noise.
The noise happens because since the 2600 uses radio frequencies to transmit picture and sound, and that signal is susceptible to interference. This can come from just about anything: nearby lights, microwave ovens, hair dryers, fans, electrical cords, air conditioning, power supplies and other electronic devices, and it manifests itself as static on the screen. There's some metal shielding in the 2600 to help reduce this, but most of the noise comes from the connection between your console and the TV set. And this is what we can address.
The first thing to consider is where you plug your 2600's signal into your TV. If your TV has an F-type connector and a tuner that can still tune in the (now defunct) analog channels, you can just plug into that. But if you have a cheap TV with a poor tuner in it, that can negatively affect your picture. A bigger problem is if you're using a monitor that has no tuner, and only a composite input. Then you need an external tuner.
One option is to plug the 2600 into the F-type connector on an old VCR, tune it to channel 2 or 3, then plug the VCR into into your monitor. But the output you get depends on the quality of the built-in tuner and the video circuitry, and a lot of VCRs were, well, junk. Plus, they're bigger than they need to be, especially if you aren't playing VHS tapes in them anymore.
All you really need then is the tuner, or more to the point, an RF demodulator. And you want to get a good one, since that's the thing that's going to separate out that RF signal, and pipe the video and audio to your display. So let's start with that.
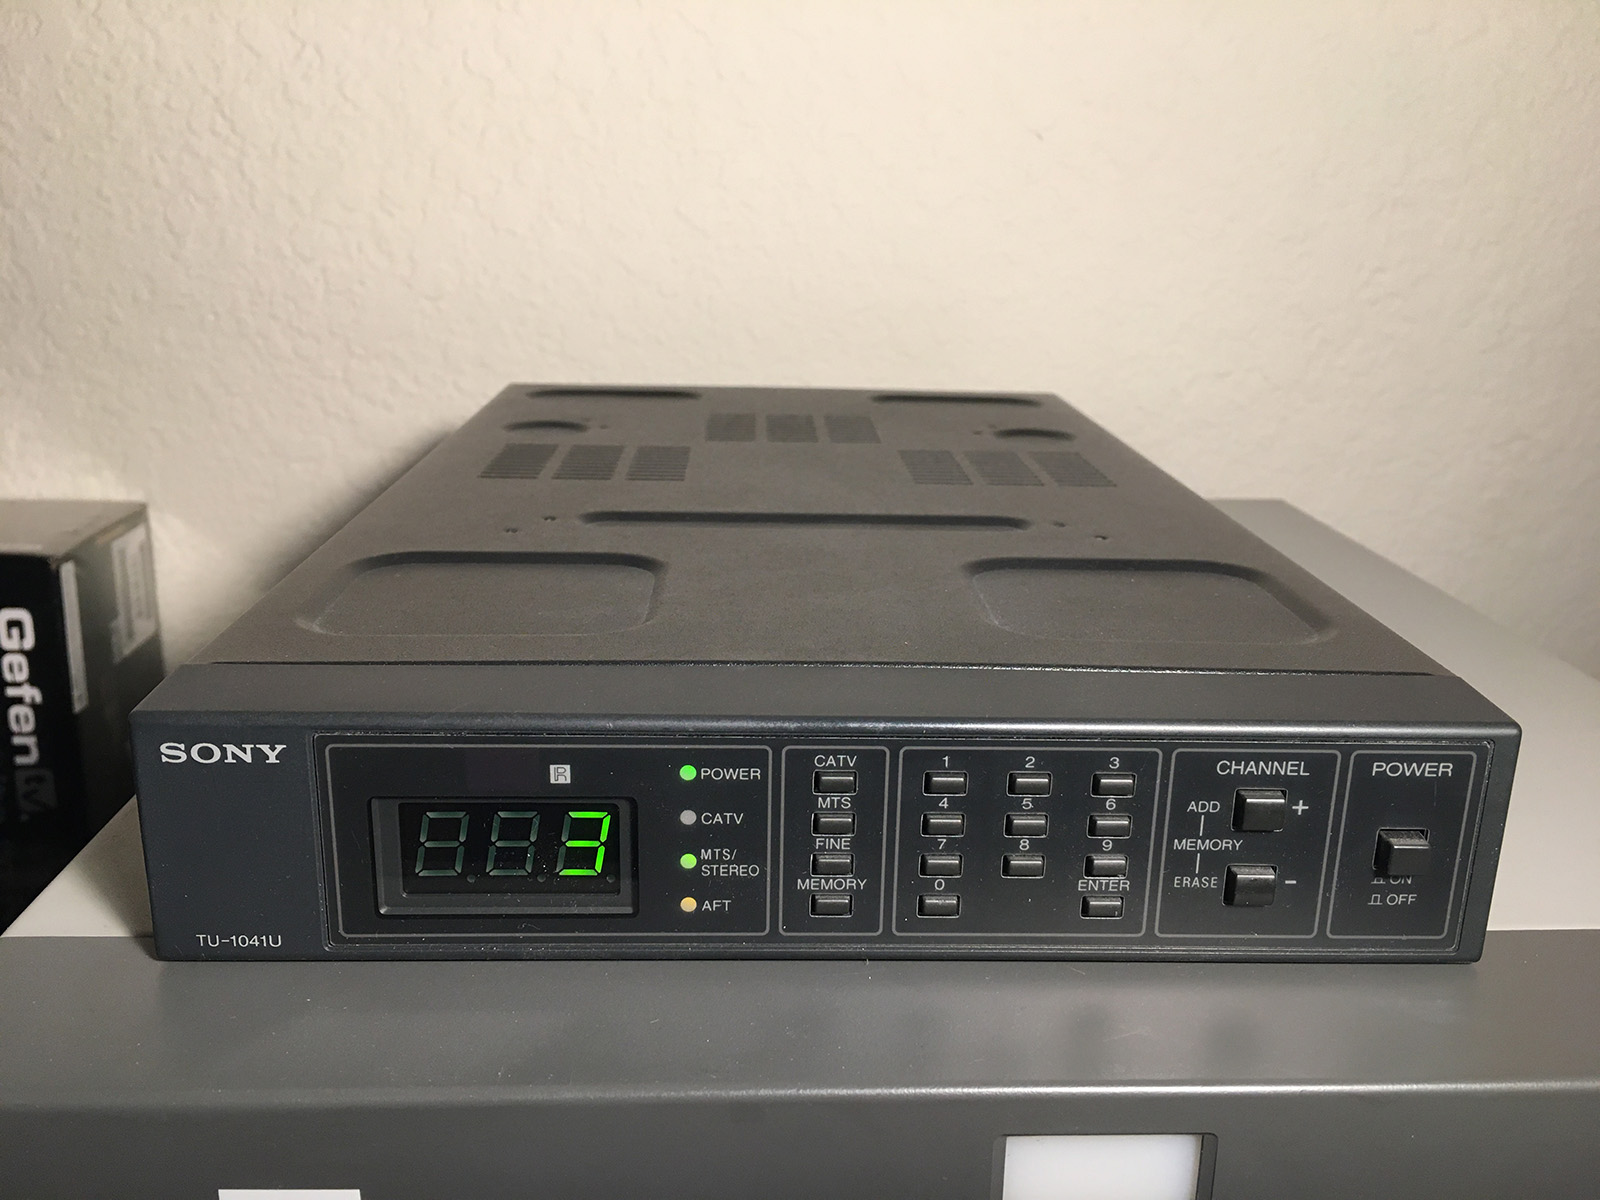
What I use is a dedicated Sony tuner (TU-1041U), that was designed for use with their professional video monitors in broadcast applications. Fortunately, with the death of analog broadcast TV, these things are all over eBay, and they're usually dirt-cheap. Right now, there are some available for less than $15. Some variants have mono audio only, which is fine since the 2600 is mono anyway, as are many older CRT monitors. I bought a stereo model, so the audio gets sent to both channels in my home theater system. (The audio is still mono, it's just coming out of both speakers.)
The demodulator in this is excellent. For one thing, it wasn't a consumer piece of electronics. This was built by Sony for professional use. It was designed to take RF signals and demodulate them back into high quality composite video and audio. It doesn't play tapes, or record shows, or do anything else. It's significantly smaller than a VCR, and it looks cooler too. ![]()
That said, it doesn't do S-Video. Sorry. If you really want S-Video, your best bet is installing a mod. If you want to get S-Video without a mod, you'll still need a demodulator and then a composite to S-Video converter. But unless you can find one on eBay, decent ones are almost $300. Even then, trying to convert composite to S-Video is like trying to un-mix chocolate milk. You could probably do it, but it's not going to be worth the effort or expense, and neither the milk nor the chocolate are going to come out of it very well.
So, with a good demodulator in hand, let's see about improving the noise problem.
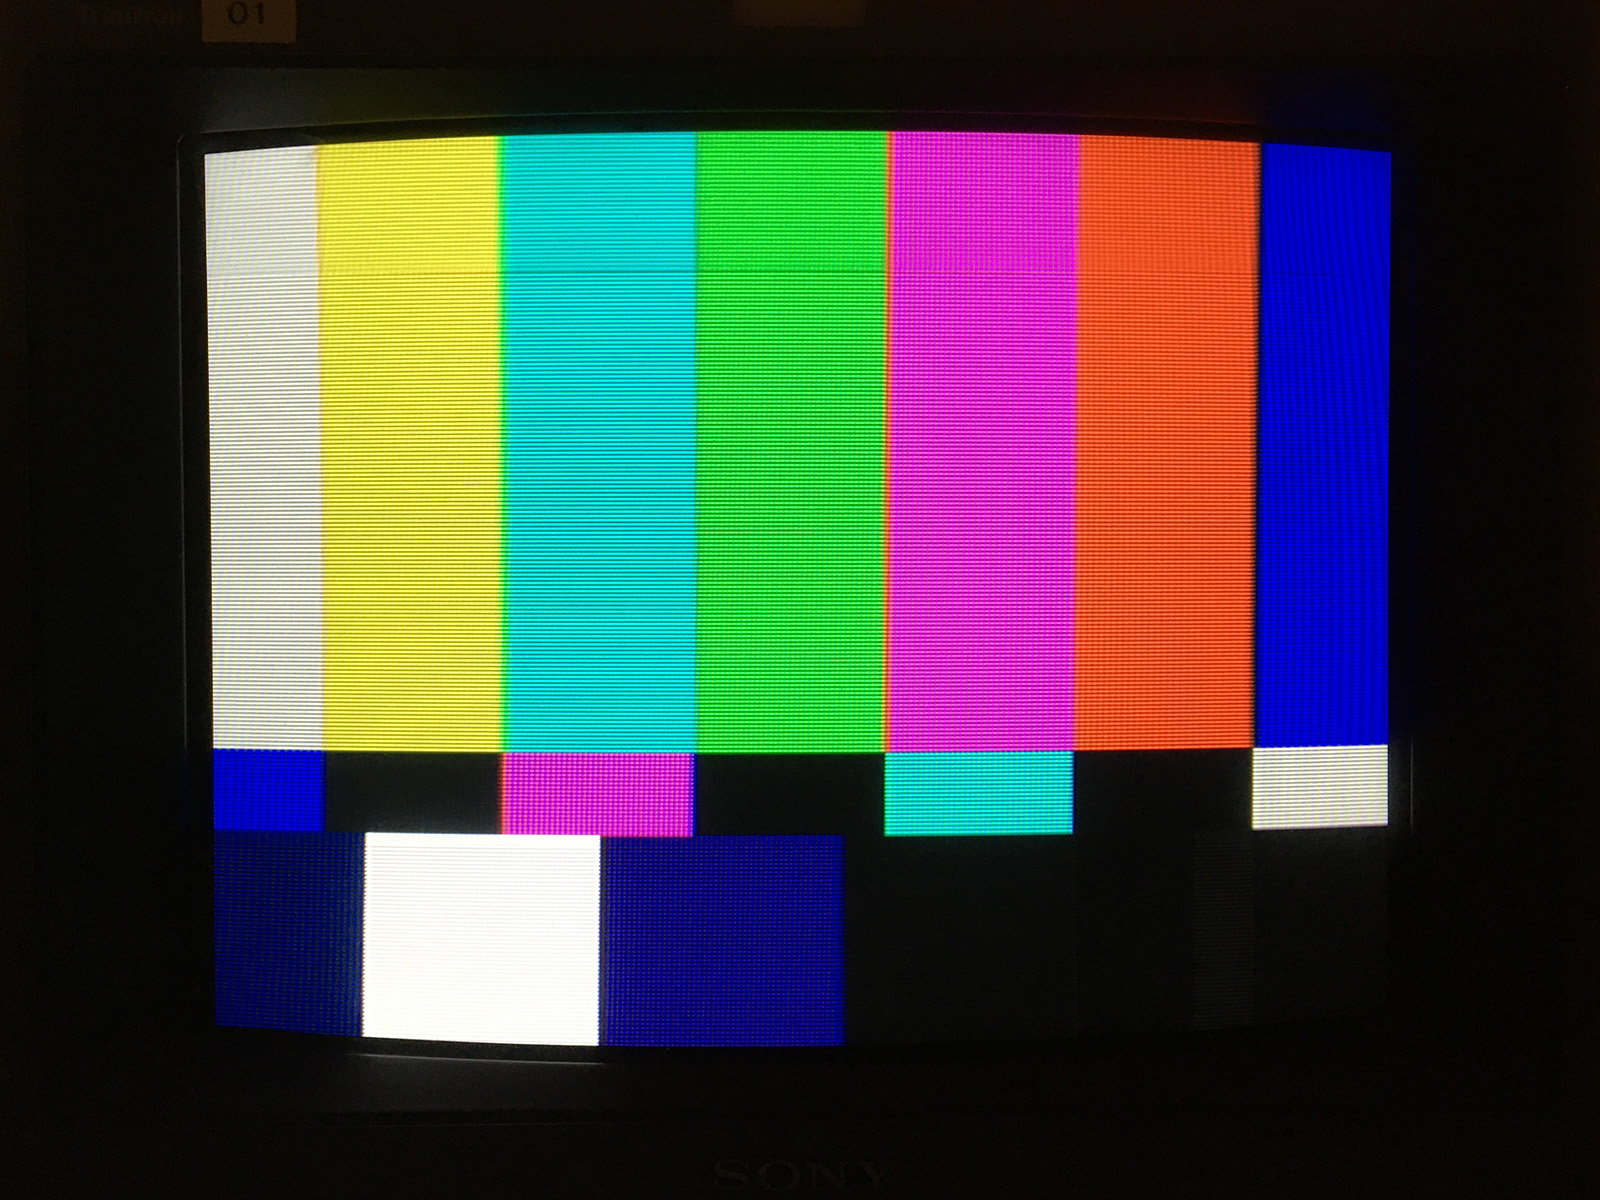
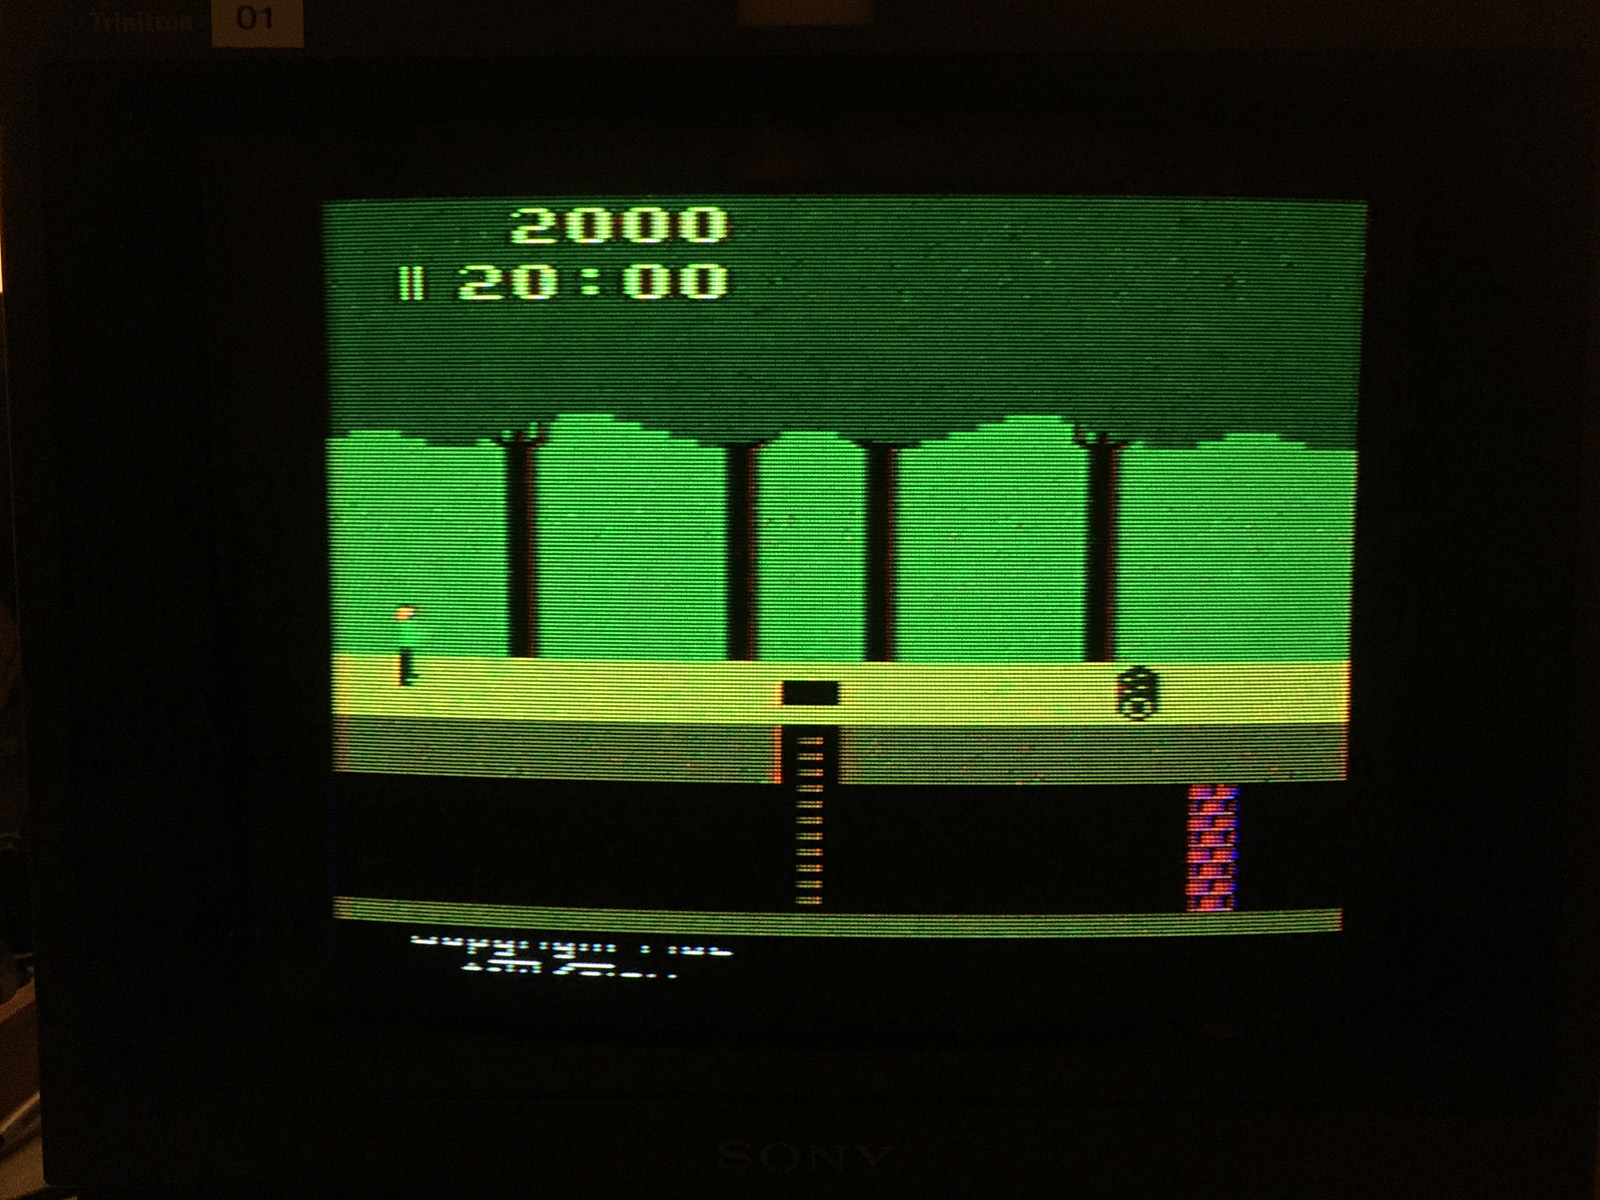
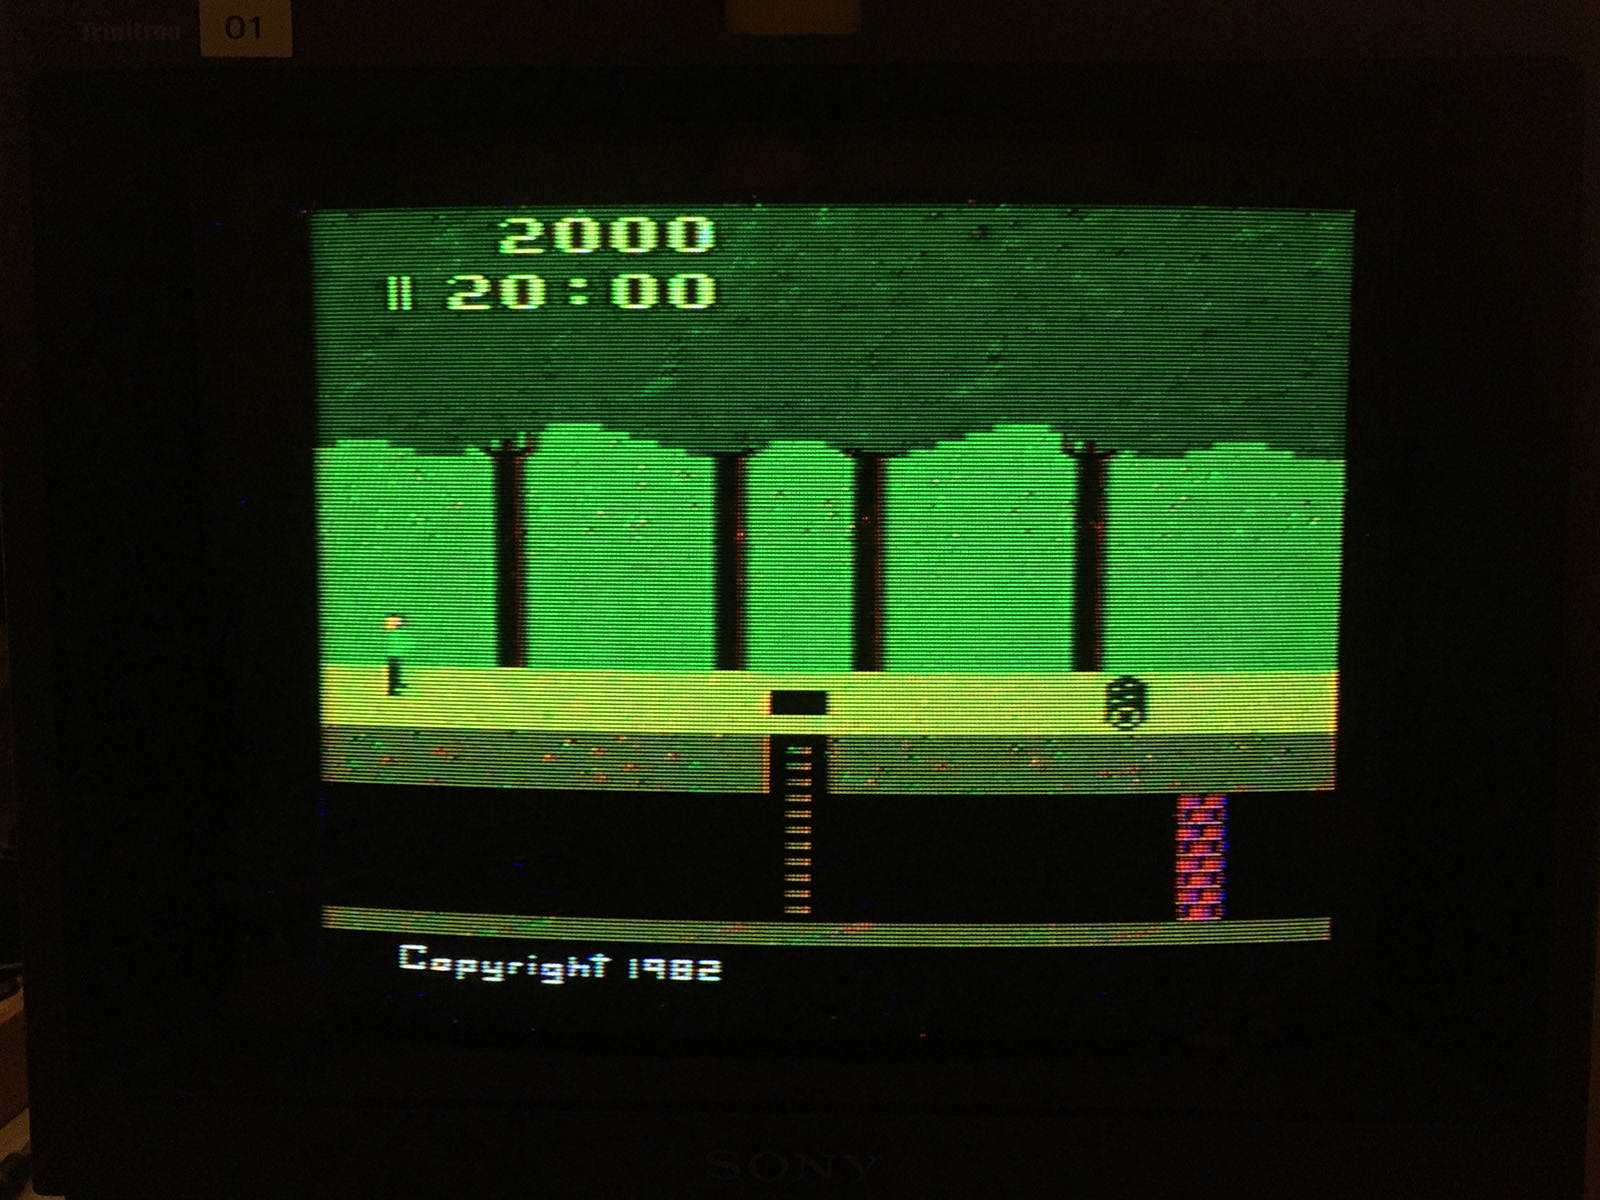
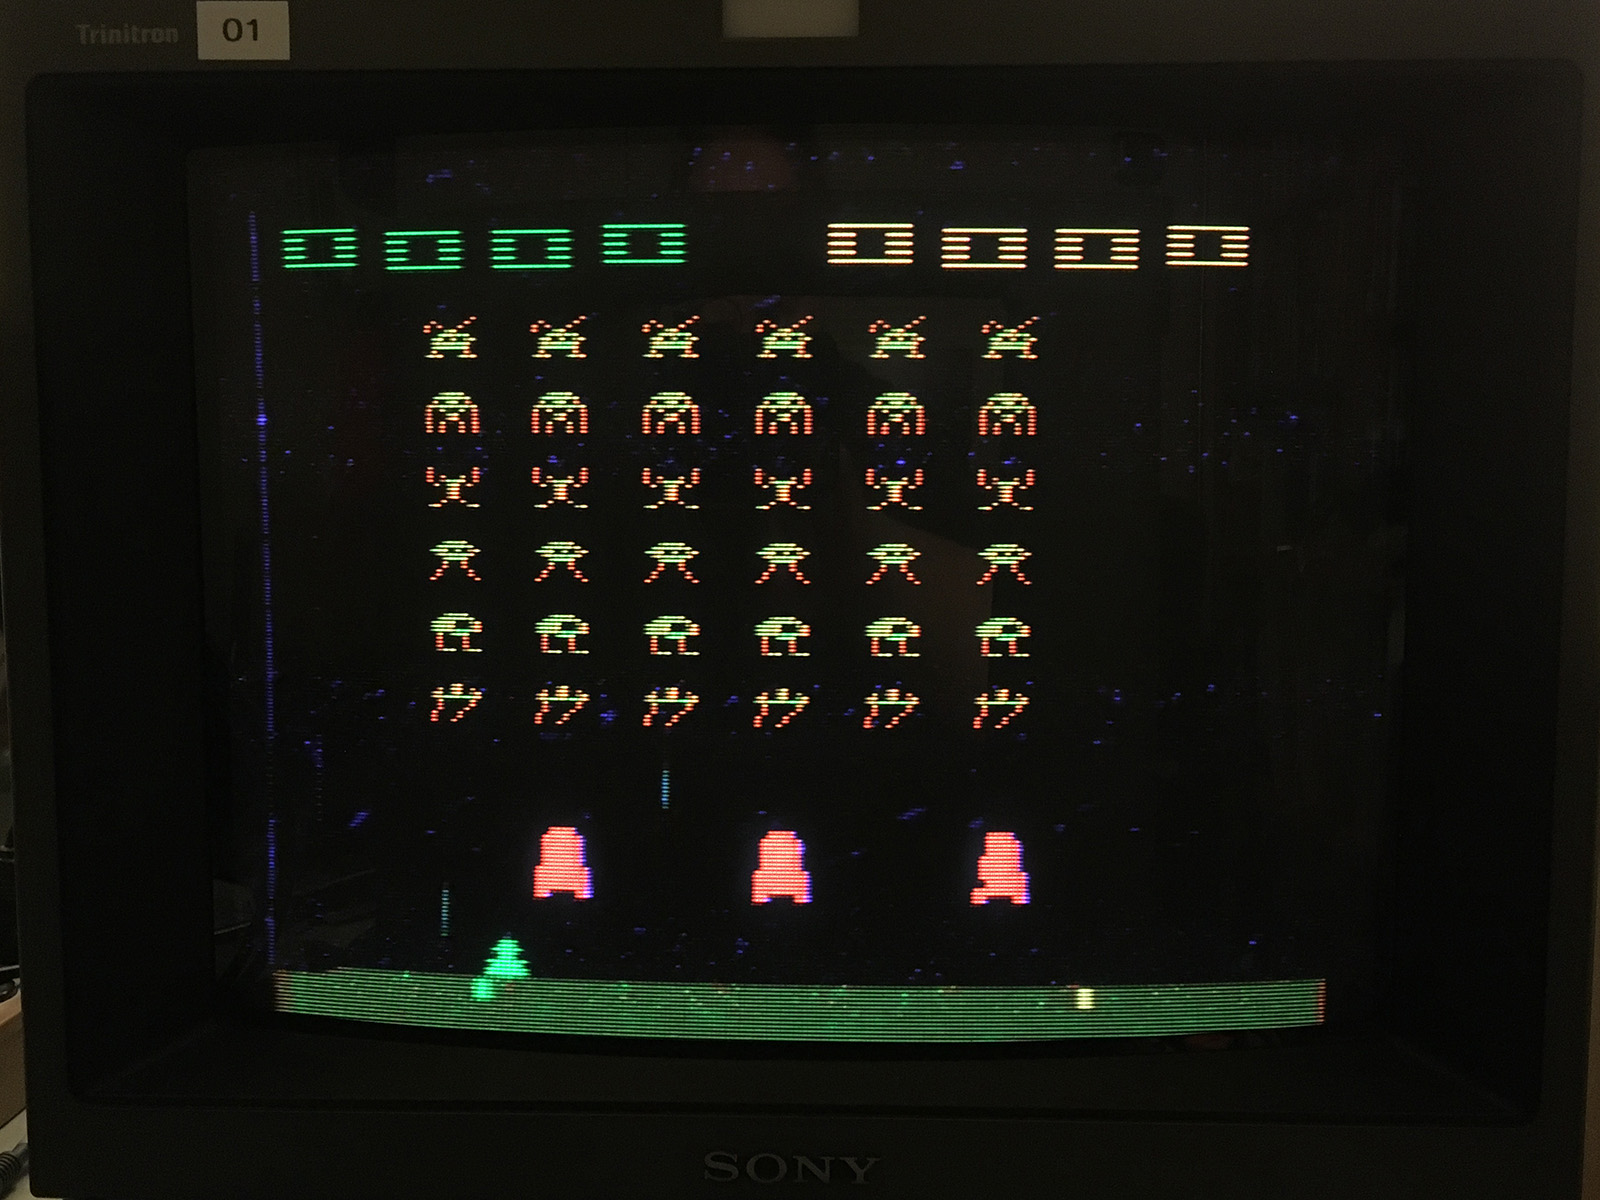
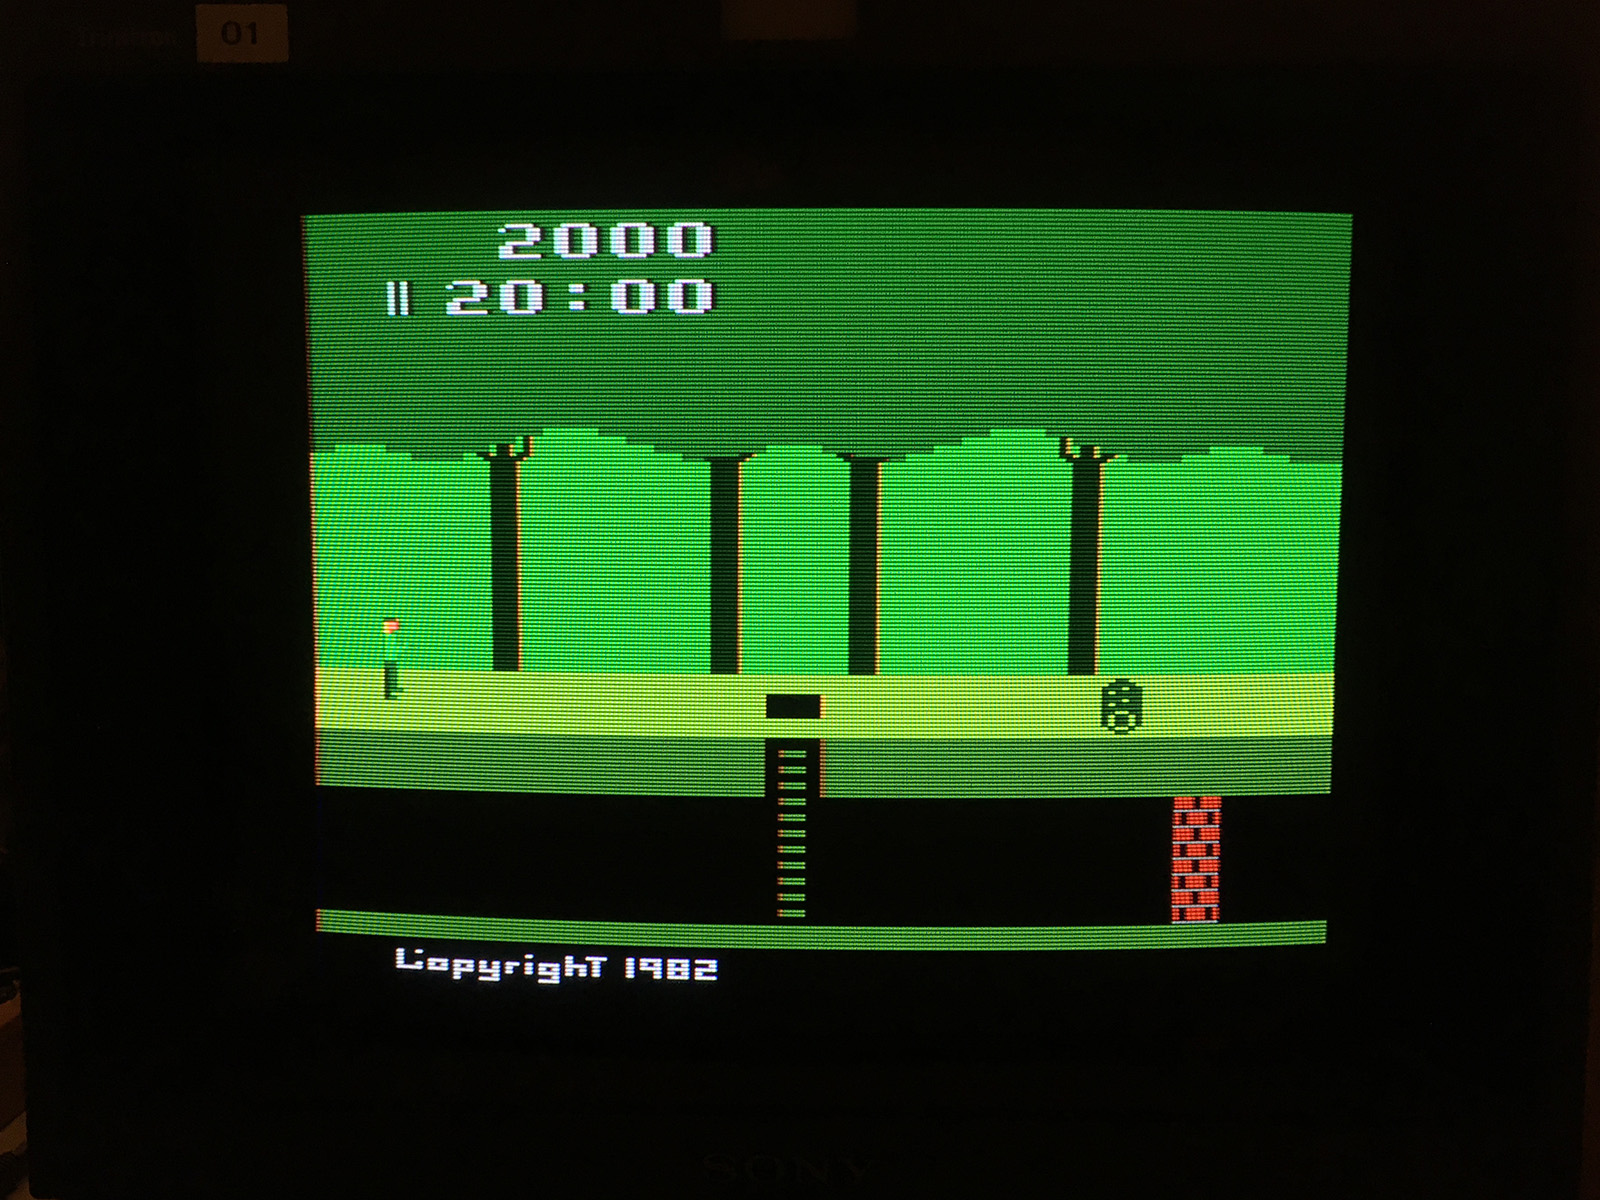
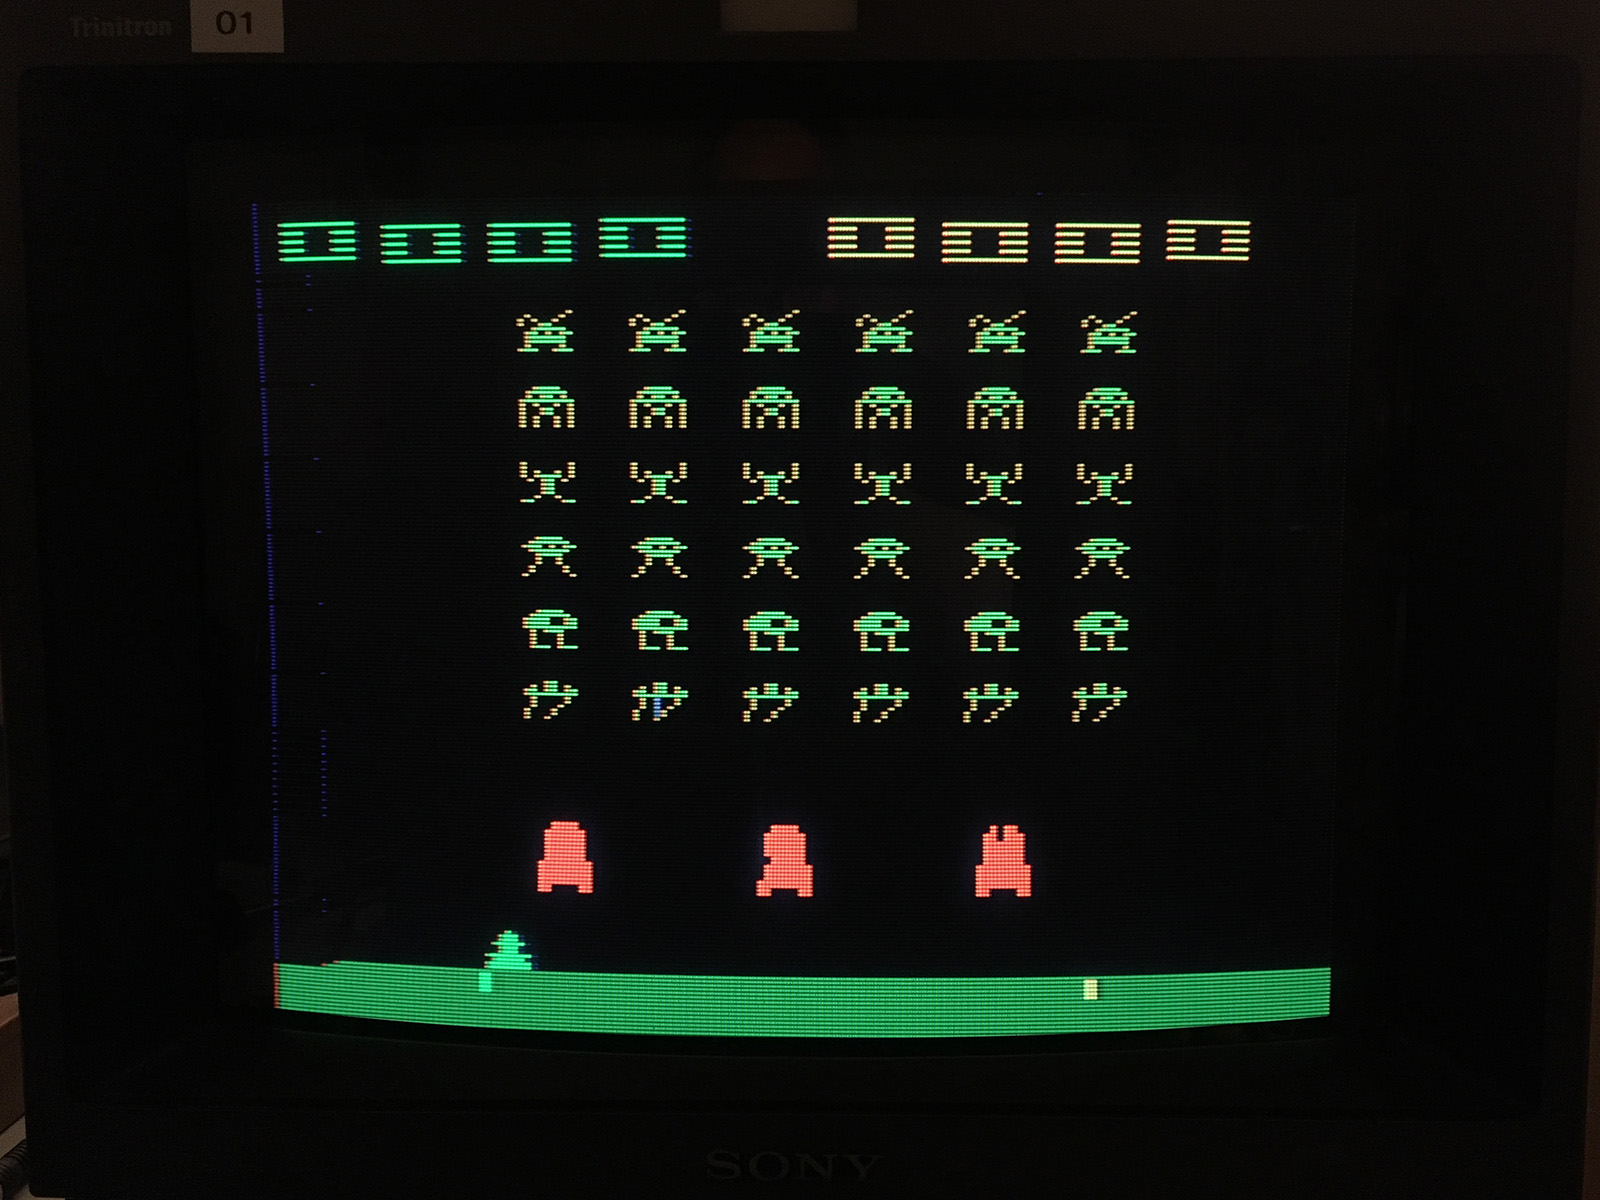
For all of the examples below, I shot all of the pictures off of a Sony PVM-14M2U monitor, calibrated with a color bar generator (click on any picture for a large version).
If you're going to do any work on improving your 2600's picture, the first thing you need to do is calibrate your TV or monitor to color bars. This is simple enough to do with a DVD player and a calibration disc. The 2600 was developed according to NTSC video standards, and if you don't get your display correct first, then anything you do to the 2600 really isn't going to reflect what it should look like. (The same applies to PAL 2600's, but with more lines, and weirder colors. ![]() )
)
All RF signals went into the TU-1014U tuner, then into the monitor's composite video input. The same four-switch 2600 was used for all RF tests. The S-video signals were from a different four-switch 2600, and the signal went straight into the S-Video input on the monitor.
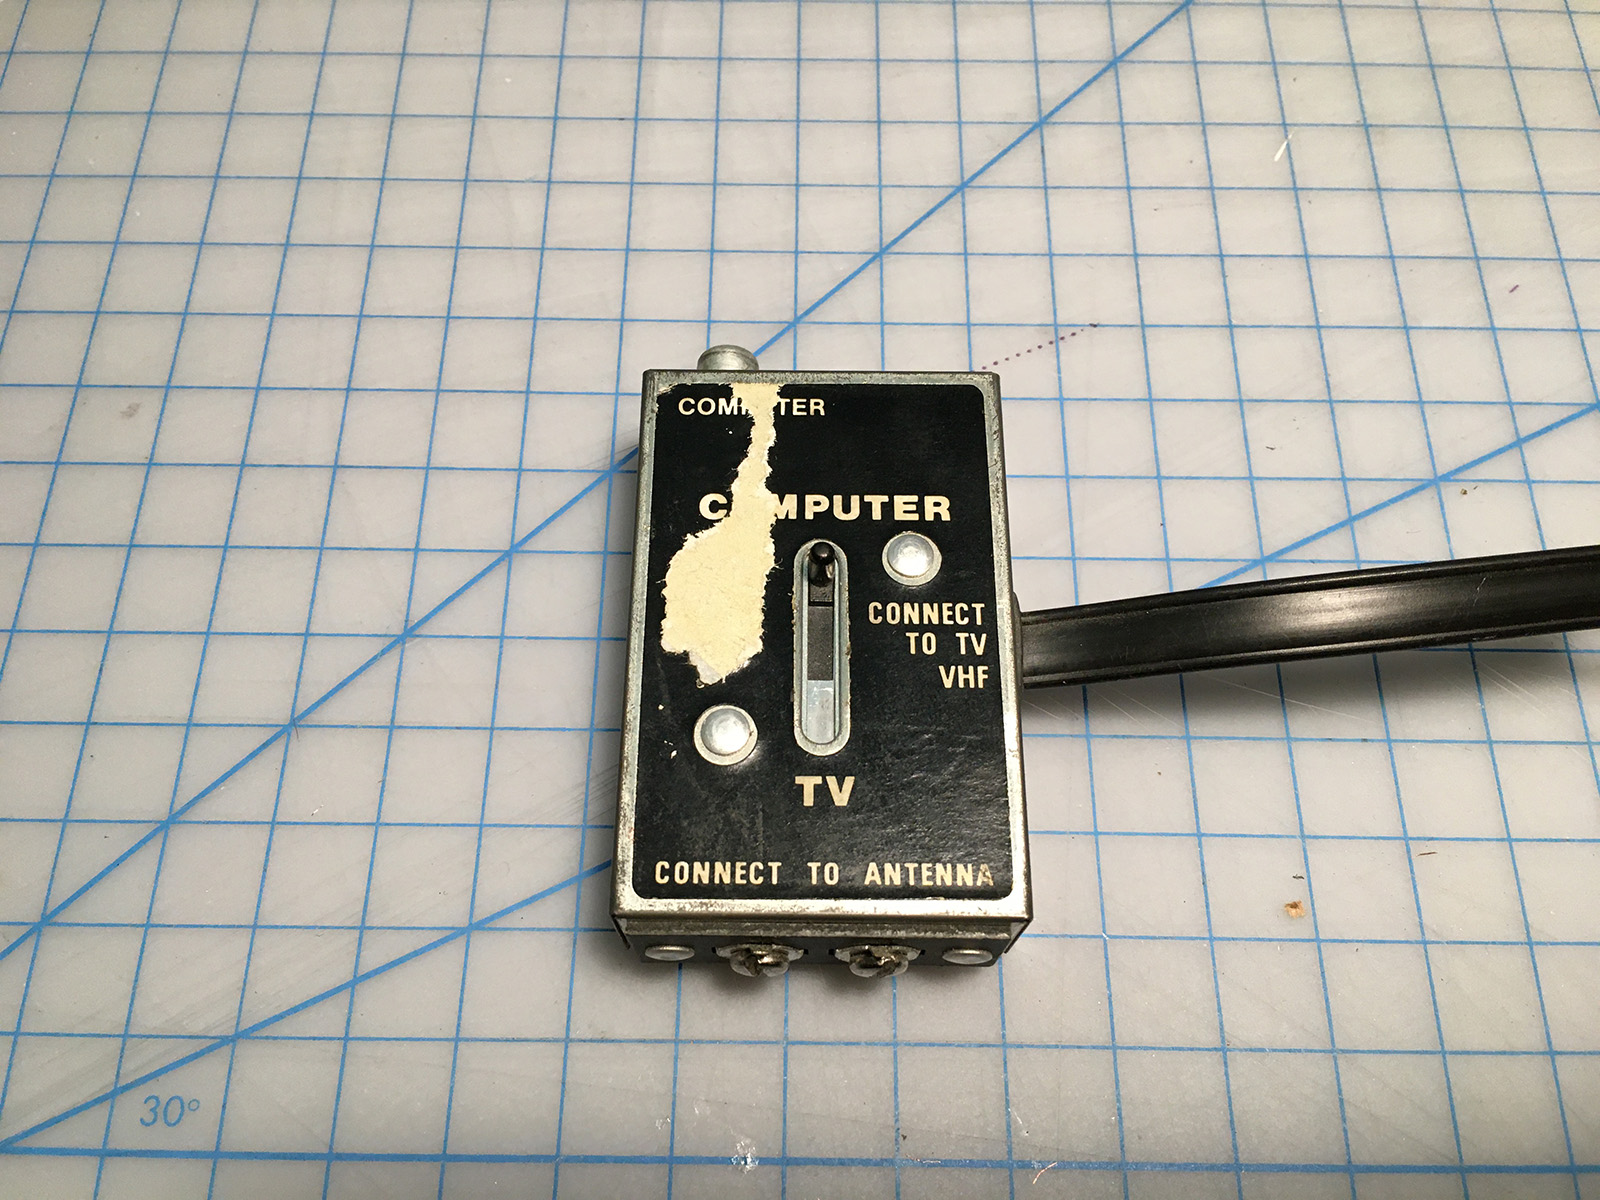
First, let's look at how all 2600s were originally connected: the switchbox.
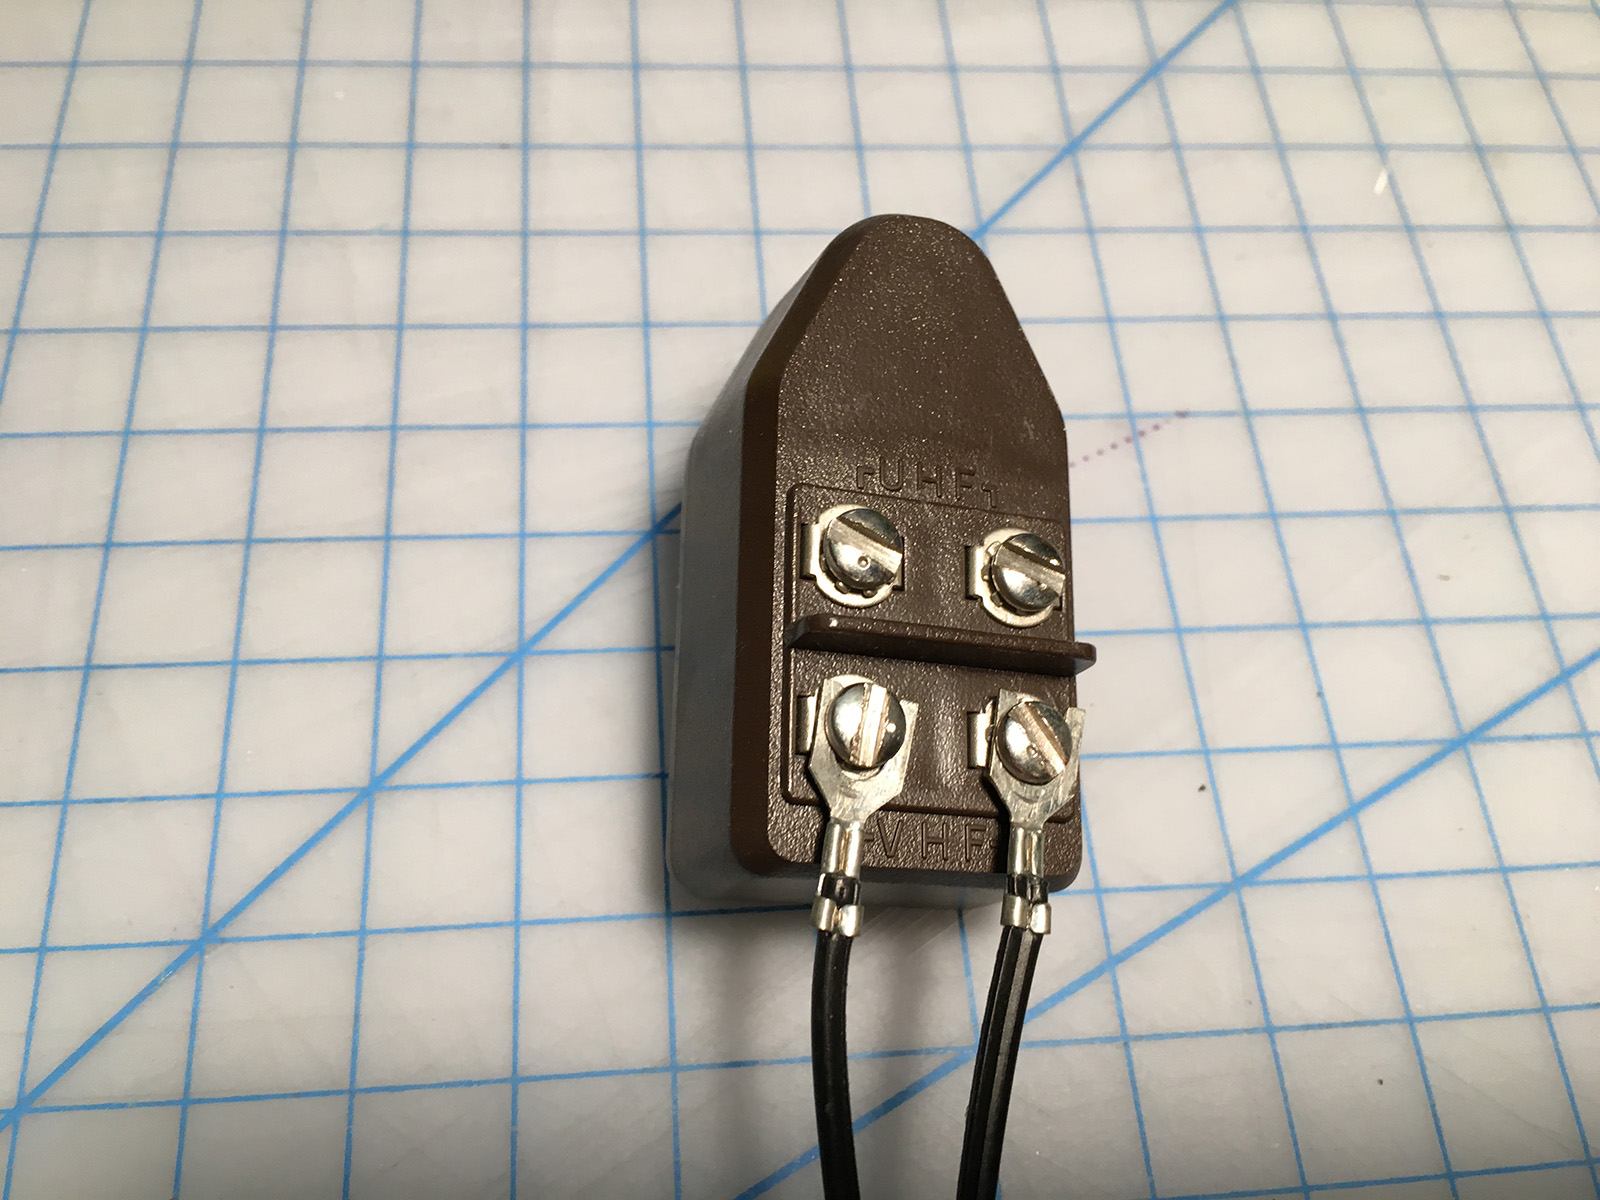
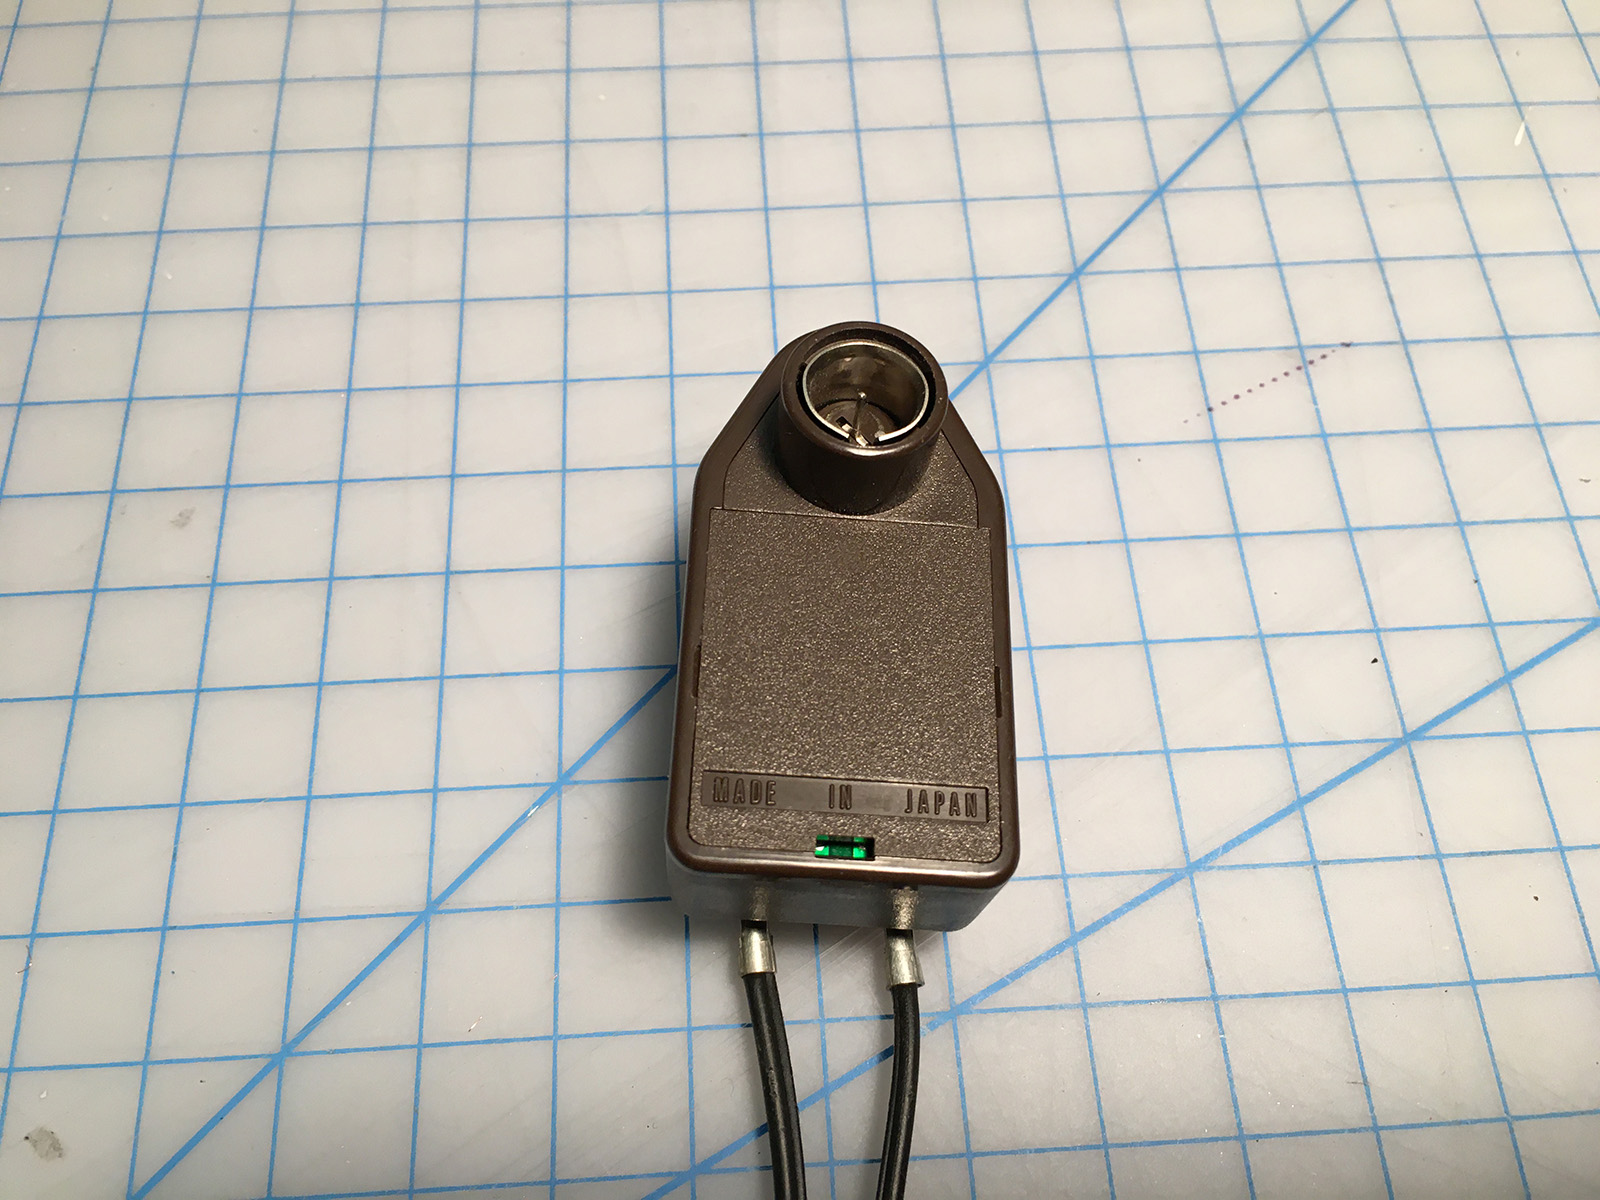
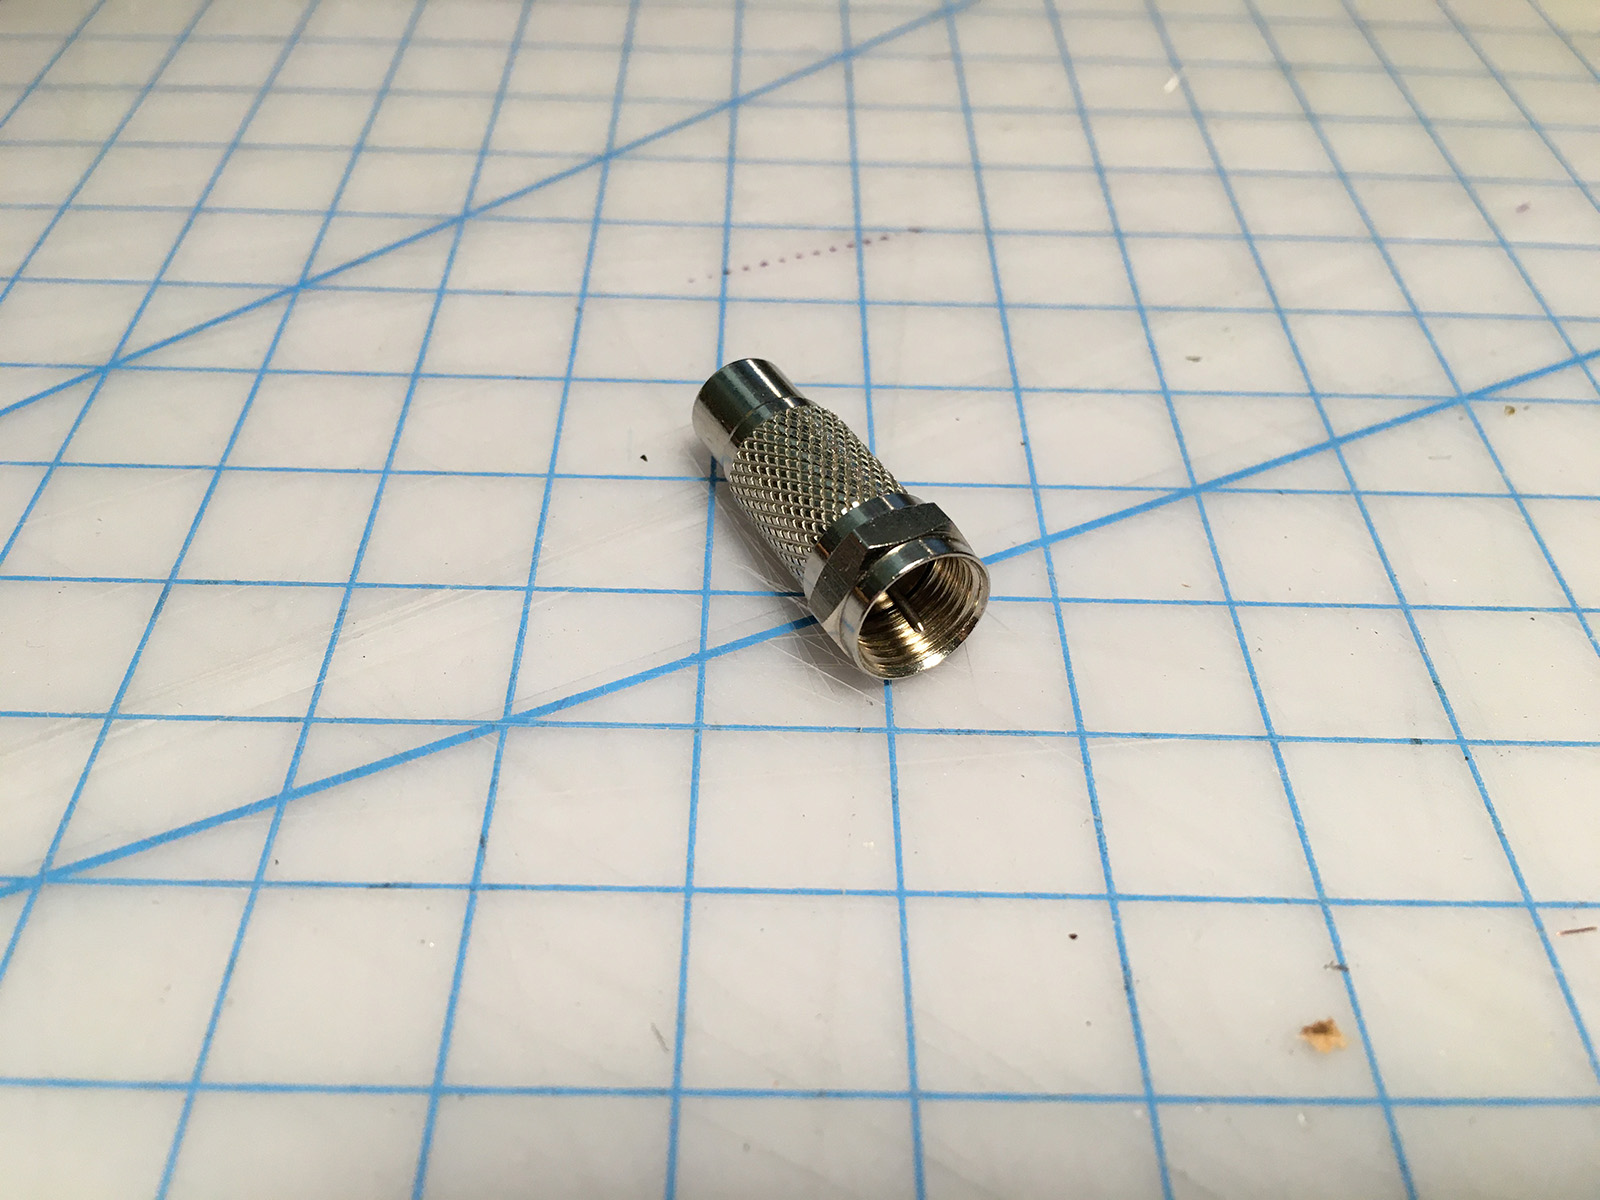
This horrible little tin disaster connected to the antenna leads on the back of your TV, and allowed you to switch between your antenna and your 2600. For those with an F-type connector on their TV, you had to add one of these adapters, and attach the switchbox's screws to it:
The other side would plug into the back of your TV (or cable box, if you were an early adopter):
The problem with switchboxes, besides being susceptible to RF interference, was the switch contacts would get dirtier and dirtier, resulting in an increasingly noisy signal.
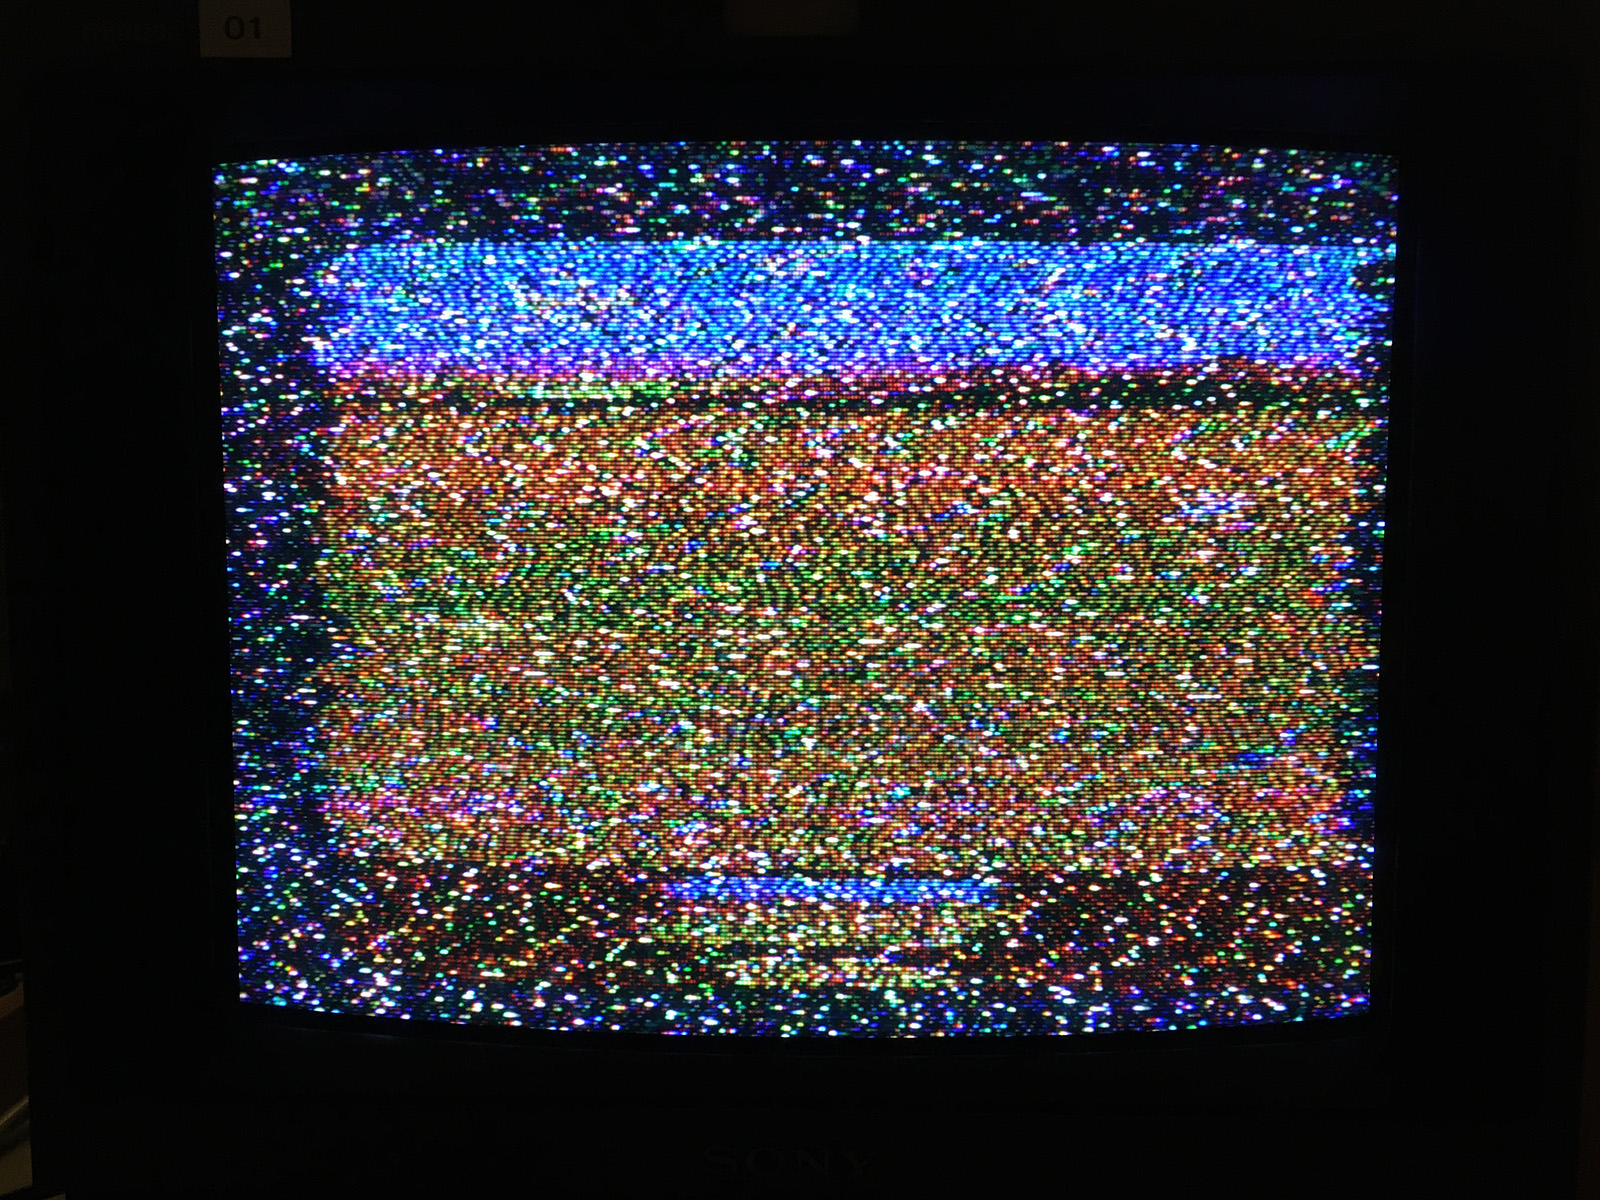
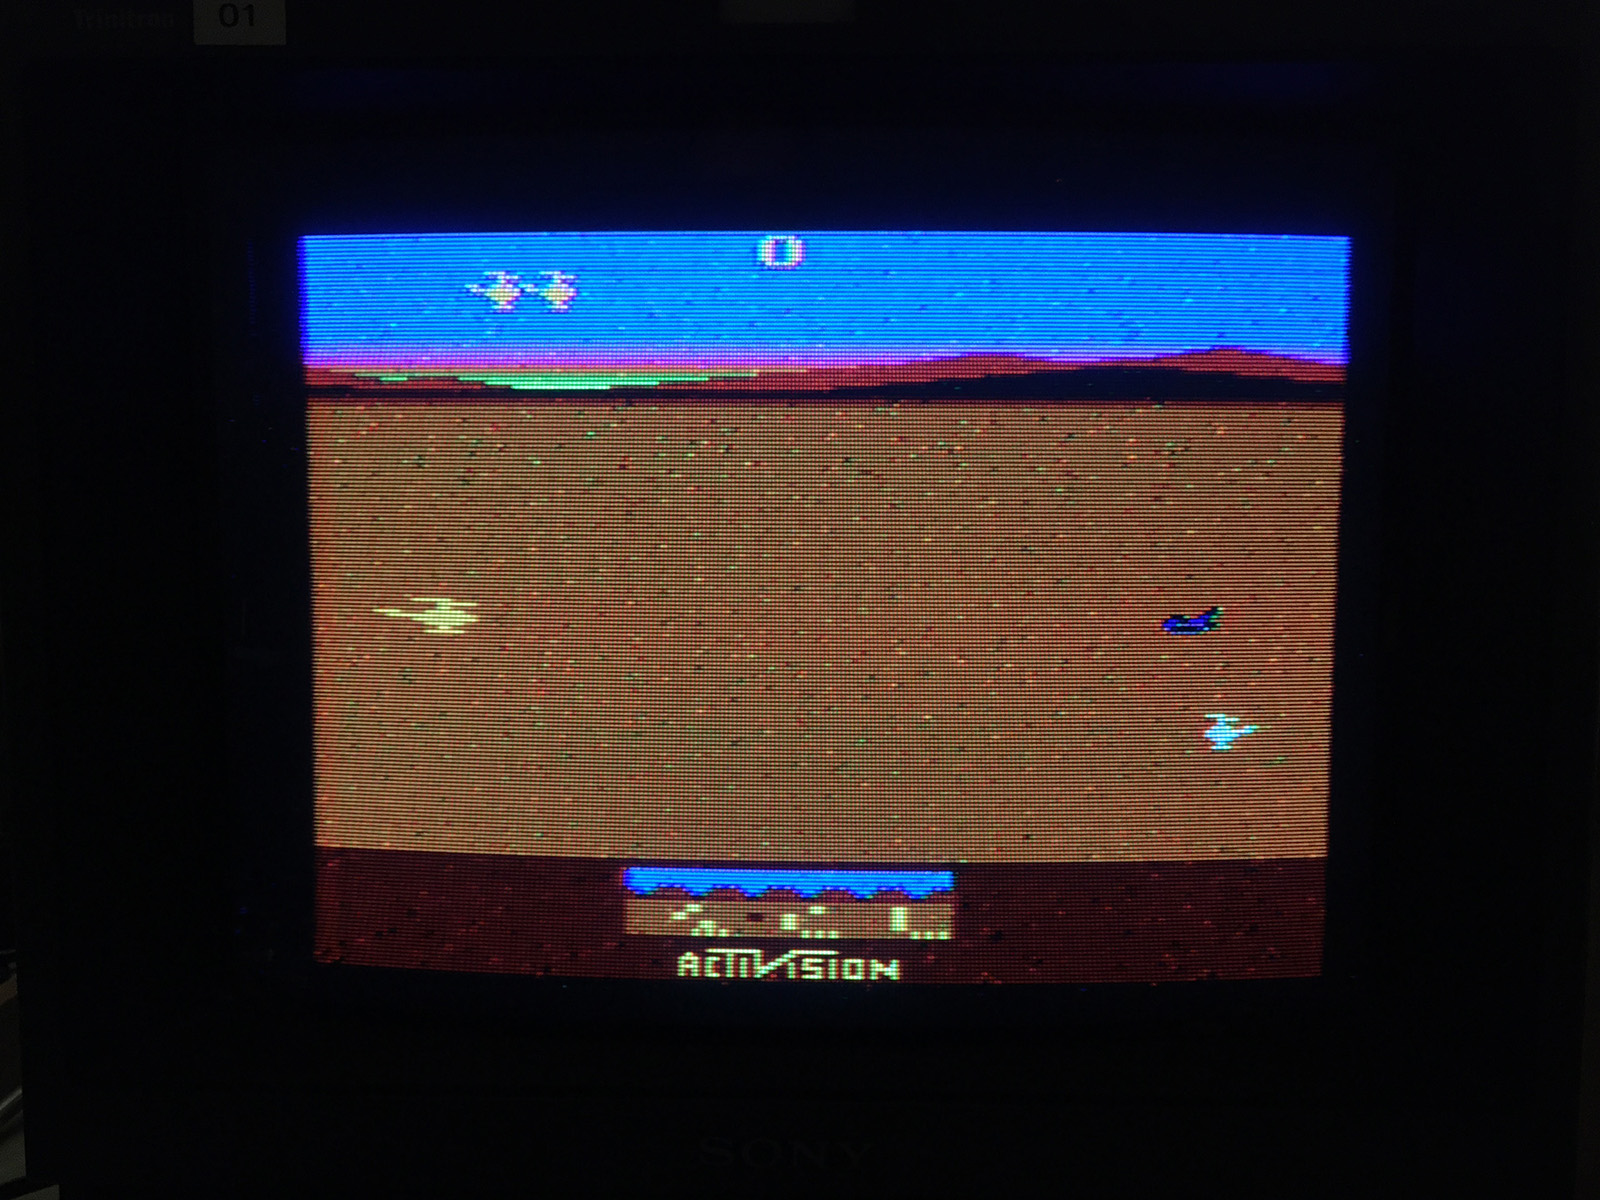
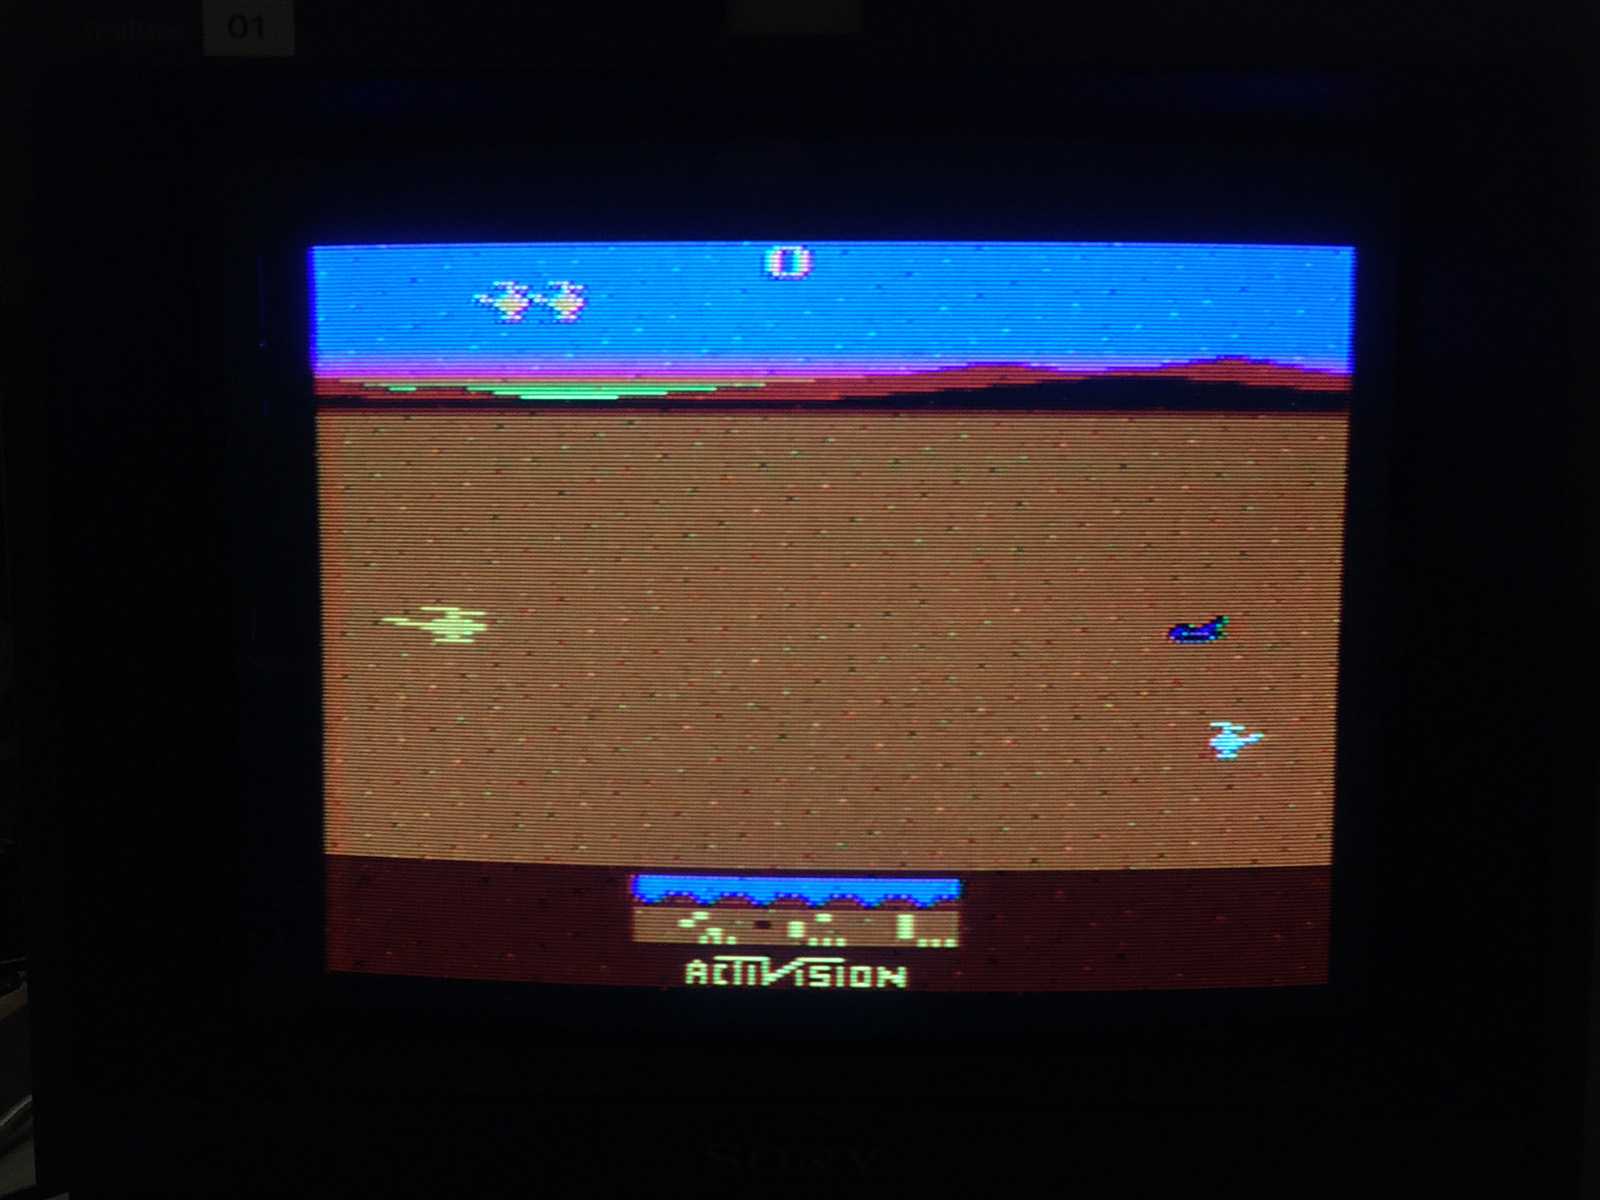
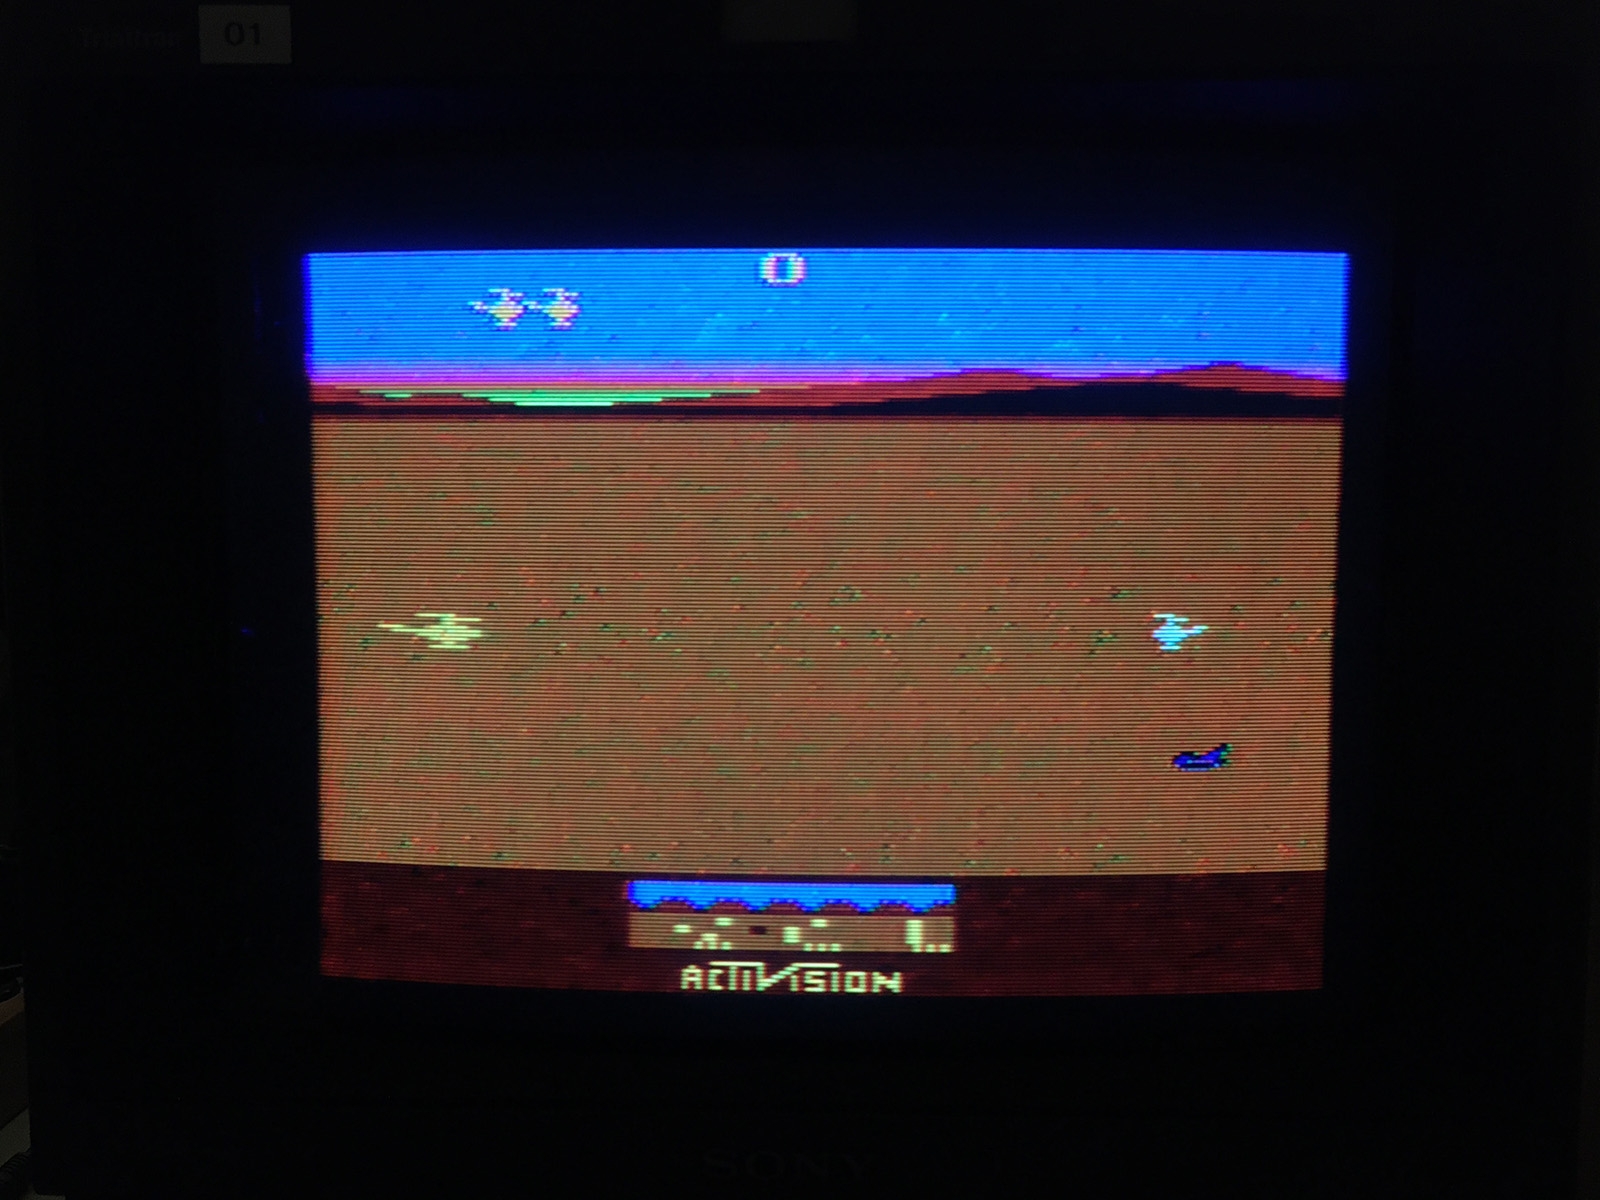
Here are three pictures from the exact same system. This is using the original Atari RF cable and a switchbox.
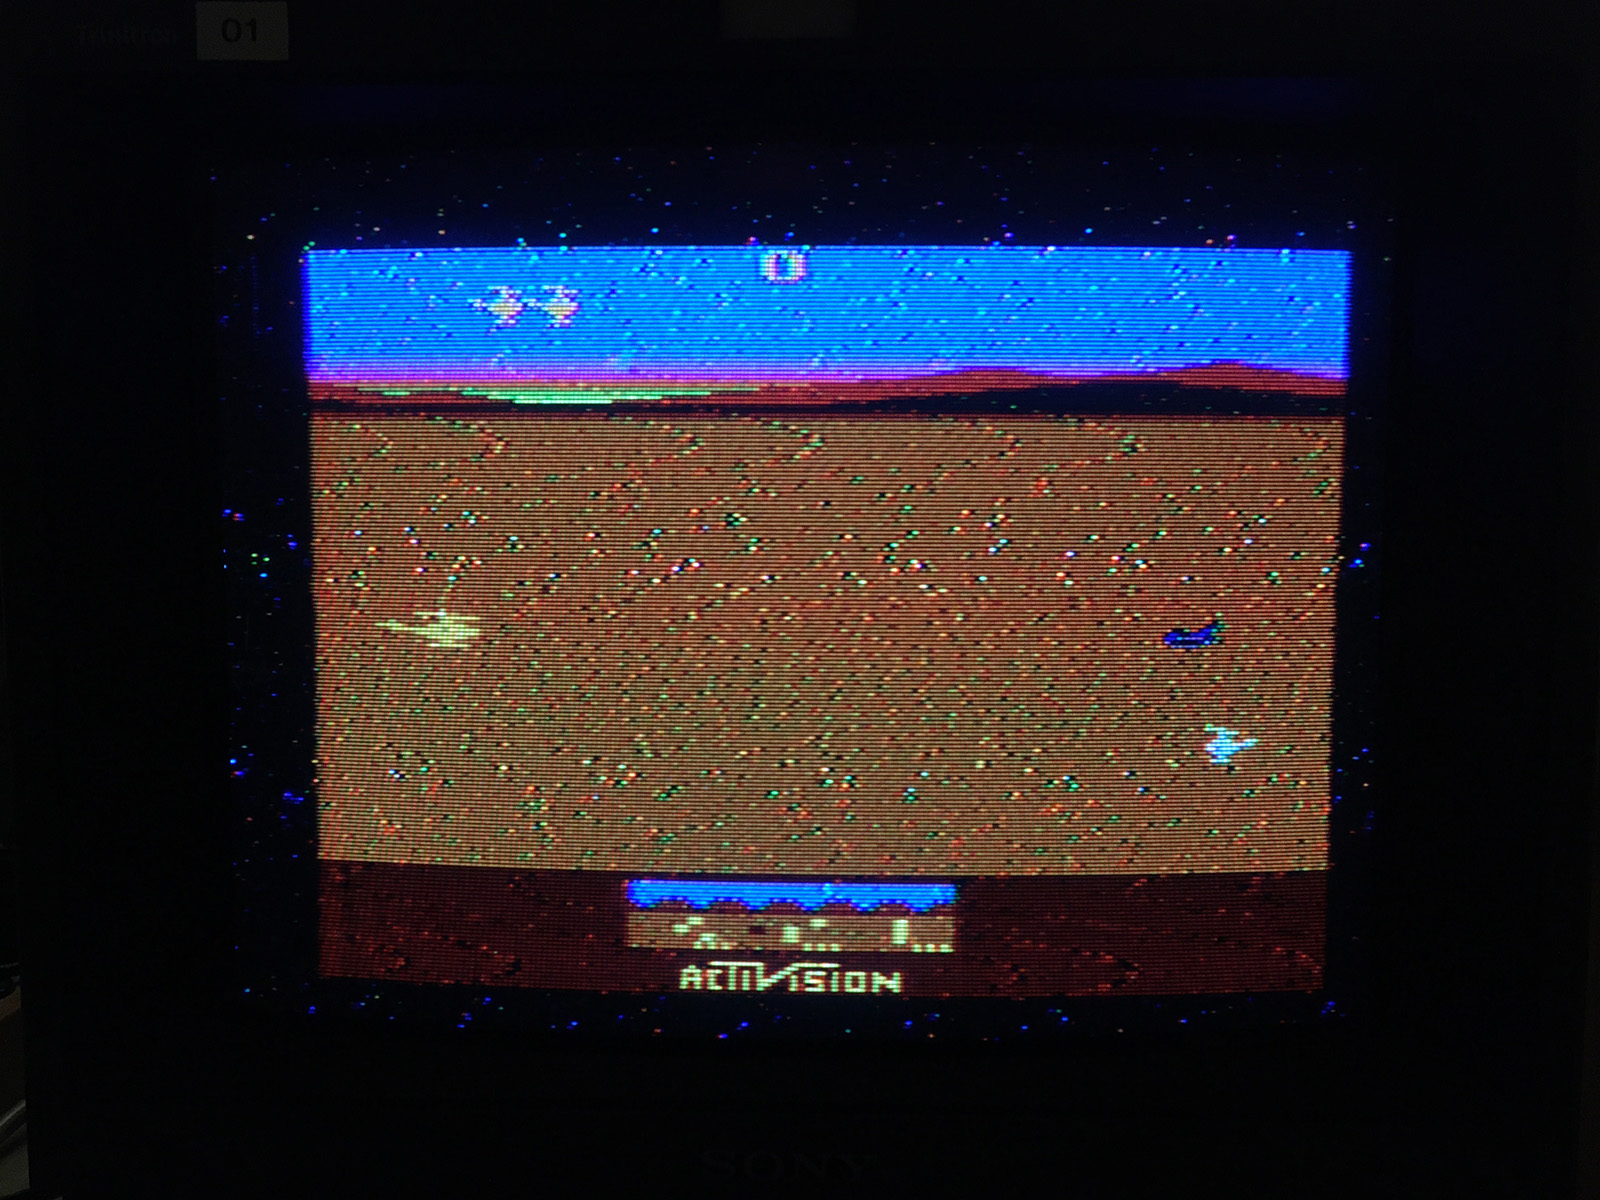
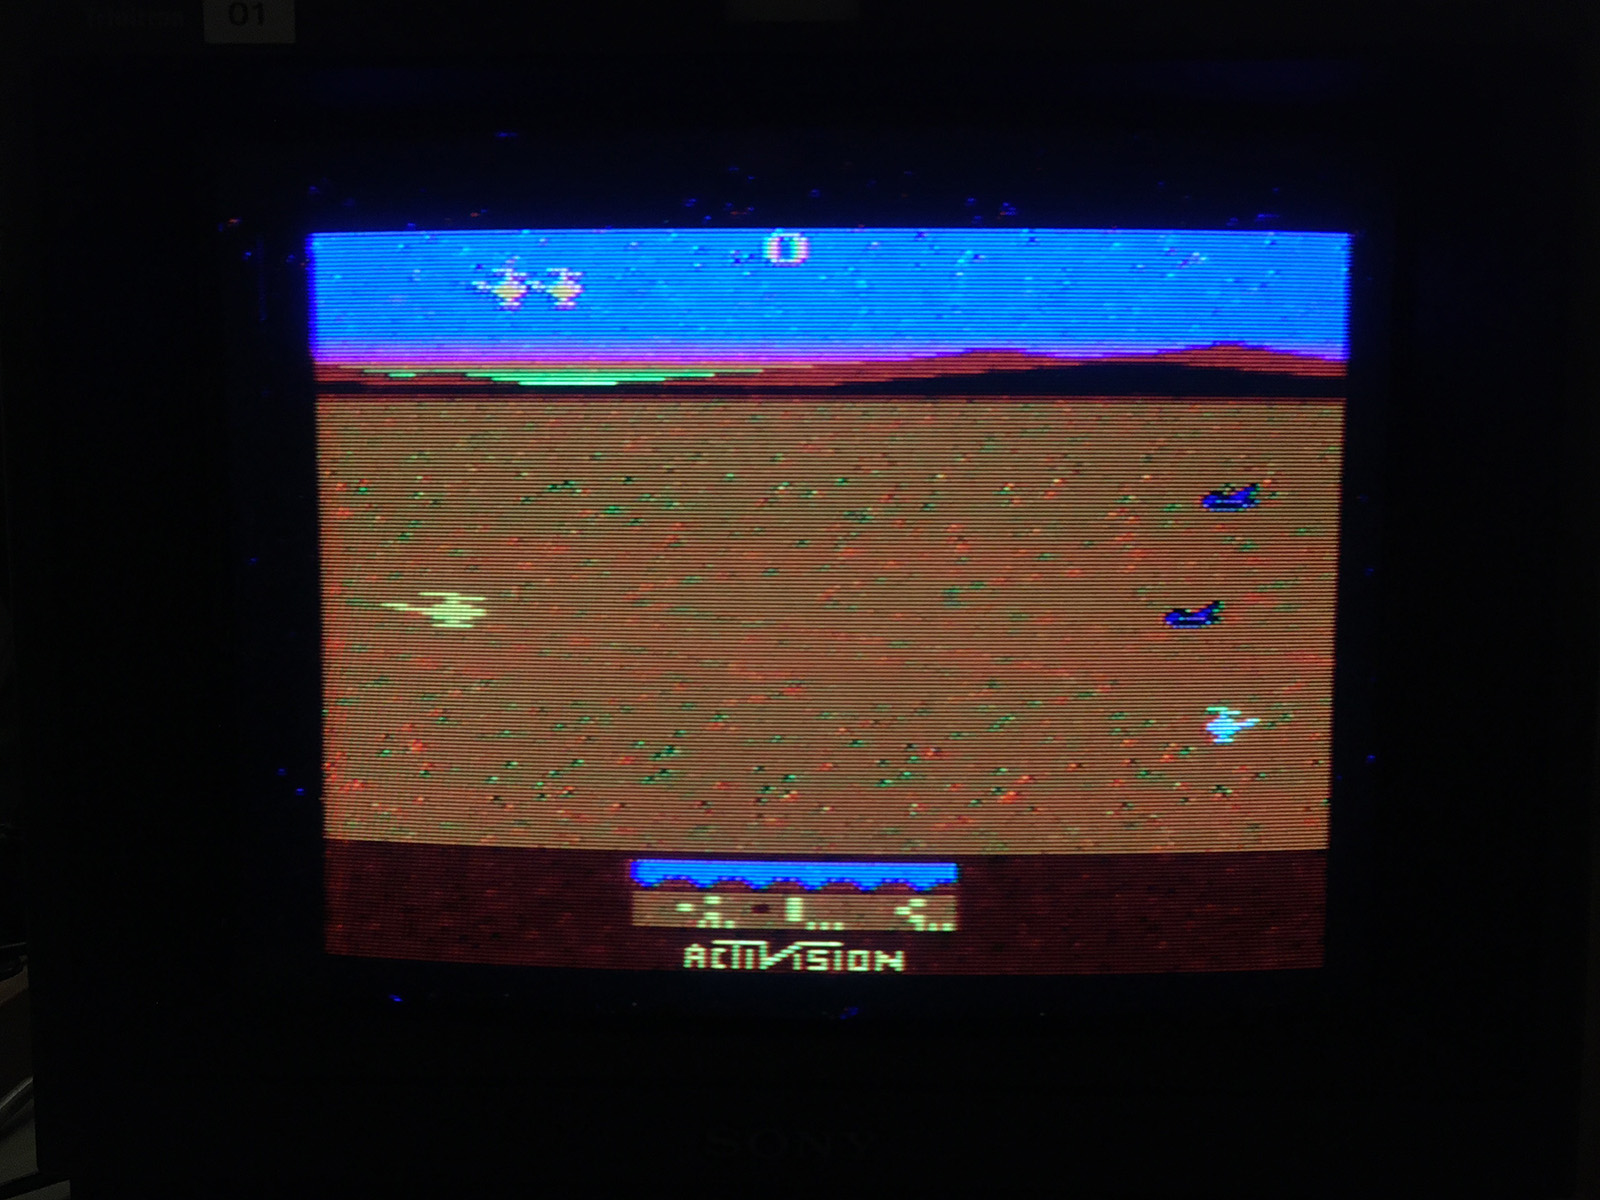
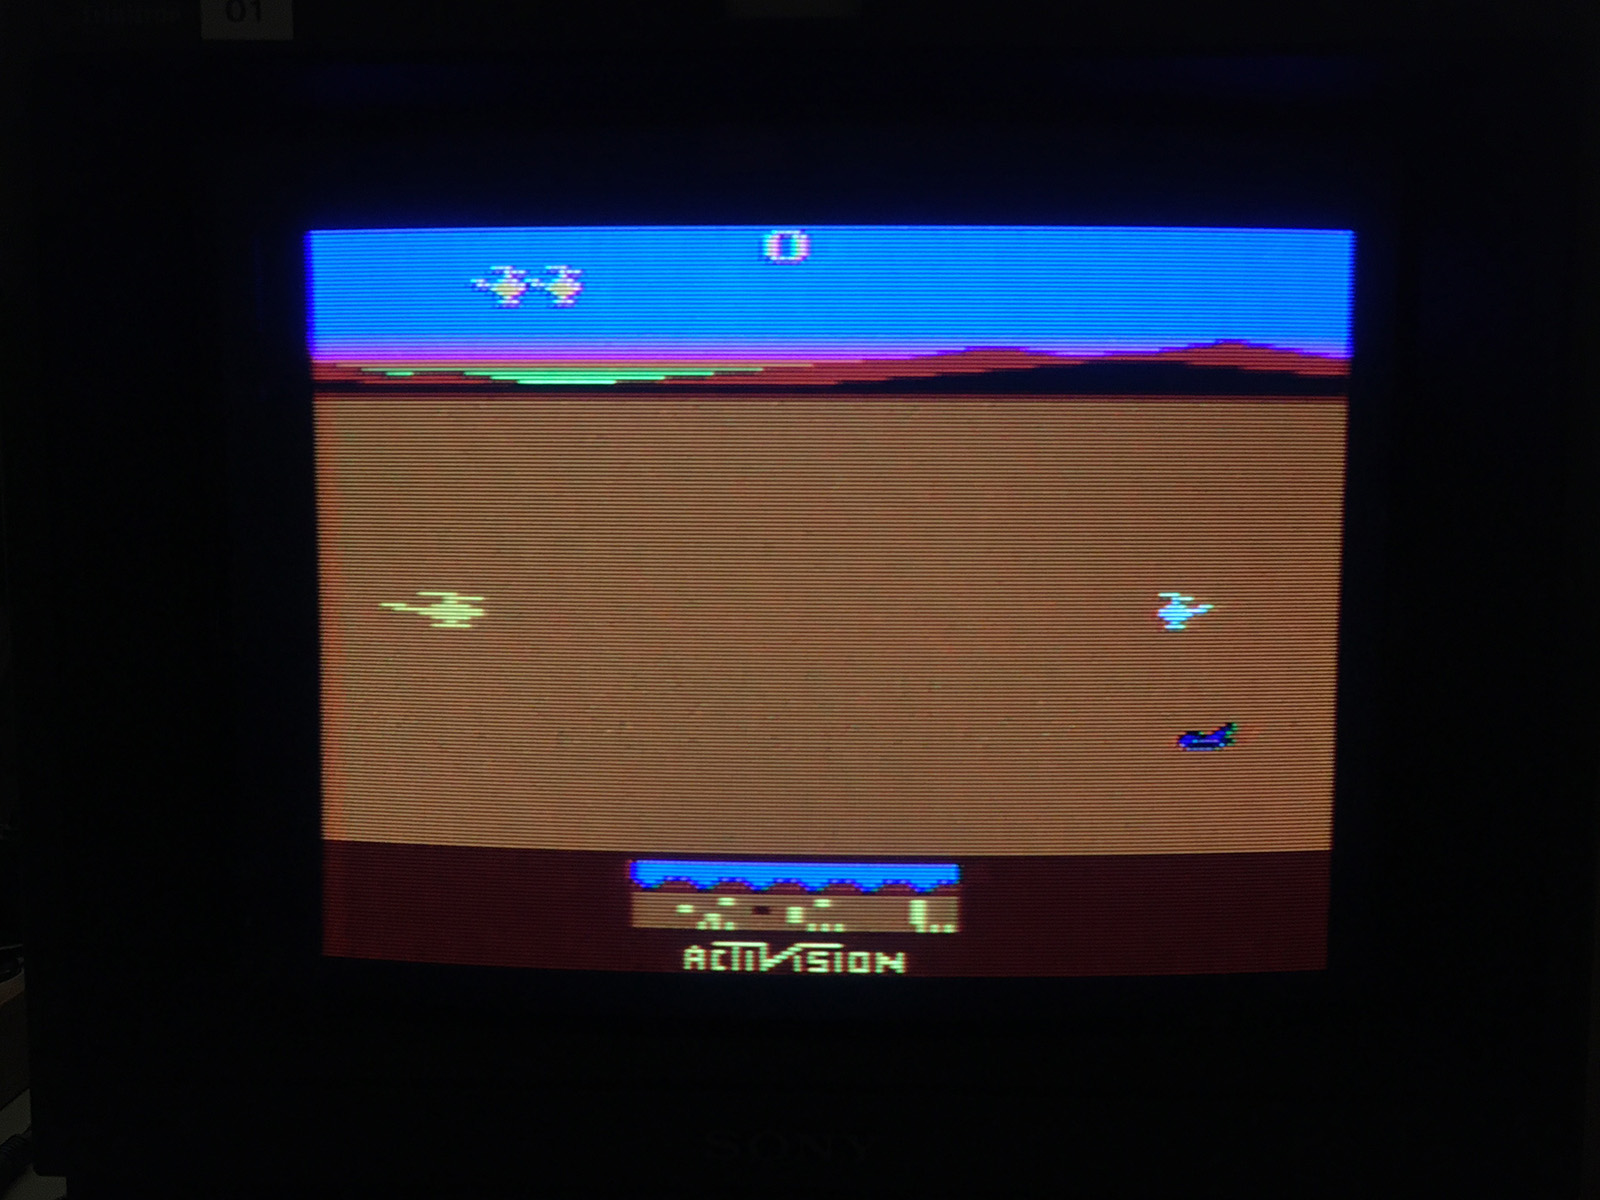
Here's how it looked, right after installing it for the first time in years:
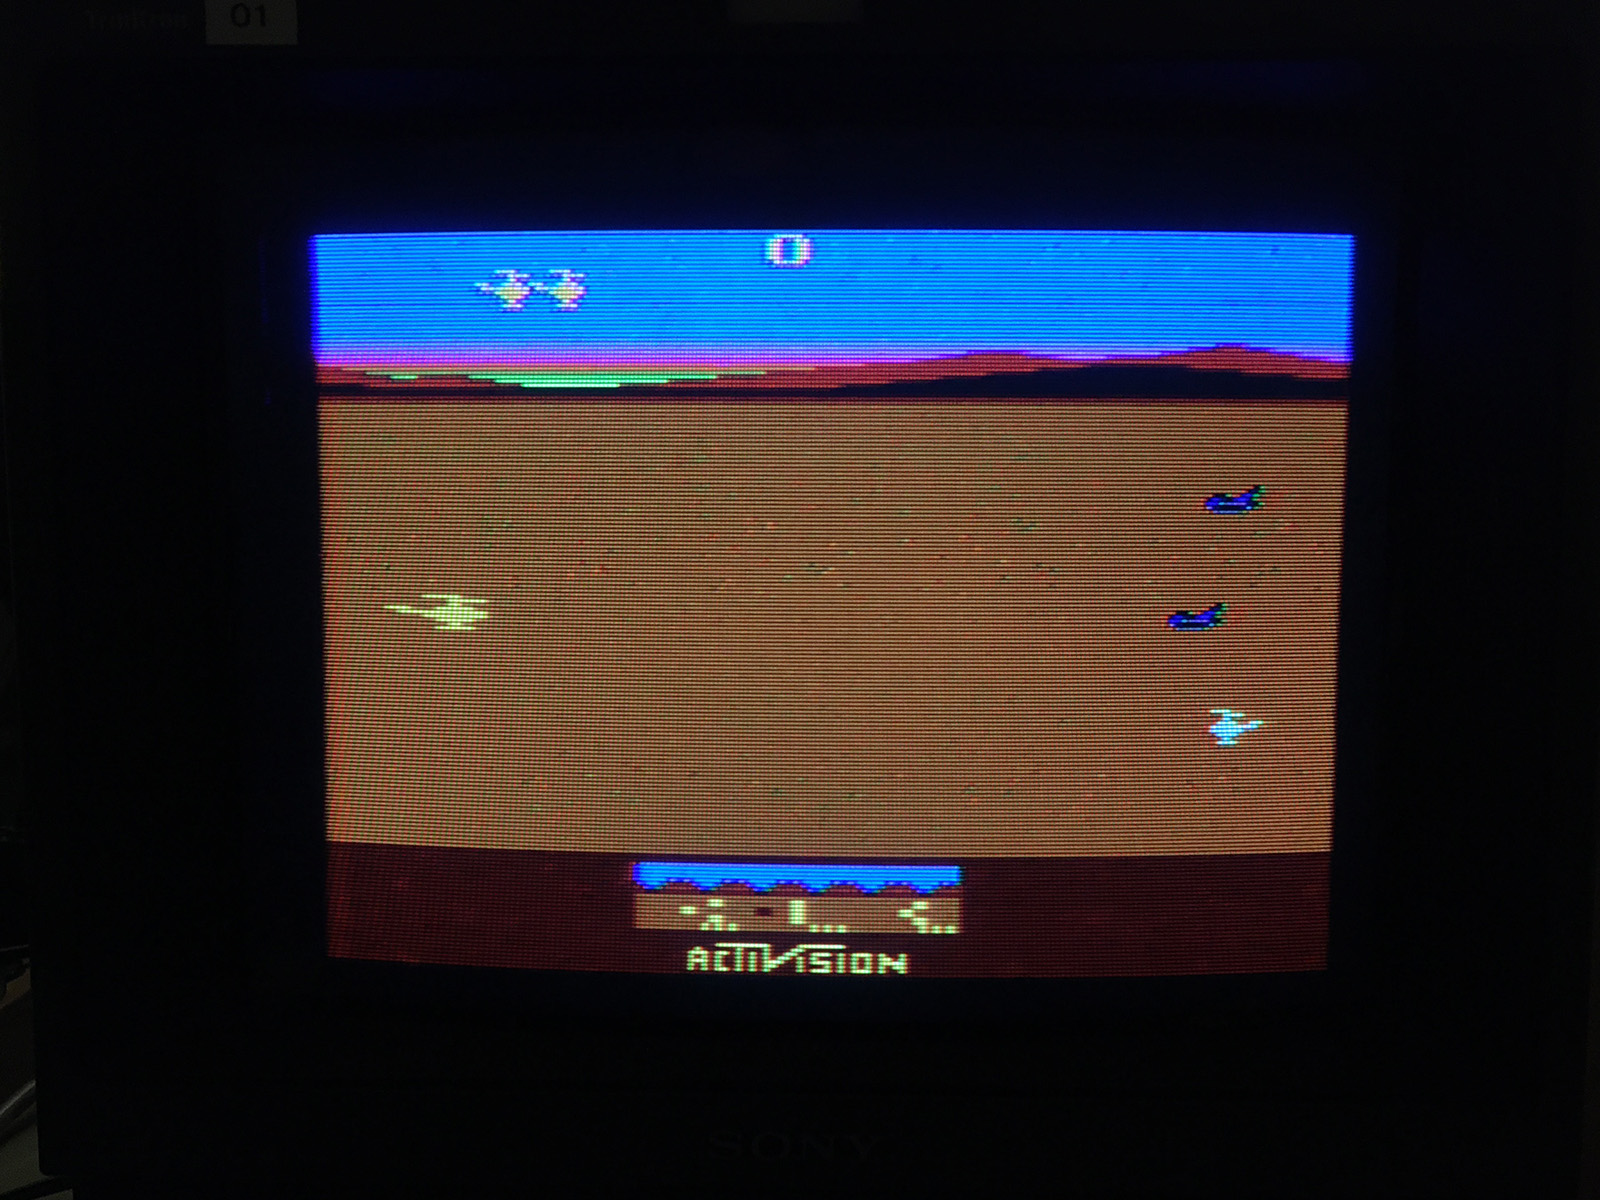
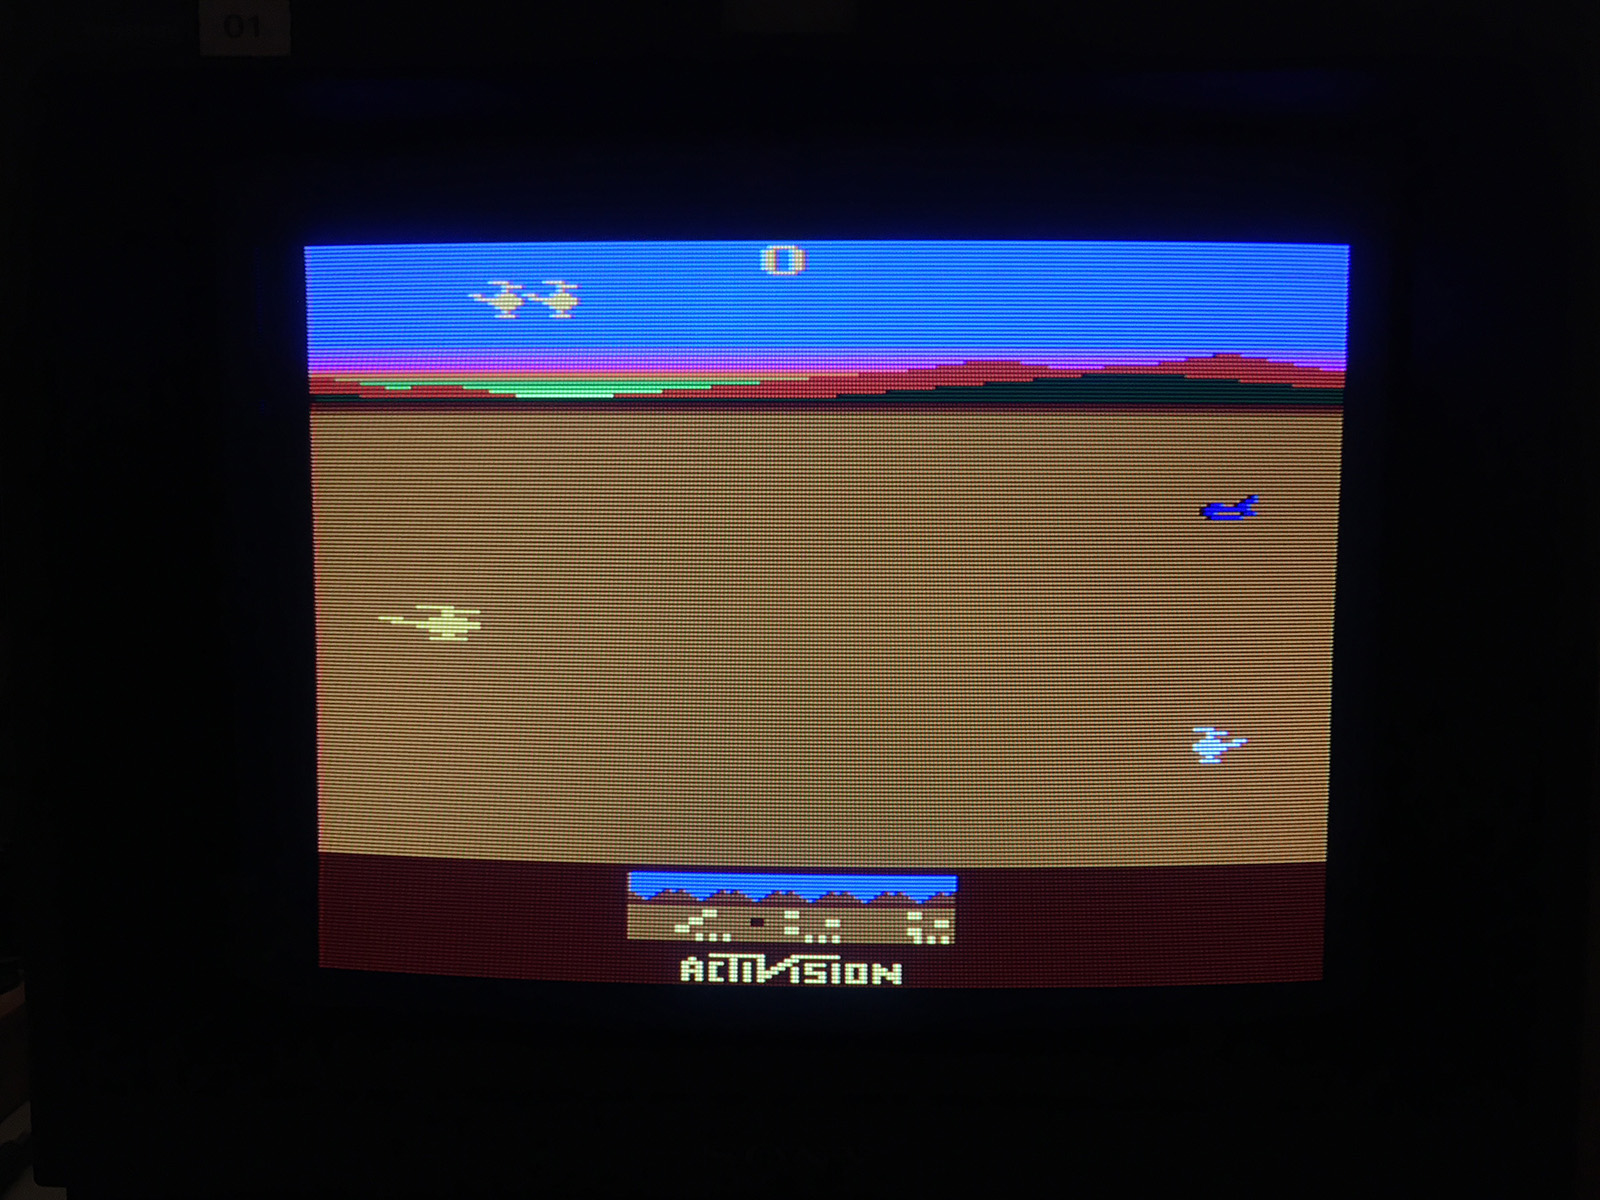
That's Chopper Command, in case you were wondering. I should point out, there is absolutely nothing wrong with this 2600.
After giving the switch a good cleaning with contact cleaner, and working the switch back and forth a number of times, I could get a pretty clean signal:
But the slightest bump of the switchbox, and I'd get this:
And these were the best pictures I could get with the switchbox. Clearly, the switchbox has to go.
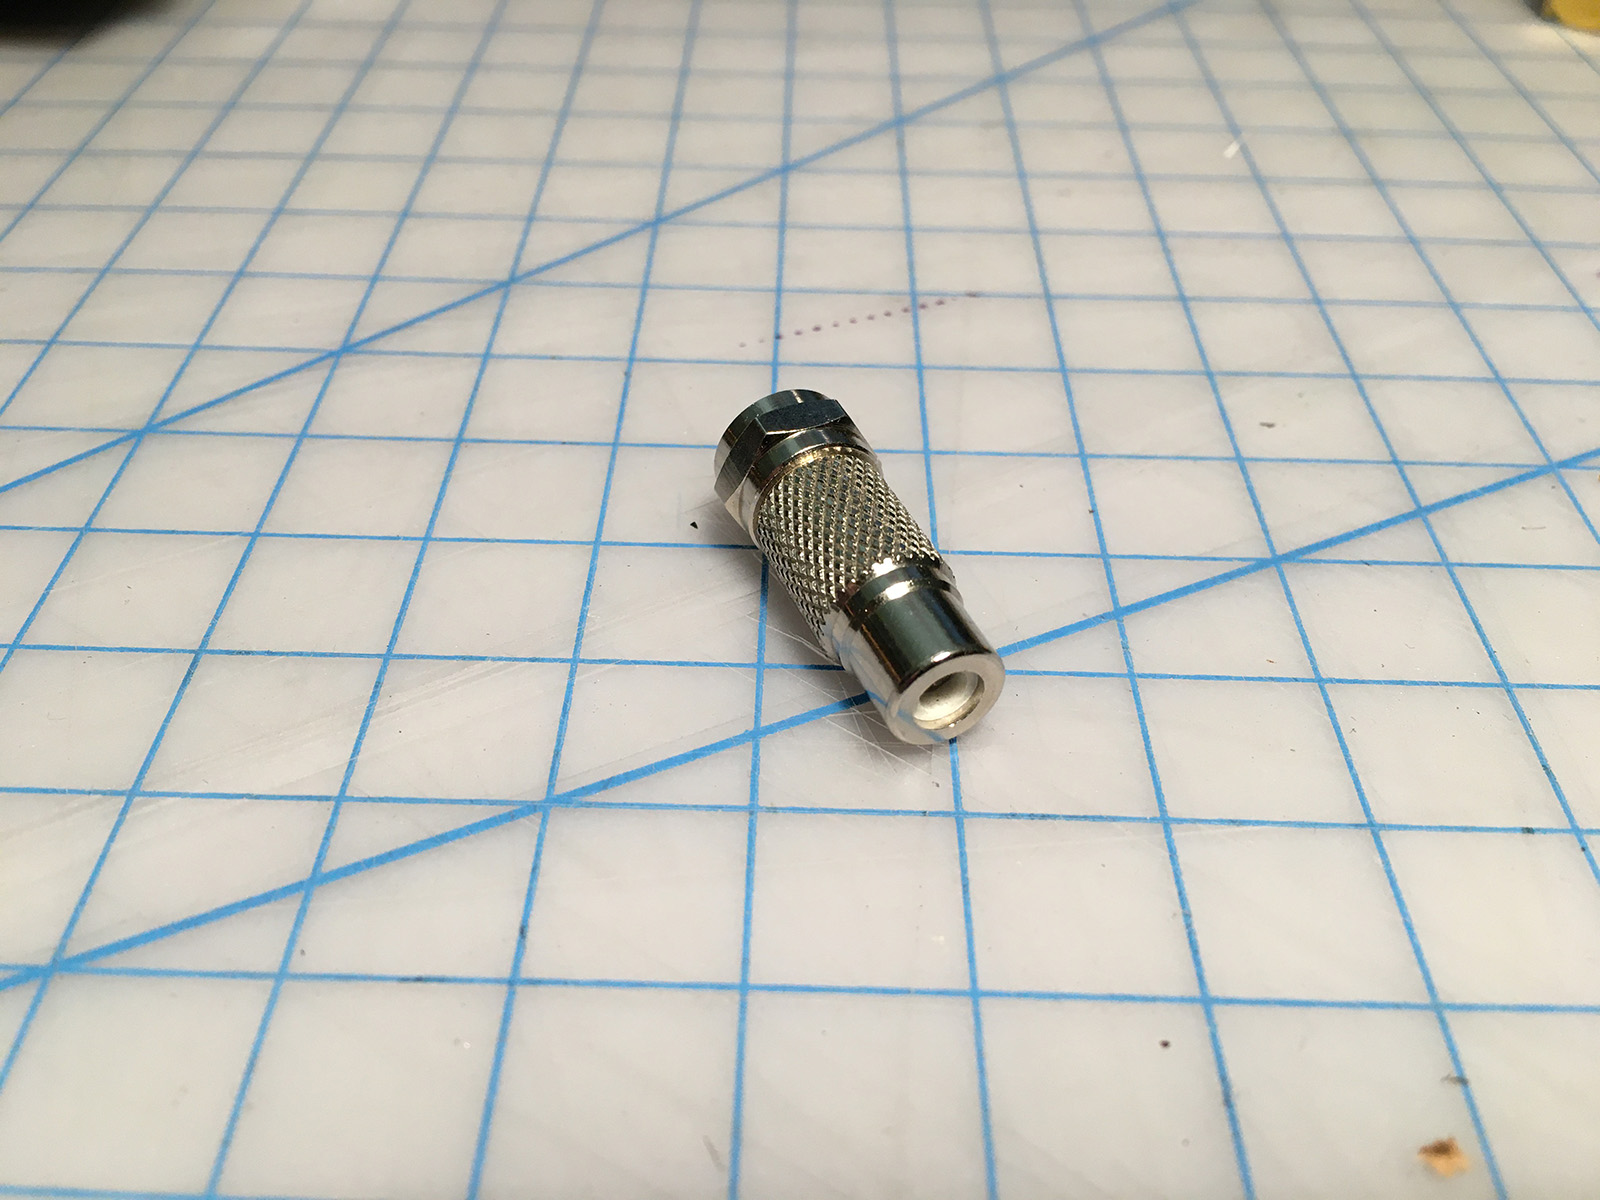
The simplest replacement is an RCA to F-type adapter:
This bypasses everything inside the switchbox, and lets you plug the RF cable straight into your TV.
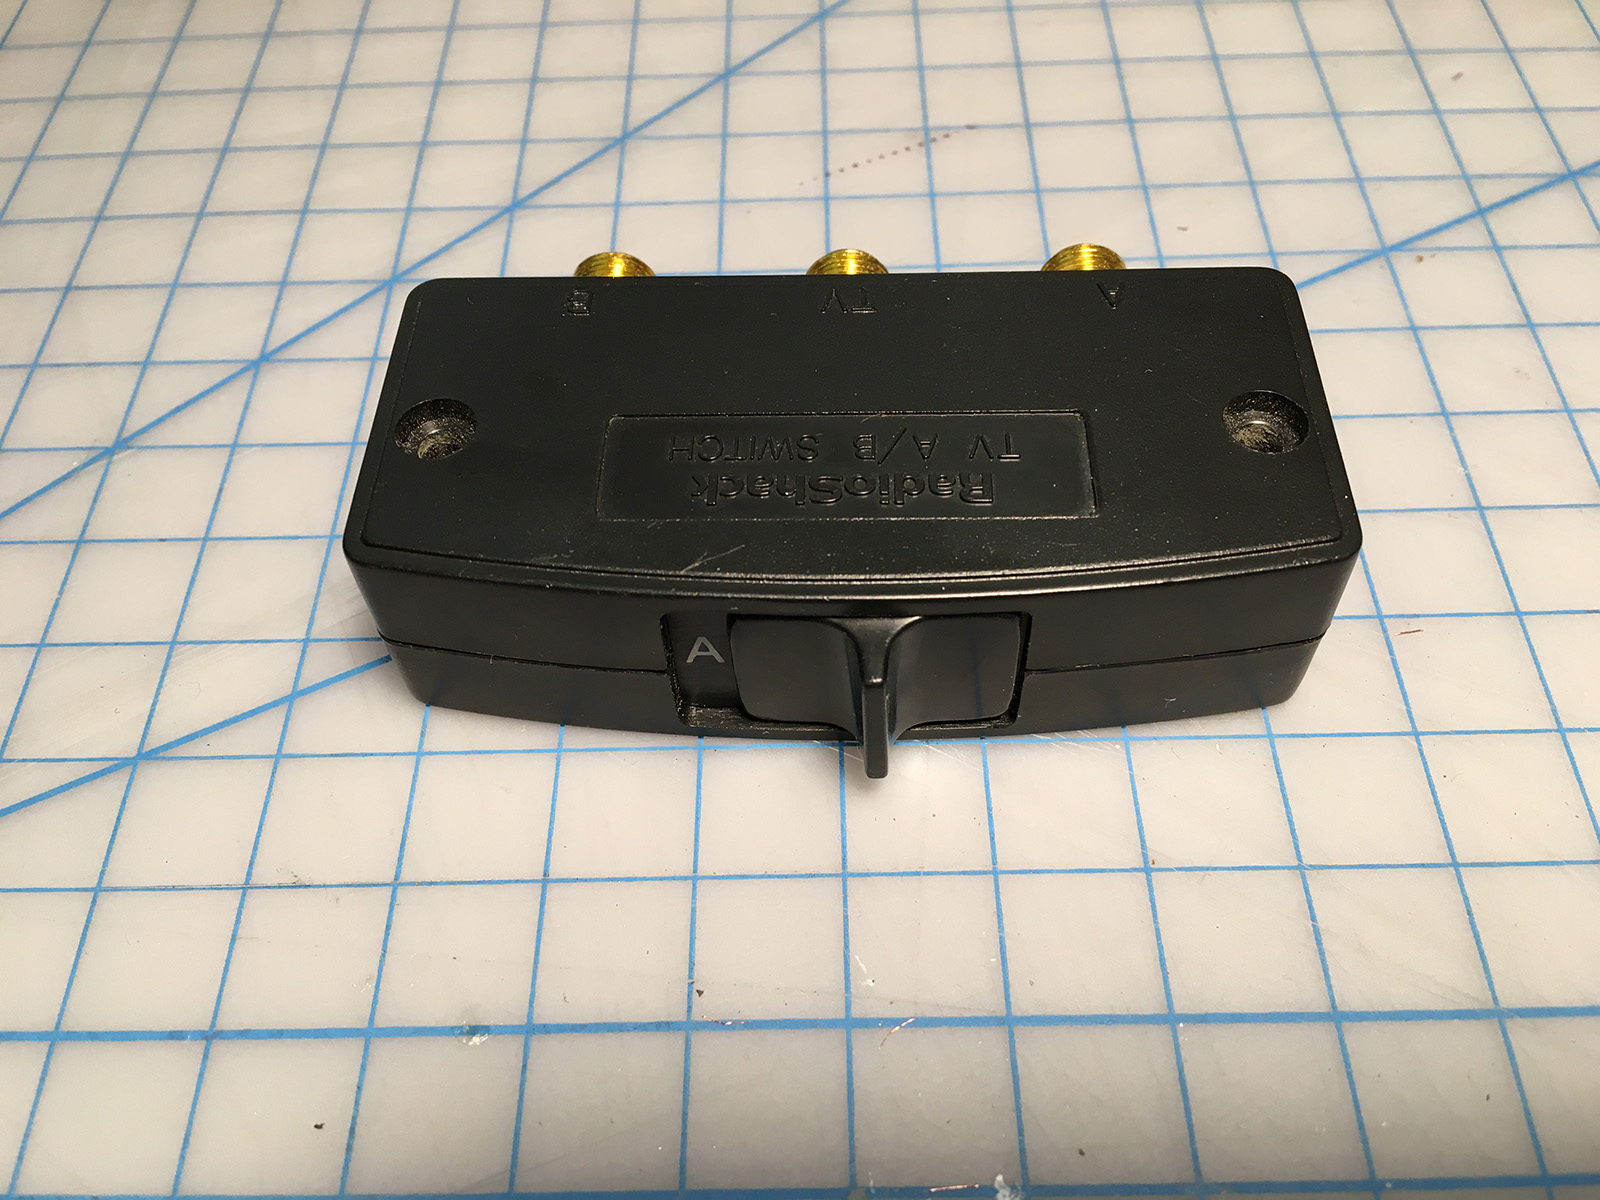
But what do you do if you still need a switchbox? Maybe your 2600 is still sharing an RF input with something else on your TV?
Well, get a switch that isn't noisy. A high isolation A/B switch is the way to go. I have one from the late, lamented Radio Shack. But there are others out there.
An important thing to remember though - you're increasing the number of cables when using an A/B switch. You have to plug your 2600 into the switch, then run another cable from the switch to your TV. Each cable increases the potential for that noise we want to get rid of. The cables basically act as antennae, picking up whatever stray RF interference happens to be floating around.
So let's deal with the main cause of RF noise: the RF cable.
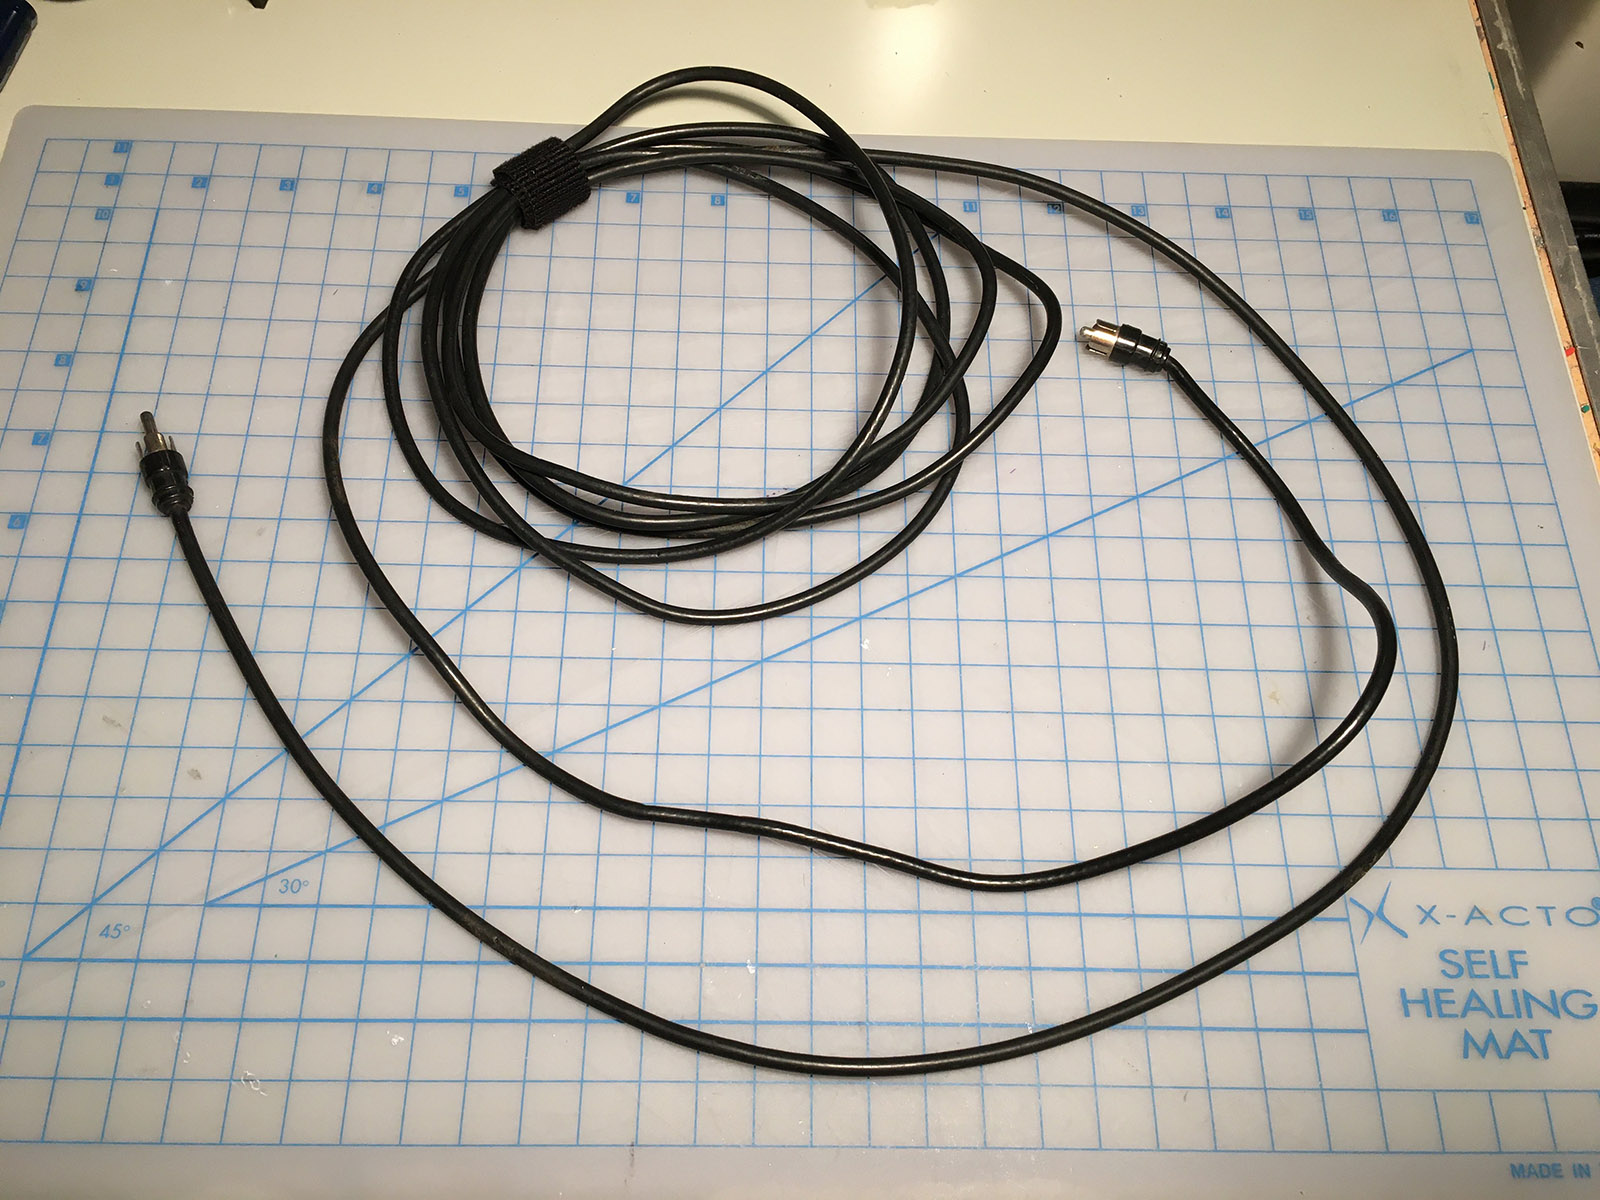
Atari's original cable is thin, long, and poorly shielded. It's basically a magnet for interference.
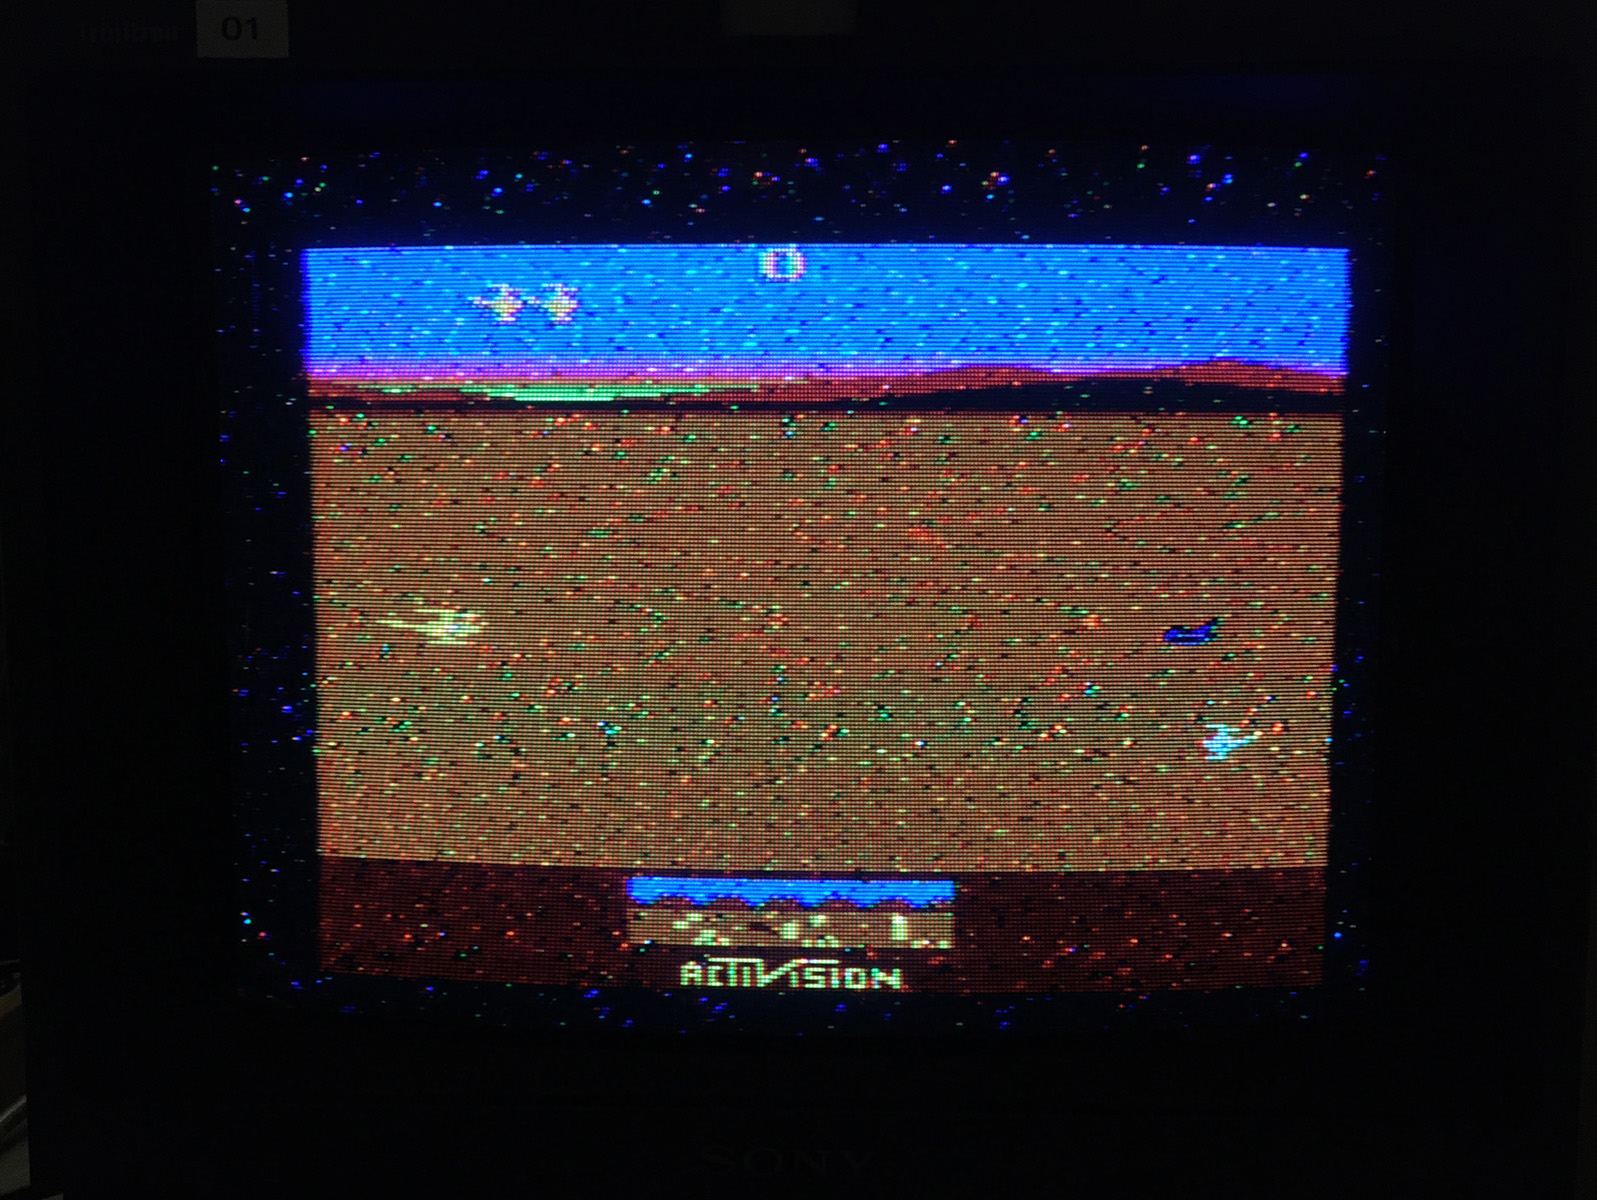
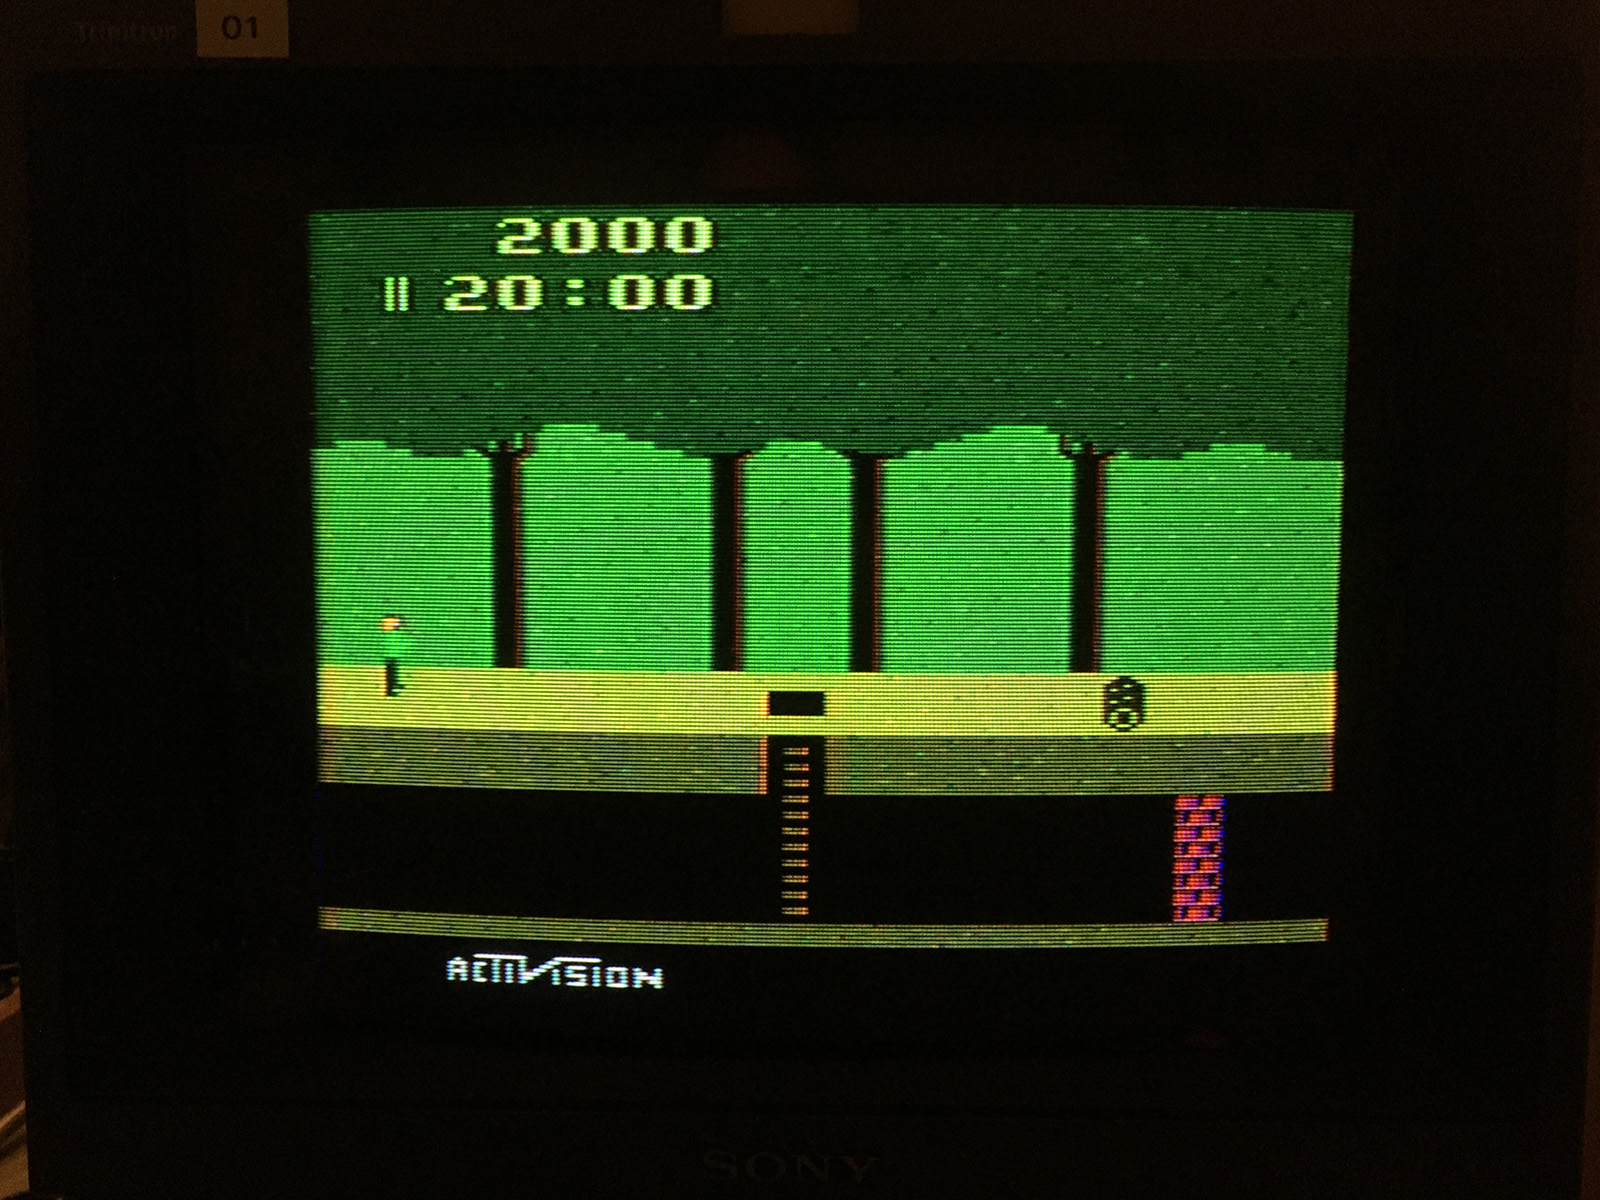
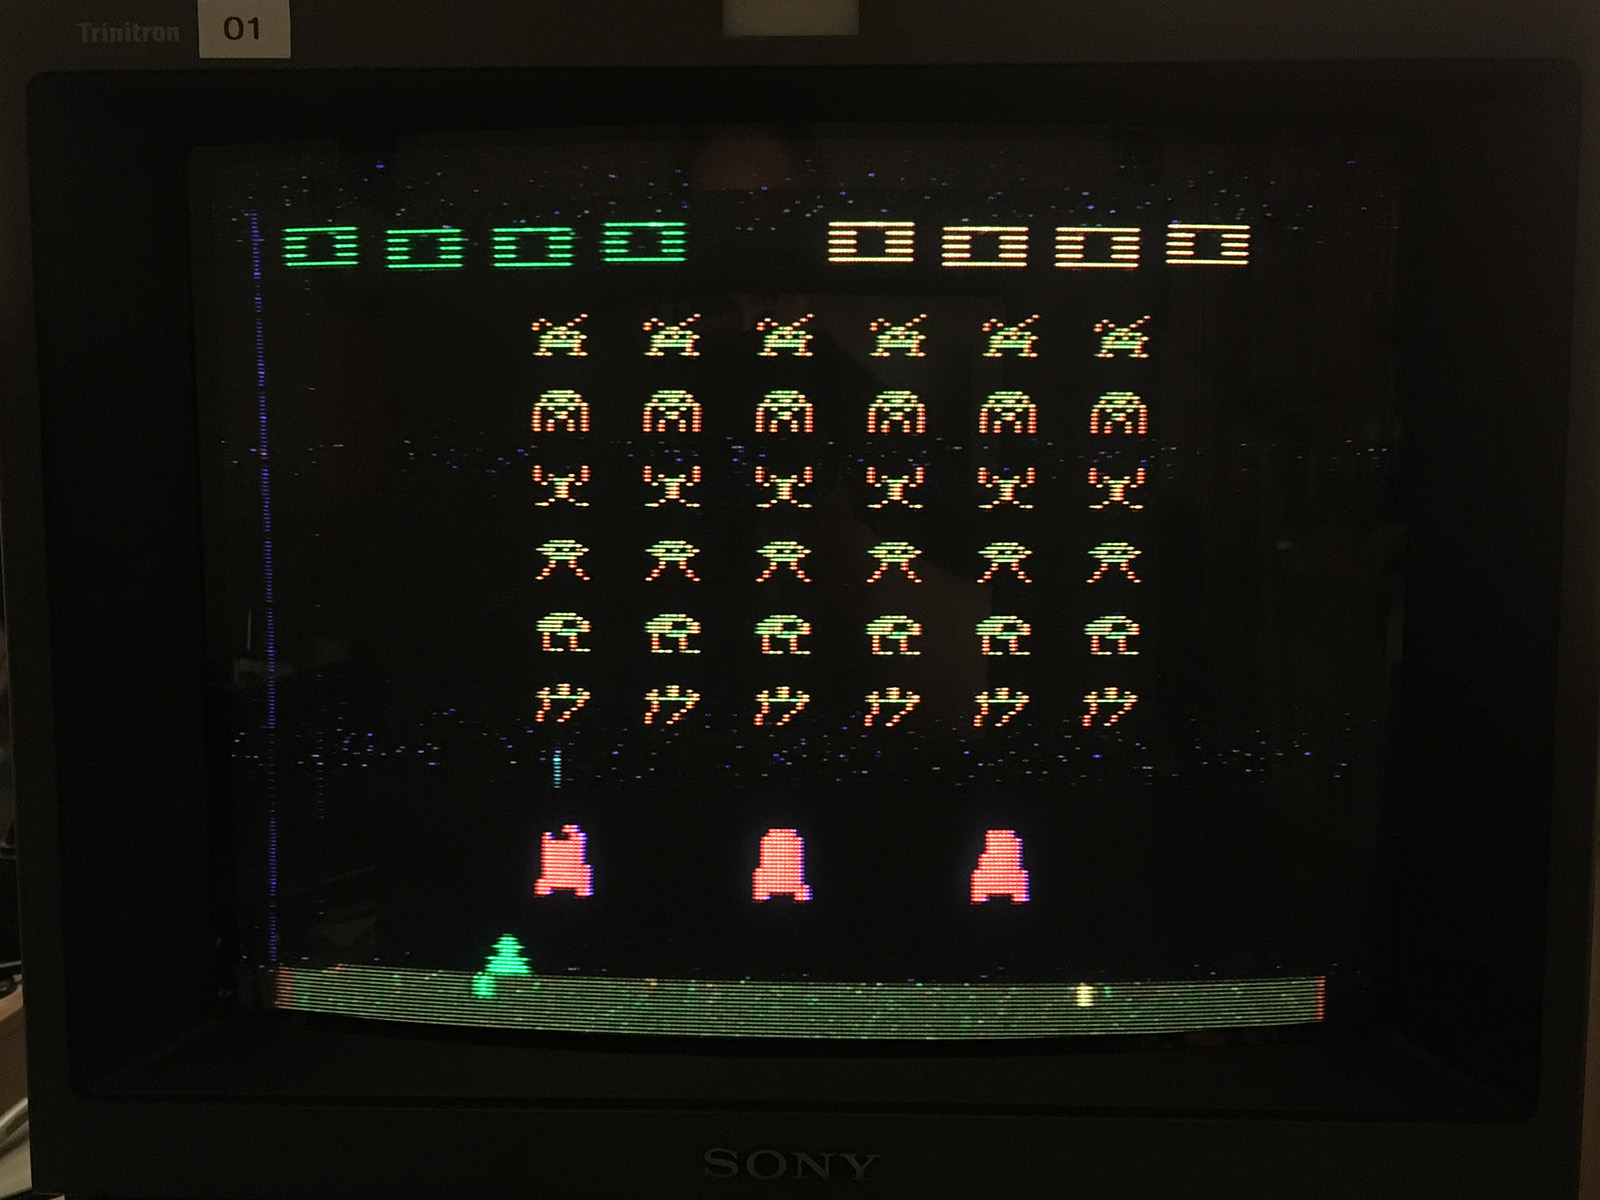
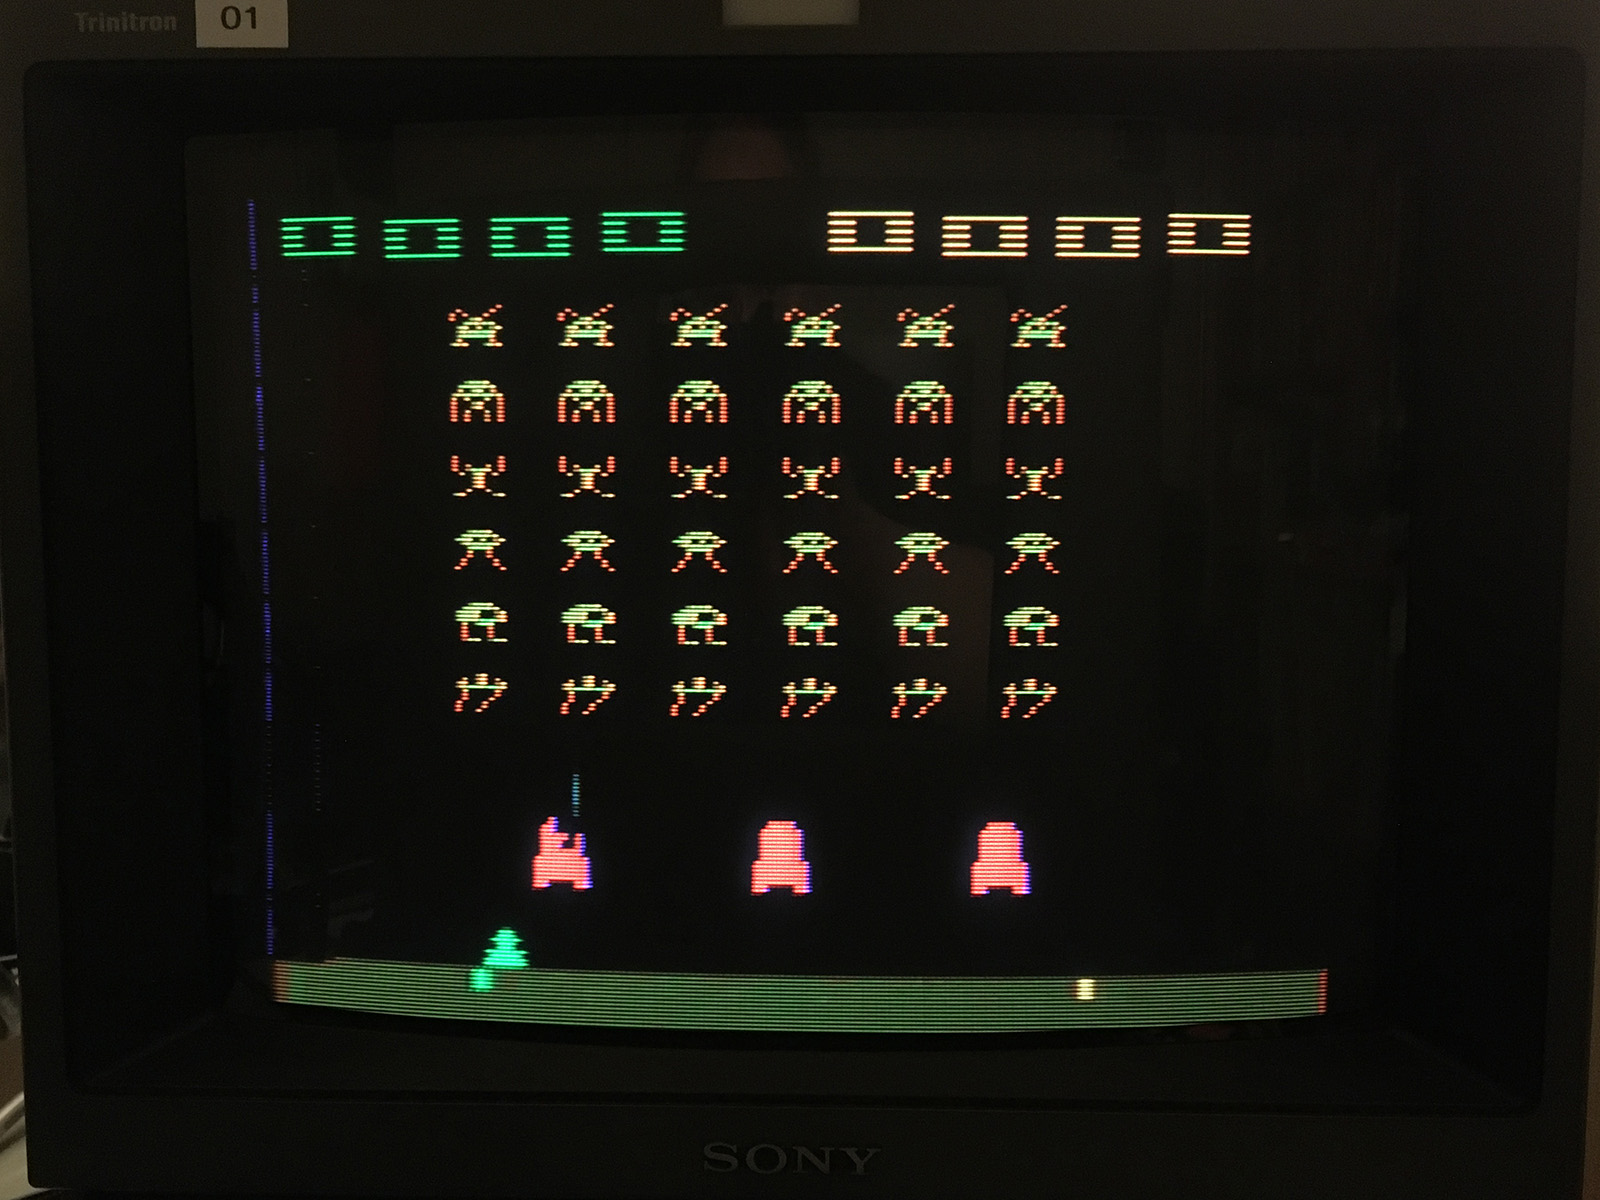
Here are three pictures using Atari's RF cable, without a switchbox:
Look familiar? A little grainy? (The camera captures static that you don't always see in person, because it's happening so fast. Try taking a picture of your own TV, and see what you get!)
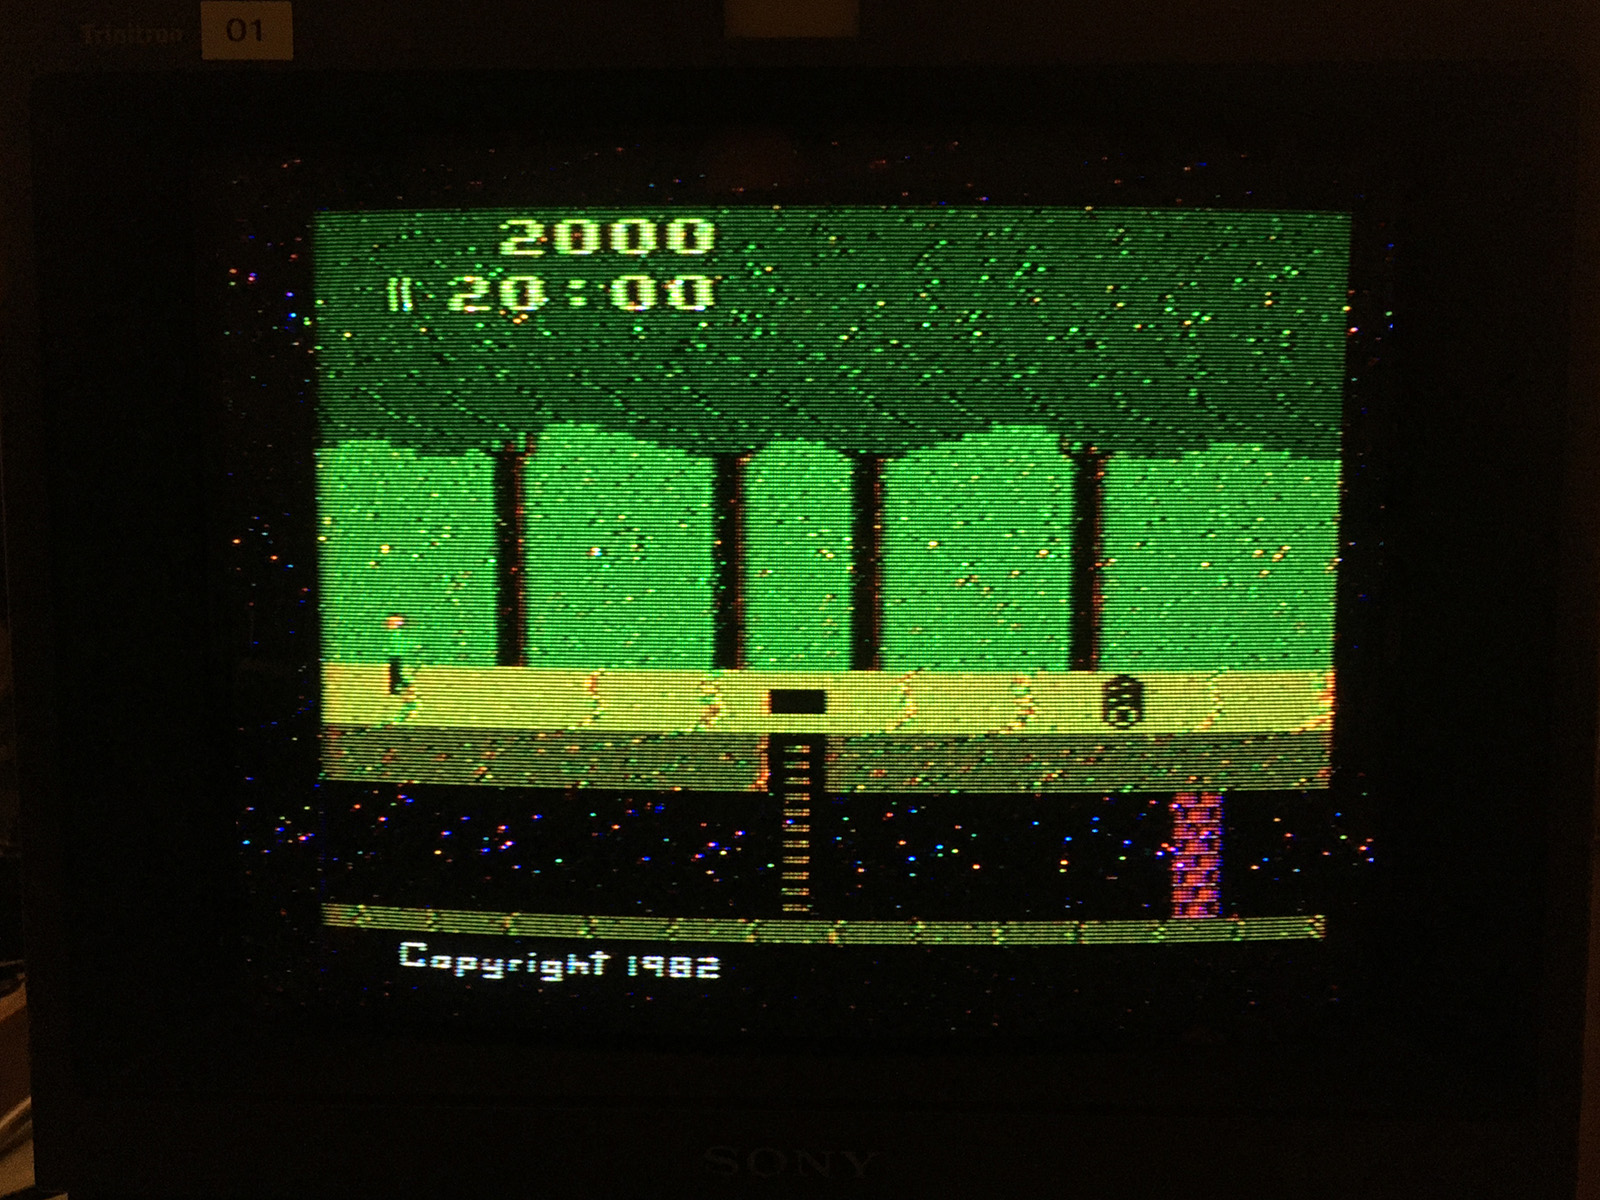
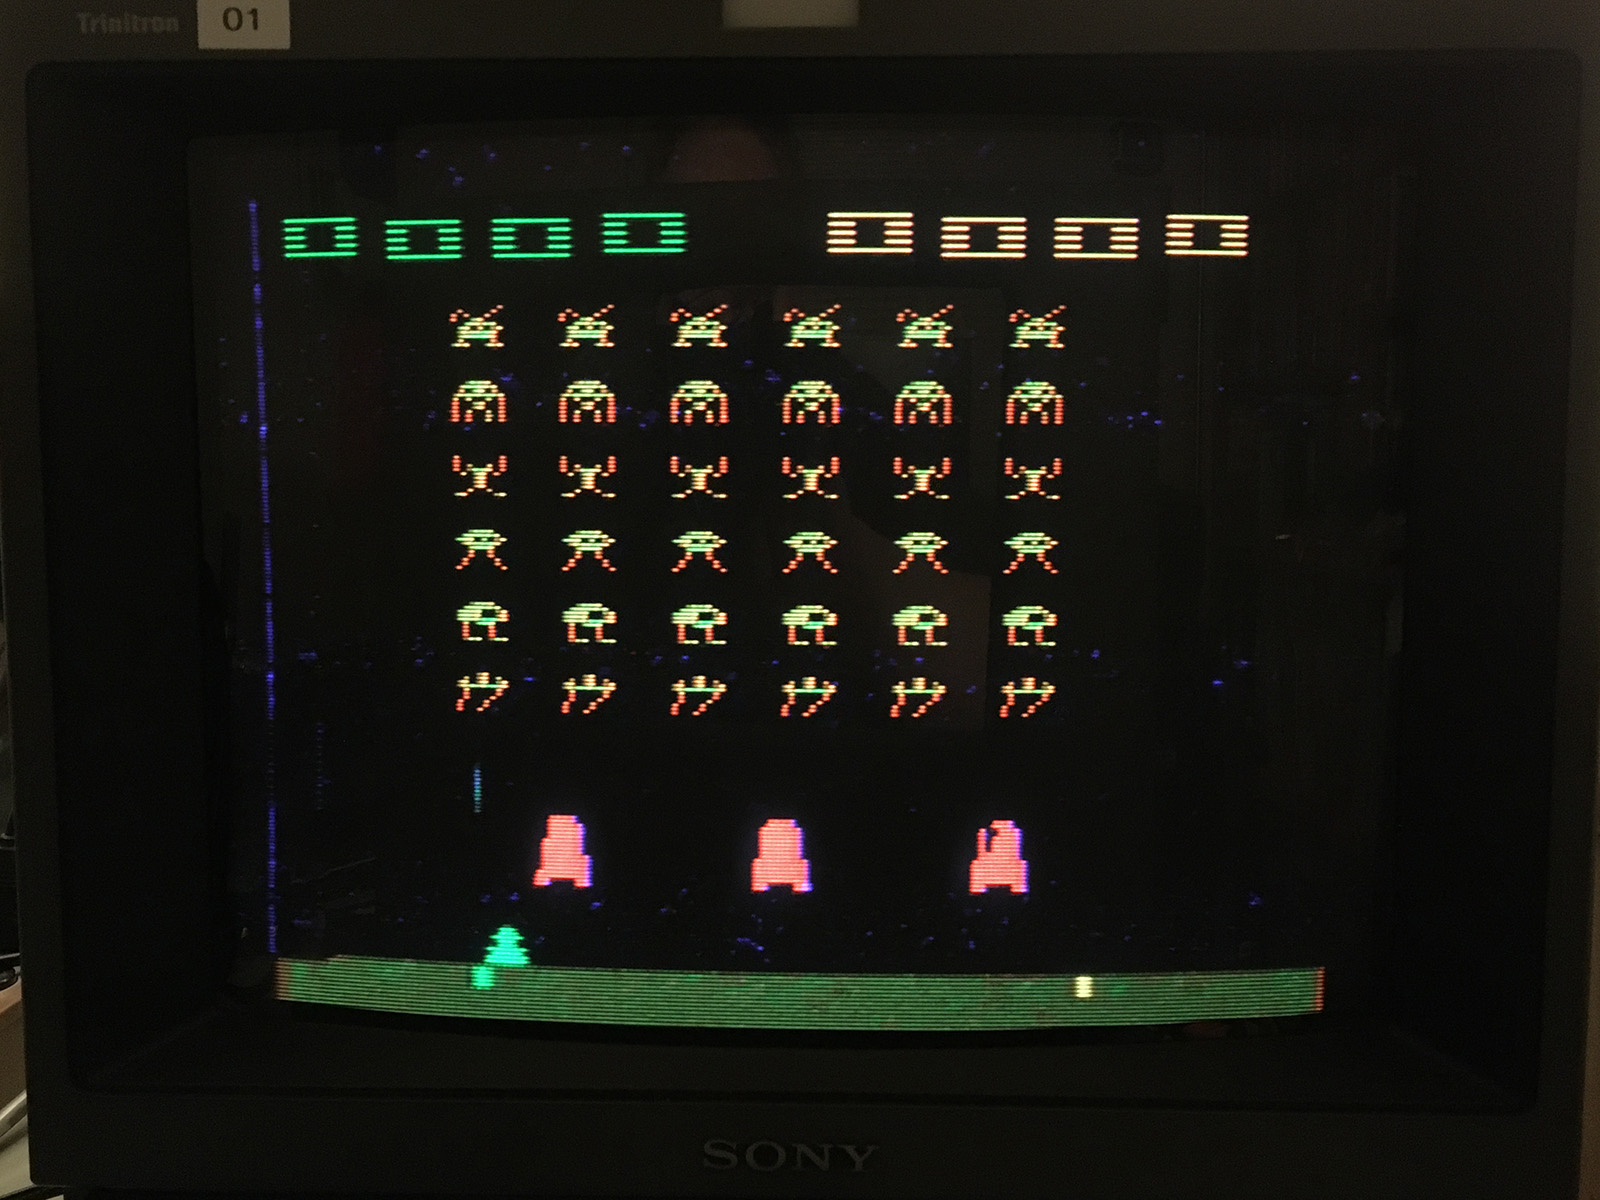
Here's another look:
See all of the extra noise? So what's the difference between those pictures and the previous set?
Well, nothing! It's still the same 2600, the same stock Atari RF cable, and the same monitor. In fact, each of the photos in the second set was taken within a few seconds of the ones in the first set.
The only difference is that for the second set, I've moved the RF cable about six inches closer to the 2600's power cord.
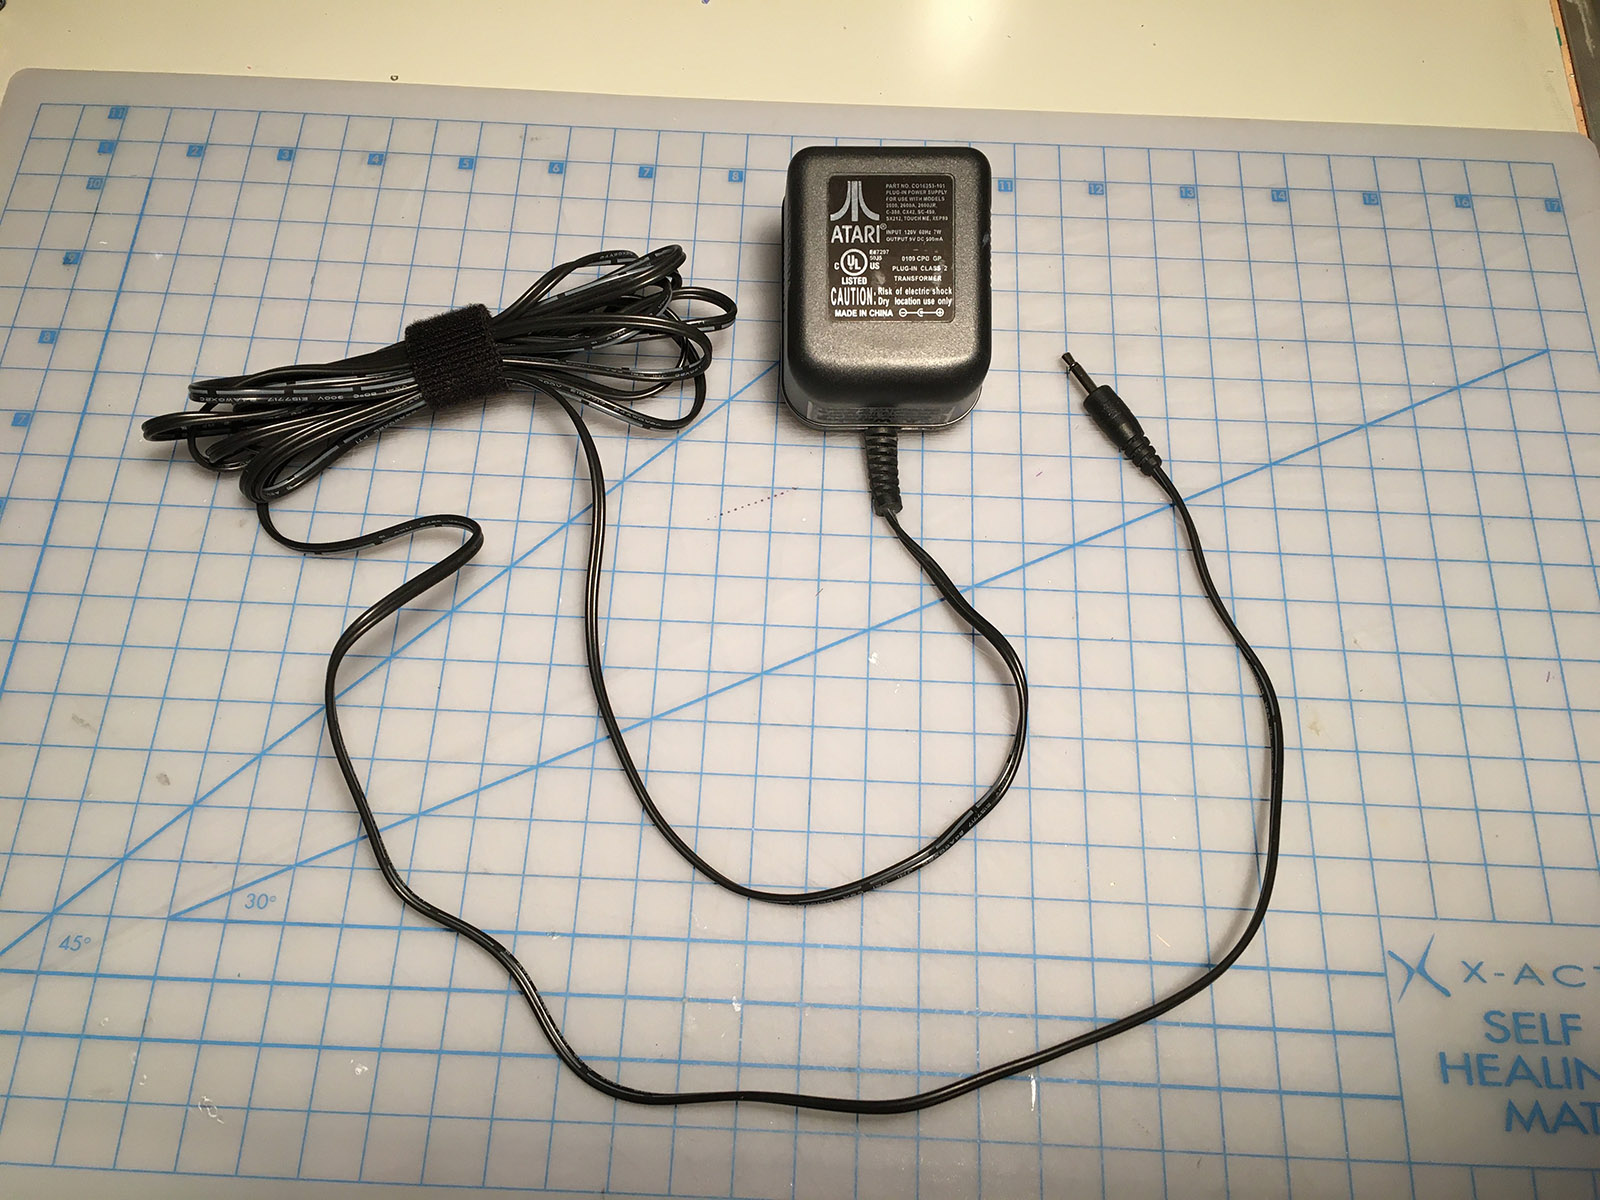
That brings up a very important tip: keep the power cord under control! I've found that I can reduce RF noise a lot, just by bundling the excess power cord together, wrapping a Velcro™ tie around it, and moving it until the picture noise diminishes.
A related tip is that if I bundle up the excess RF cable, it tends to pick up less interference. If you grab the bundled RF cable in your hand, you'll usually see the onscreen noise drop even more dramatically. At that point, your body is basically canceling out the interfering radio signals. (Or something like that.) But holding the cable in one hand isn't really conducive to playing videogames. Maybe you could have someone else hold the cable for you while you marathon your way to that Laser Blast patch.
What we really need though, is an RF cable that's better shielded. When I test RF systems, I use a broadcast-grade video cable (the purple one in the photos) with excellent shielding. But having leftover broadcast cable sitting around isn't a practical solution for most people ![]() . So I thought I'd look for an off-the-shelf solution.
. So I thought I'd look for an off-the-shelf solution.
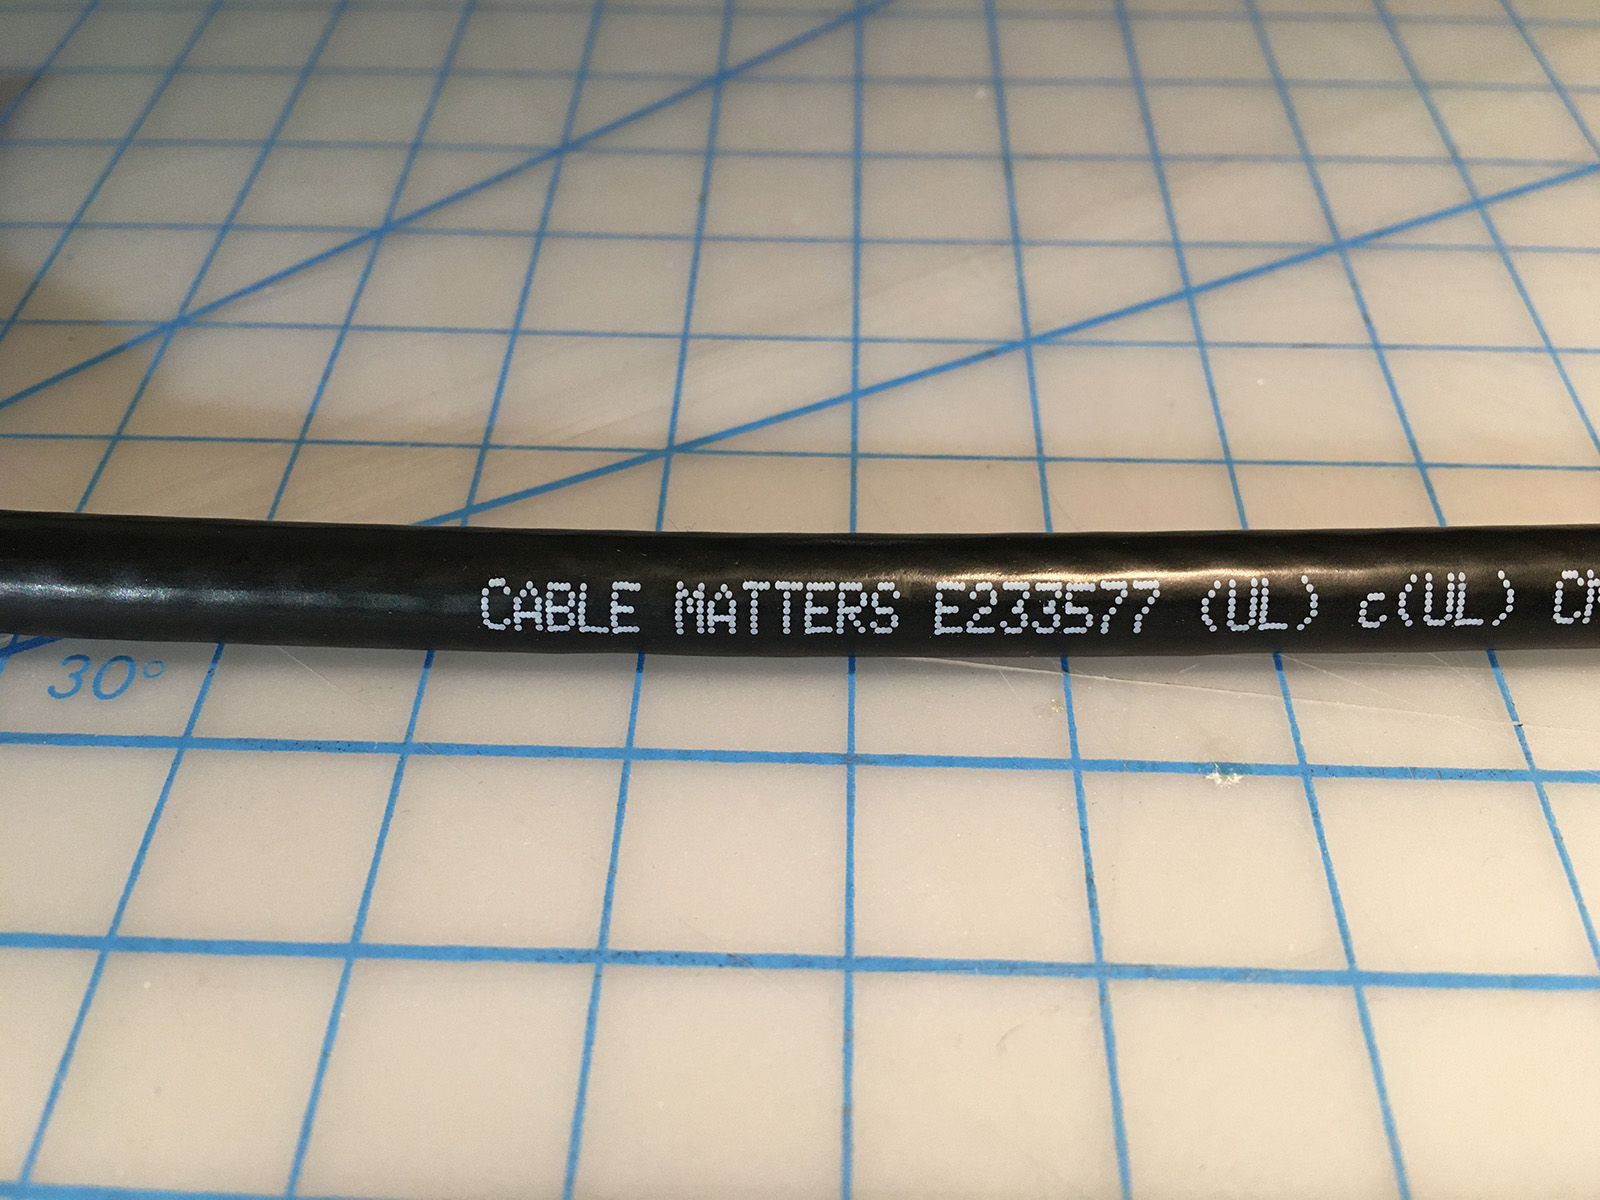
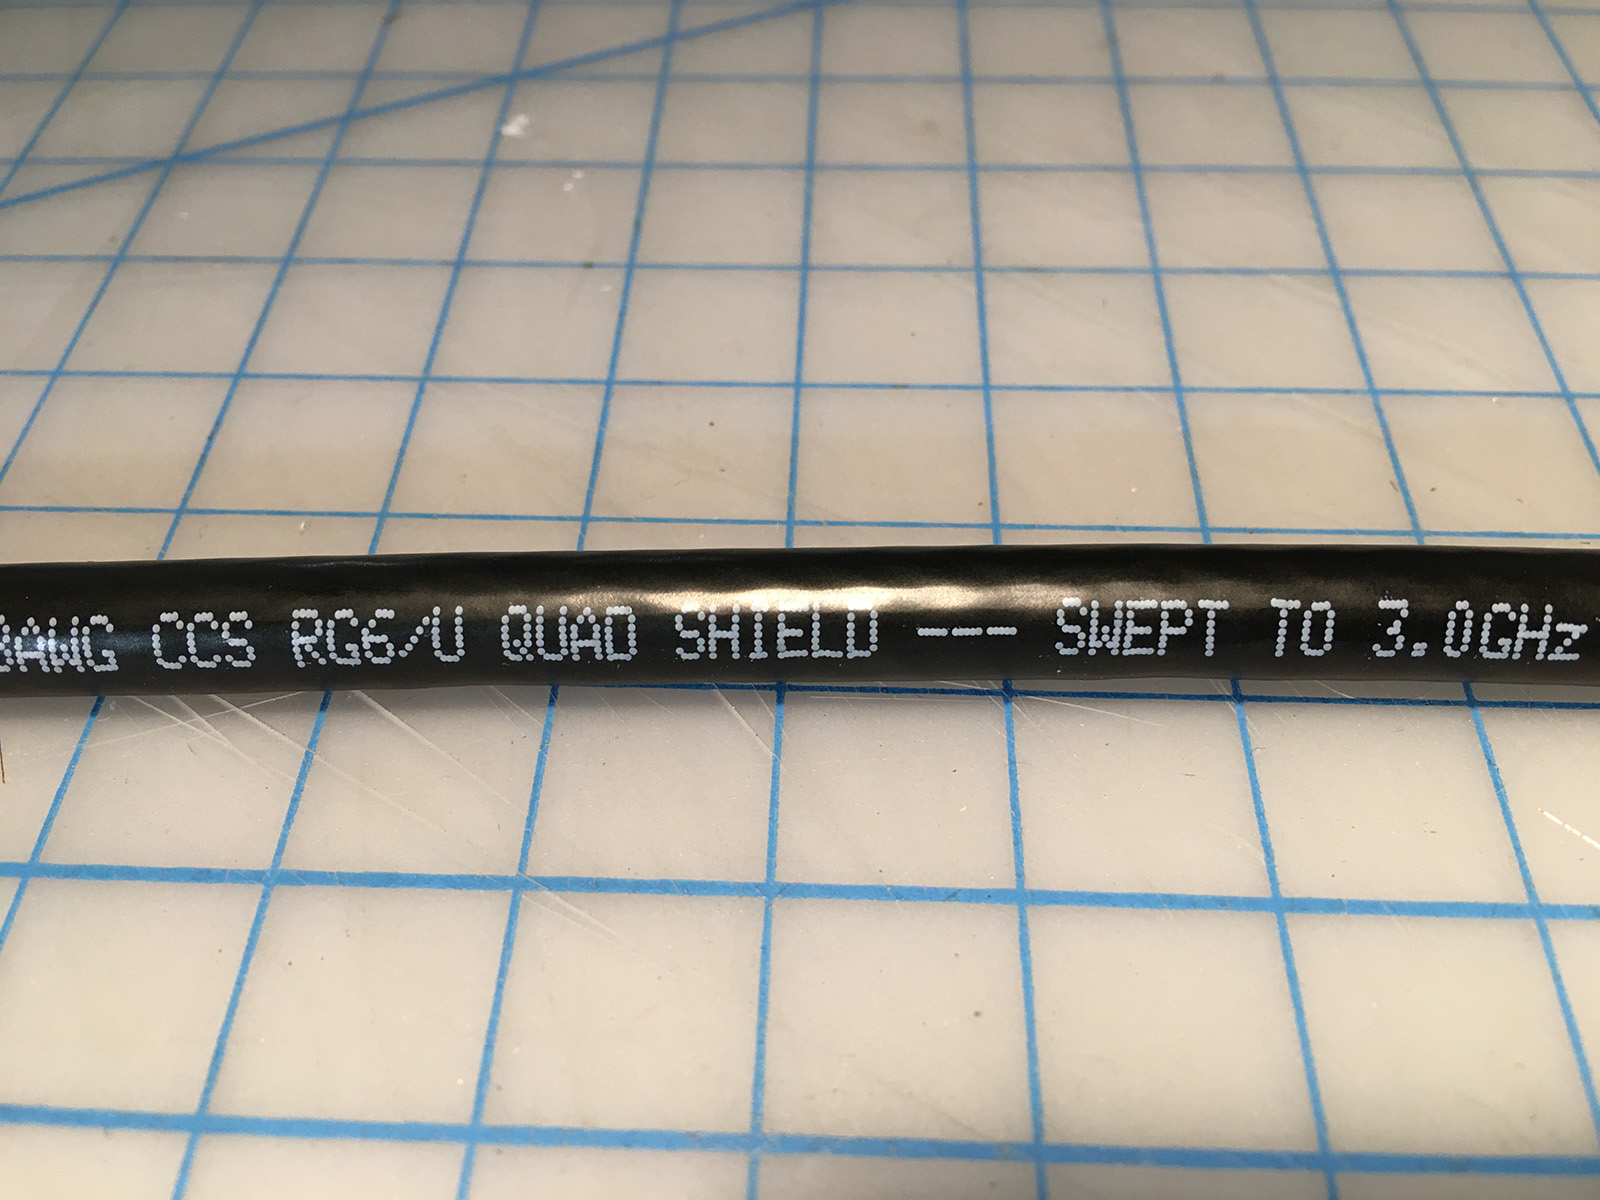
First, I tried out a Cable Matters quad-shielded RF cable (this came in a three-pack, but you can find similar, single cables). This is decent quality but still affordable.
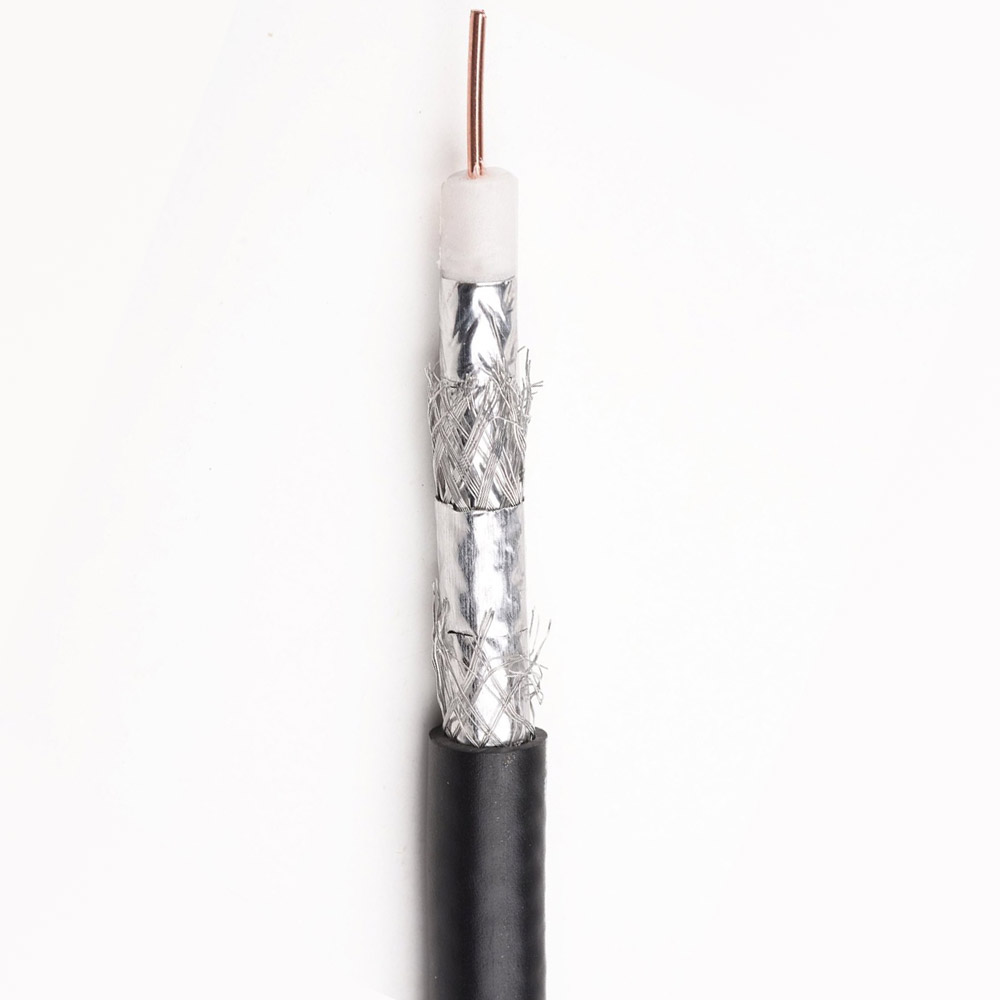
The shielding looks like this:
Now, that looks like a lot of shielding, but look at the braided part. There are gaps in it. There are more gaps than braid.
You can look up the cable specs online, and find out more information about it.
For this cable, it says that it has 95% coverage in total. Two braided shields, plus two foil.
It also says the cable is "swept to 3.0 GHz". So what does that mean? Well, it's a spec that says how high of a signal frequency the cable should be able to carry. The higher the spec, generally the higher quality the cable.
The Atari uses either VHF channel 2 or 3, which at 50-60 MHz is way, way below that. So this should be fine, right?
Let's take a look!
Now, those do look better than the stock RF cable. But let's move the cable back to where we had problems before:
It's still picking up interference. Not as noticeable as before. But as a budget option, this would be fine, and it's definitely going to improve your RF picture.
But we can do better.
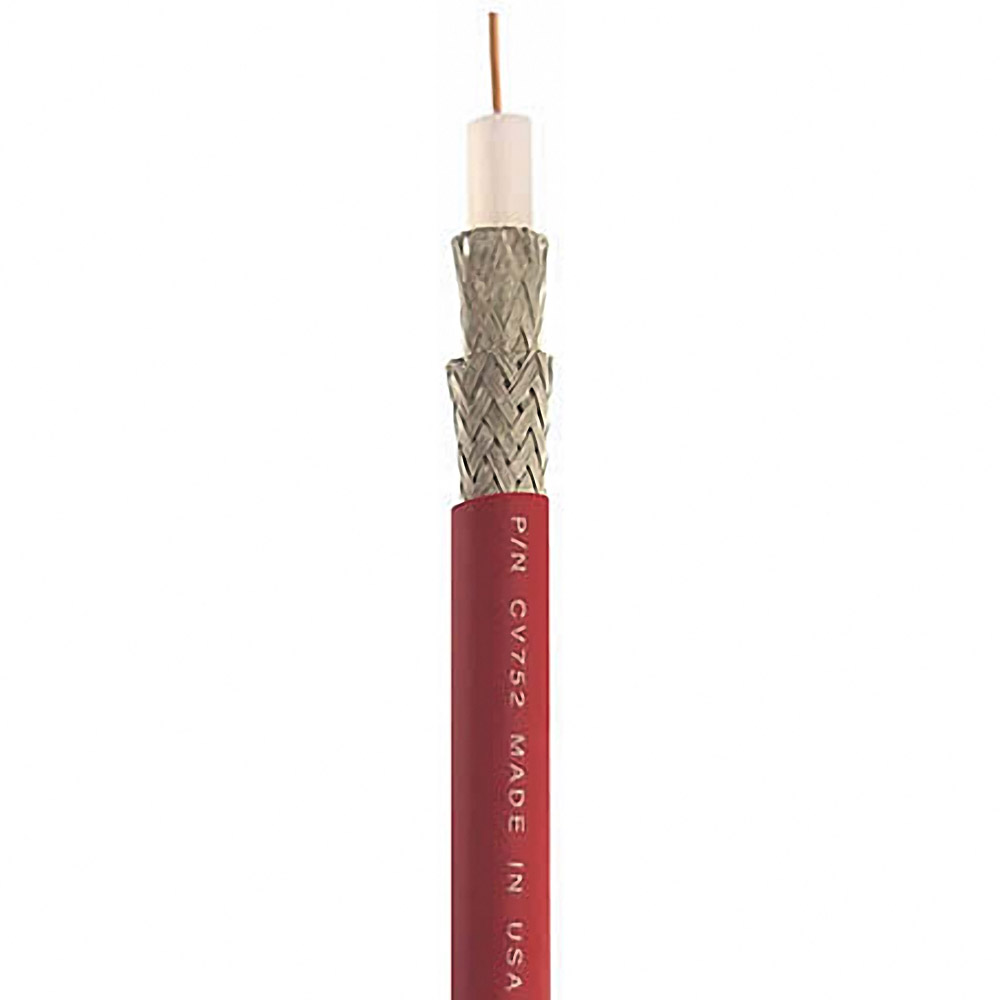
Remember that broadcast-grade cable I used? It's made by Clark Wire and Cable.
Here's the shielding it uses:
This has two layers of braided shielding each rated at 98% coverage.
But again, I only have this because of a few leftover cables from work. To make new ones, you'd have to order the cable by the foot, buy some connectors, and stripping and crimping tools.
Can we get something similar, without having to go to the hassle and expense of making our own cables?
Well, this wouldn't be much of a blog post if we couldn't! (I'm sure not going to make the cables for you.)
Fortunately, you can pay someone else to make them, and order them from Amazon.
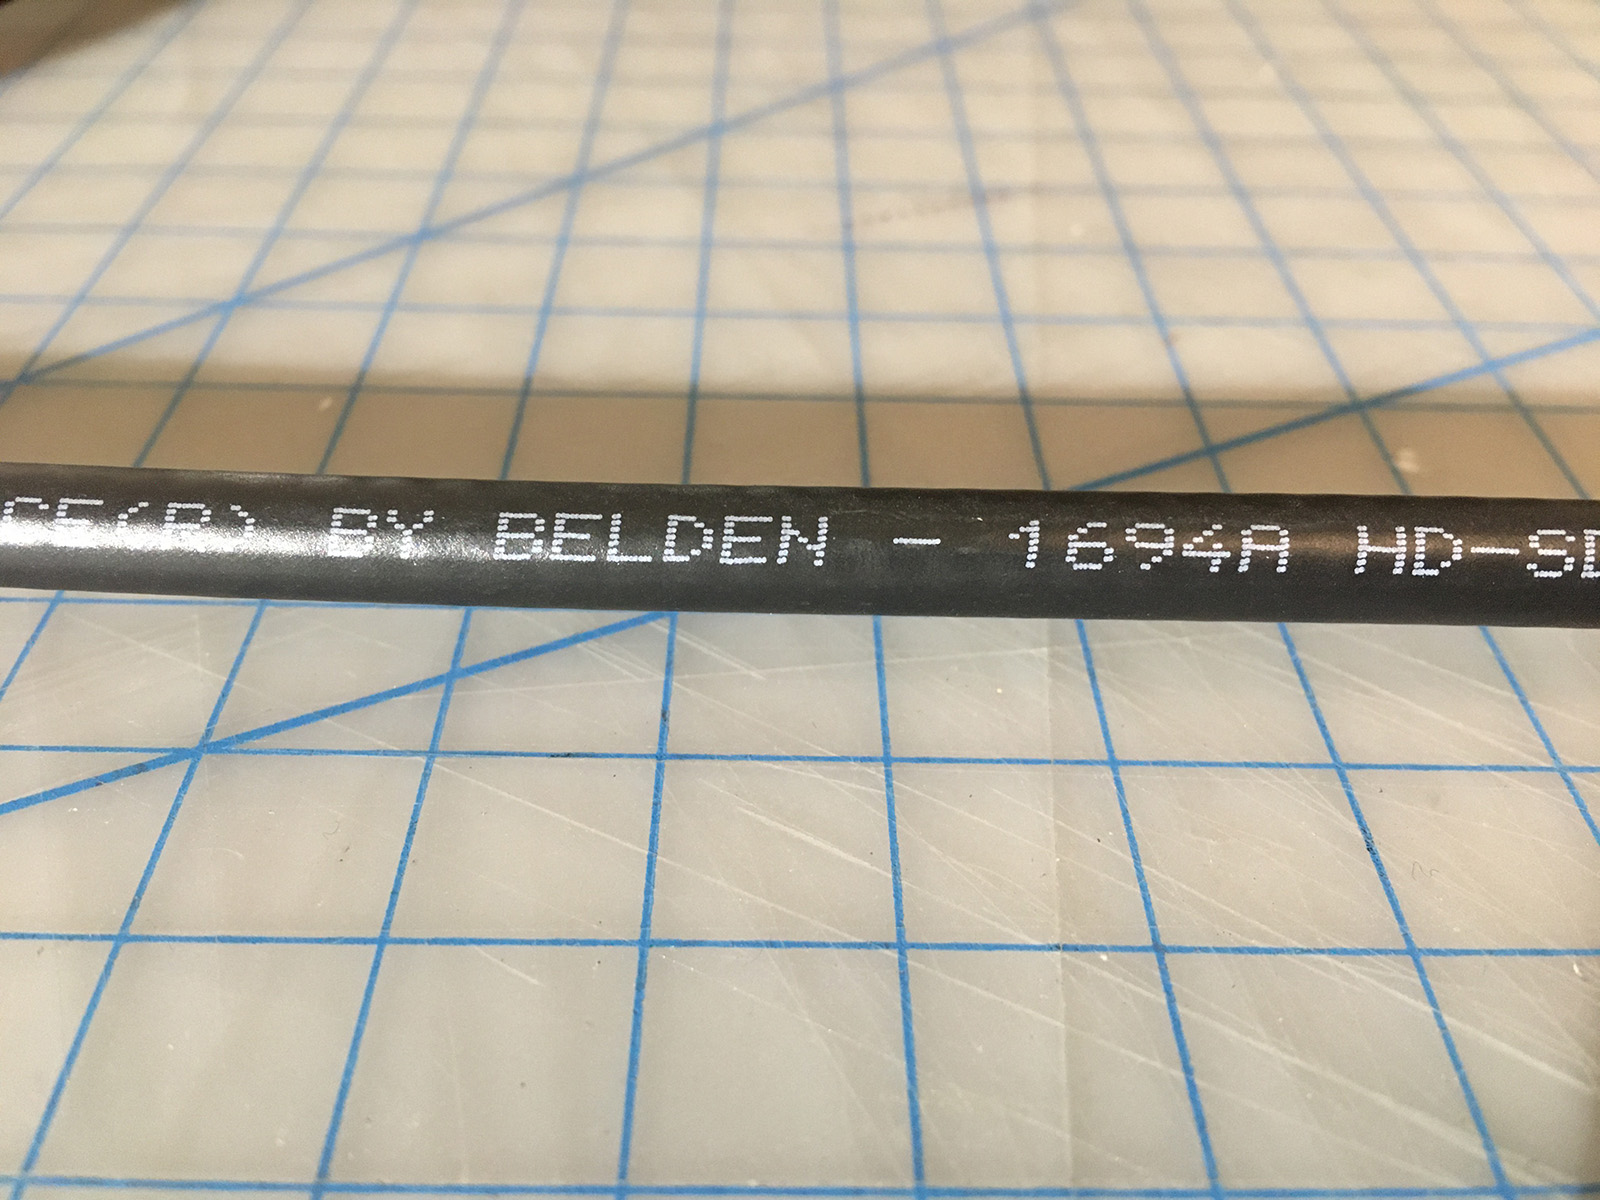
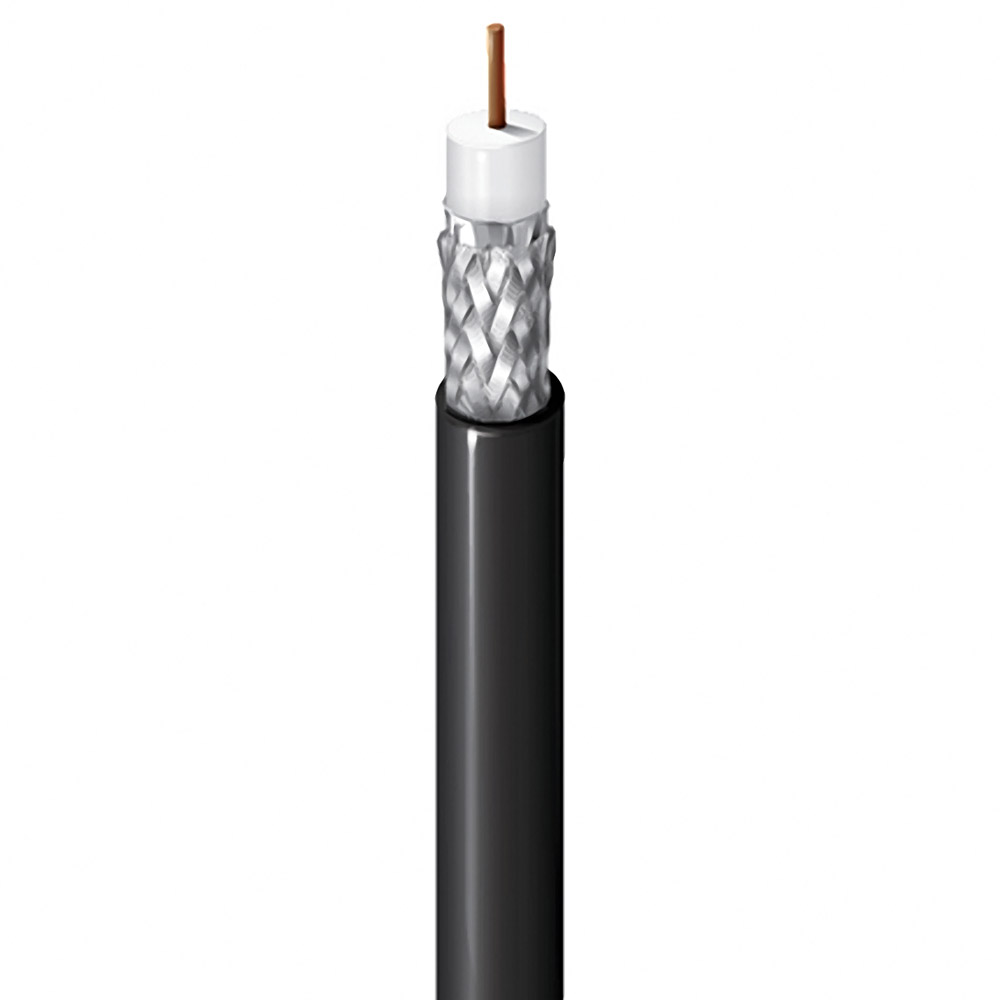
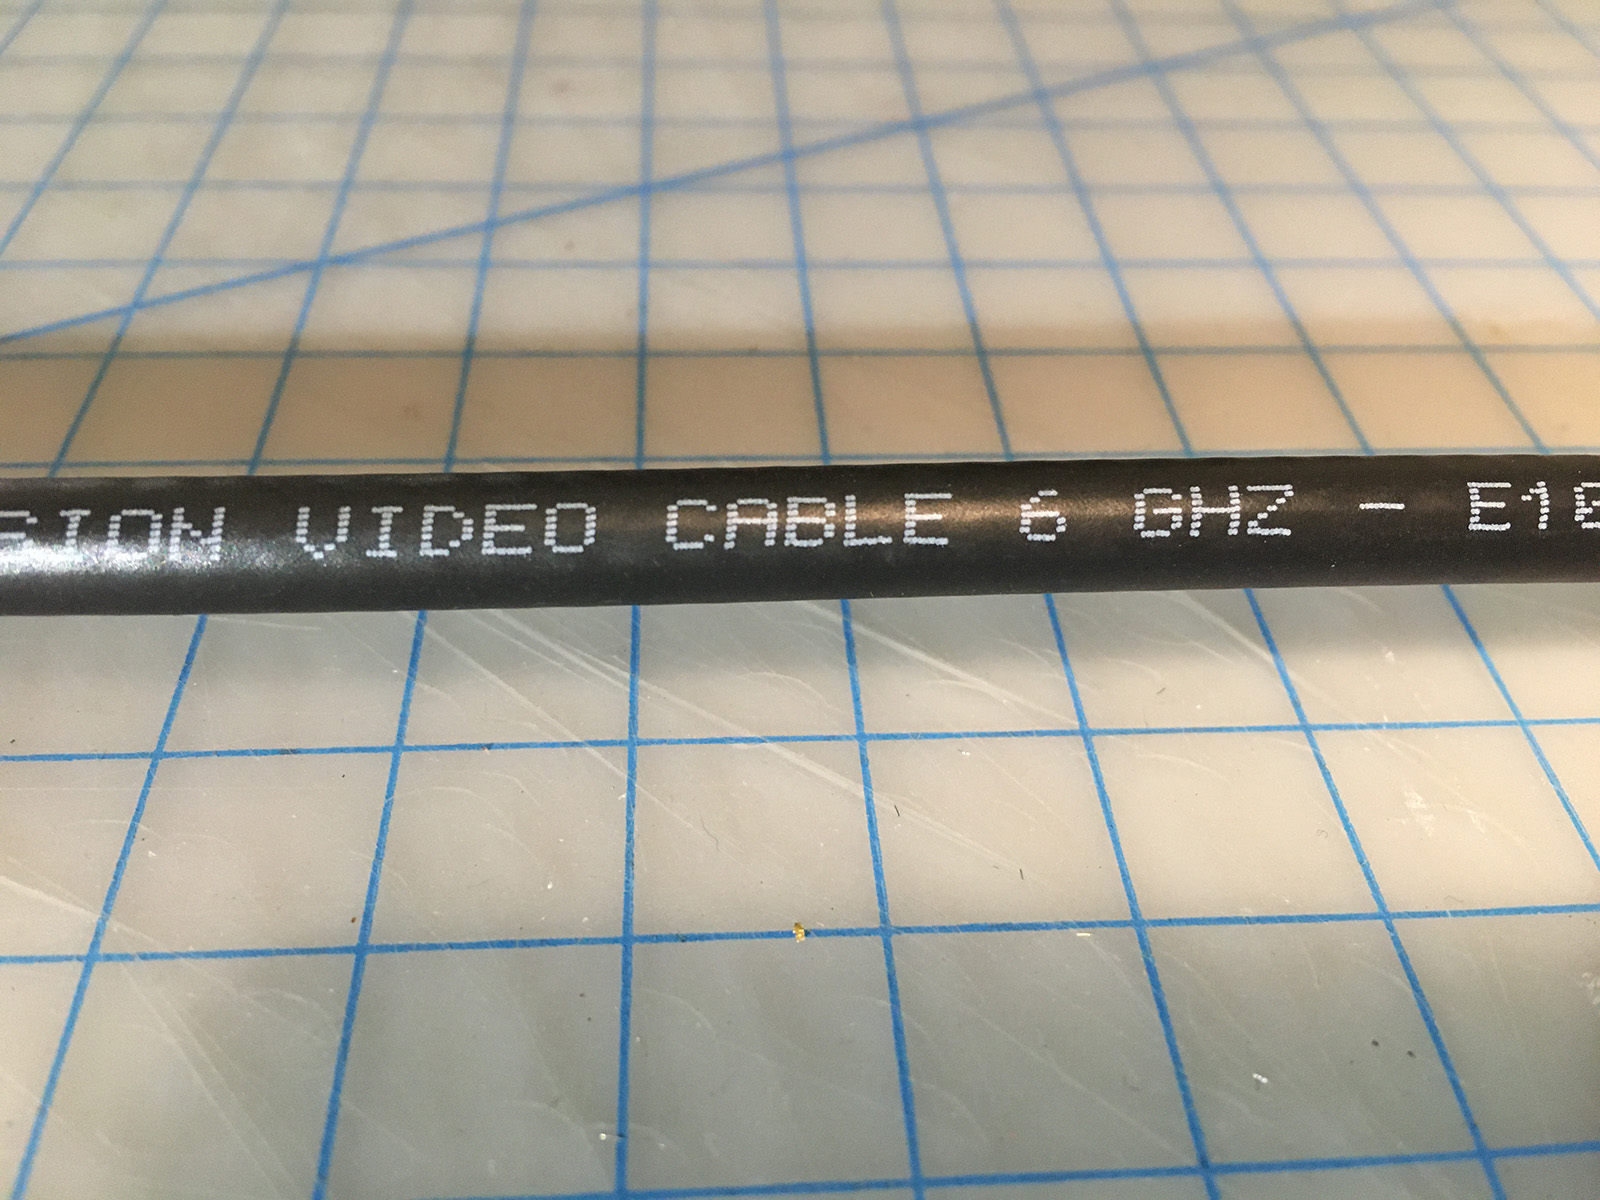
Blue Jeans Cable uses Belden 1694A, with really nice Canare connectors.
The shielding isn't quite as robust as the Clark cable, but it it has a layer of foil shielding and a 95% coverage braided shield. So it's braided shield alone is effectively the same as all of the shielding in the Cable Matters cable.
It's also rated for 6GHz. Effectively, this means the cable should be of higher quality than the Cable Matters one and be able to reject more interference.
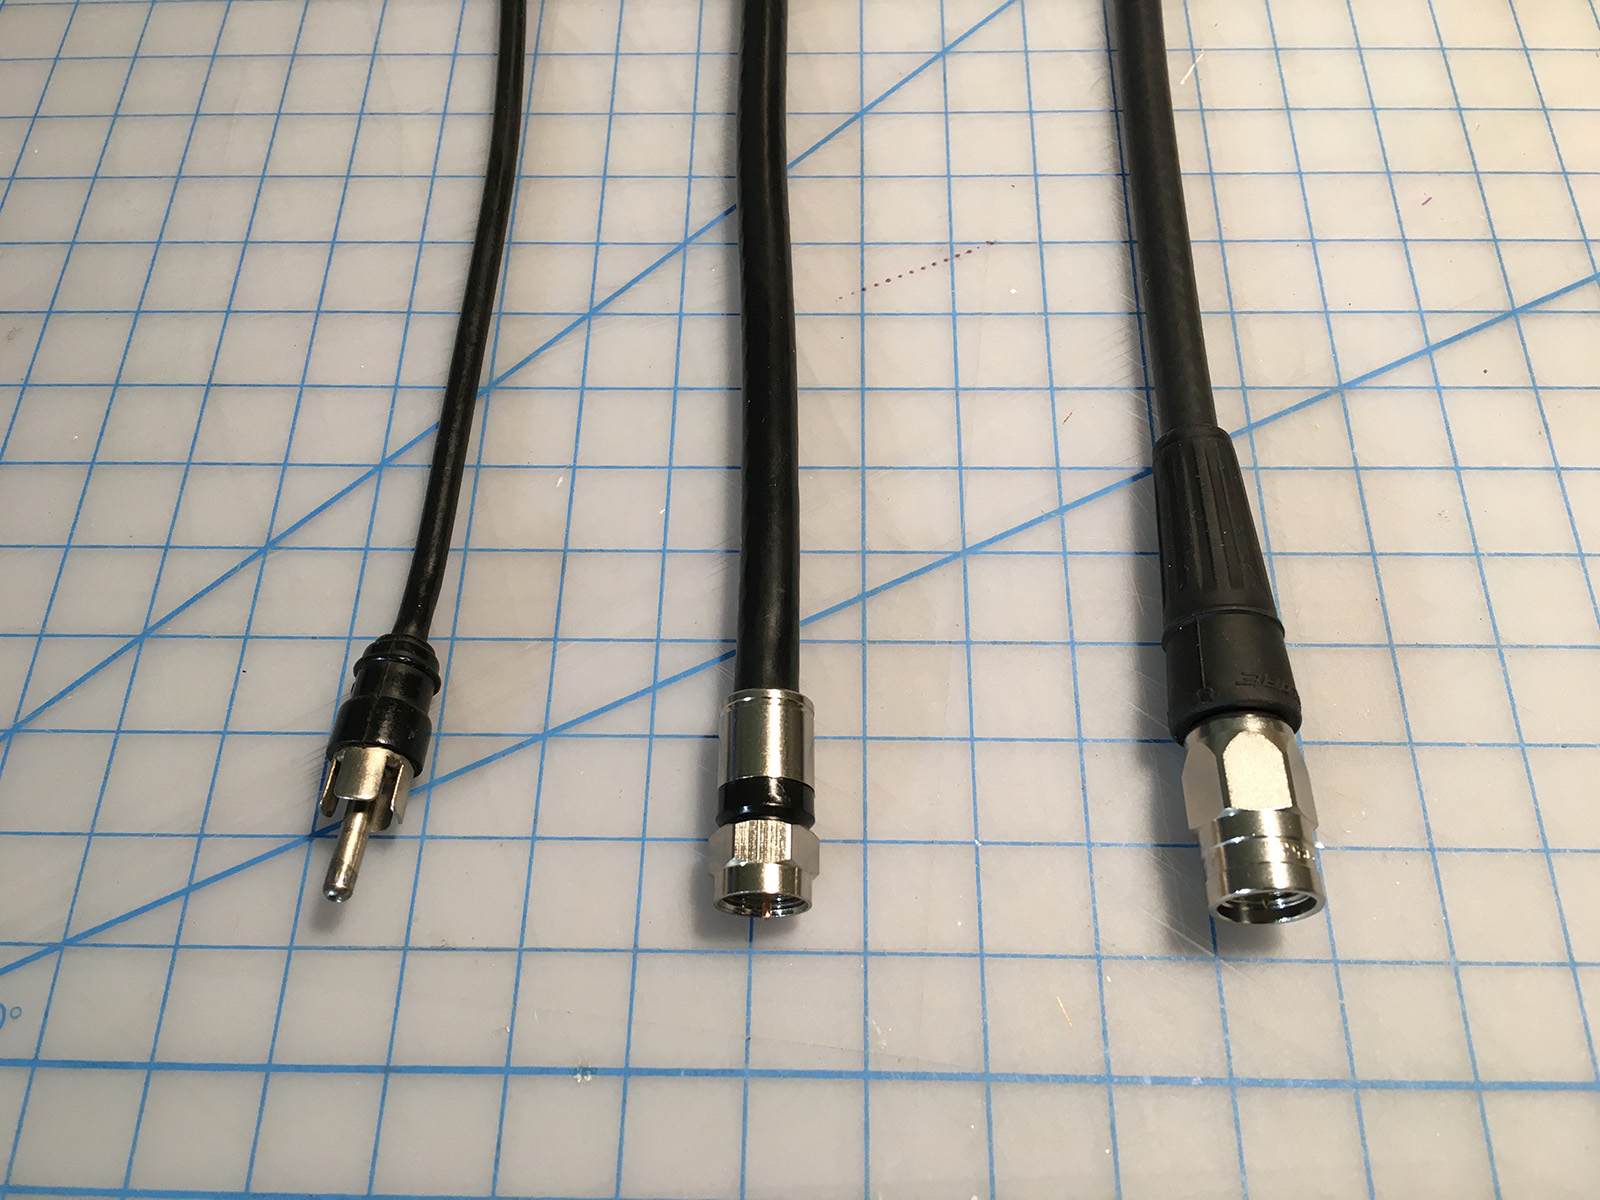
Here are the three cables side-by-side. The original Atari cable on the left, the Cable Matters one in the middle, and the Blue Jeans one (using Belden cable) on the right.
Now, the Blue Jeans cable is expensive. No question about that. But the build quality is exceptional. Even though the cable is about the same diameter as the Cable Matters one, the Belden cable is less stiff (as a point of comparison, the Clark cable I have is so stiff that it's difficult to work with - it's really meant for permanent installations).
The Canare connectors on the Blue Jeans cable are actually a joy to use. Most F-type connectors are a pain to tighten or loosen because the part that turns is usually too small to grip comfortably. But the Canare is easy to grip and turns as smooth as butter.
So, it's a nice cable that doesn't skin my knuckles when I install it. But what does it look like?
Very clean! Every bit as good as the Clark cable.
But how does it do at rejecting interference?
Well, it's still there. If you have bad RF interference, it's going to show up on your screen regardless of the cable. The goal here is to minimize the noise, and maximize the signal quality. A better cable does equal a better picture. There's less signal loss, and more shielding against interference. But there's always going to be an environmental component. Some of it you can control. Some of it you may not be able to. But you have to at least start with a good cable.
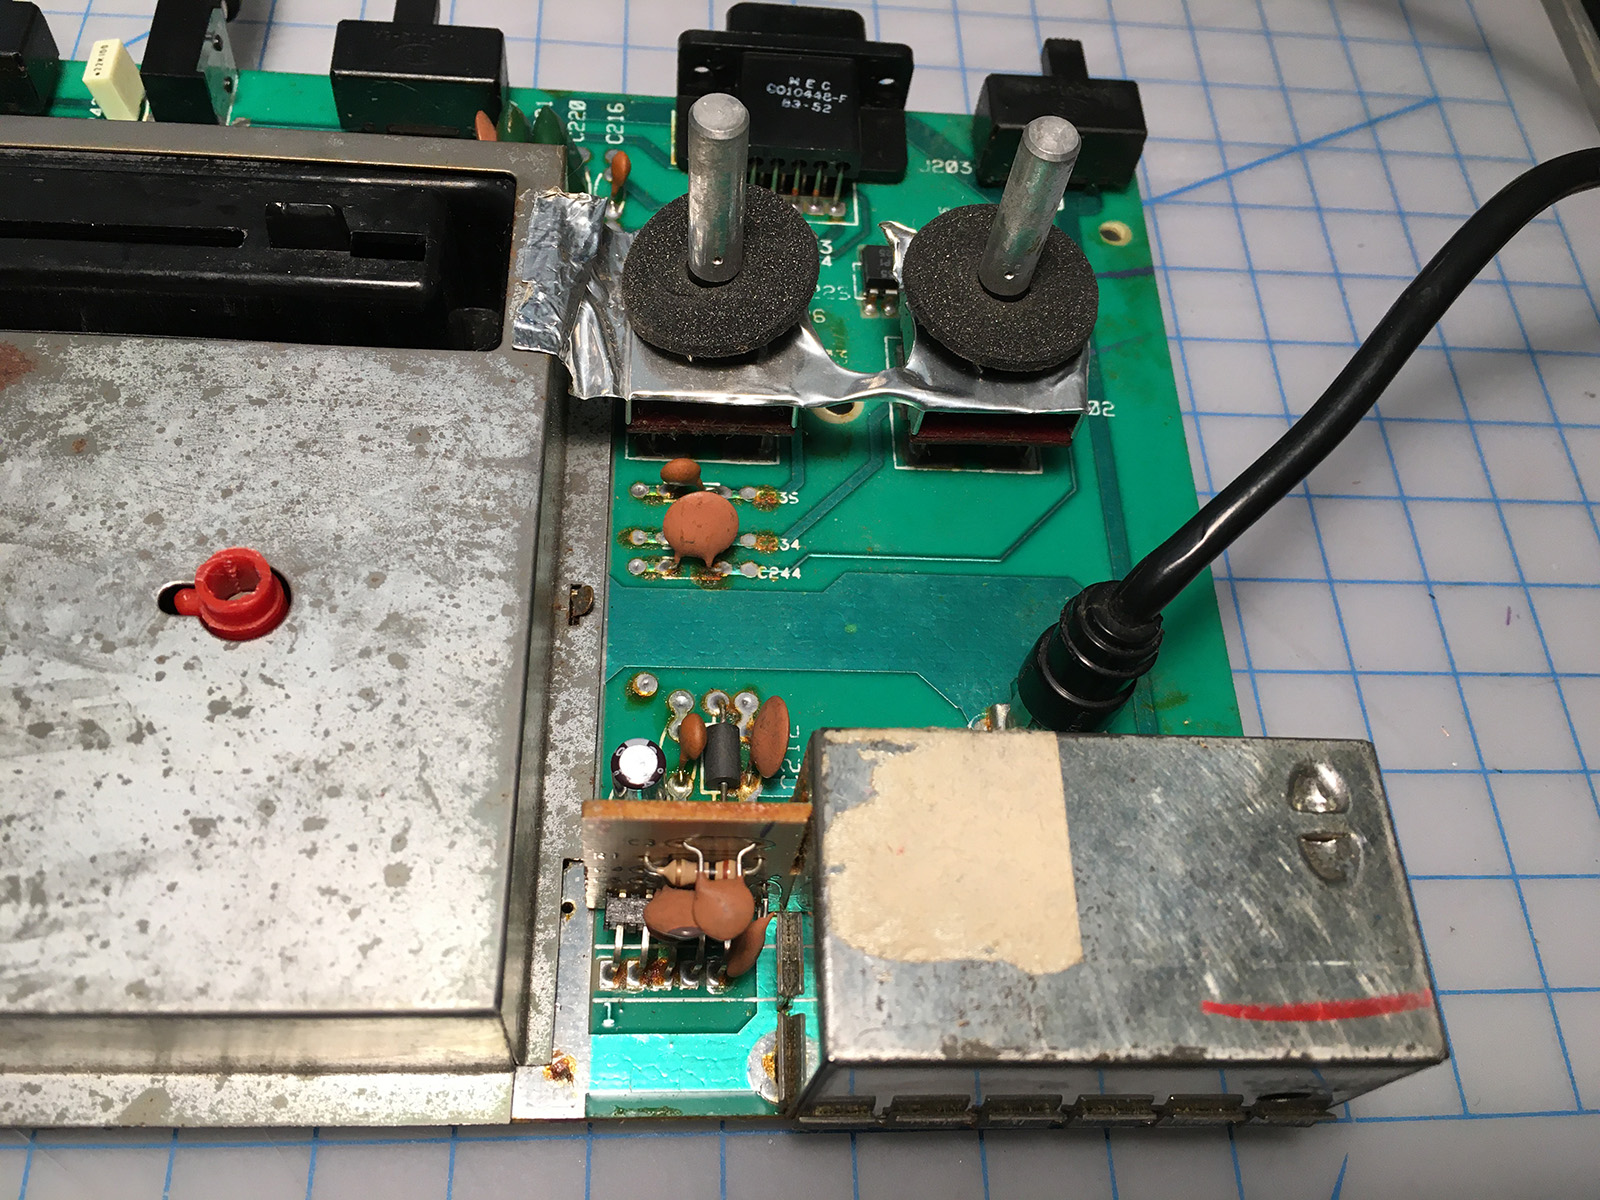
Now, replacing a stock RF cable in a 2600 requires opening it up. Fortunately, it's just a few screws to remove, and the RF cable is simply plugged in, either near or directly into a small metal box (the RF modulator).
To install the new cable requires an adapter. A new RF cable will have an F-type screw-on connector. The Atari cable used an RCA plug.
The problem is, depending on the model, the space inside the 2600 can be very limited.
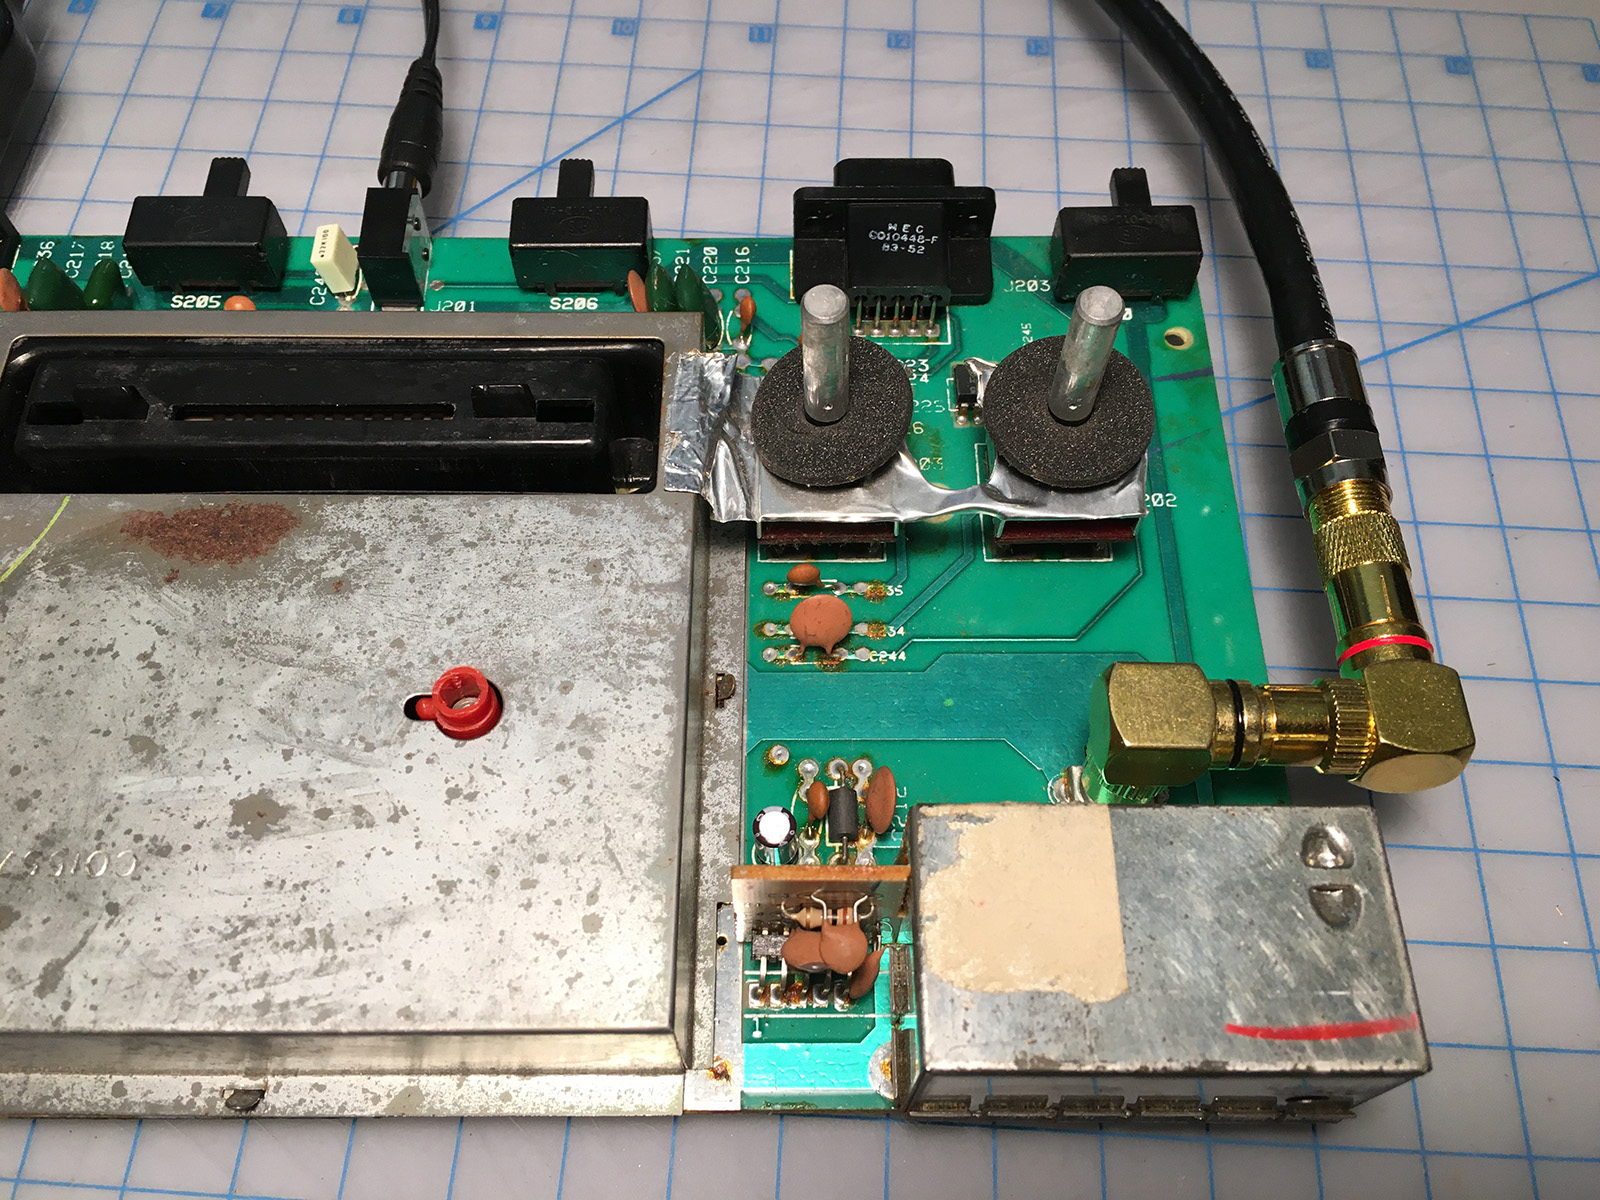
In this four-switch, the cable has to bend at a 90° just above where it plugs in, and then exit out the back of the console. There's no way that the new RF cable will fit there, especially with an adapter on it. It's too tall.
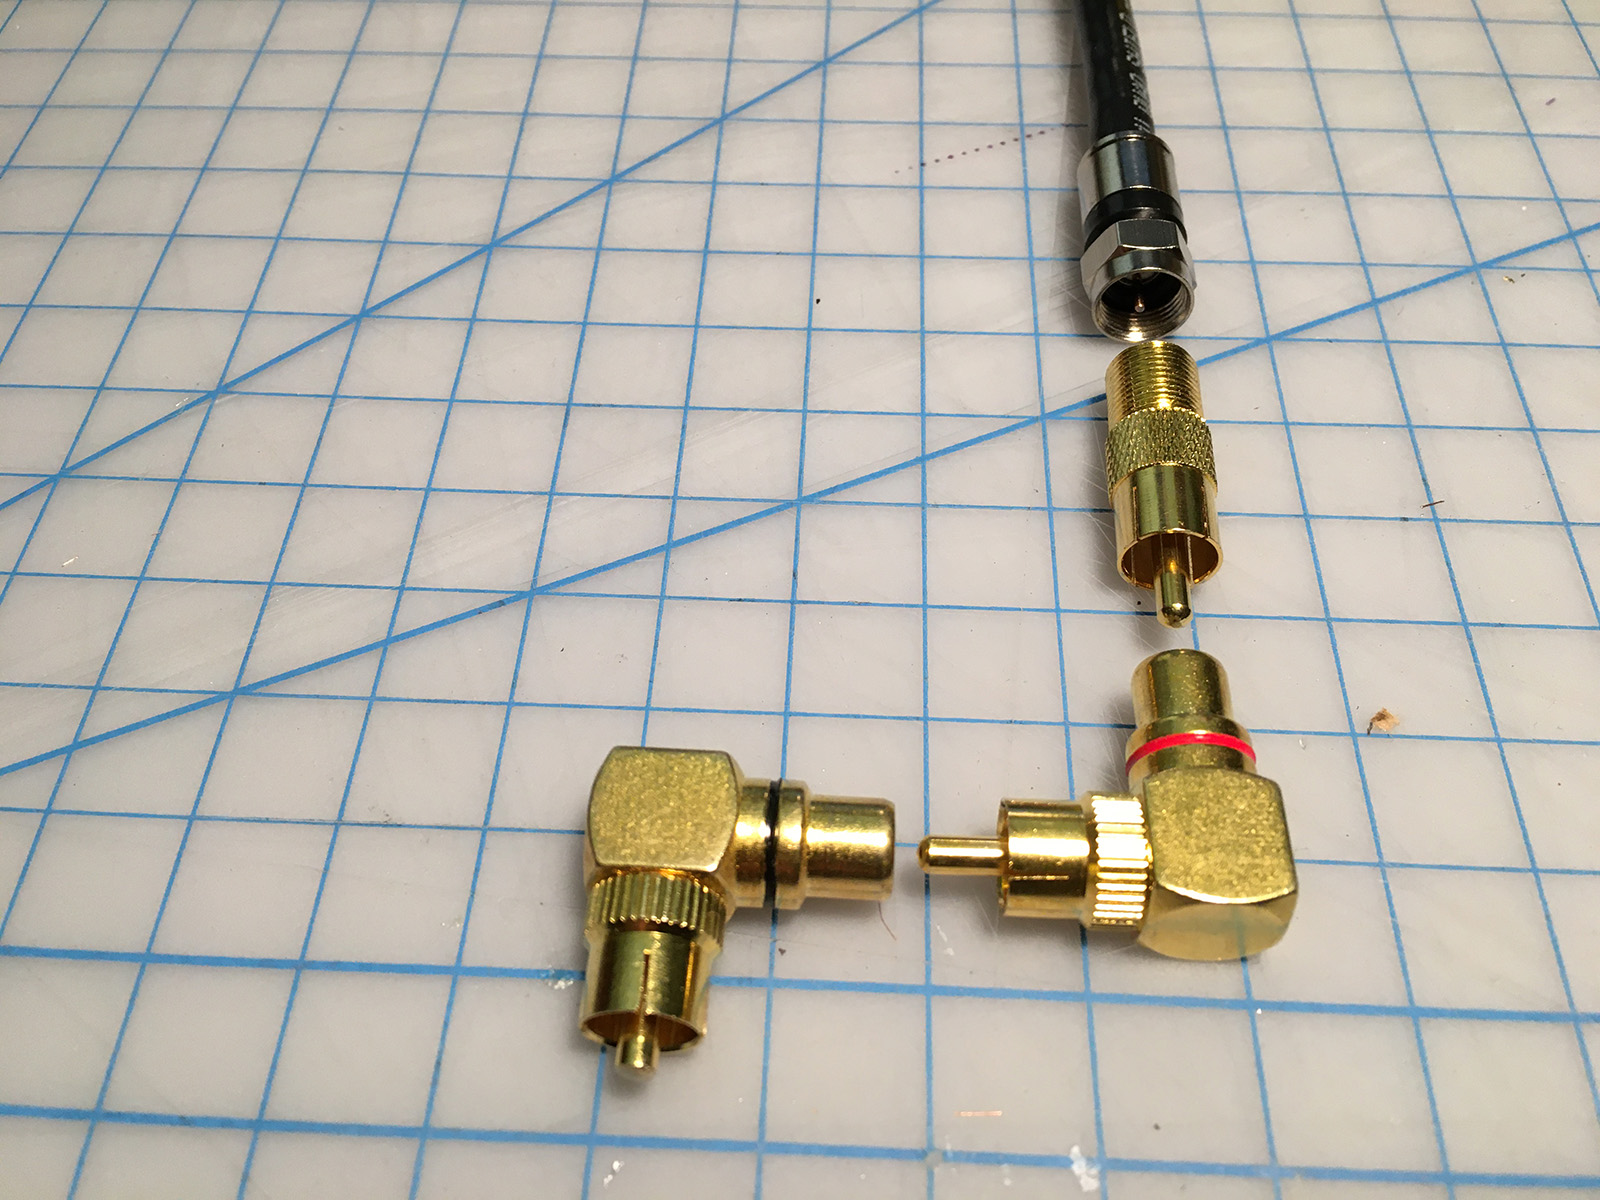
But as they say, two wrongs don't make a right, but three lefts do. Or something. So I came up with this:
Two right-angle RCA adapters, and an F-type to RCA adapter. This setup adapts the F-type connector to RCA, and then routes it where it needs to go.
Before reassembling the 2600, I'll use electrical tape to wrap all of the connectors together.
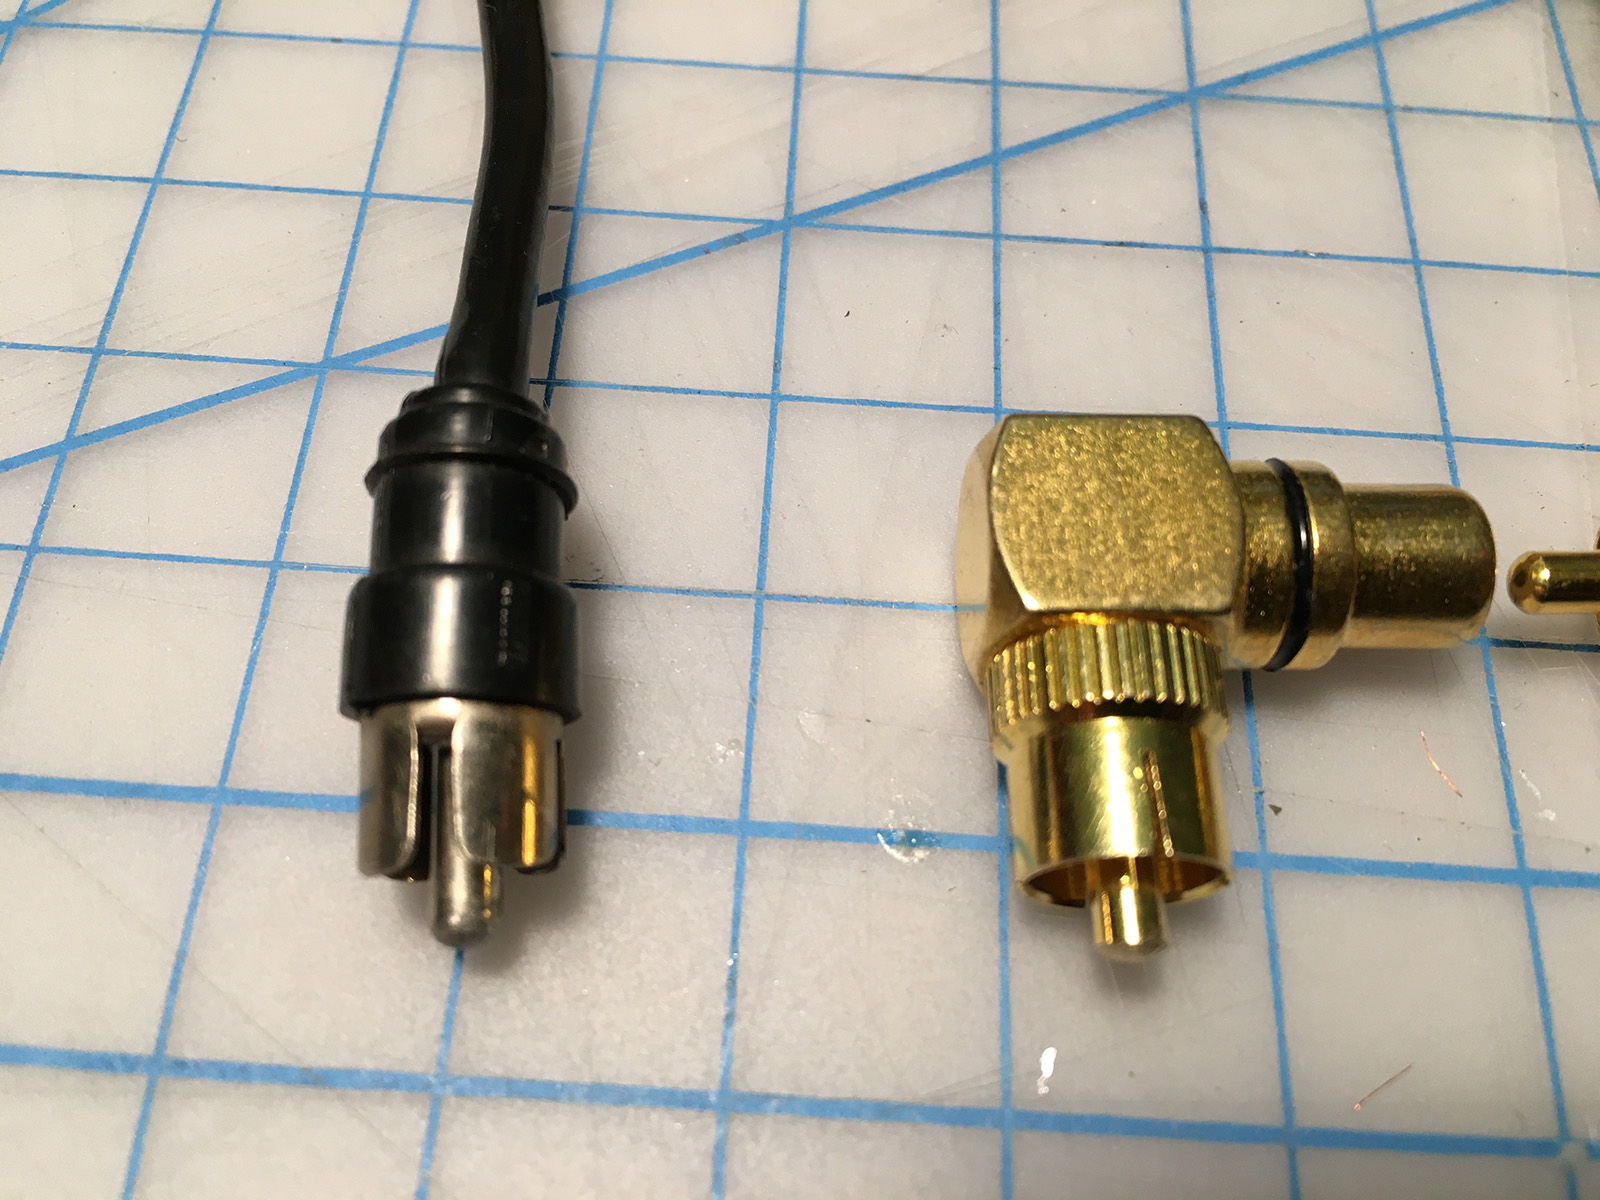
The final RCA adapter that plugs into the 2600 has to have its center post filed down (at right), or it bottoms out before fully making contact. Note the pin on the Atari connector to the left.
To see if I can simplify this setup, I've ordered a right angle F-type to RCA adapter. But it hasn't gotten here yet. I'll post an update in the comments if it works.
Now, even with a really good cable, RF isn't going to be 100% noise-free. This is still RF and still susceptible to interference. But a high quality cable can make the picture more stable and much cleaner. This is the best RF can probably look on a 2600. It's certainly a lot better than the stock Atari RF cable.
And this will work on an Atari 7800, too. Or any console that used a weedy little RF cable to connect to a TV.
If you want a truly noiseless picture on your 2600, then you'll need to install a video mod (in this case, a CyberTech S-Video mod, in a four-switch 2600):
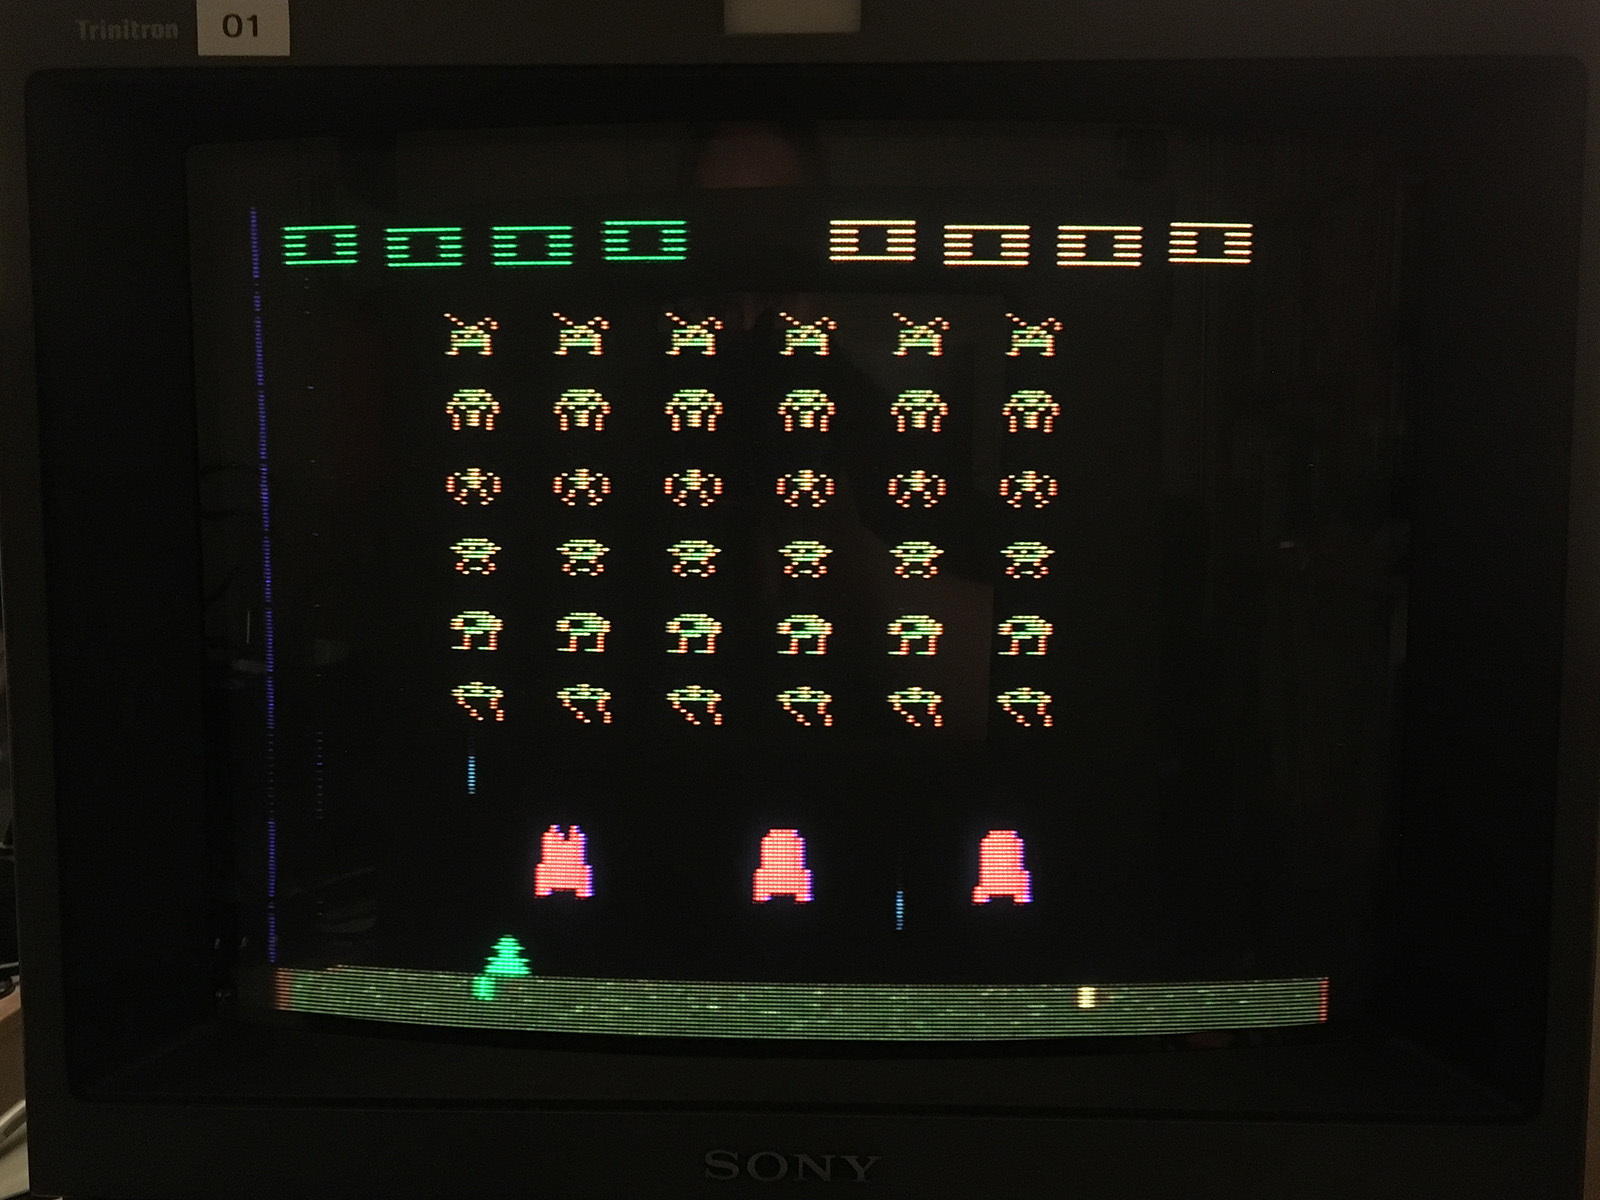
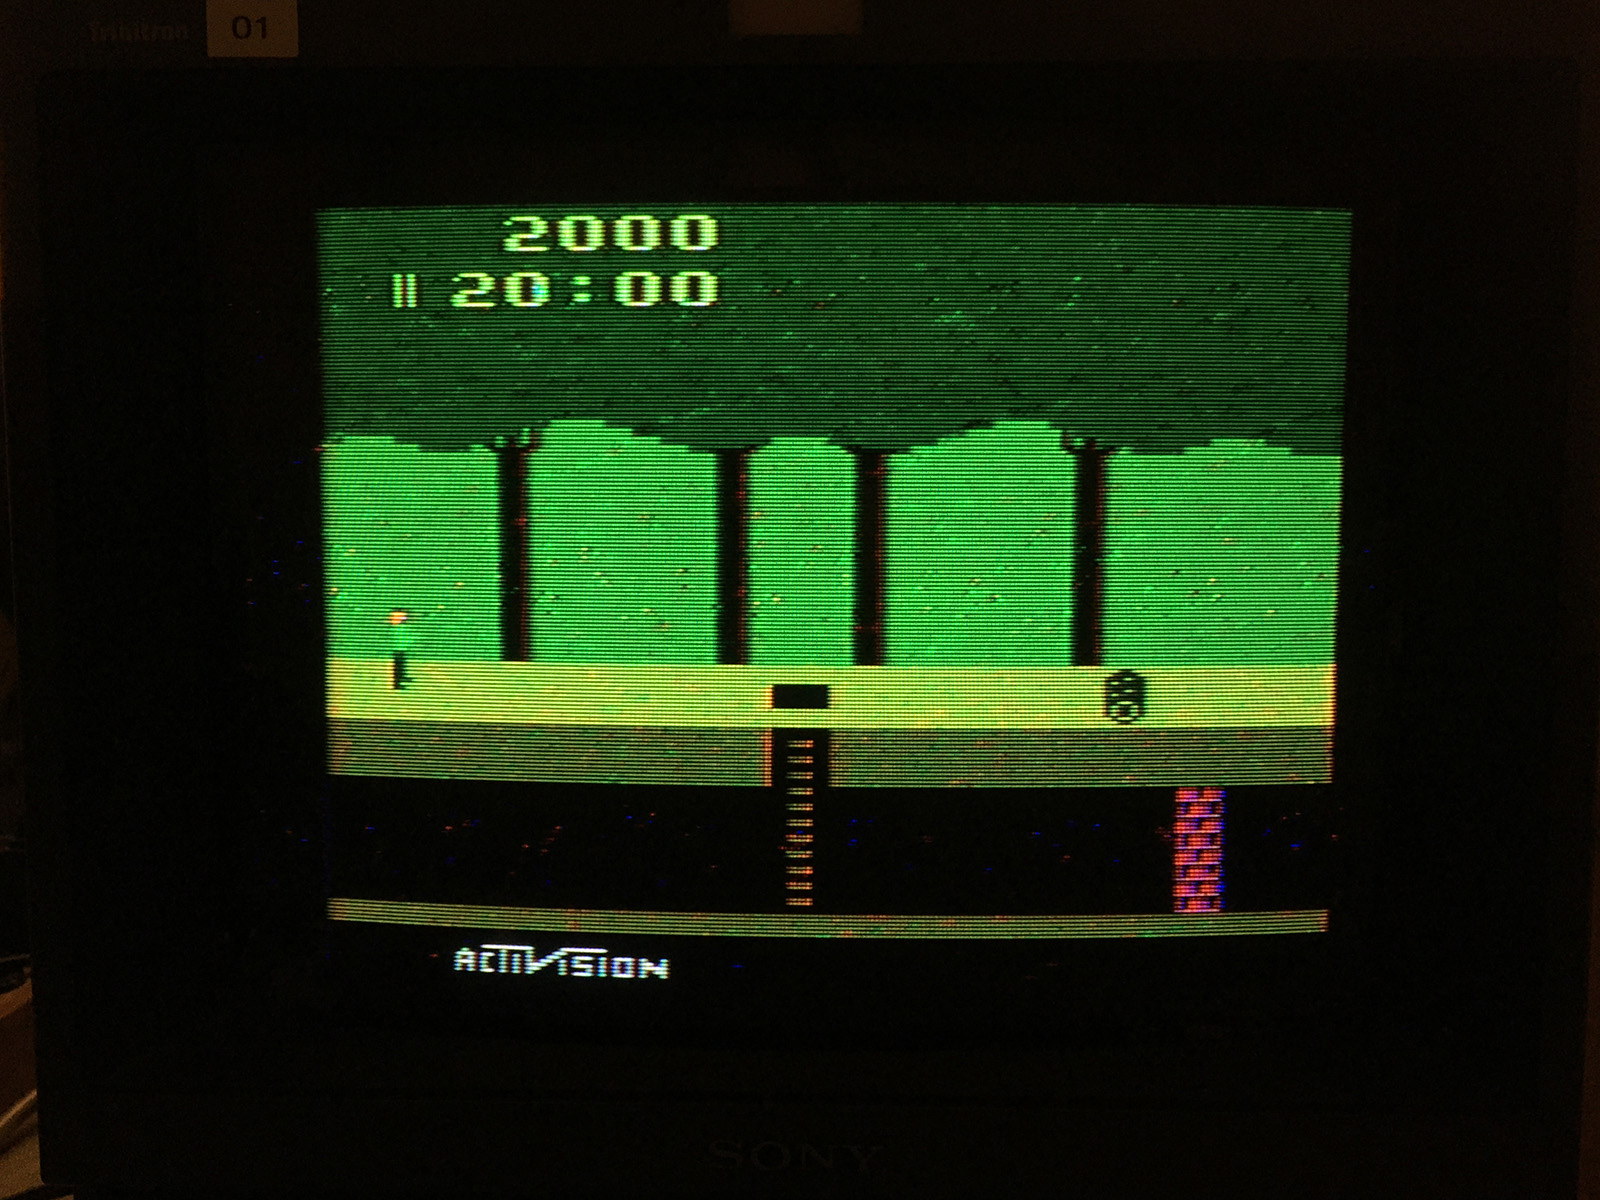
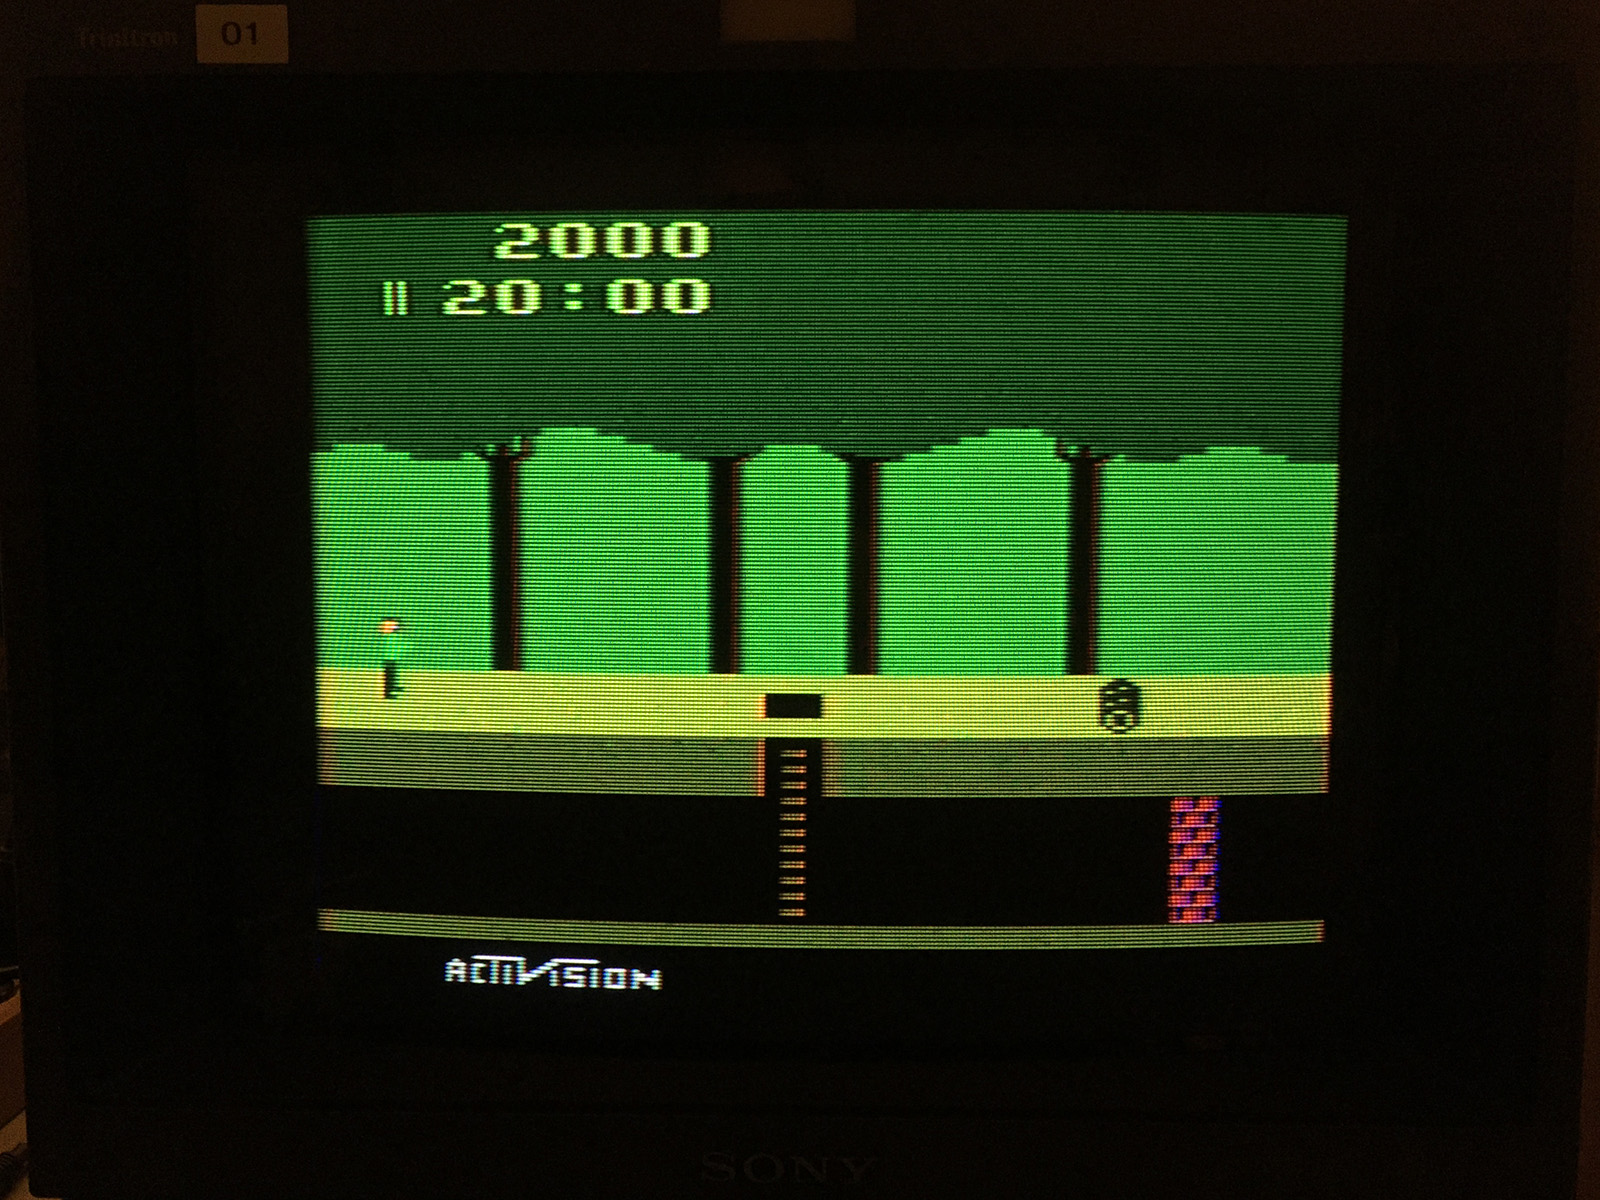
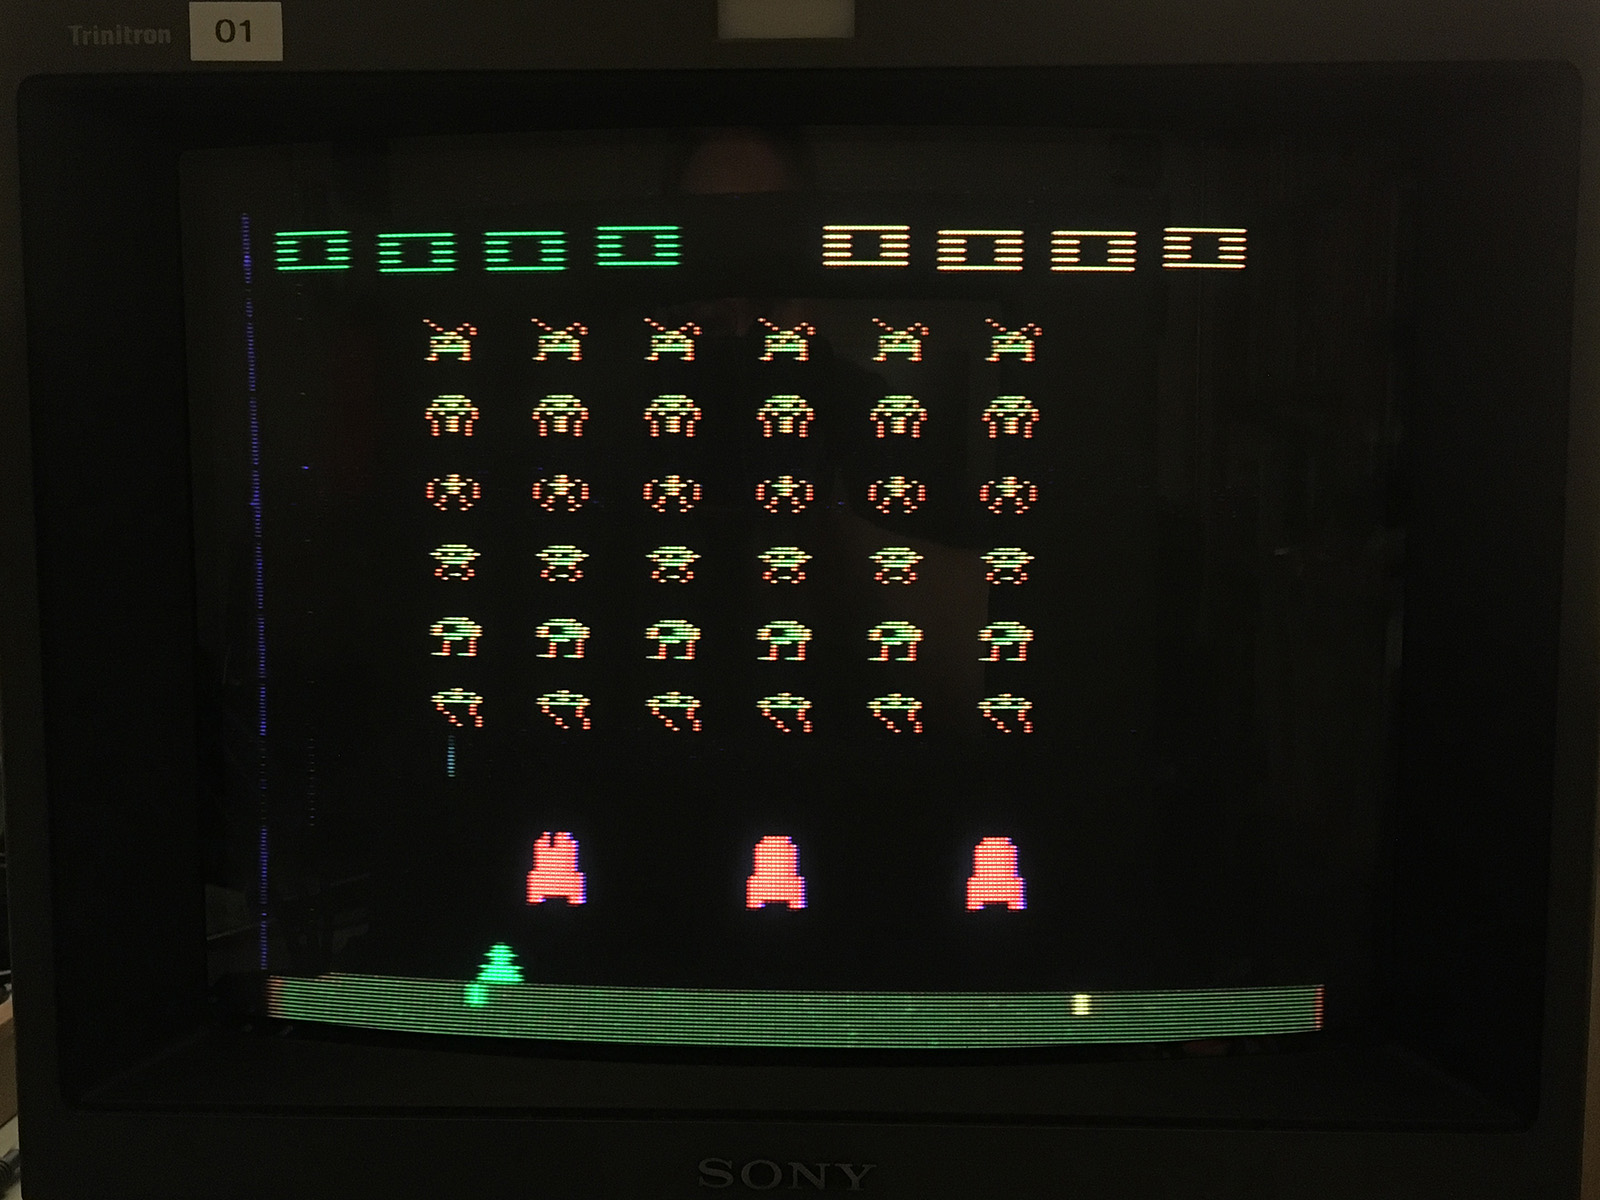
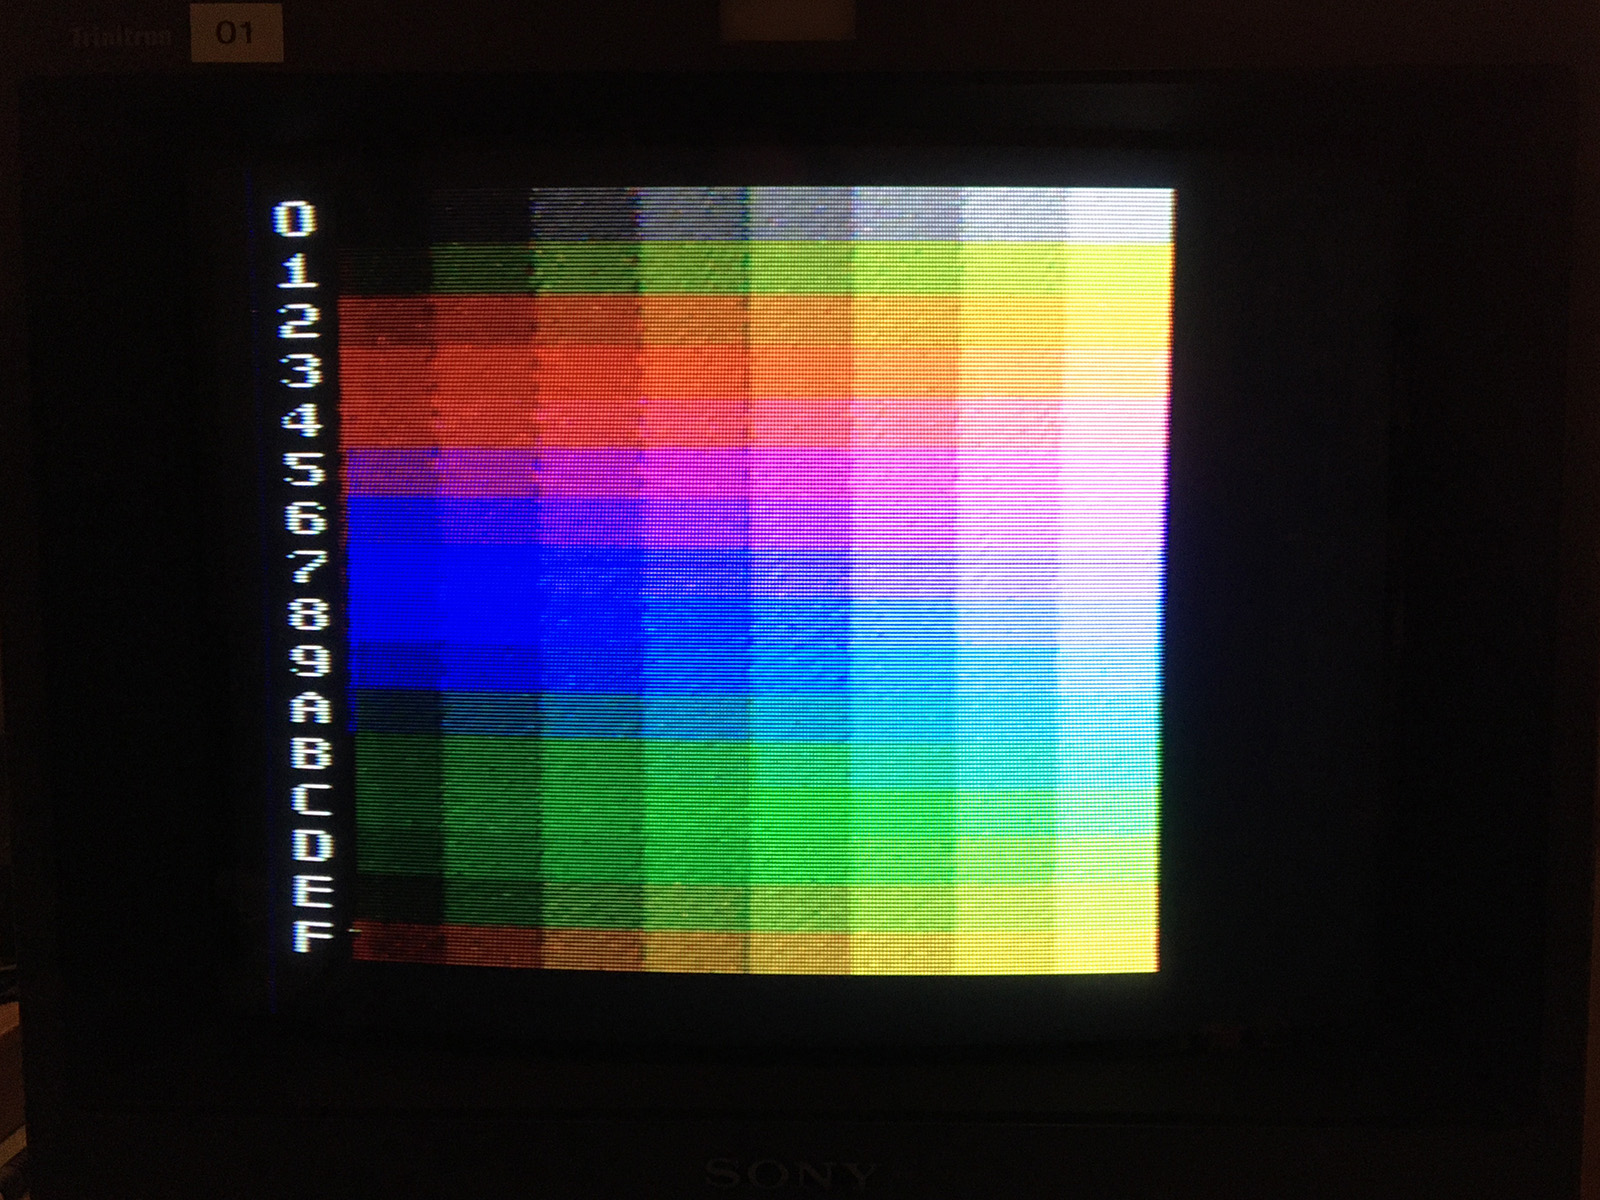
As a direct point of comparison, here's a color test binary using the Belden/Blue Jeans RF cable:
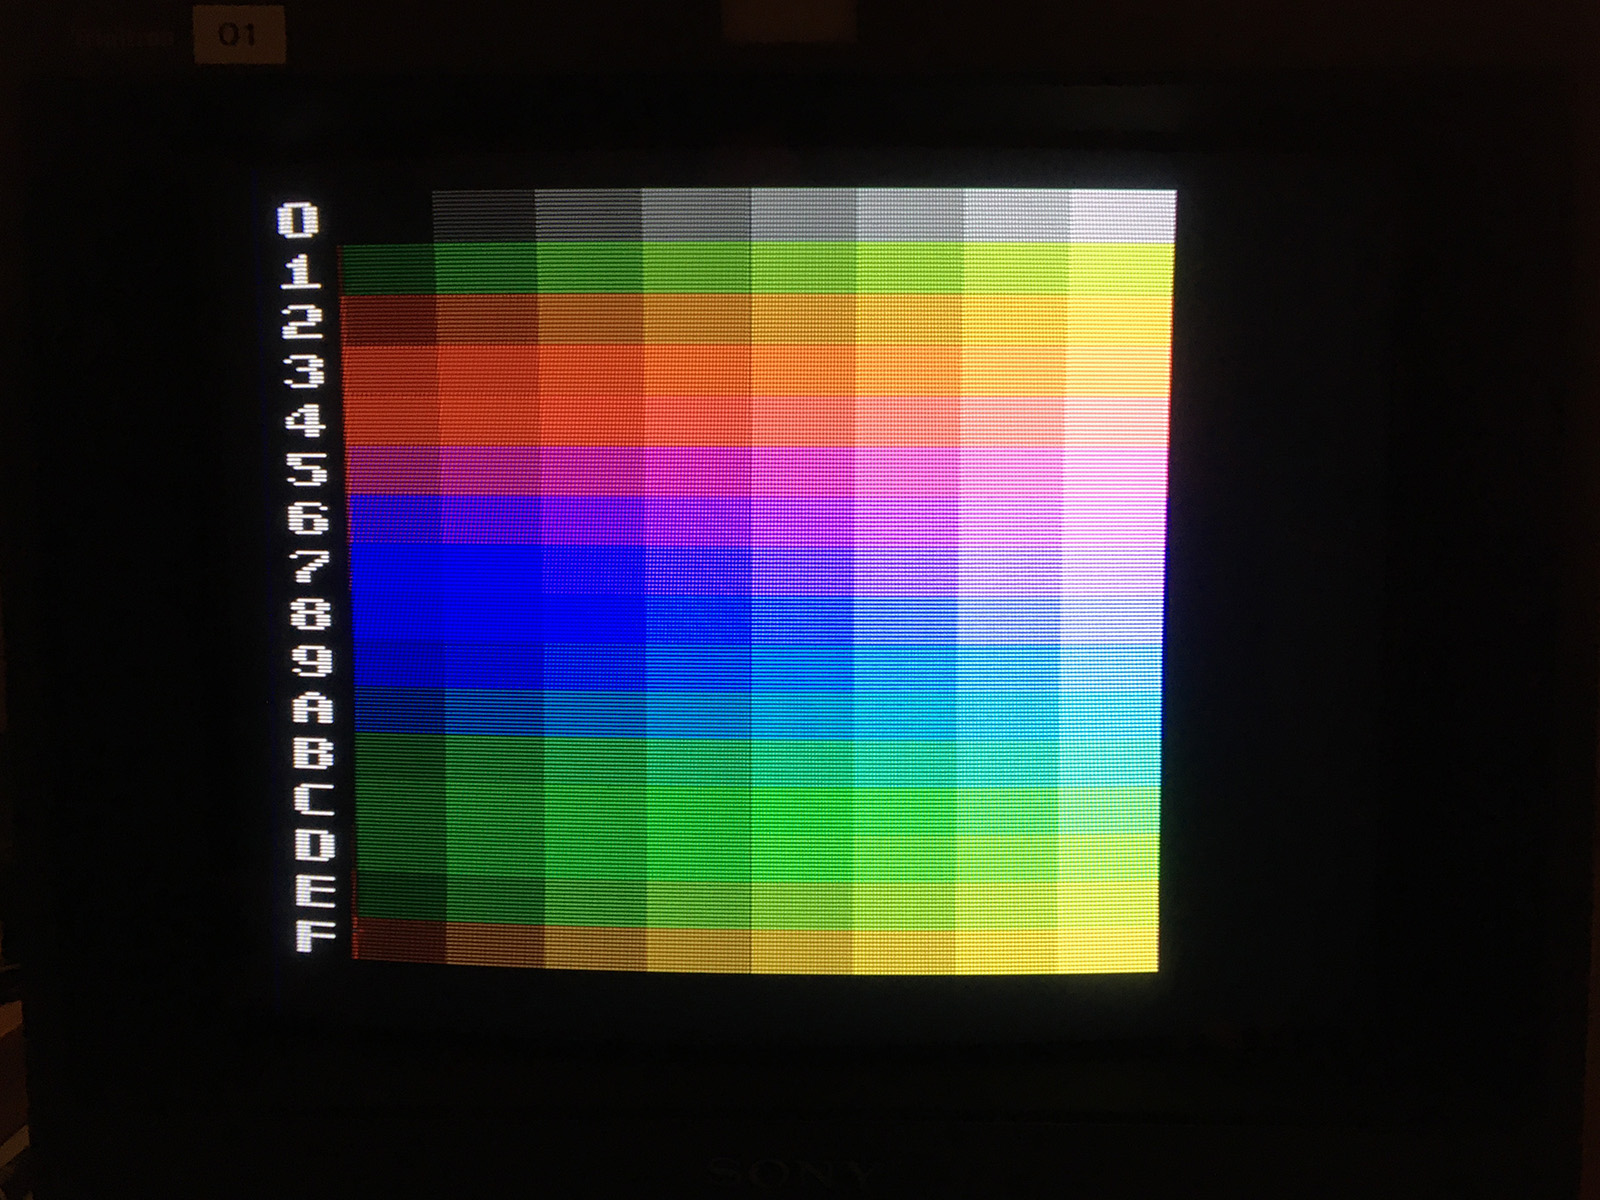
And the same, using S-Video:
If you can get RF working without noise though, you won't really mind not having S-Video. As long as you don't think about it too much. ![]()
Unfortunately, the CyberTech mod is no longer available. But at some point, I'll be installing an Ultimate Atari Video mod, and we'll see how that compares.
Update: I added an addendum in this blog entry showing a lighter, more flexible Blue Jeans cable and a simpler RF adapter setup.
And in case you're wondering - all of these photos were from John's two consoles, which are now fixed. ![]() But that's a blog entry for another time.
But that's a blog entry for another time.
-
 15
15



27 Comments
Recommended Comments