Jump to content
  • entries
    945
  • comments
    4,956
  • views
    1,221,281

The 7800 Mod Mess Mixup Fixup - pt. 7


Nathan Strum

600 views

A friend and I decided to check out a place the other night that reportedly had classic arcade games: Let's Play Cafe in Monroe, WA. Admission was $20 and everything was set to free-play. I was pleasantly surprised by the number of actual classic arcade games they had there - most of which actually worked!


I played: Joust, Defender, Robotron: 2084 (all three part of a Williams multi-game cabinet), Qix (which had a slightly wonky joystick), Gorf (very reassuring to see that we nailed the blue-background in Astro Battles for the Champ Games version), Scramble (which had a very unresponsive joystick - it felt like there was a super-stiff spring preventing it from moving), Centipede, Asteroids (there's nothing like playing on a real vector monitor!), Popeye (I don't recall this having a strict four-way joystick, but it made playing it really difficult), Roadblasters (which crashed with a "Bankswitch error" not far into the game), Pac-Man, Hydro Thunder, and possibly a few others I don't recall. But they had a good selection, especially comapred to what passes for most arcades these days. They had some newer games (and by newer - I mean 1990's), as well as quite a few pinball machines. They had a few unusual games in there too, including a Starblade which was under repair, and a true rarity: Baby Pac-Man - a fully working one at that! Having played Bob and Kurt's version for the 7800, I couldn't resist trying to play the original. We spent over two hours at Let's Play, and I spent much of that time on Baby Pac-Man (along with Qix and Gorf). Man... that is one addictive (and incredibly hard) game. After countless attempts, I finally managed to clear the first maze. :roll:  I probably got my 20 bucks worth out of that game alone. We'll be going back again at some point. Hopefully they can expand their selection (would love to see Battlezone and Tempest), and make a some repairs to their existing games.


Anyway... speaking of the 7800 and making repairs - let's wrap this project up! How's that for a segue?


Time for some cablin'. Here are the donors, plus the Molex connector I'll be using to hook them up:

01-donor_cables.jpg

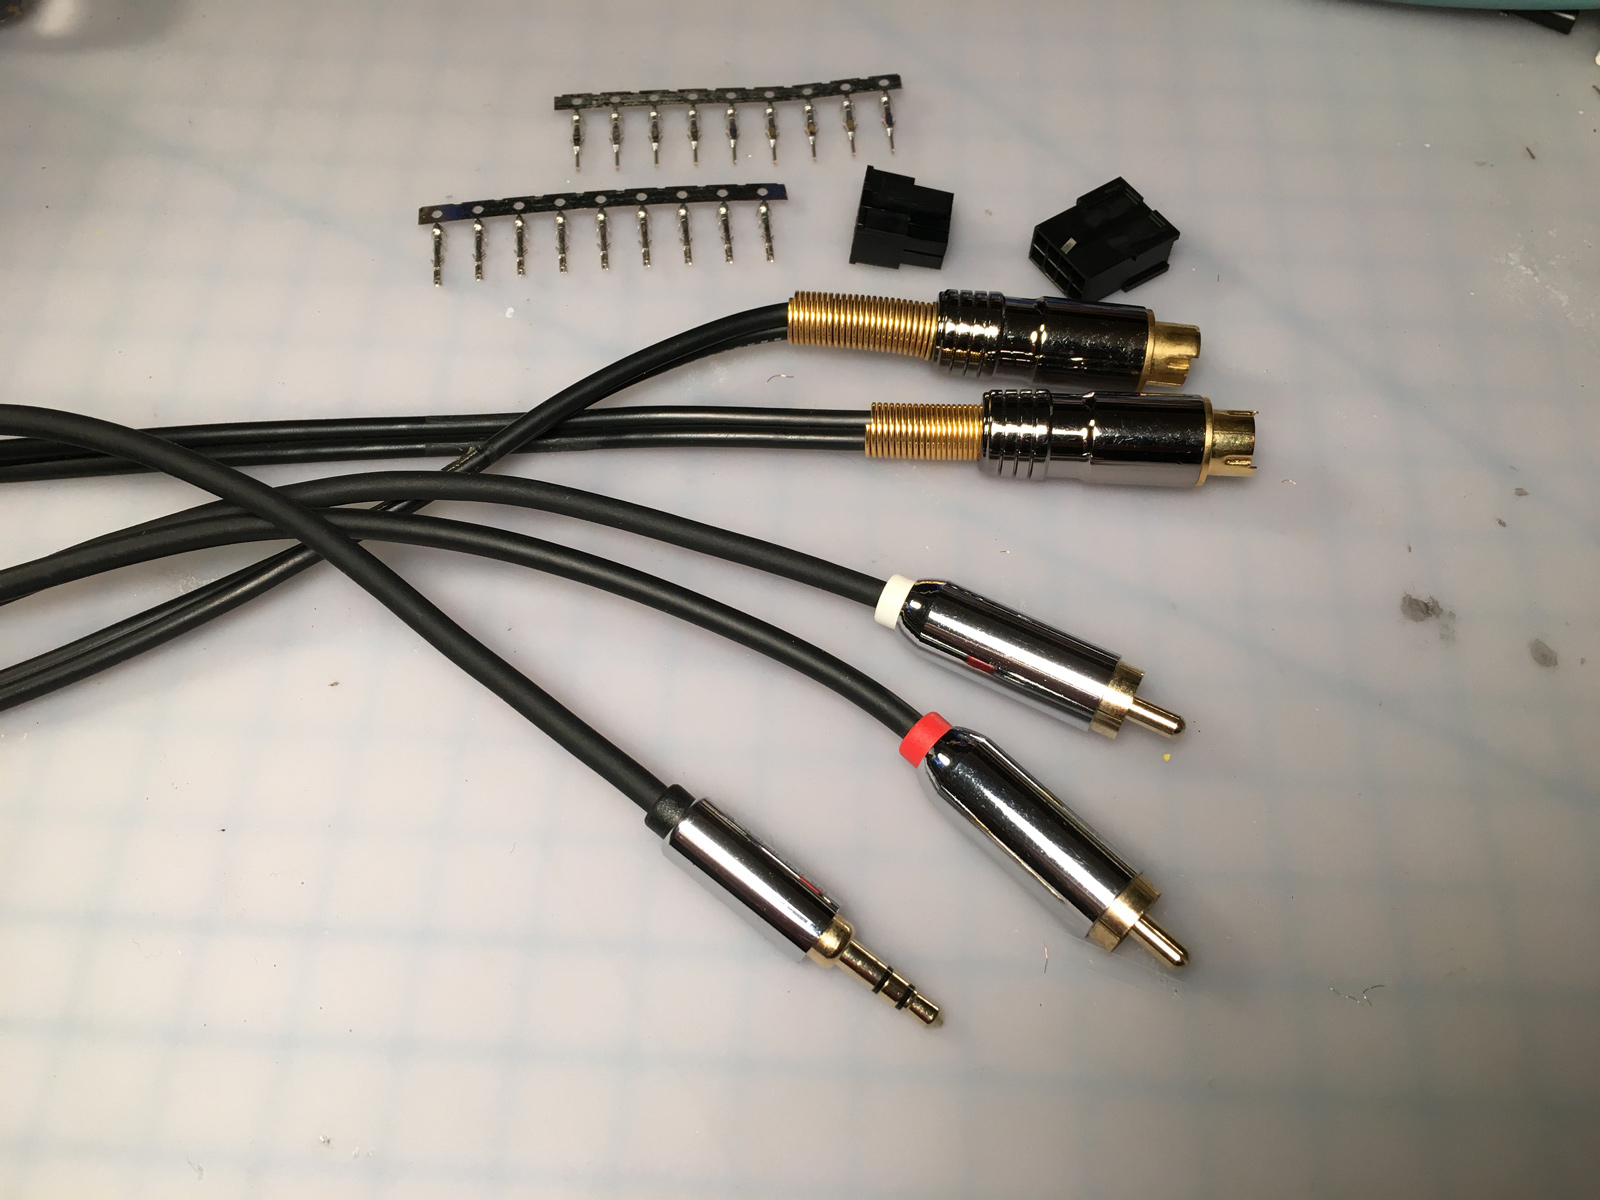
The video cable is a leftover S-Video cable from a patchbay I had at work (from Clark Wire and Cable), and the audio cable is a 3.5mm stereo to dual RCA cable from Monoprice. However - I'm not using it for stereo audio. I'm using it for mono audio + composite video.


The reason I'm using that particular audio cable, is because the UAV mod only outputs mono audio, so instead of having two cables hanging out of the back of the 7800 for a superfluous "stereo" output, I'll use one connector for audio, and I'll repurpose the other for composite video. John can add a "Y" cable if he should need to plug the 7800 into stereo inputs. He wanted composite video in addition to S-Video (since not all of his monitors have S-Video), and this provides a second RCA connector in a compact form factor.


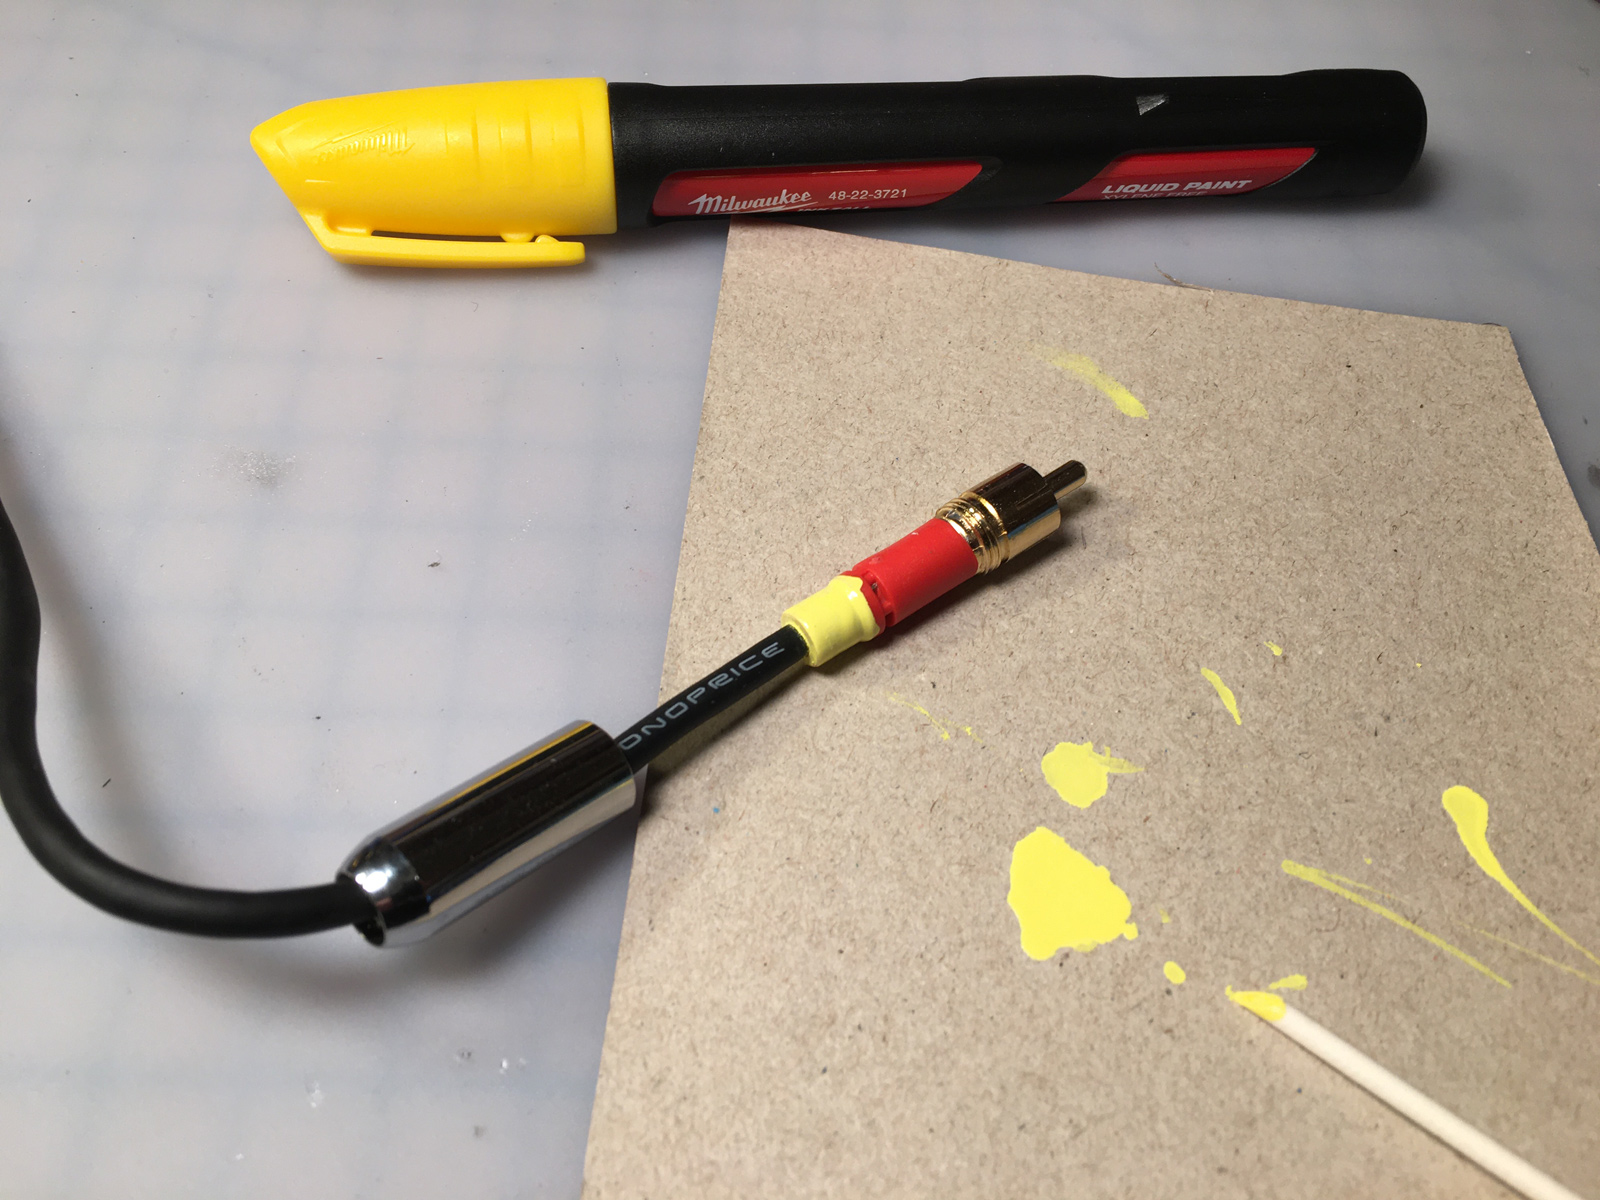
The only downside? The right audio connector is color-coded red. Yellow is typically used for video. But we can fix that...
03-magic_marker.jpg
3a-its_video_now.jpg


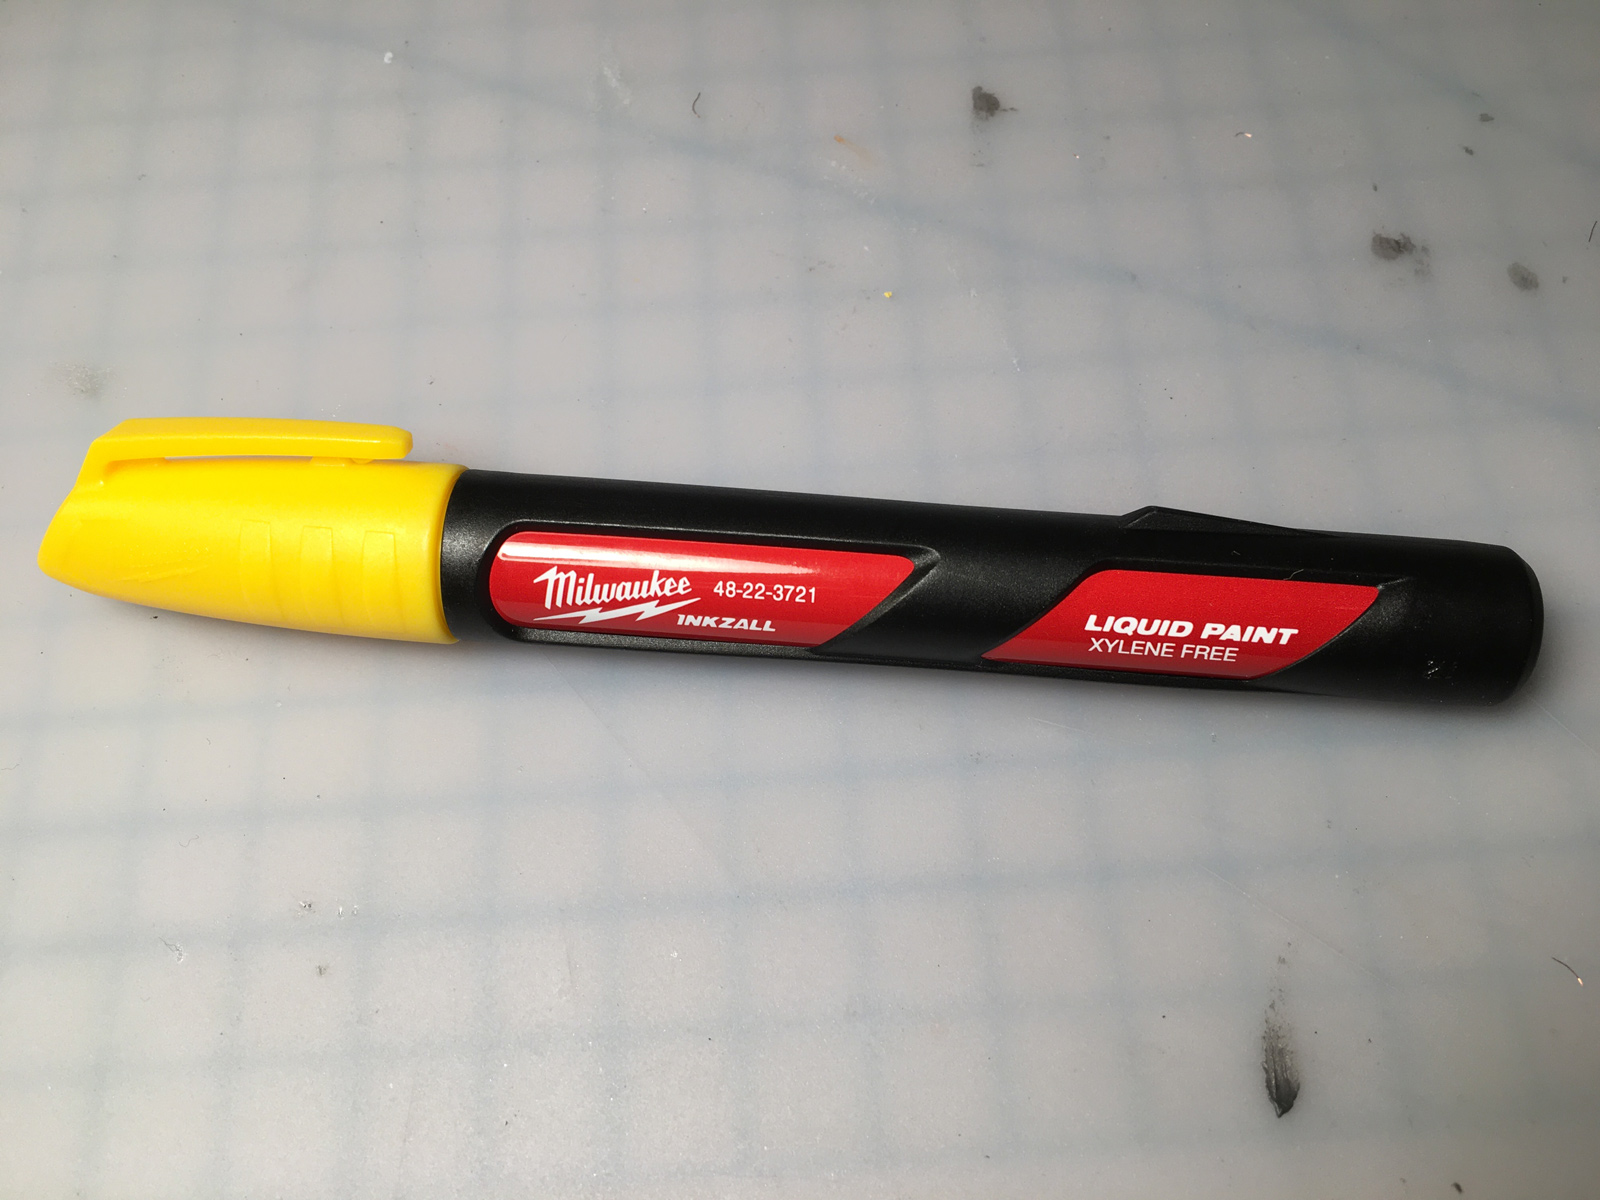
Presto! Composite video, mono audio, and S-Video! Job done! (As an aside, I tested an S-Video to composite adapter to see if it would be an acceptable substitute for a dedicated composite output - it wasn't. The picture was terrible.)
3b-triple_threat.jpg


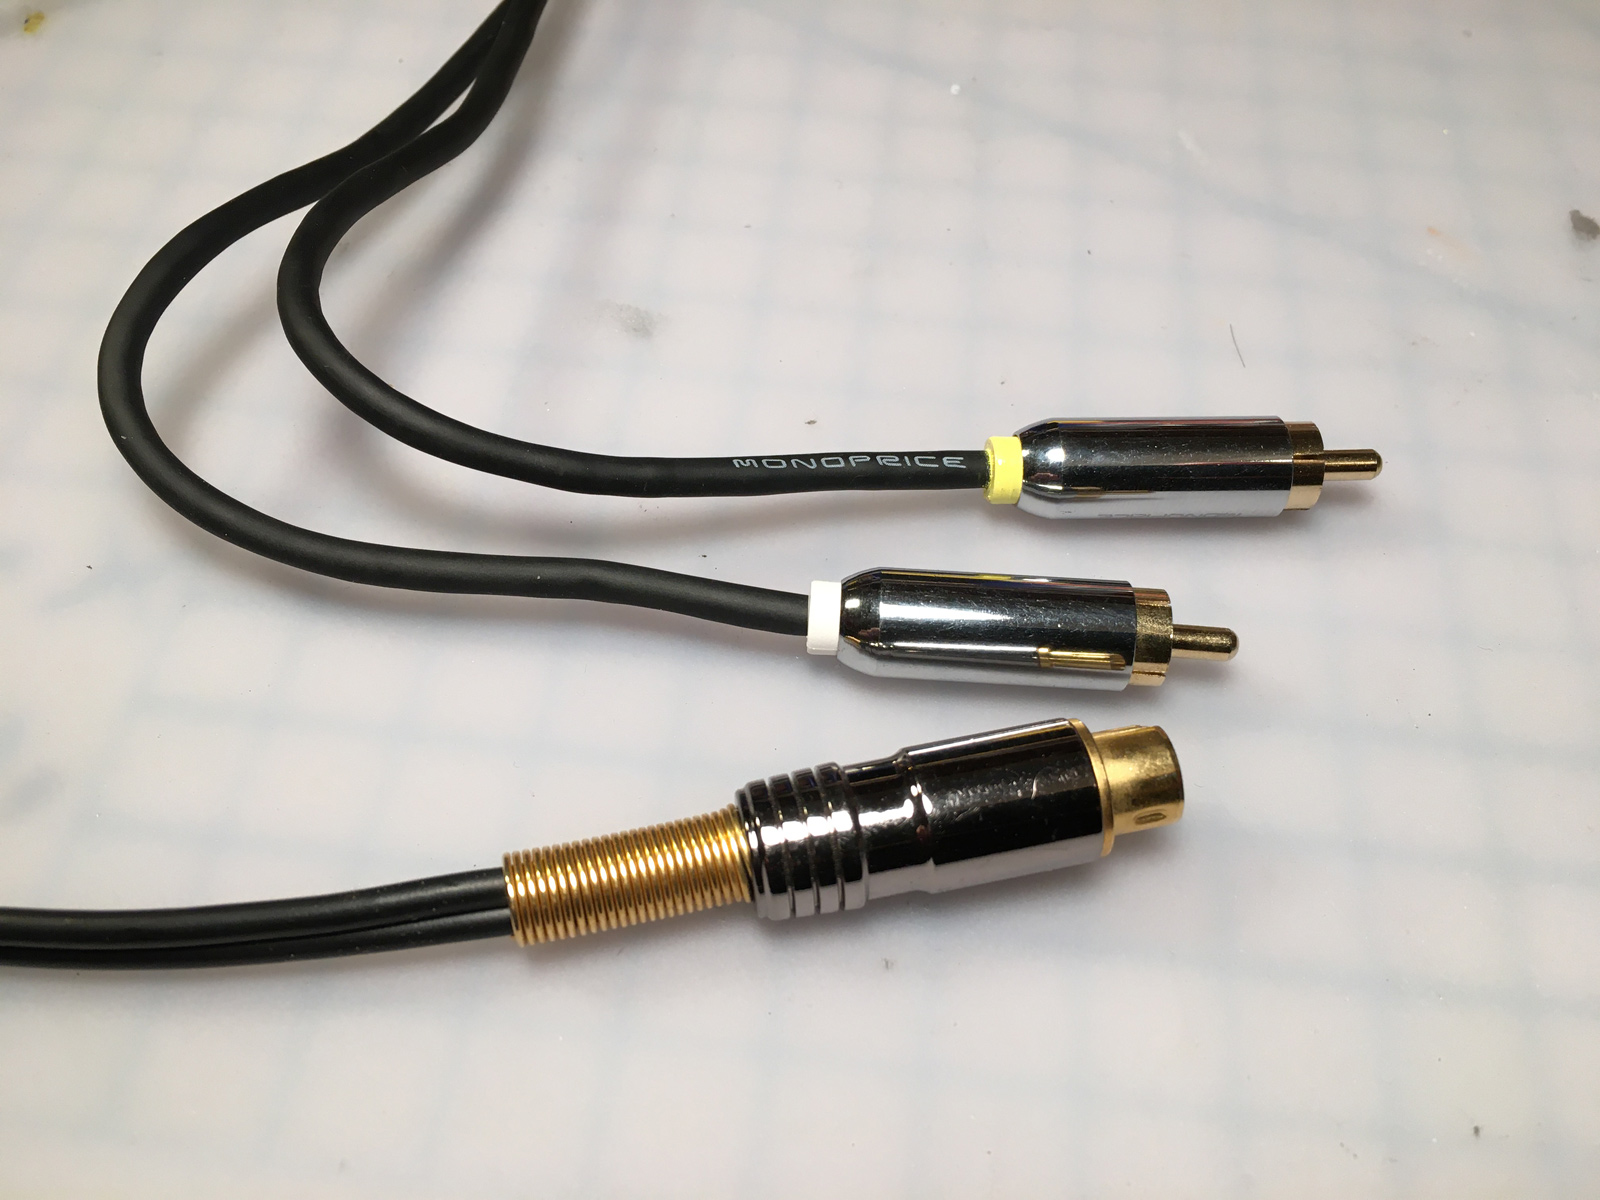
Just to make sure everything worked end-to-end, I used a terminal block to temporarily hook everything up and test it:
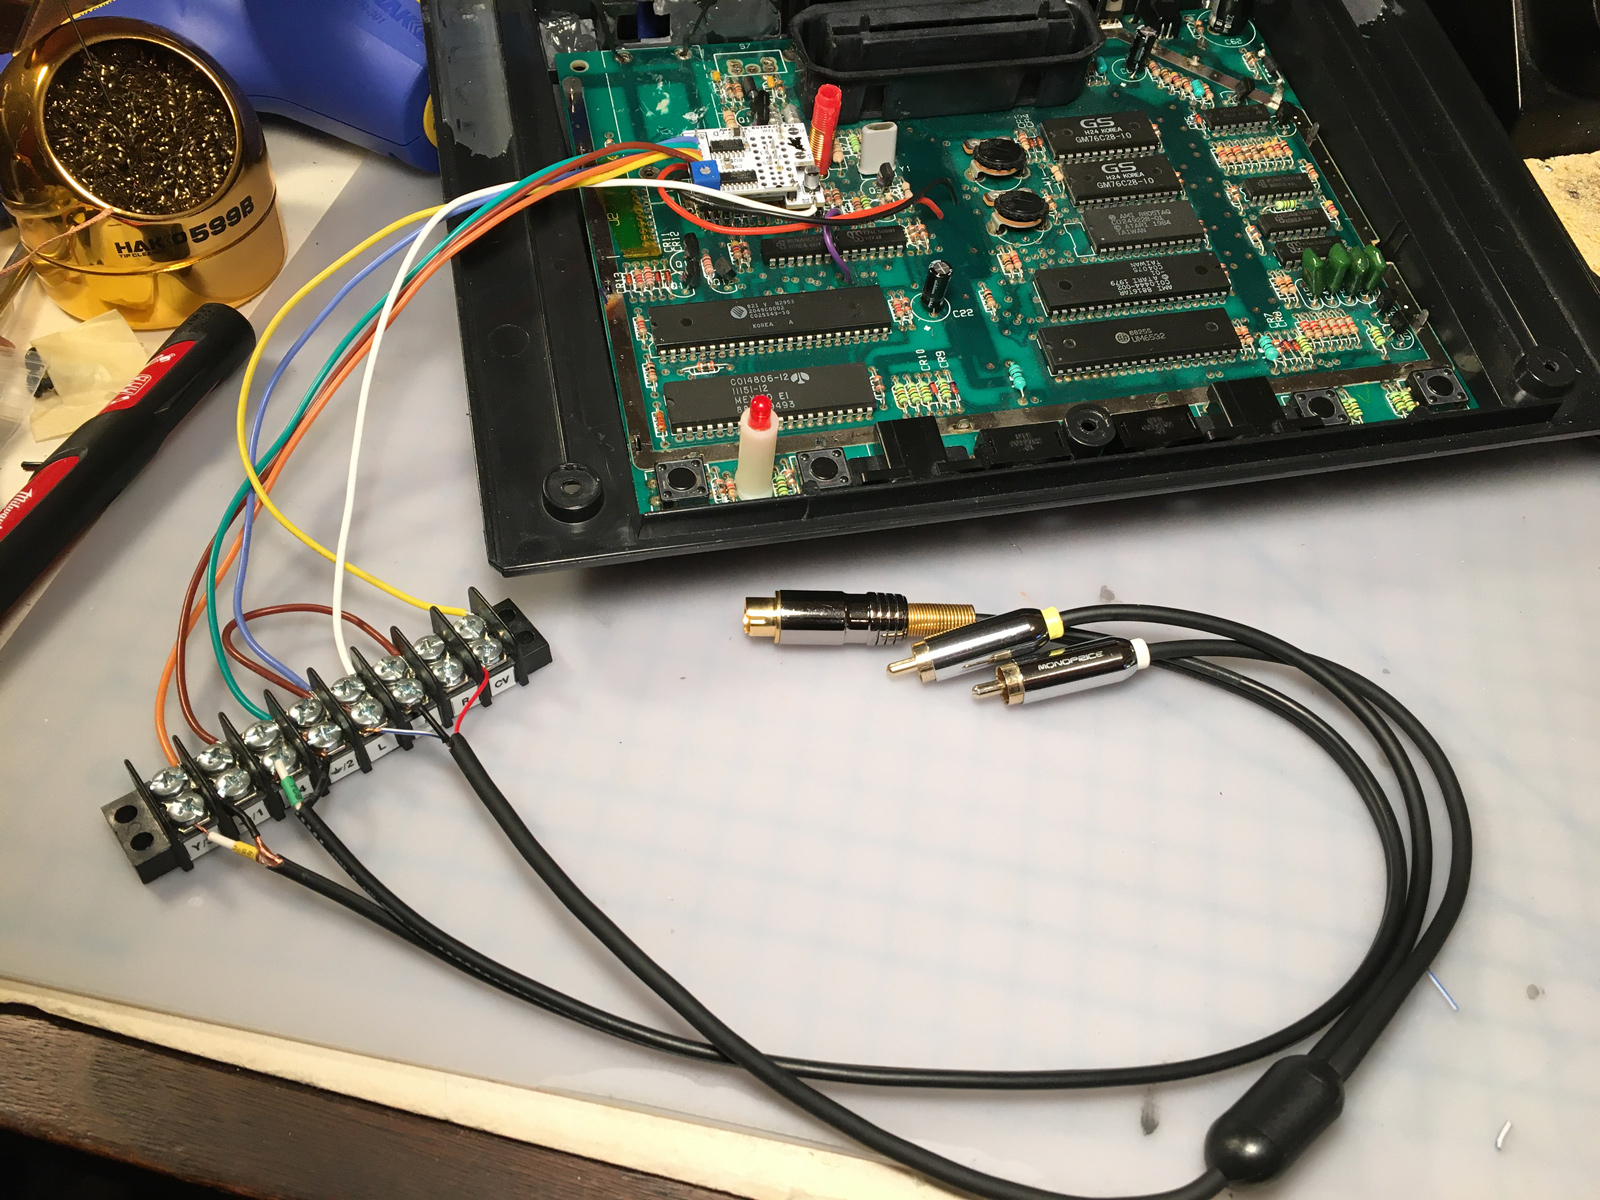
05-test_hookup.jpg


Composite works!
07-composite_good.jpg


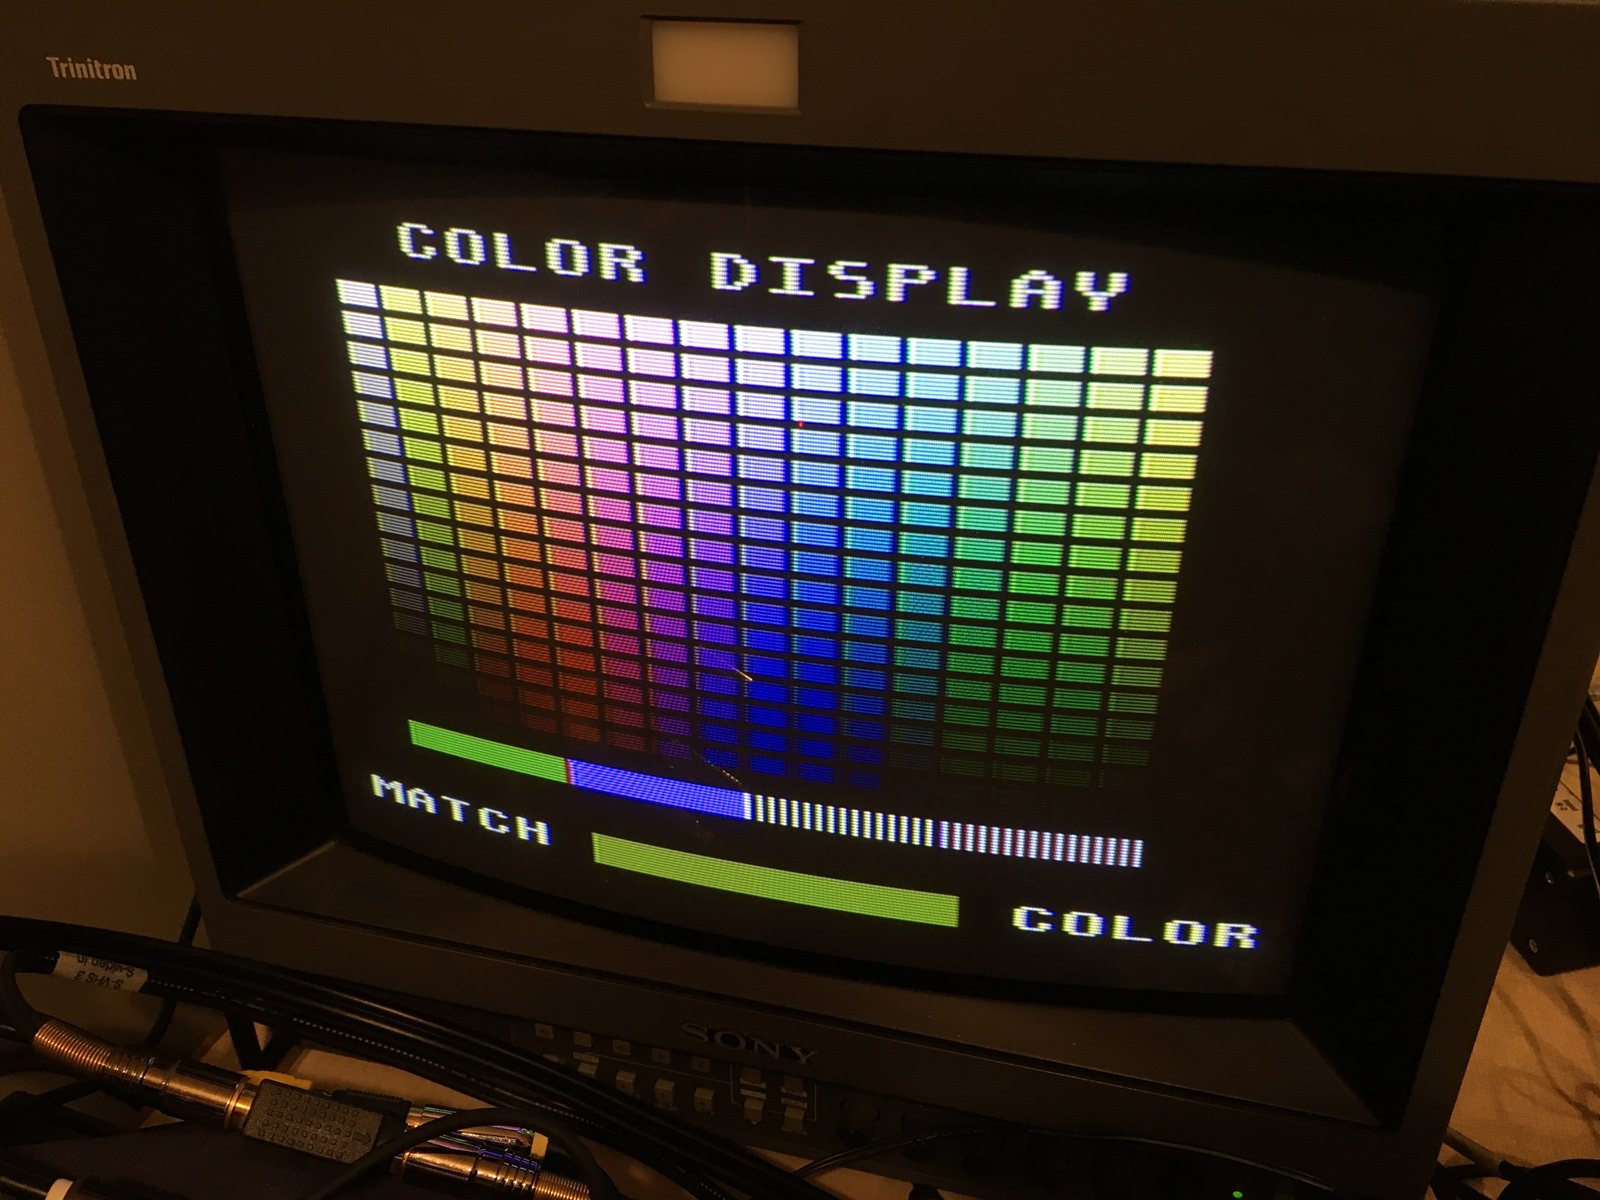
And S-Video works! (Audio also worked.)
08-s_video_good.jpg


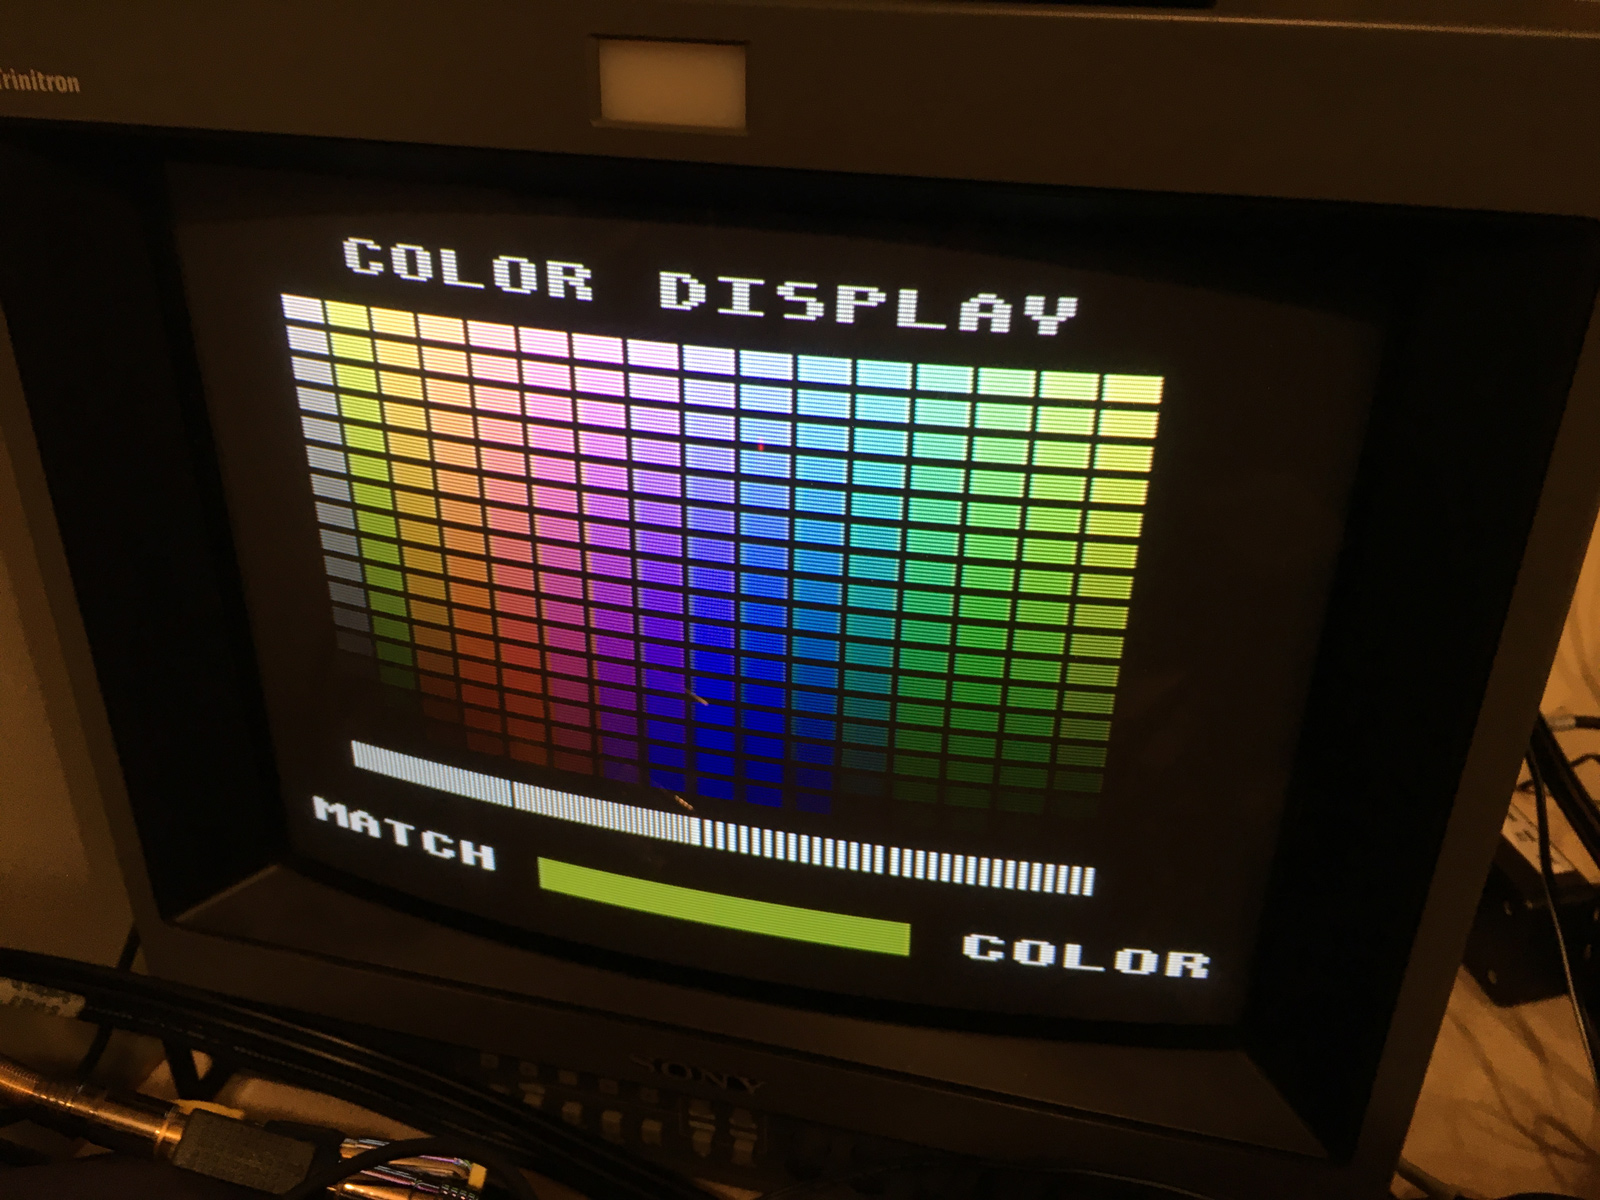
In previous mods, I've used Molex Micro-Fit 3.0 connectors to connect the mod wiring to the output cables, but have always had trouble crimping the pins. The connectors are tiny, and I had bought a crimping tool that did not cost $400. The tool I had could (in theory) crimp the conductor and insulation at the same time, and was a ratcheting-type crimper (which I've used at work for other connector types), but I could rarely get the pins in exactly the right position to crimp them, and it was a massive source of frustration. While starting on the 7800 wiring , I completely trashed multiple pins in the attempt and finally gave up and did some more research on finding an alternative crimping tool. And, I found one:
02-new_crimper.jpg

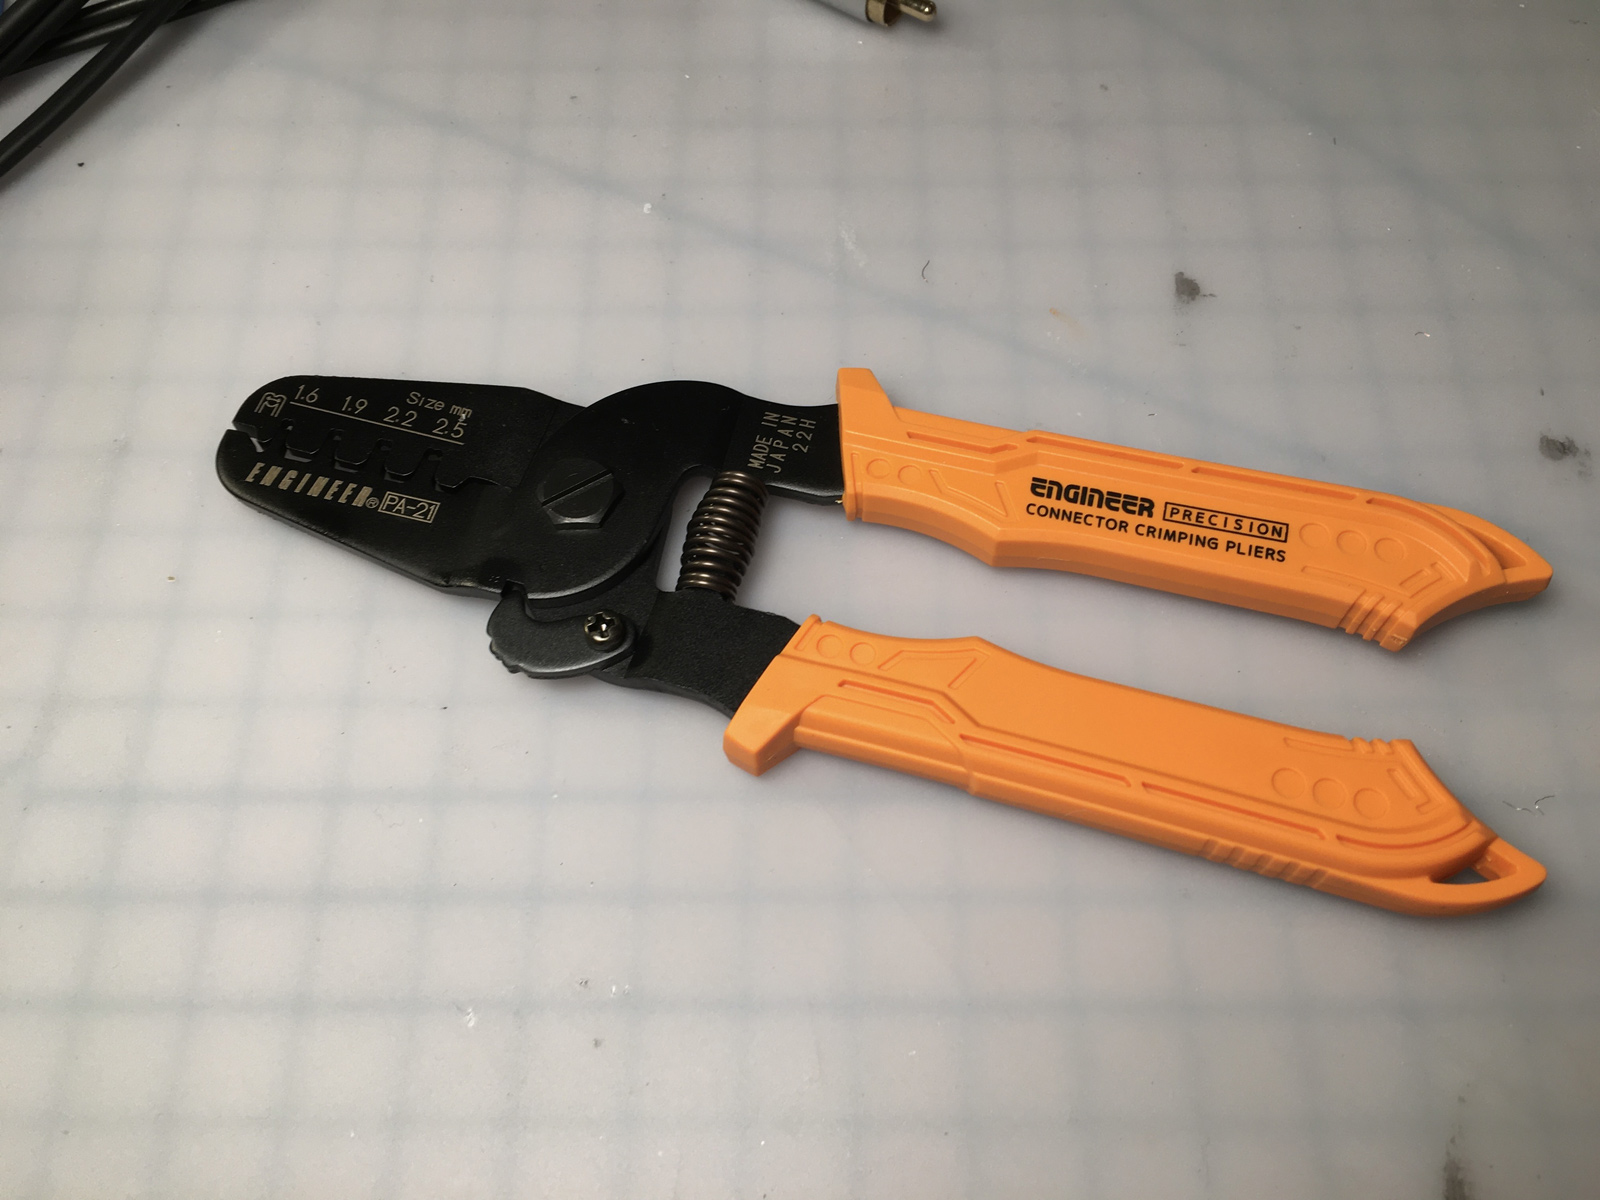
It's not a ratcheting crimper, and you have to crimp the conductor and insulation in separate passes, but it works.


I can align the pins in the tool every time, and it crimps them solidly with a very reassuring "click". Well-worth 1/10 the cost of Molex's tool.
09-freshly_crimped.jpg


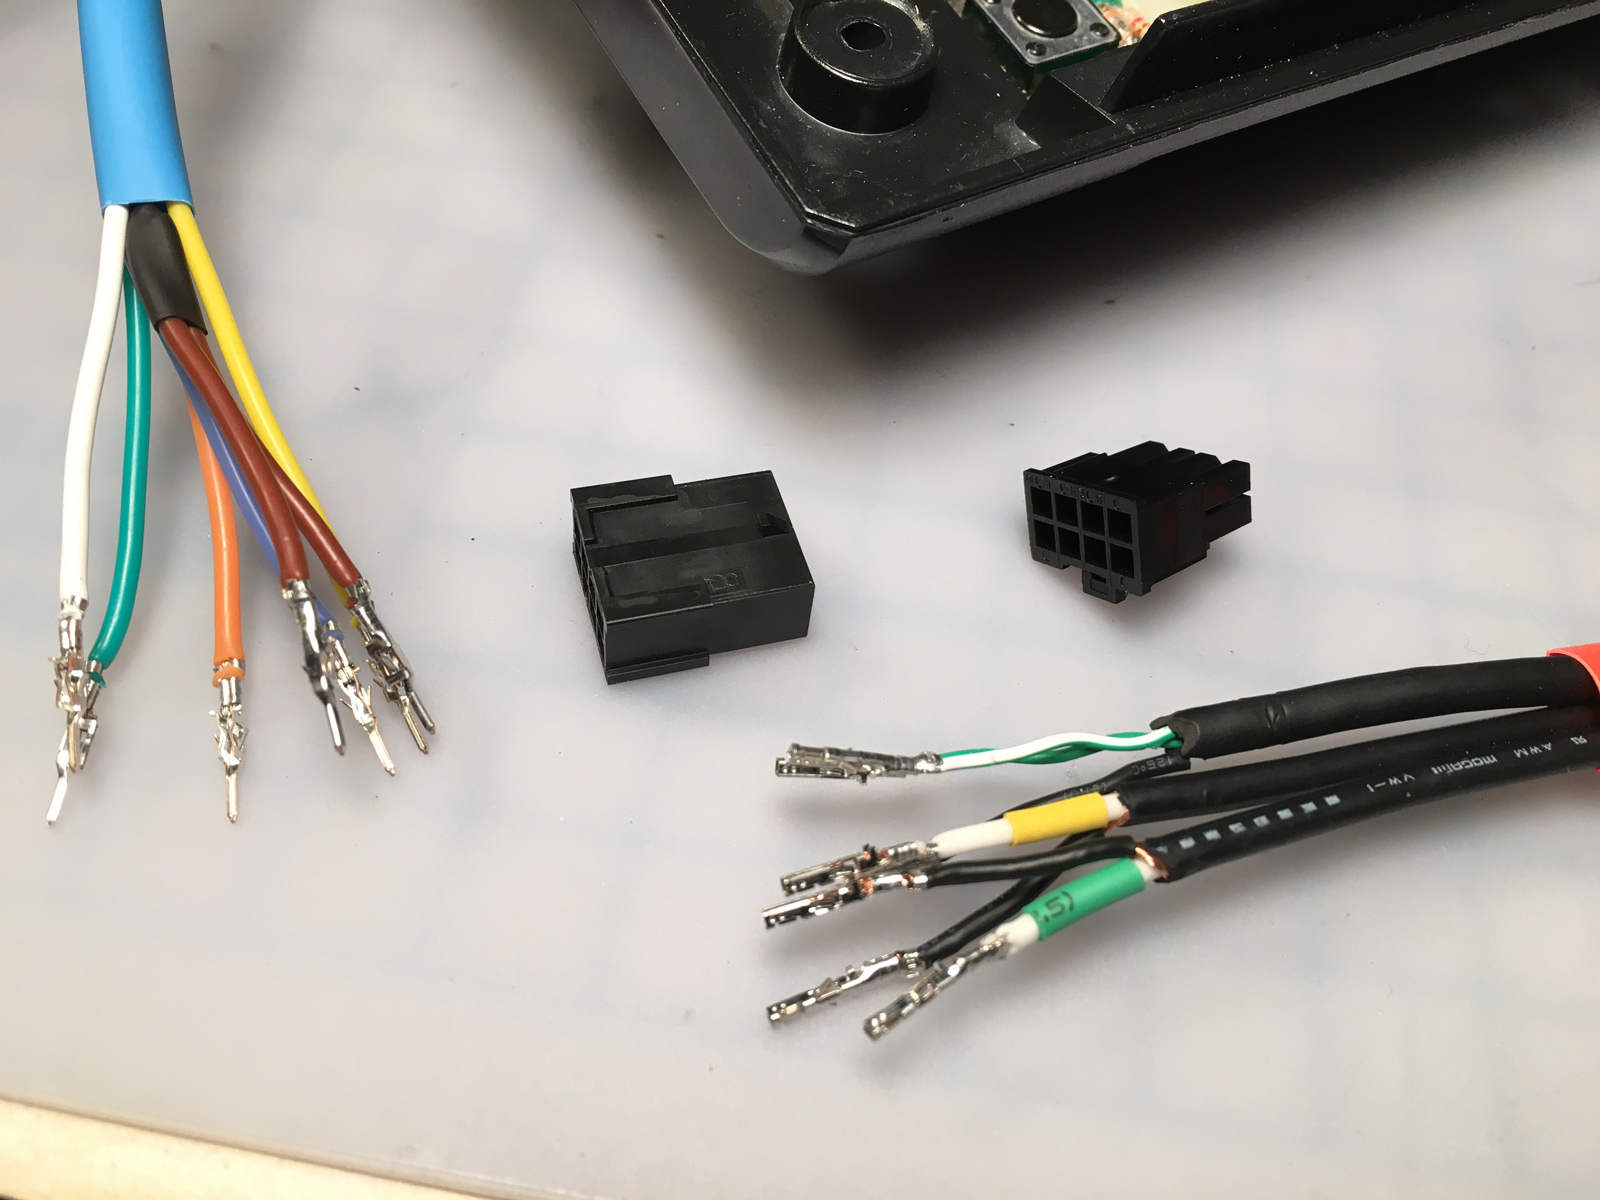
All crimped up and ready-to-go!
10-molexed.jpg


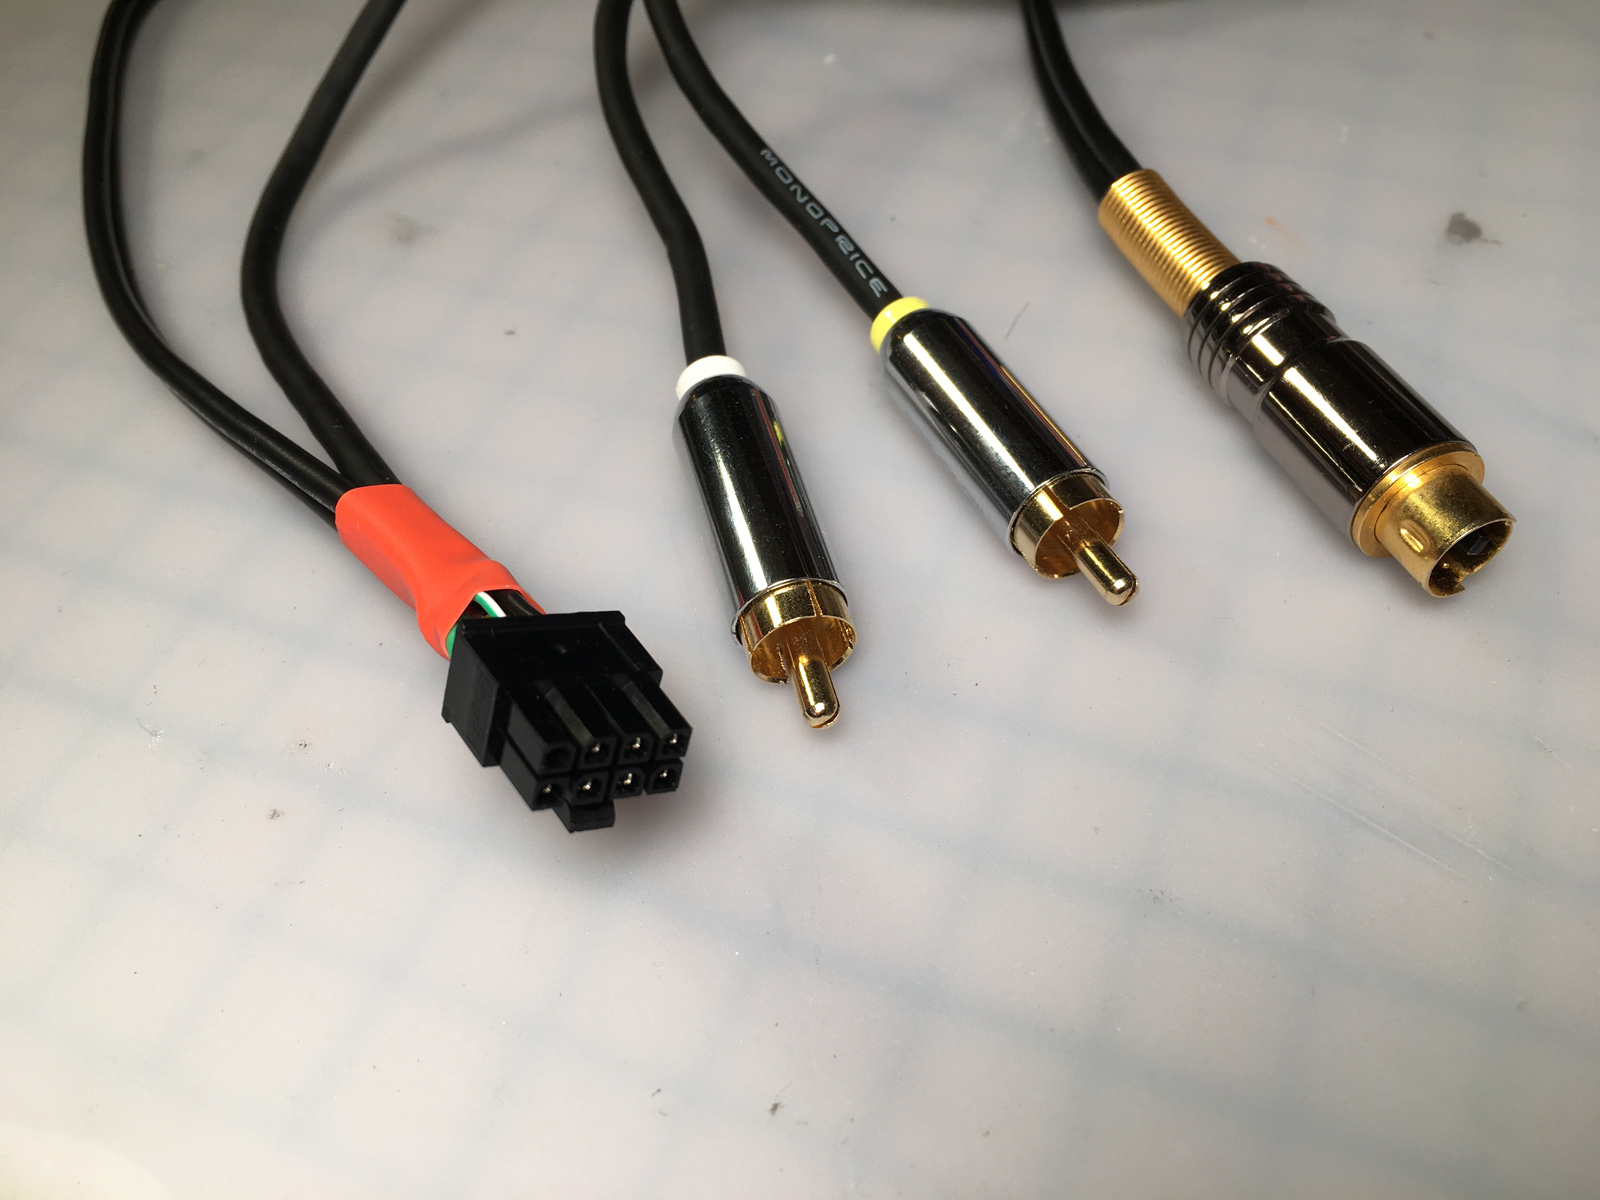
The reason I use the Molex connector is so the main board can be unplugged from the output cables, in case the 7800 has to be taken apart (again) and repaired. The 7800 board has to be tilted up at the back in order to be removed, so the output cables need to be completely out-of-the-way for that to happen. Since they're going out the back of the case right above the main board, the only way to do that is to make that cable fully removable.
11-mod_molexed.jpg


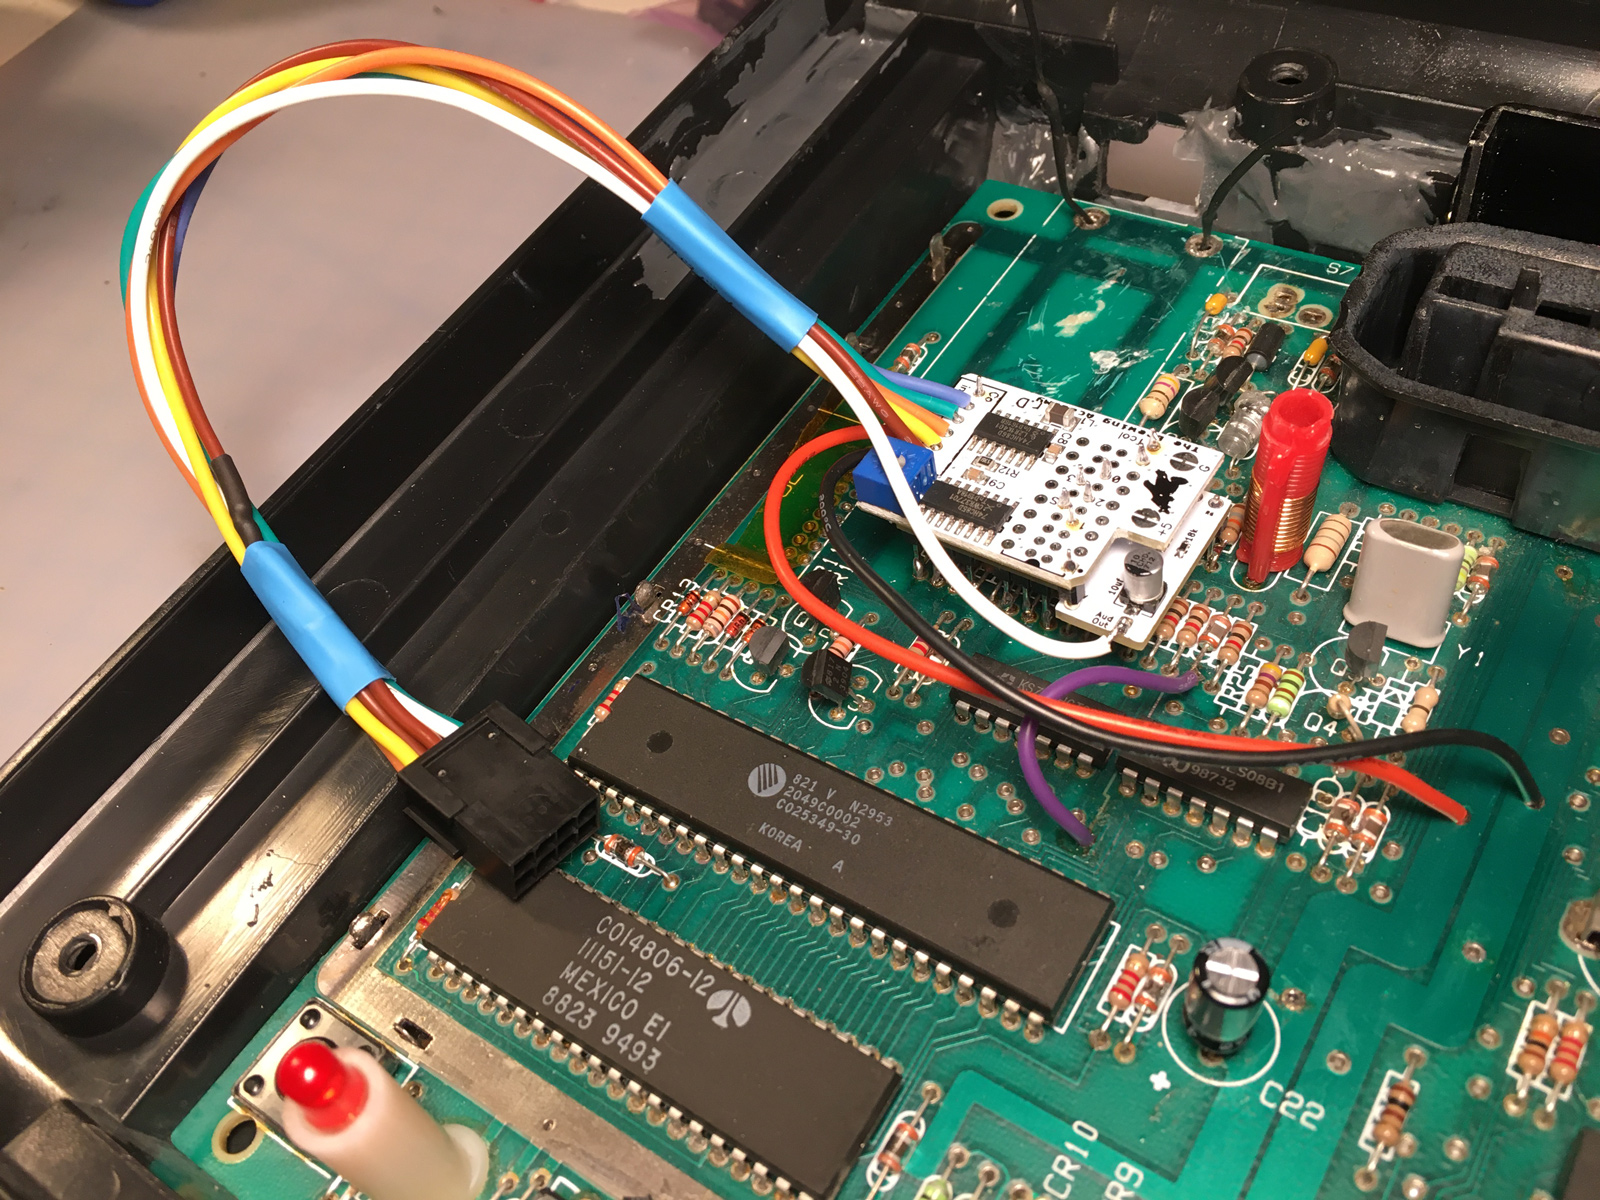
The excess cable fits through a hole in the side of the RF shield (originally intended for the non-existent expansion port on this 7800). The blue heat-shrink tubing is there to protect the wires as they go through the shield. The output cables are held down to the board with a twist-tie where the RF modulator used to be. I'd usually use a zip-tie for this, but I didn't have one that skinny, and this does the job just fine:
13-route_out.jpg

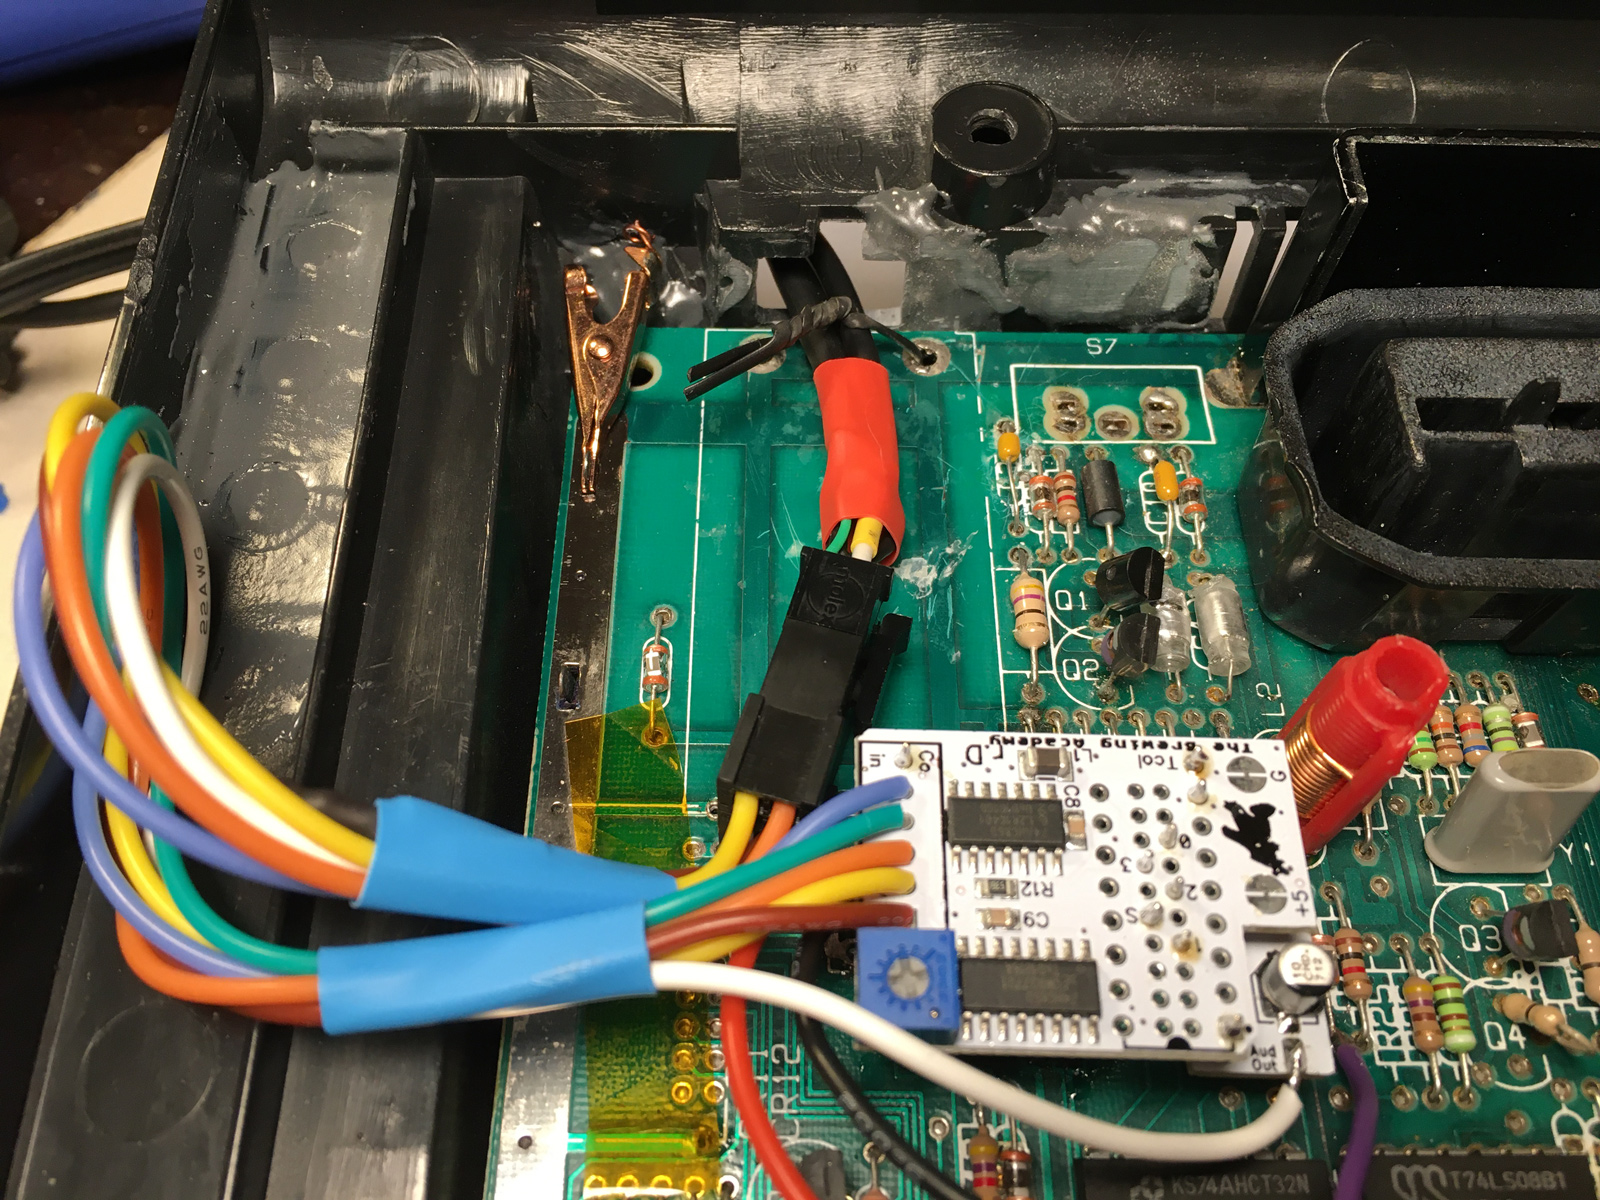
When I get around to modding my own 7800, I'm going to have to route the cables differently because I won't be removing the RF modulator or drilling any holes. Fortunately, someone has already solved that problem.


One more job to do. See capacitor C64? Of course not! Because its label is hiding underneath it. But disconnecting its right leg should improve compatibility with certain games (mostly Activision games and the SuperCharger).
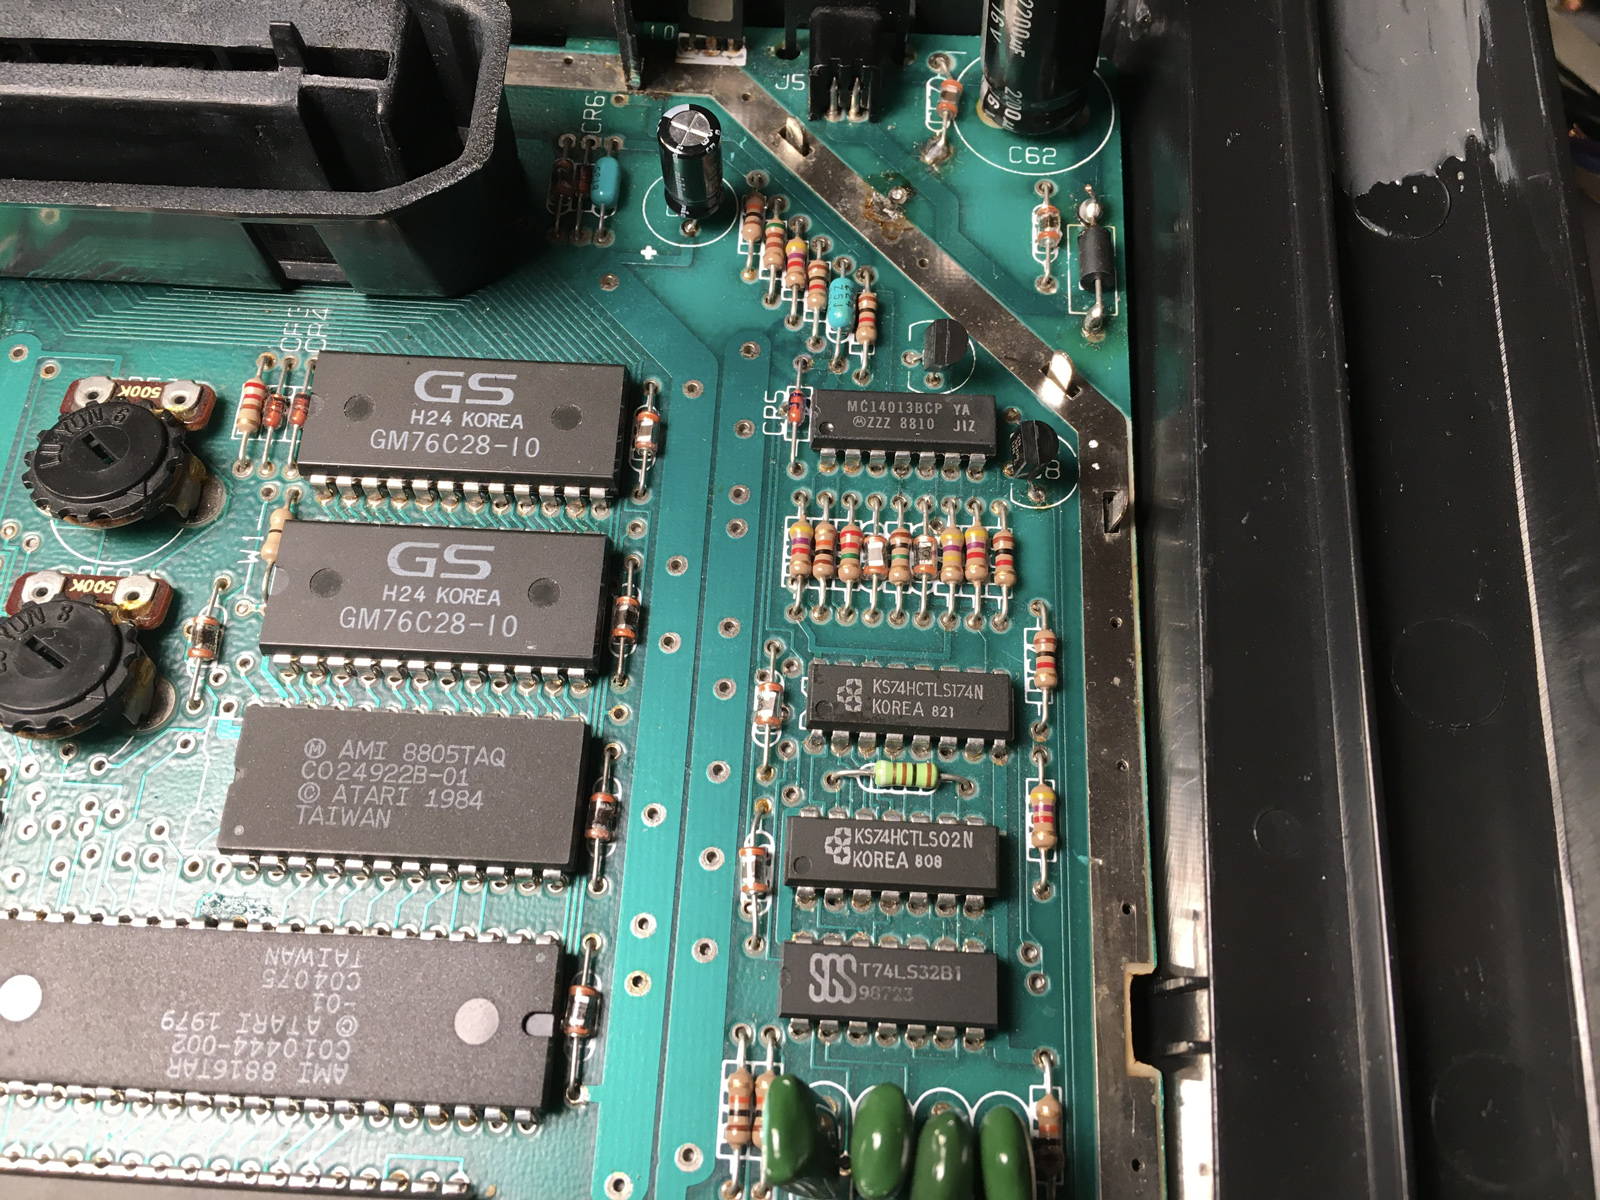
14-c64.jpg'

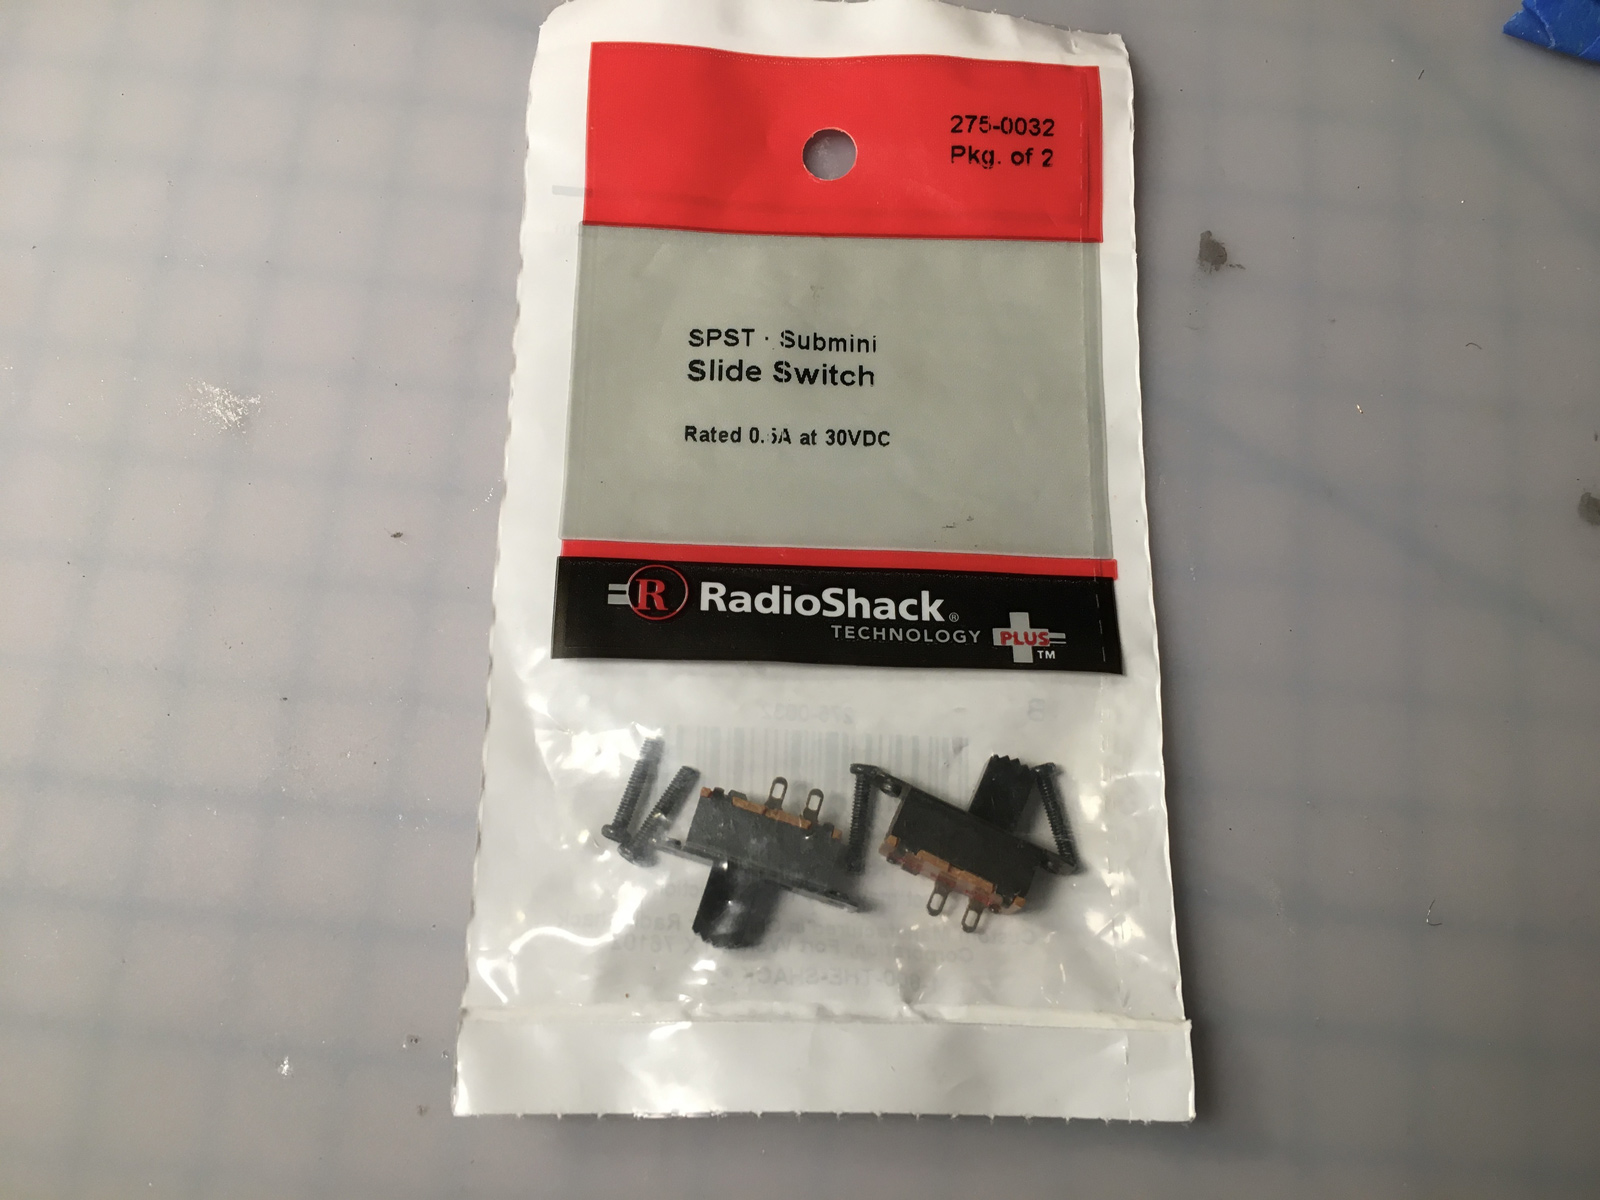
-^CrossBow^- made the suggestion of adding a switch to enable/disable it. I checked with John and he liked that idea, so I decided to add one. But I wanted a small, unobtrusive switch (unlike the toggle switch used for the previous HDMI "mod").


So what better brand to use than Radio Shack? You can still buy their stuff from Amazon! It seems completely period-correct to add a Radio Shack switch to an Atari 7800 too. :D 
15-the_shack_is_back.jpg


Man... that brings back memories. Now if I could only find my Battery Club card!
16_rad_shack_card_front.jpg


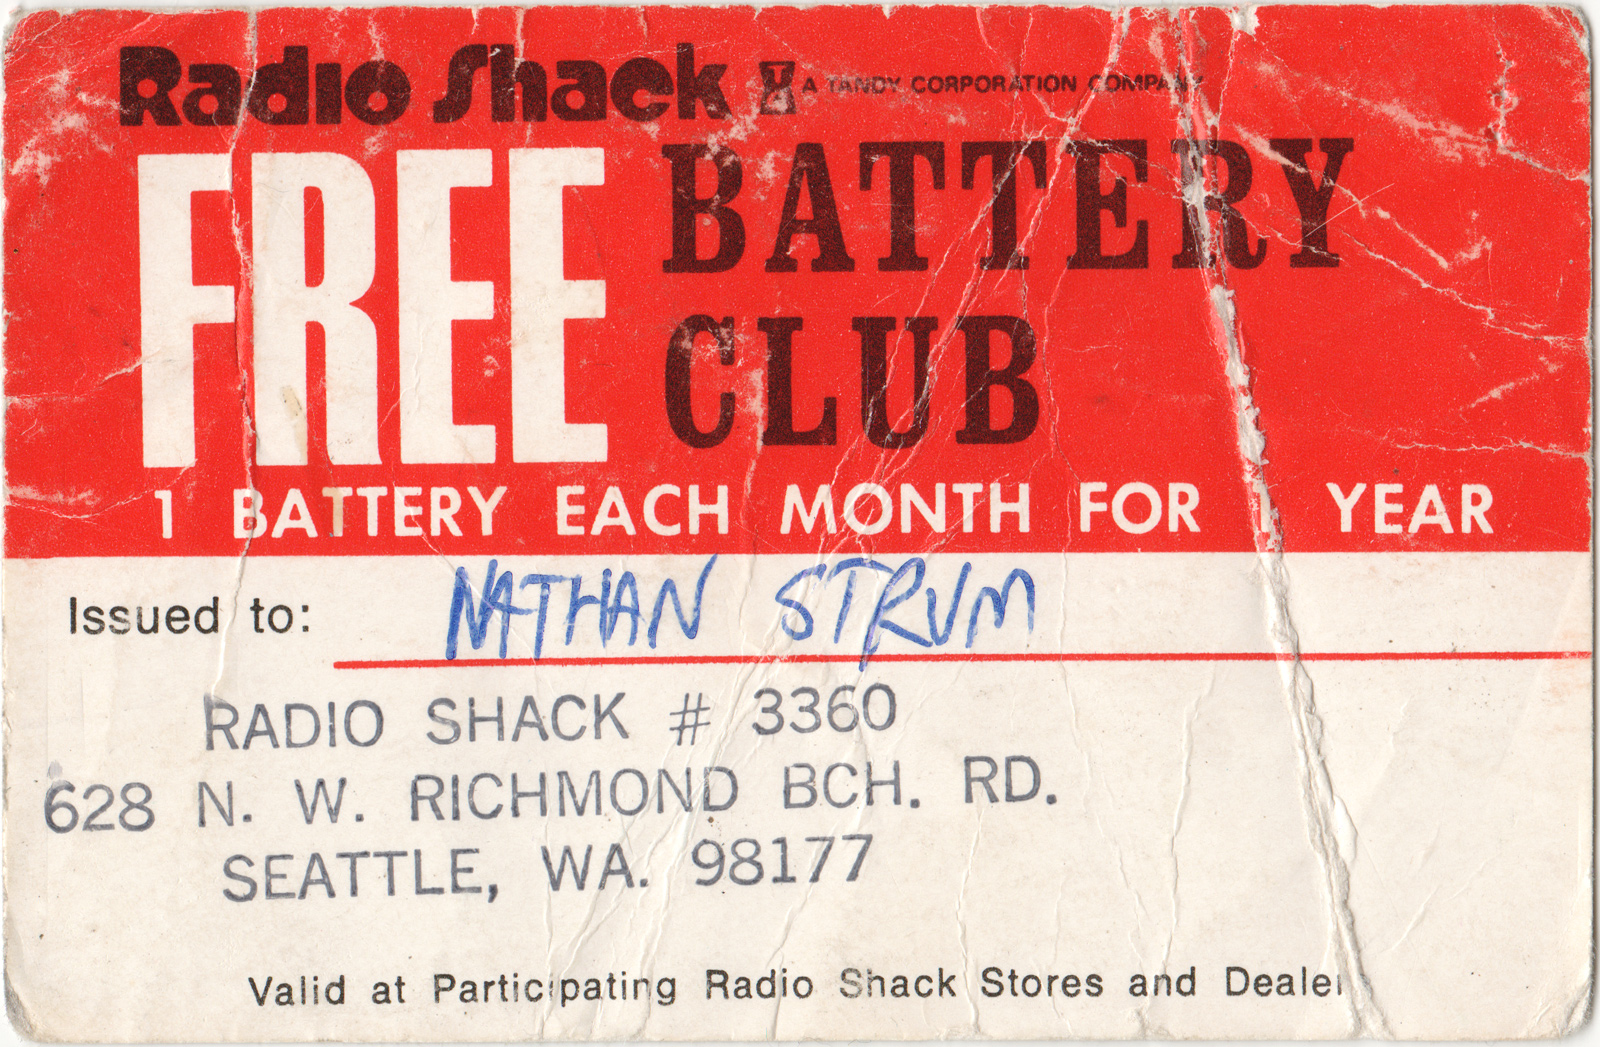
Score! I even still have eleven free batteries remaining! Time to cash this puppy in!
17_rad_shack_card_back.jpg


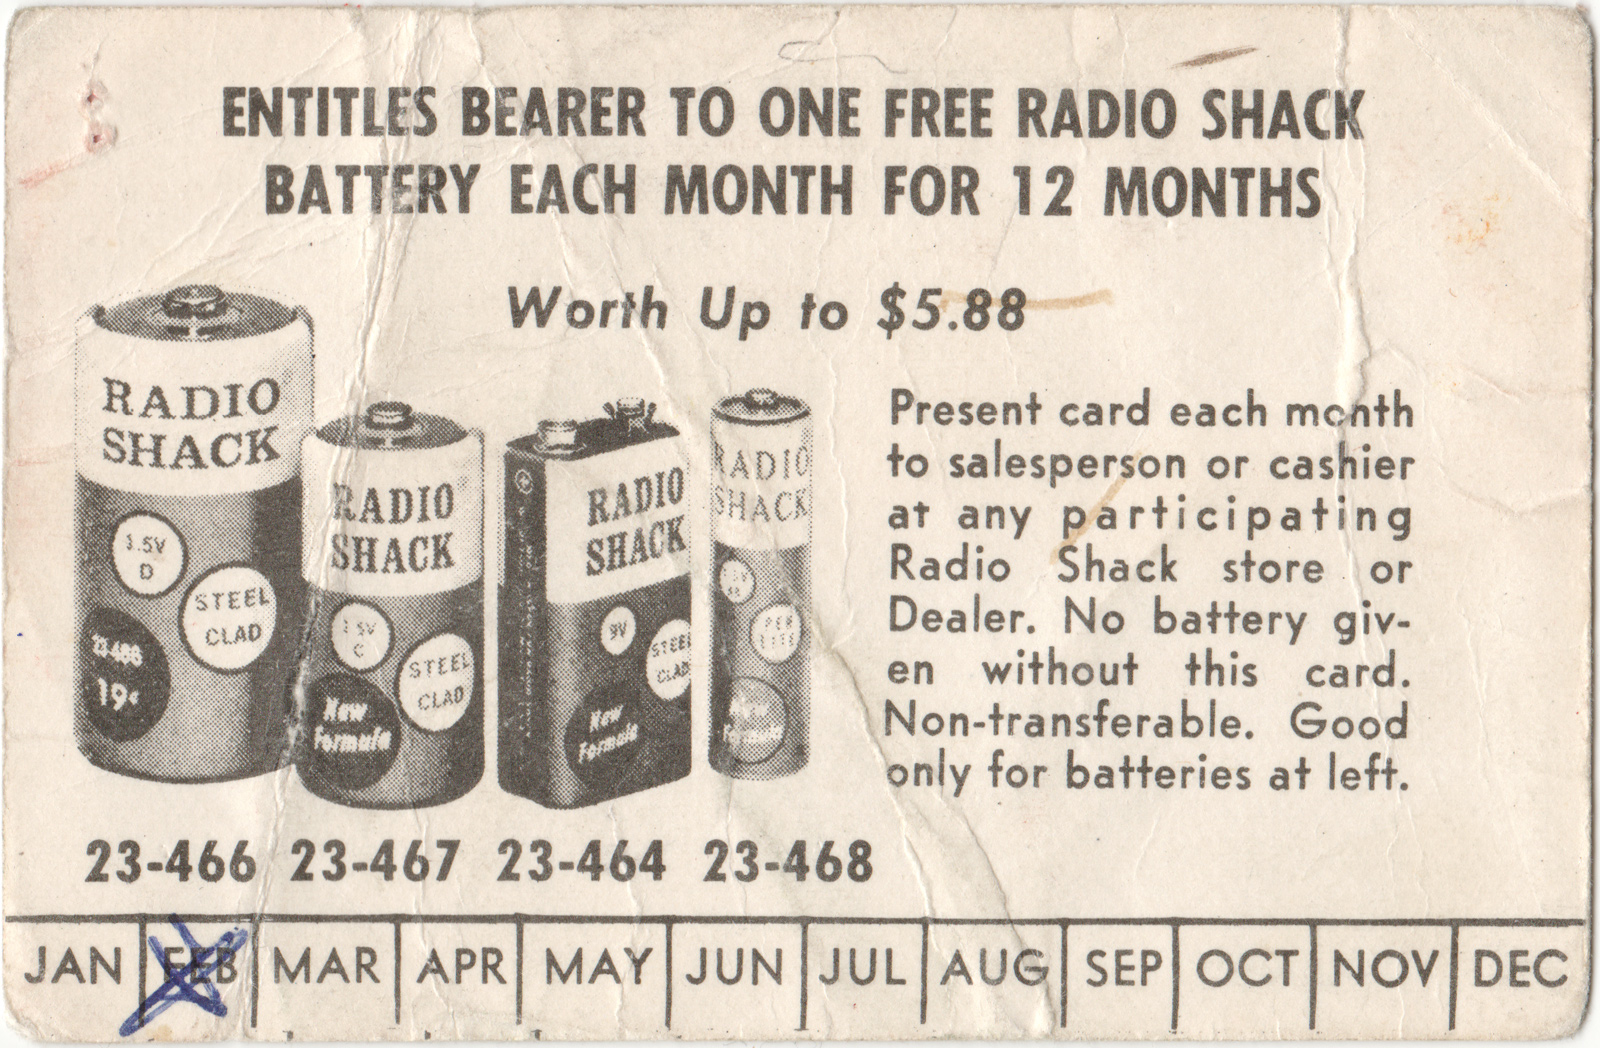
So first, some very careful measuring, followed by some very careful drilling, cutting and filing:
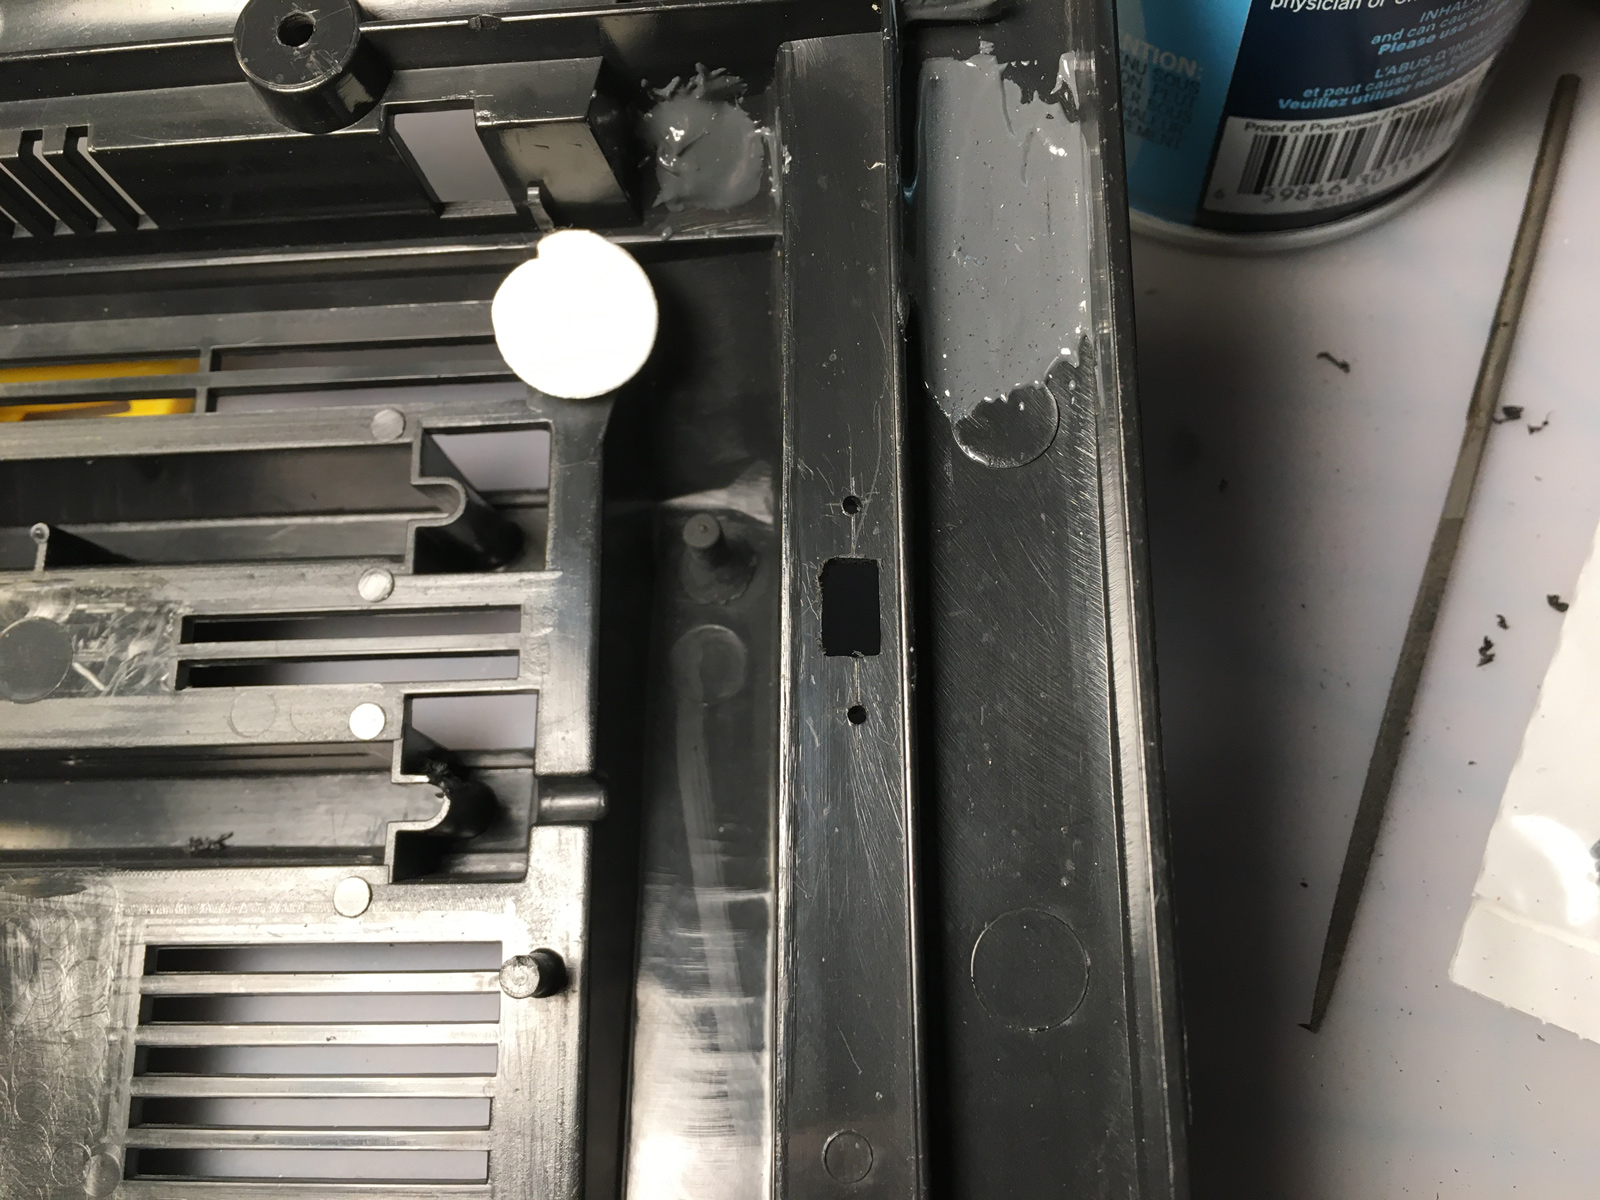
18-switch_hole.jpg


Perfect fit!
19-switch_outside.jpg


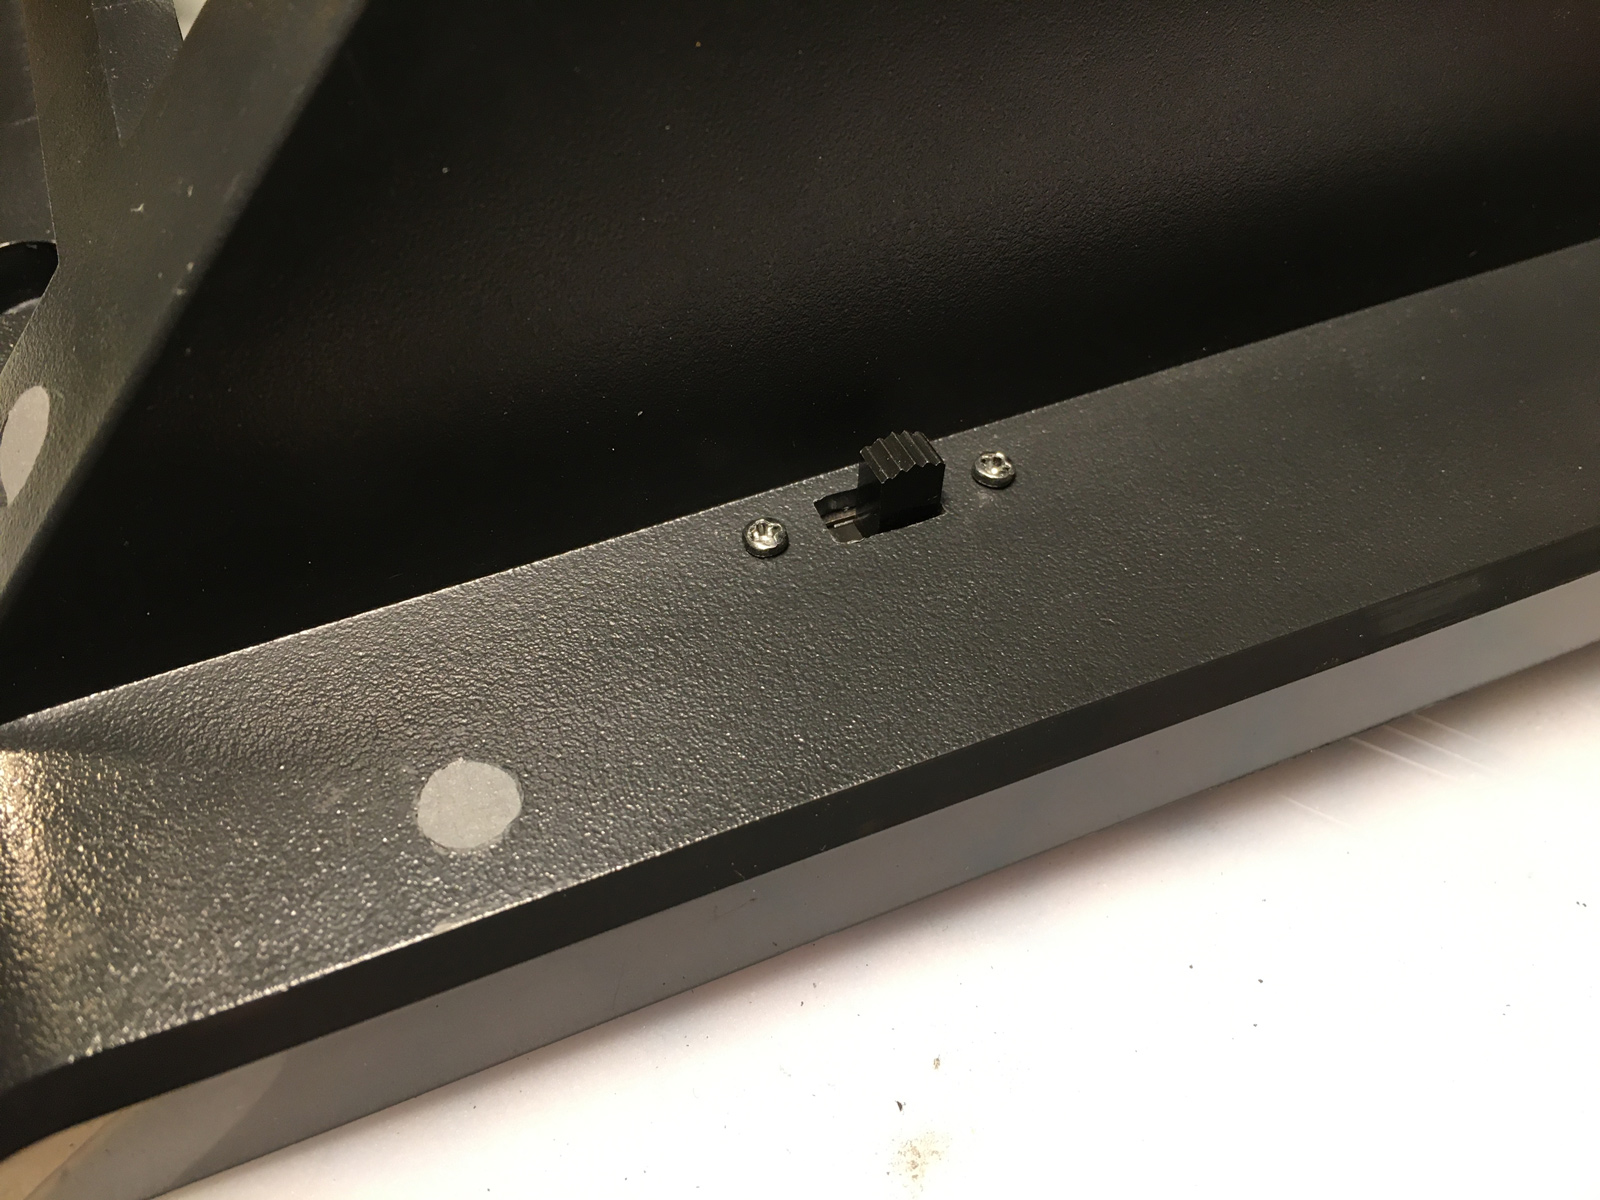
Found C64 yet? Hint: it's mounted horizontally.
26-switch_inside.jpg


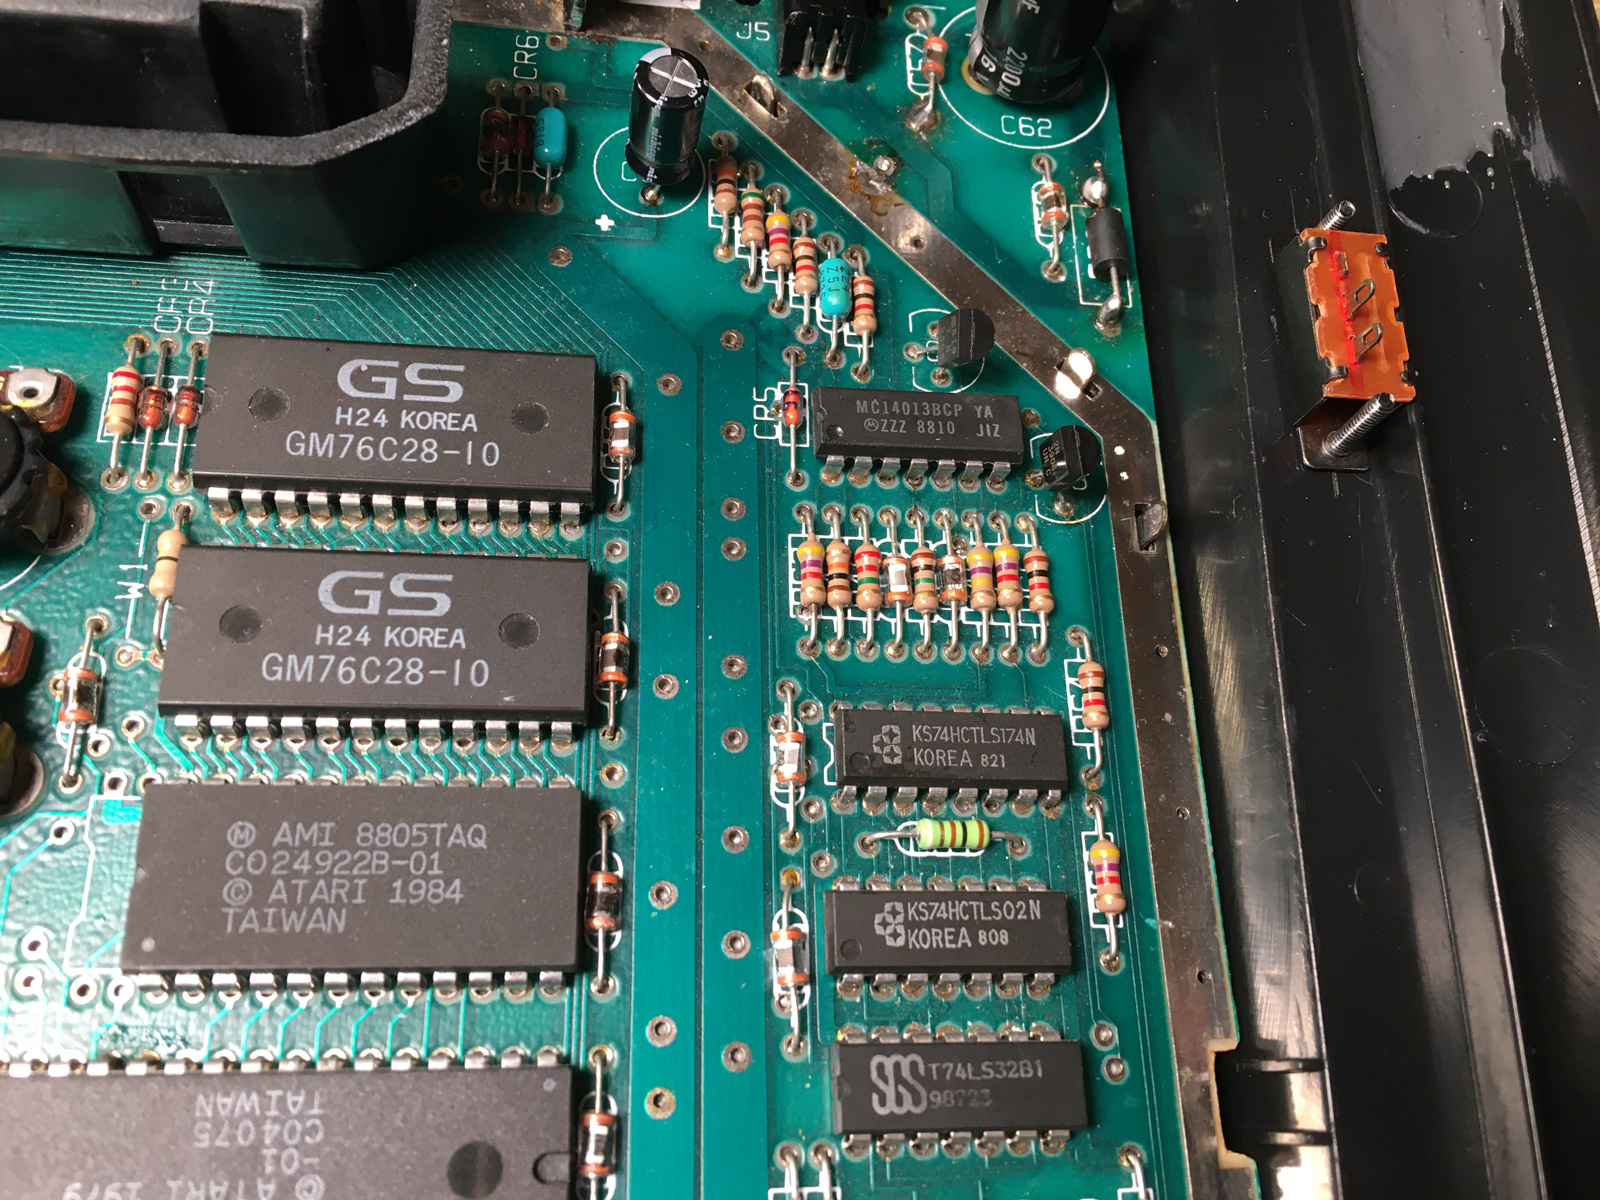
I desoldered the right leg, and re-soldered the left one to more firmly anchor it to the board:
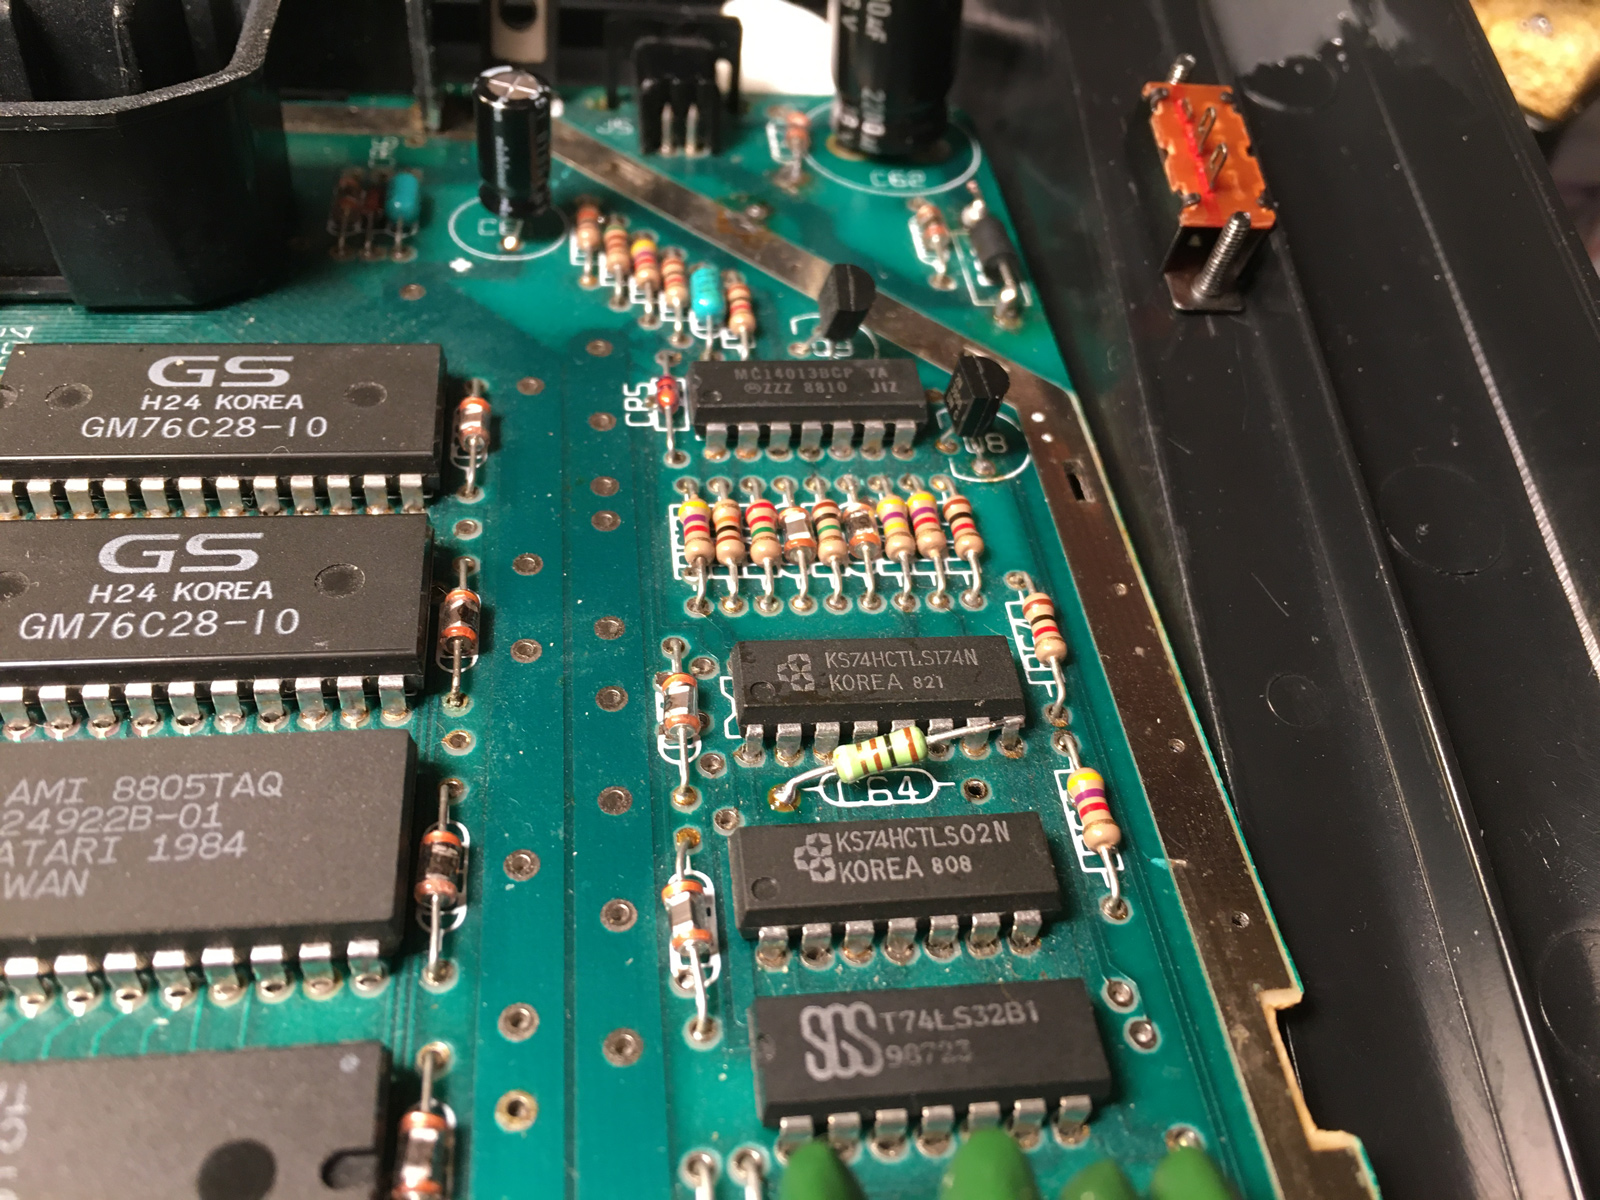
27-leg_lifted.jpg


More Molex!
28-molex_for_two.jpg


I tidied up and reinforced the connections with some heat-shrink tubing. Also, it will protect the wires when going through the RF shield:
29-c64_wired.jpg


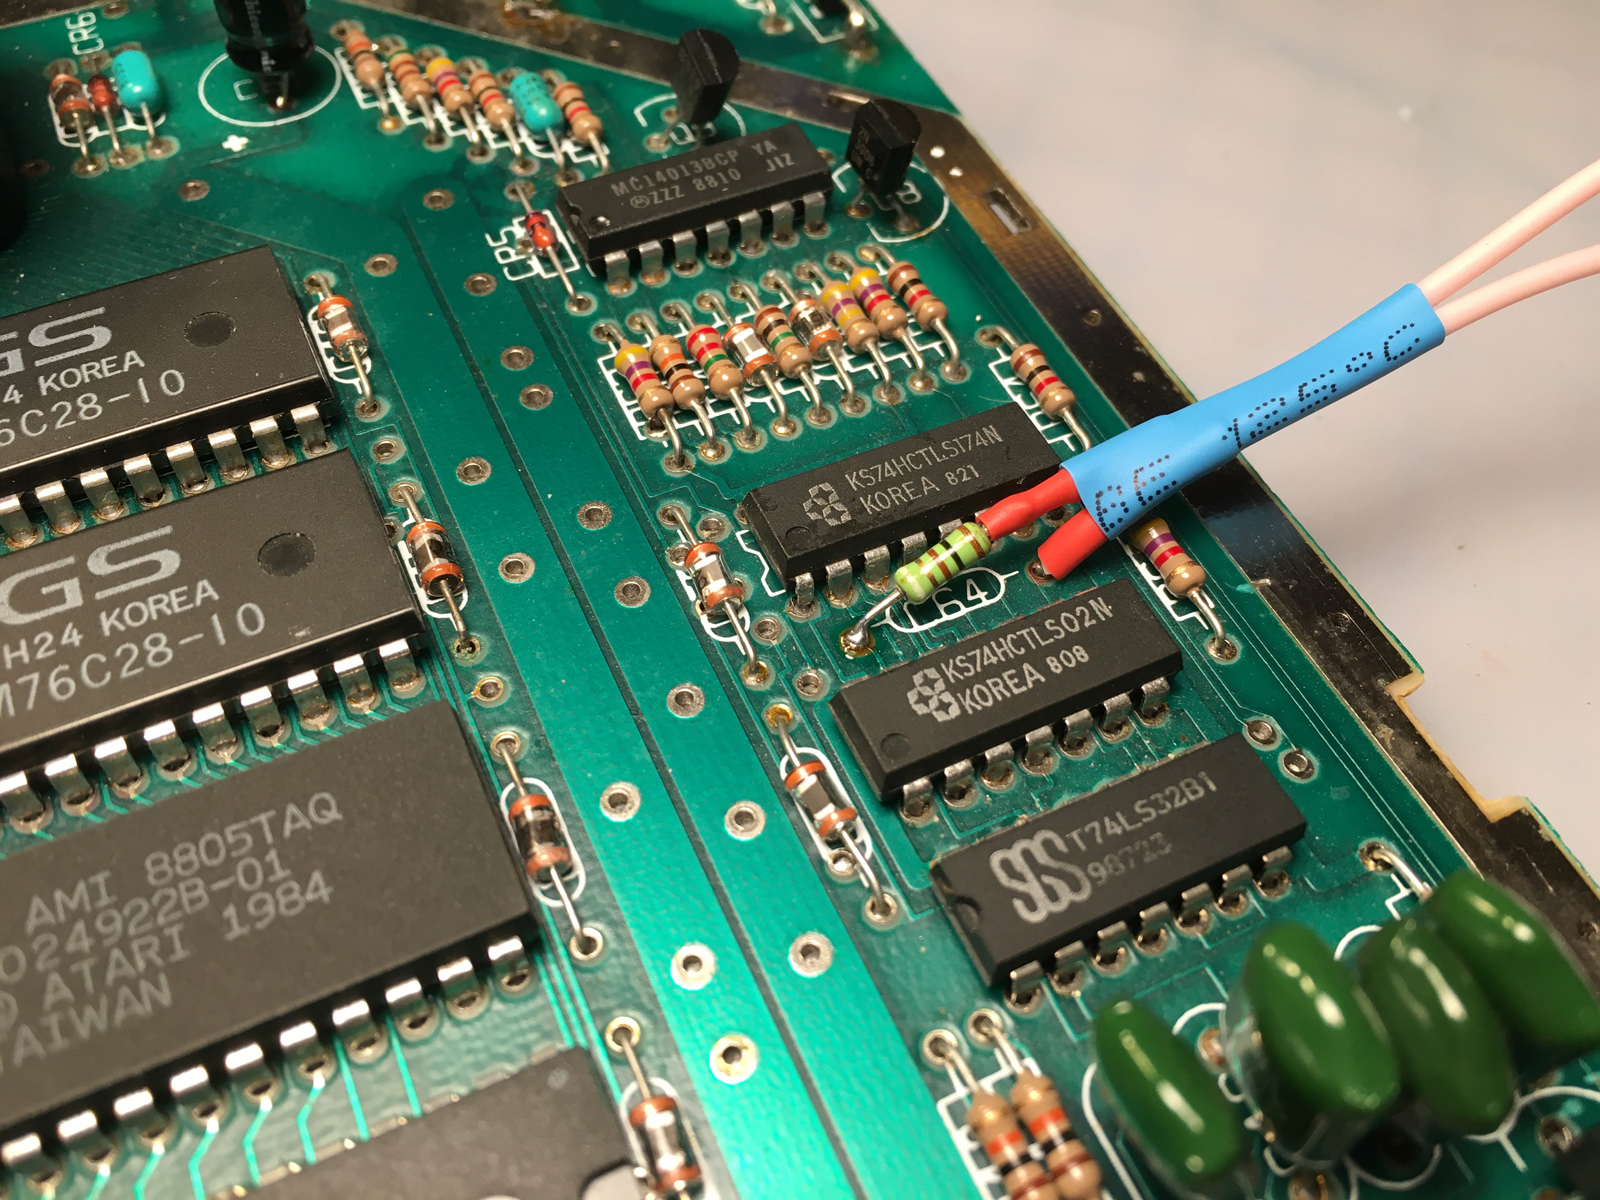
Here, I bent the orange heat-shrink tubing while it was still hot, so it cooled and stayed at the angle I wanted it at. The blue tubing just keeps things untangled and tidy.

30-switch_wired.jpg


All hooked up! Again - the Molex connector keeps the main board easily removable.
31-switch_molexed.jpg


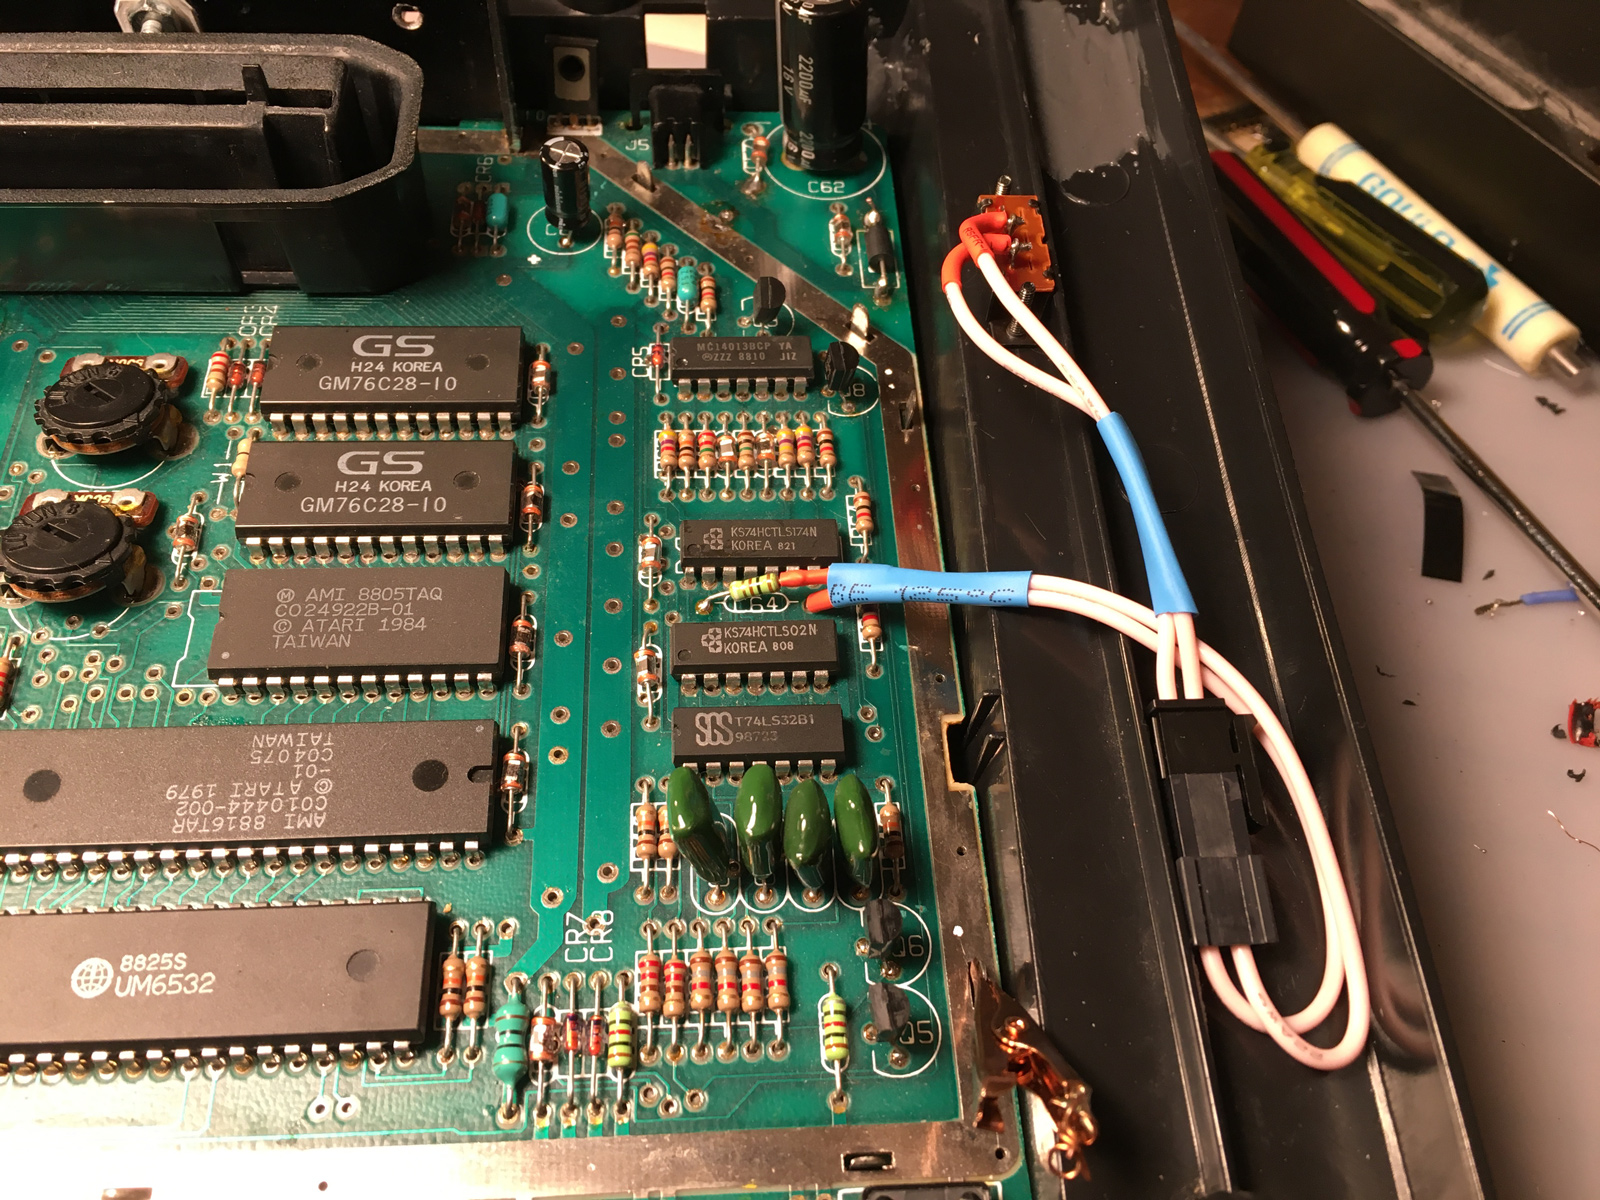
One finishing (P-)touch:
31a-switch_final_p_touch.jpg


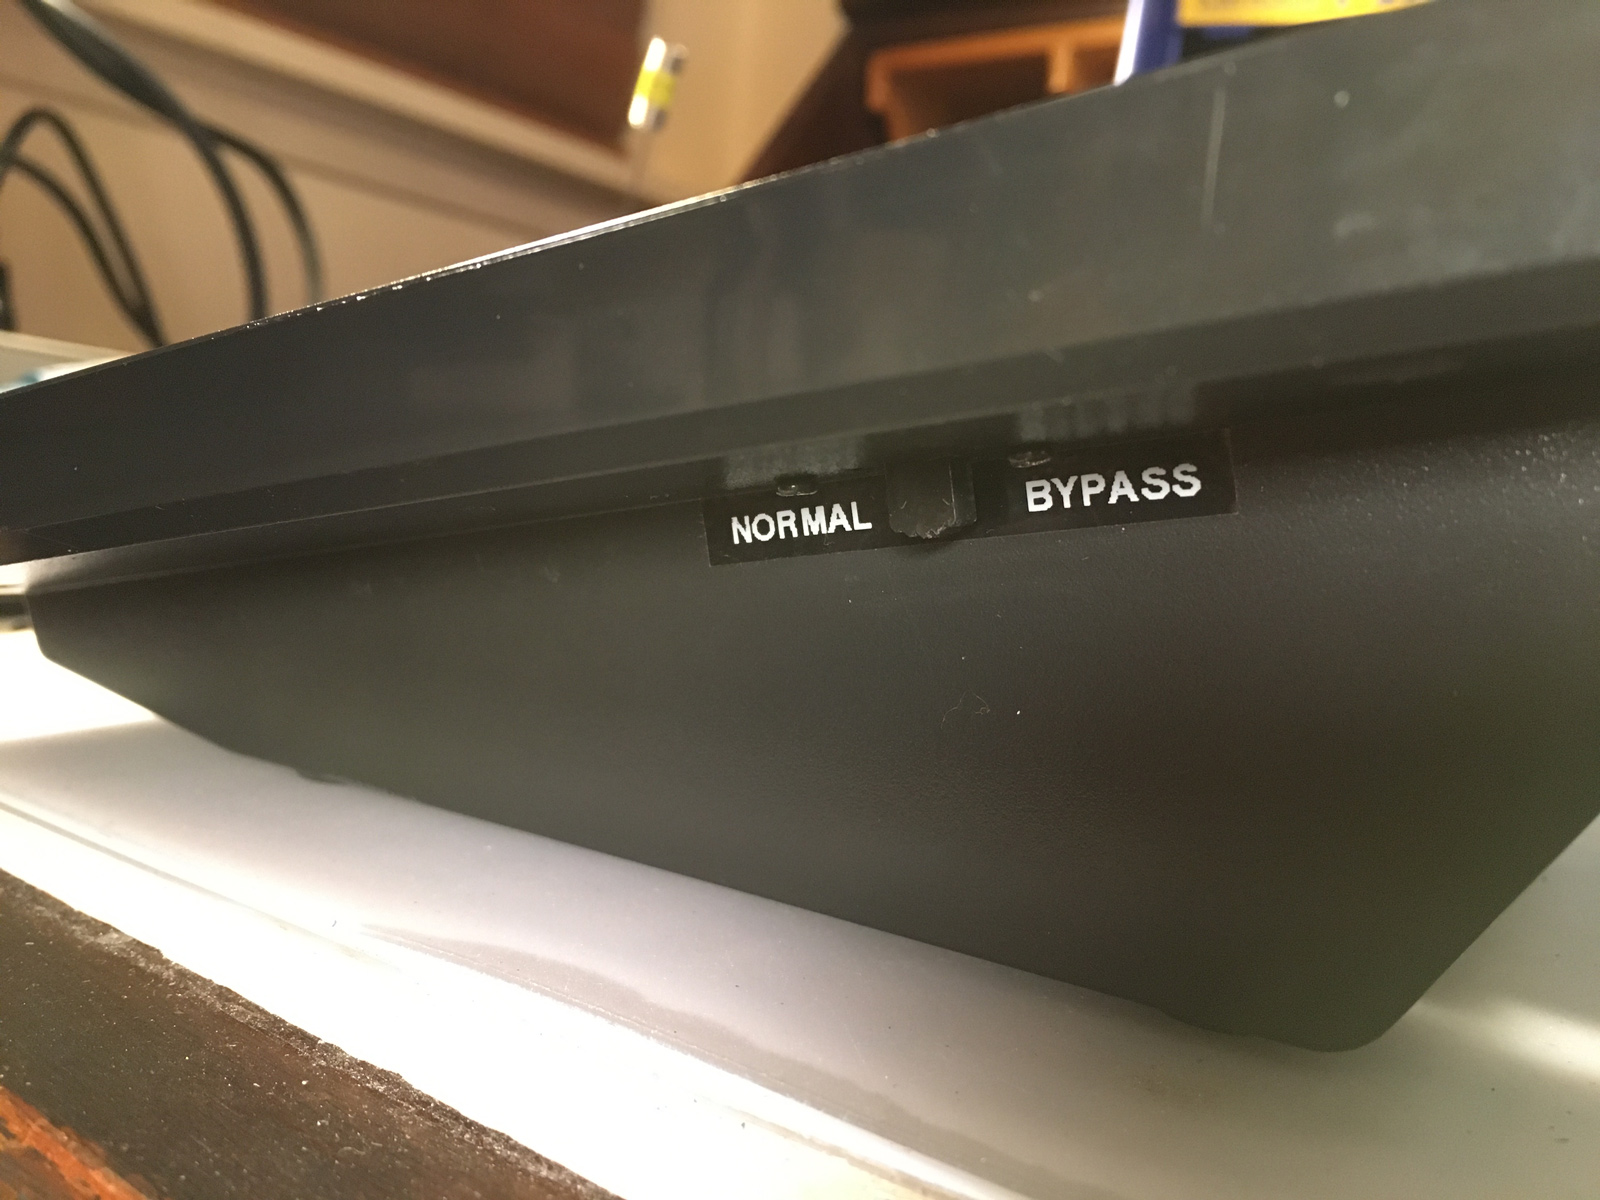
Before final reassembly, it's time to clean off the solder blob on the RF shield leftover from the previous mod:
32a-rf_solder_glob.jpg


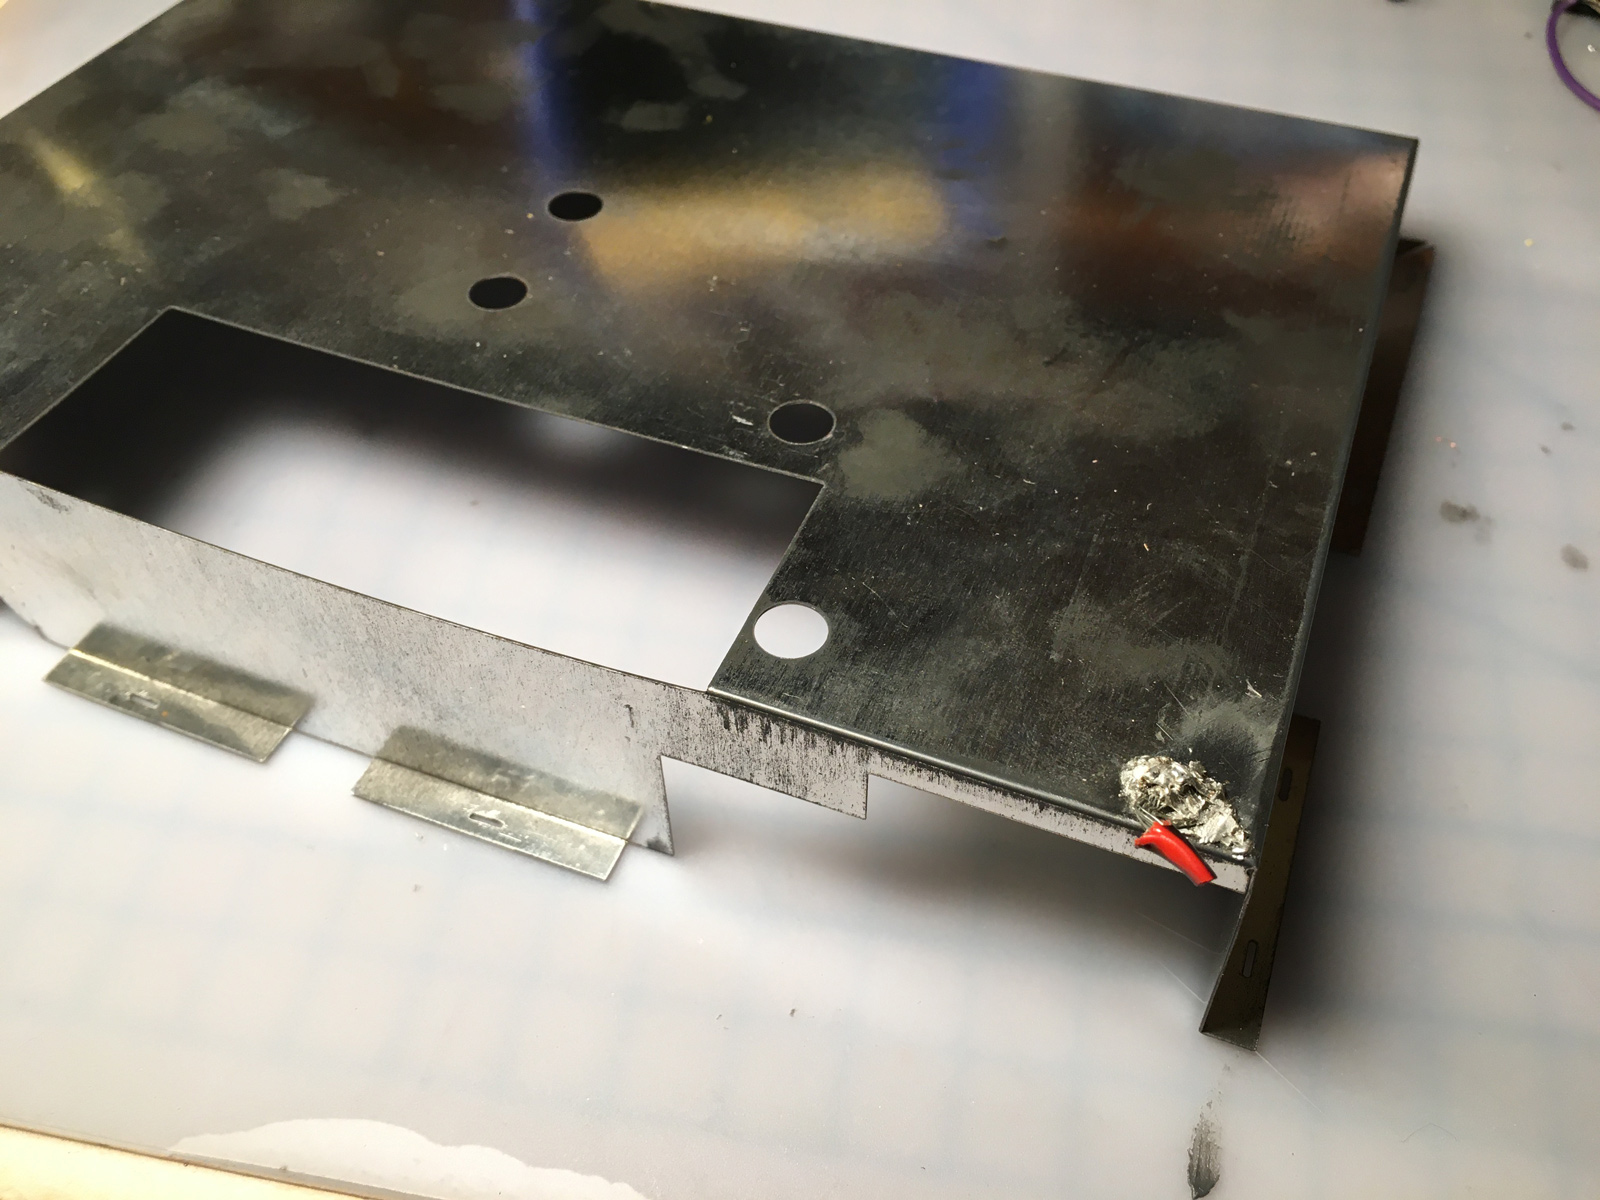
And to clean up the solder blobs and adhesive gunk on the inside of the shield:
32b-rf_inside_mess.jpg


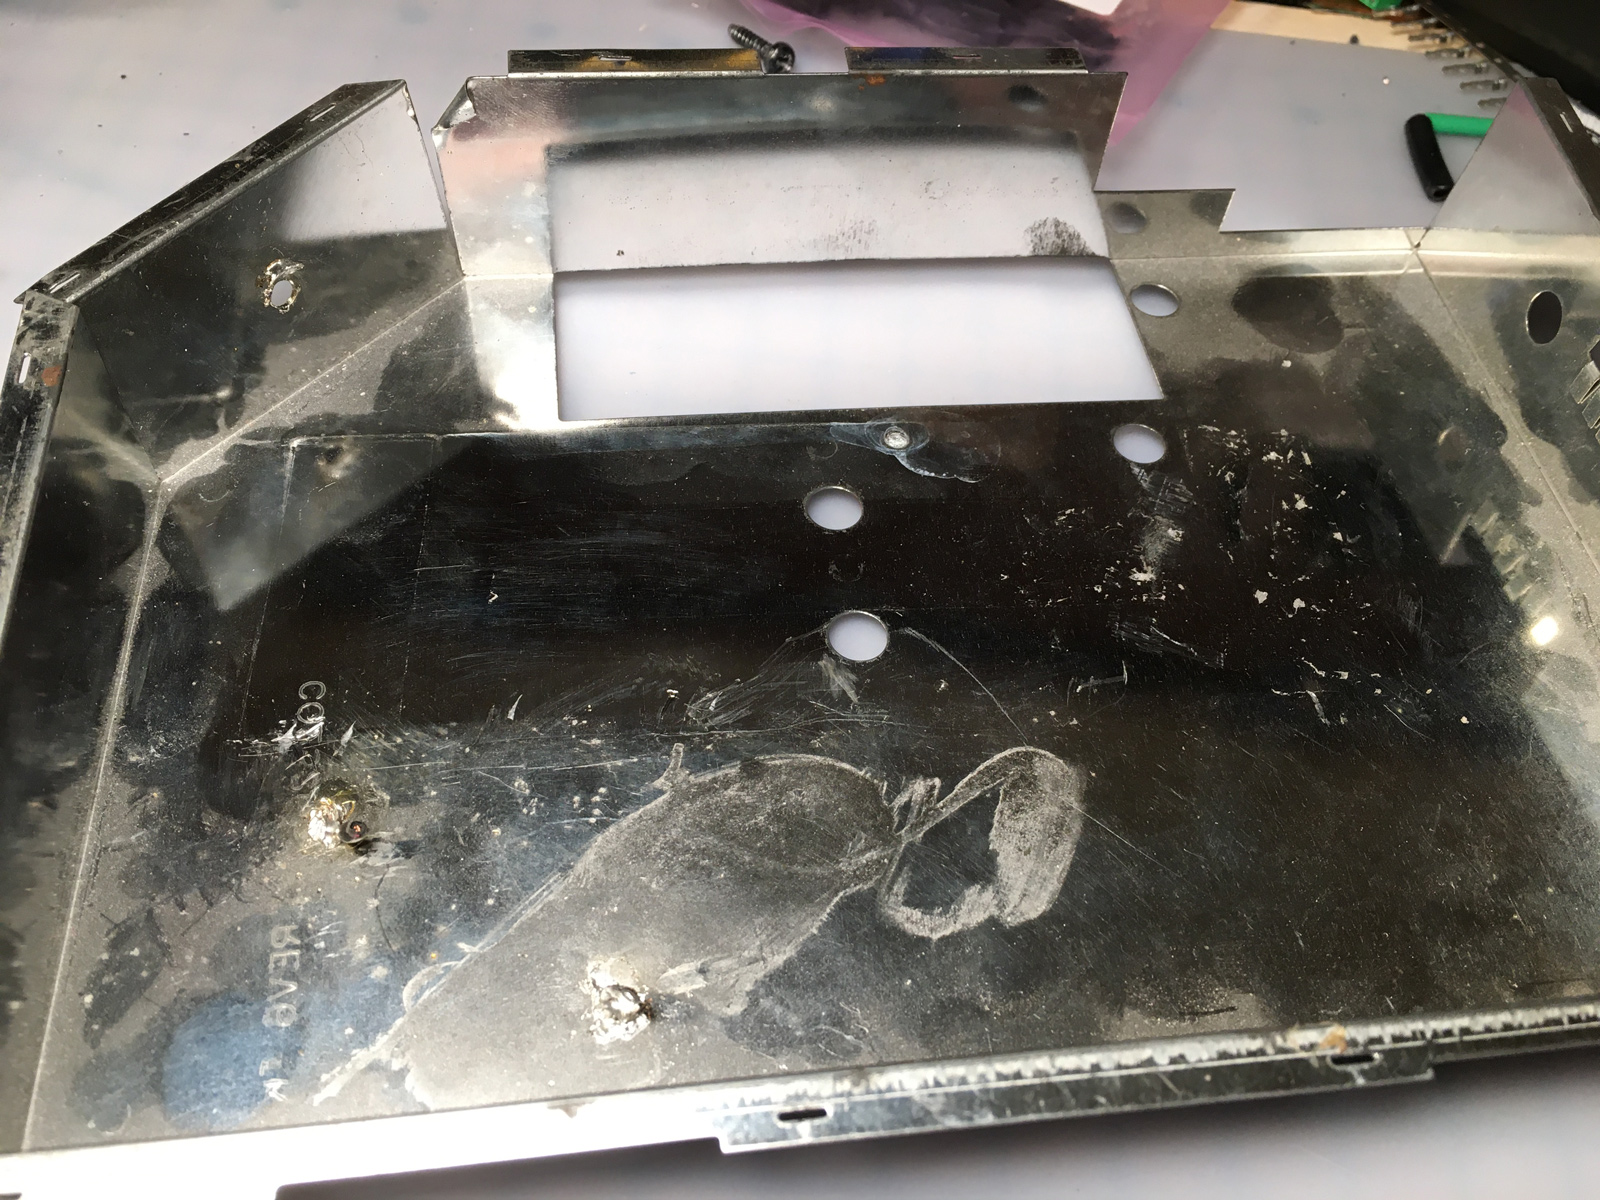
Also, I needed to make a small notch for the Compatibility Switch™ wire to feed through:
33-snip_snip.jpg


I covered the notch from both sides with electrical tape to protect the wires, and cut a slot for the wires to feed through:
34-switch_passthrough.jpg


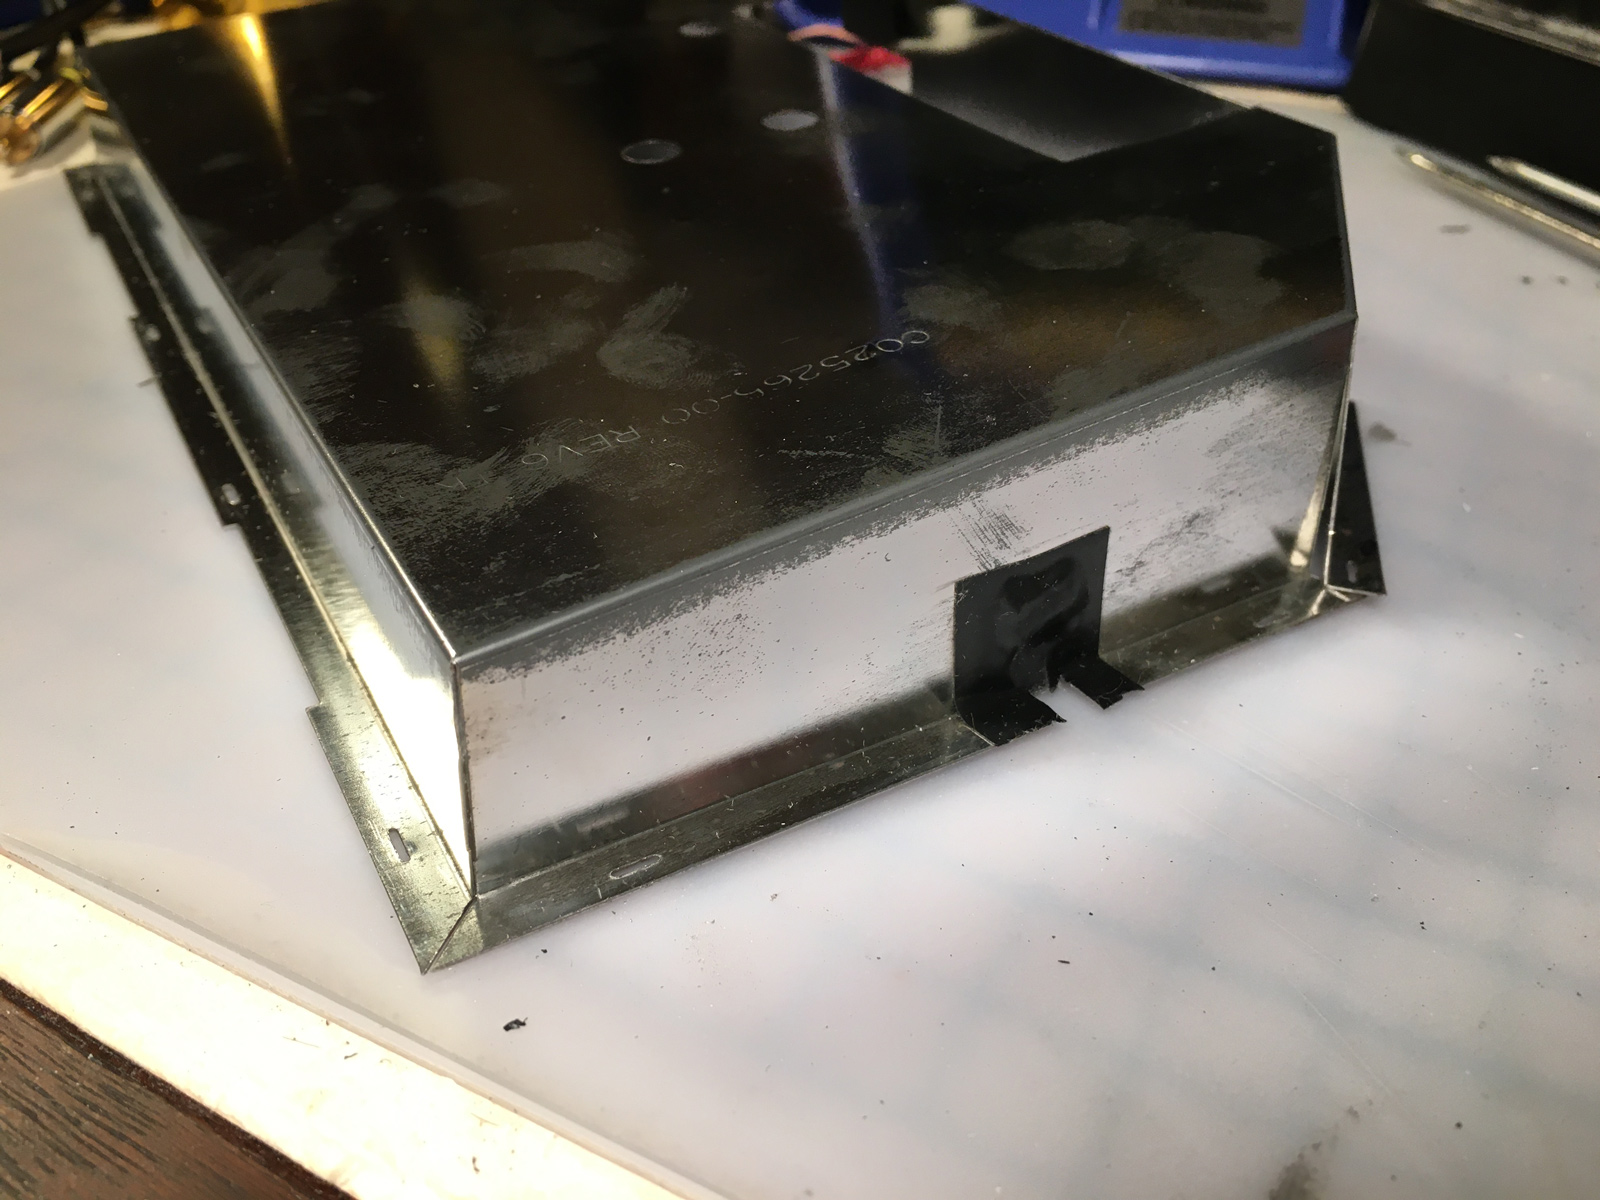
On the expansion port side, I did the same thing, but left a larger area for the wires:
36-mod_wire_passthrough.jpg


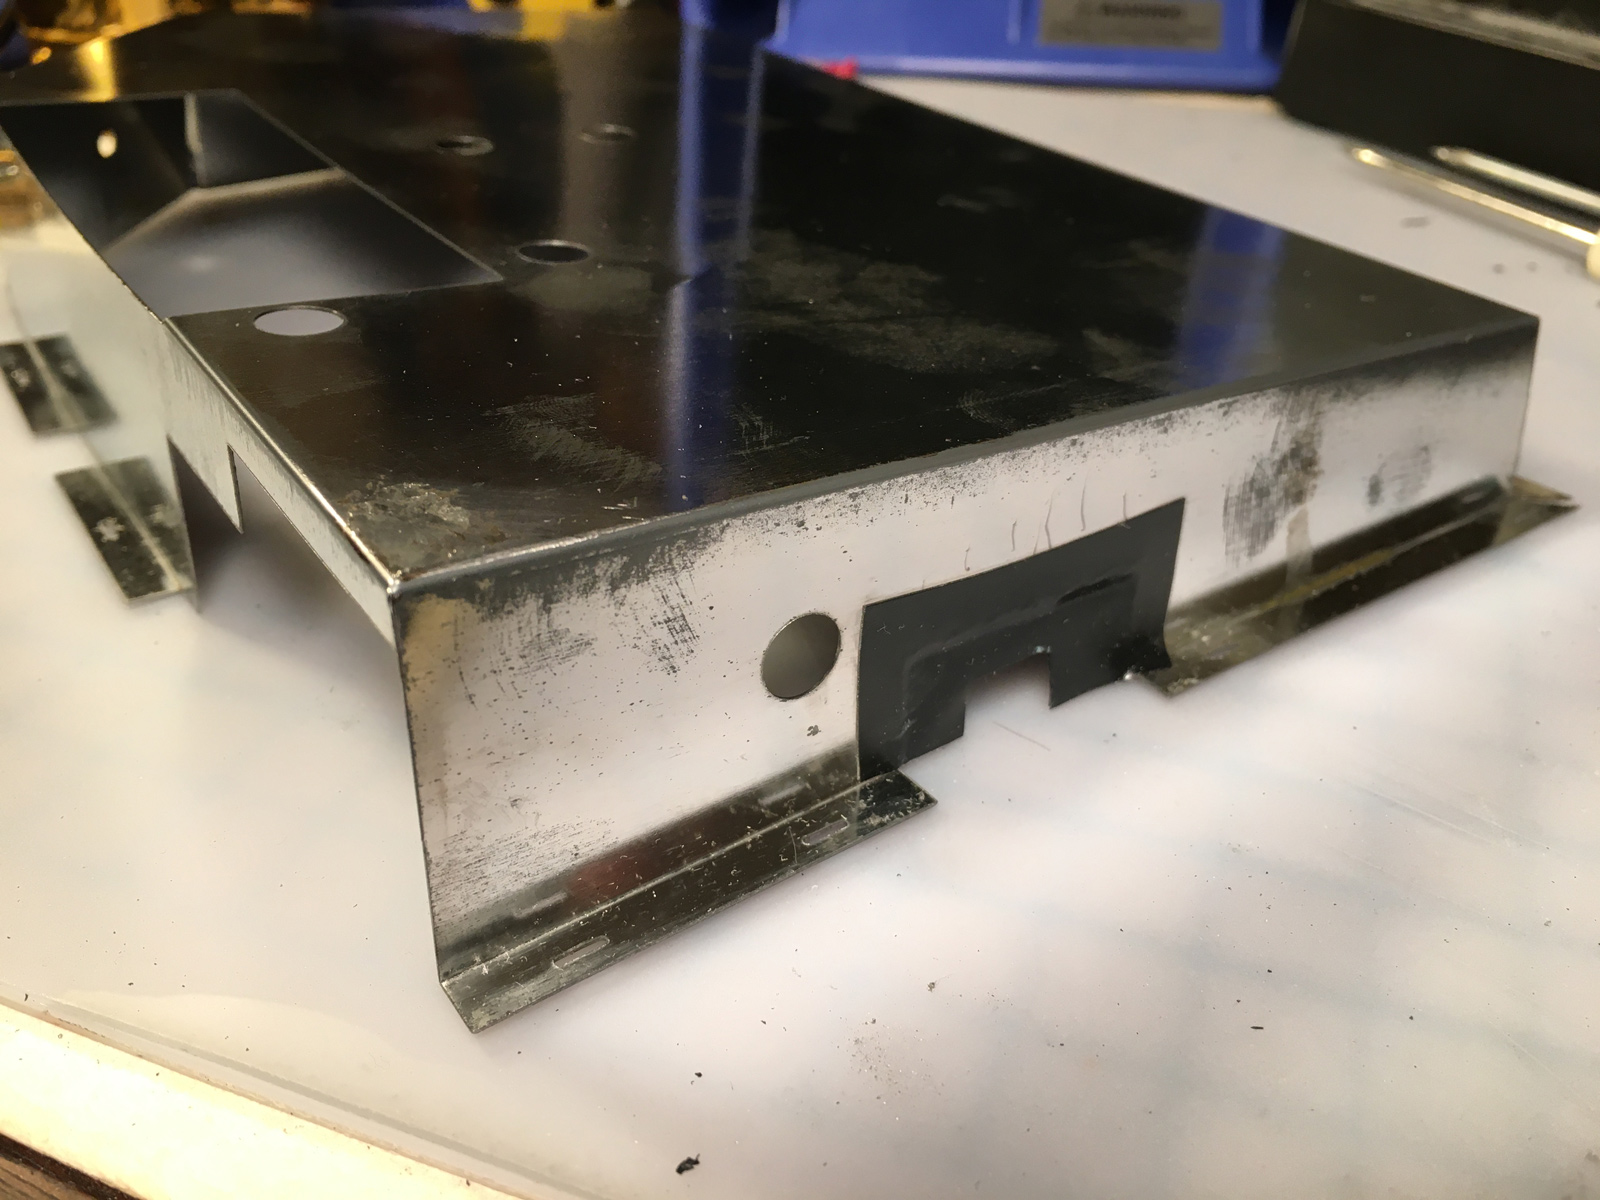
I removed the solder and cleaned up the adhesive, then polished up the whole thing with some more Flitz. Shiny!
36a-mirrored.jpg


It took a lot of solder wick to get the blobs off. I couldn't get rid of the fingerprints though - they're etched through the finish into the bare metal beneath. I'm wondering if this happened at the factory when it was first assembled?
38-still_finger_printy.jpg


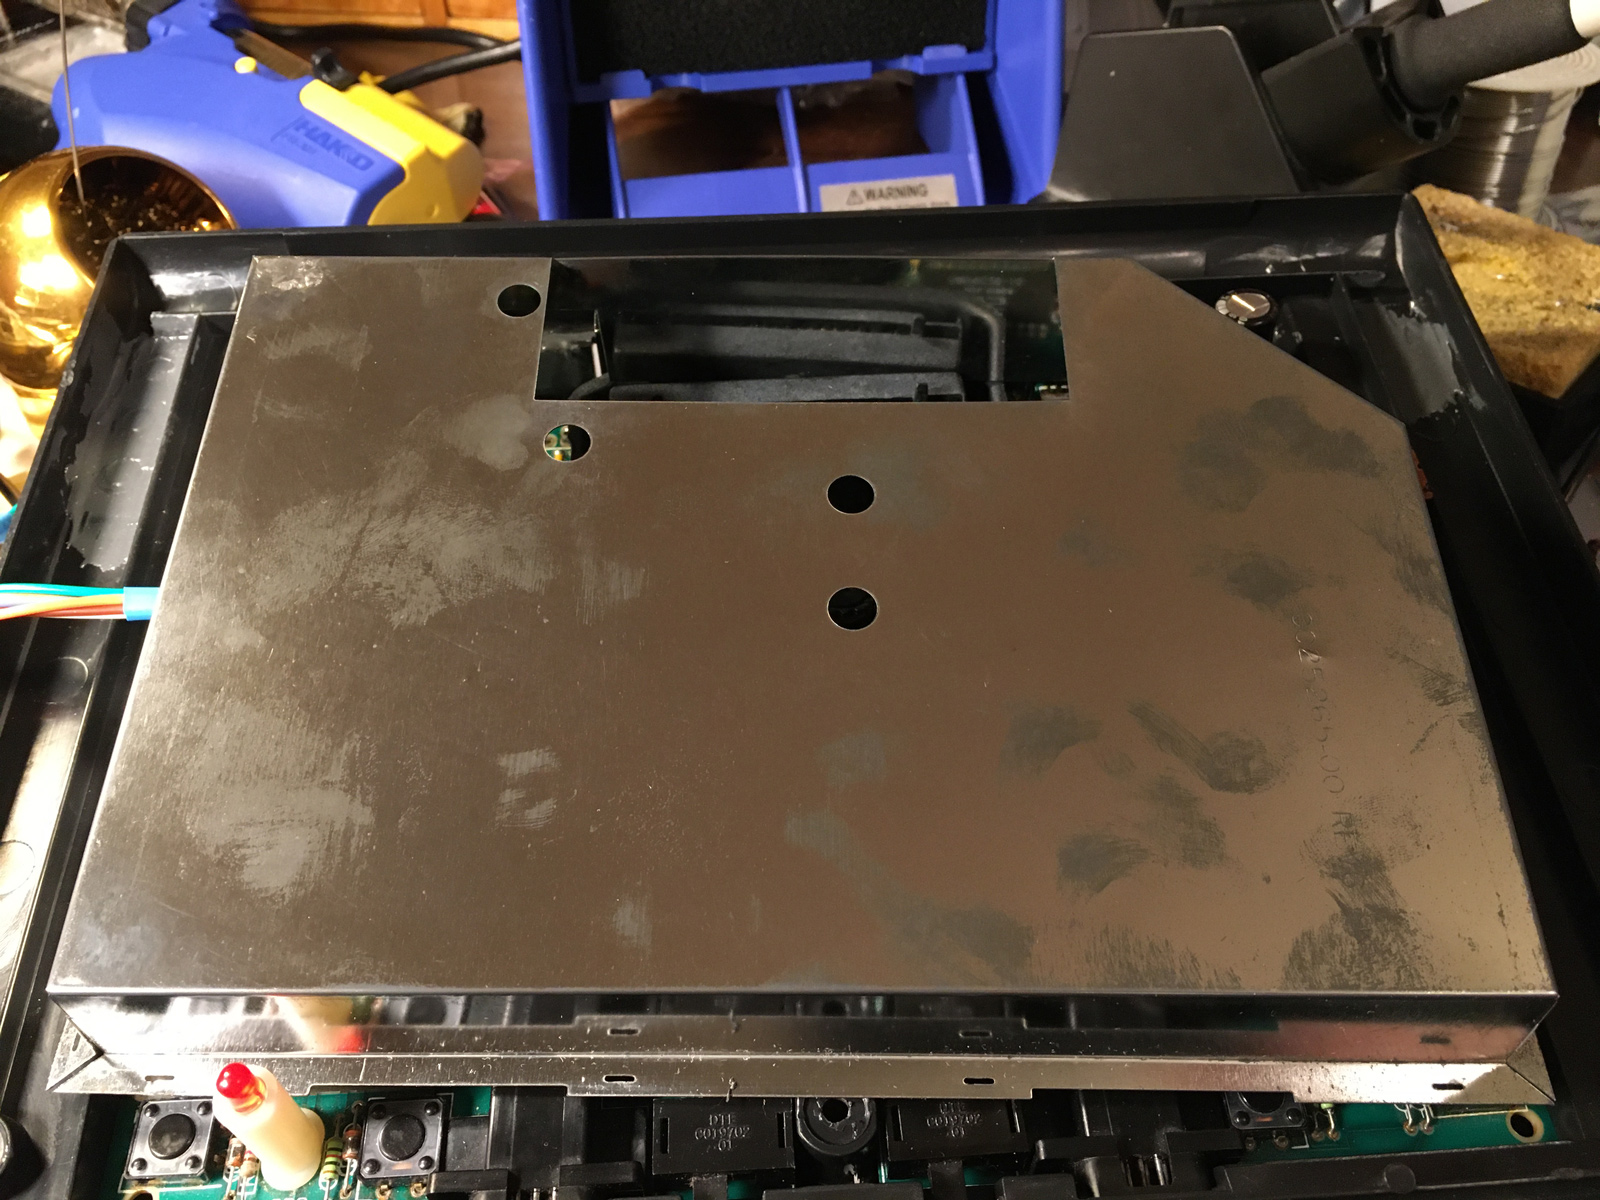
With everything ready to be put back together, it's time for some final testing:
43-finished_guts.jpg


Thanks to Trebor for adding a POKEY 4000 version of the 7800 Utility Cart to his ROM pack! I can see the POKEY in my Concerto cart now:
44a-console_info.jpg


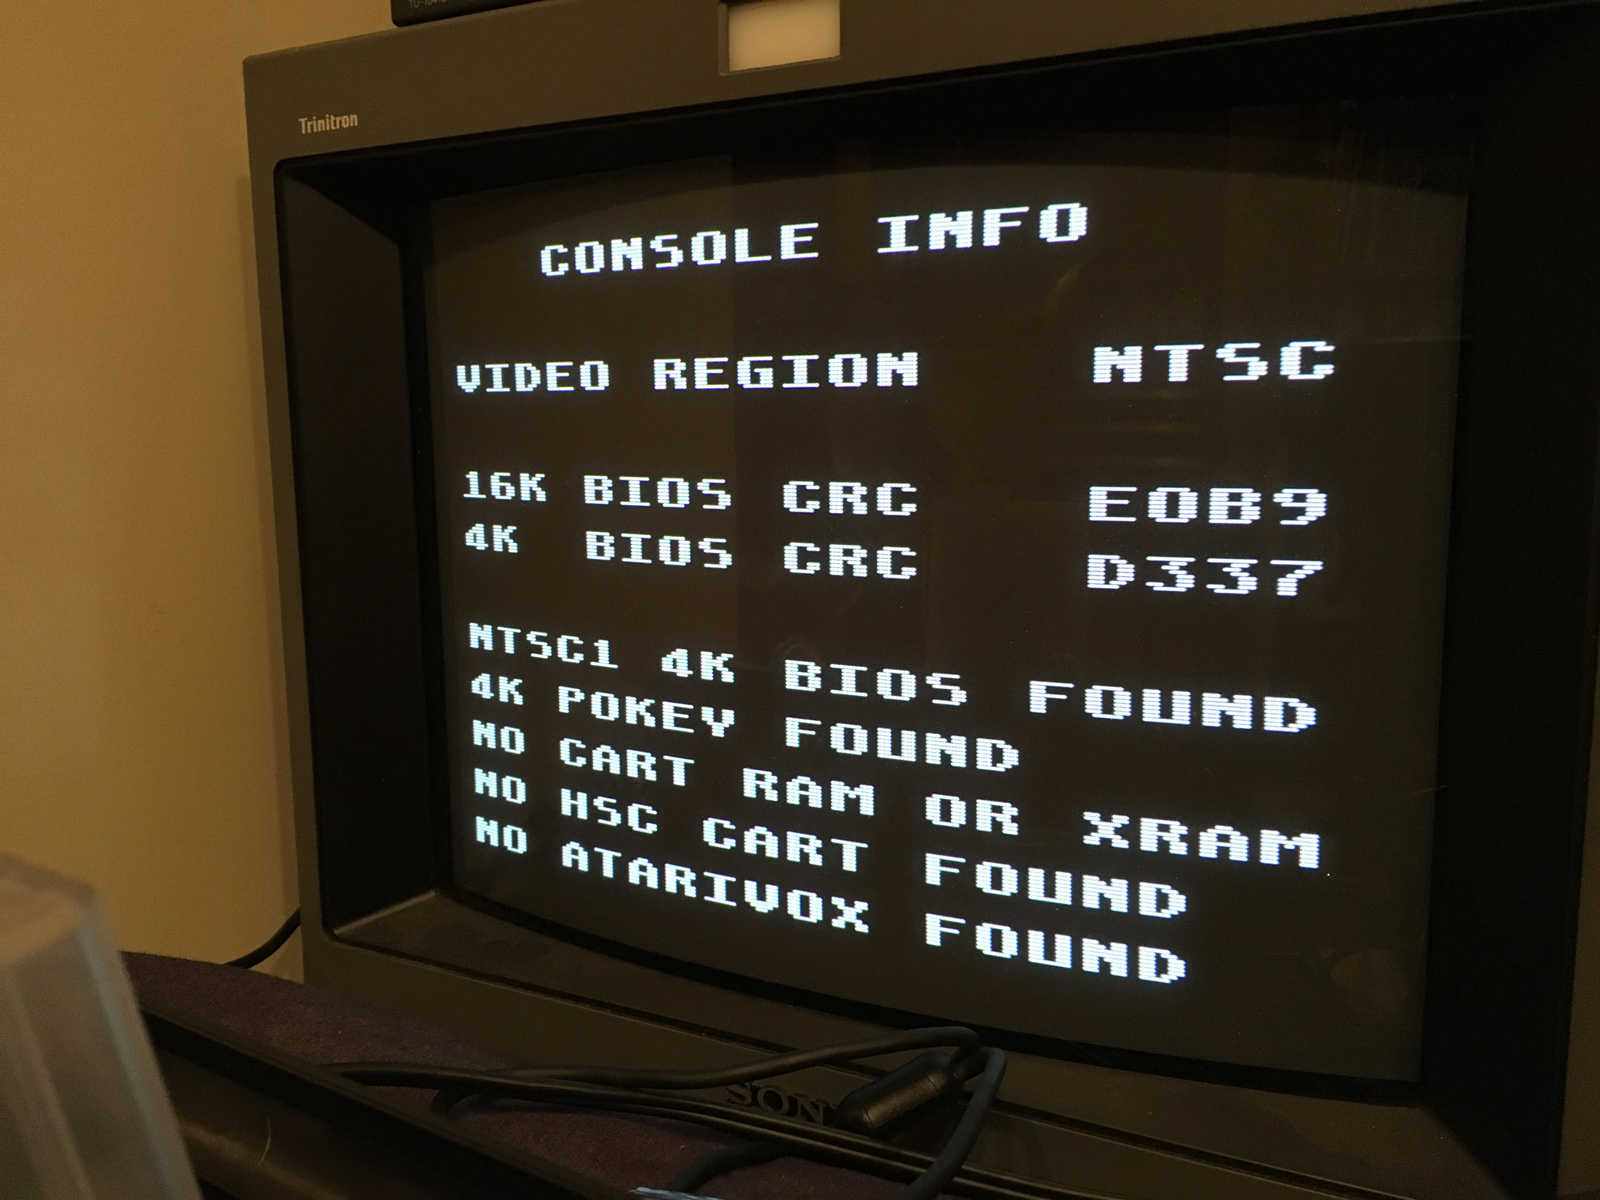
And it works! (You'll have to pretend to hear it.)
44b-working_pokey.jpg


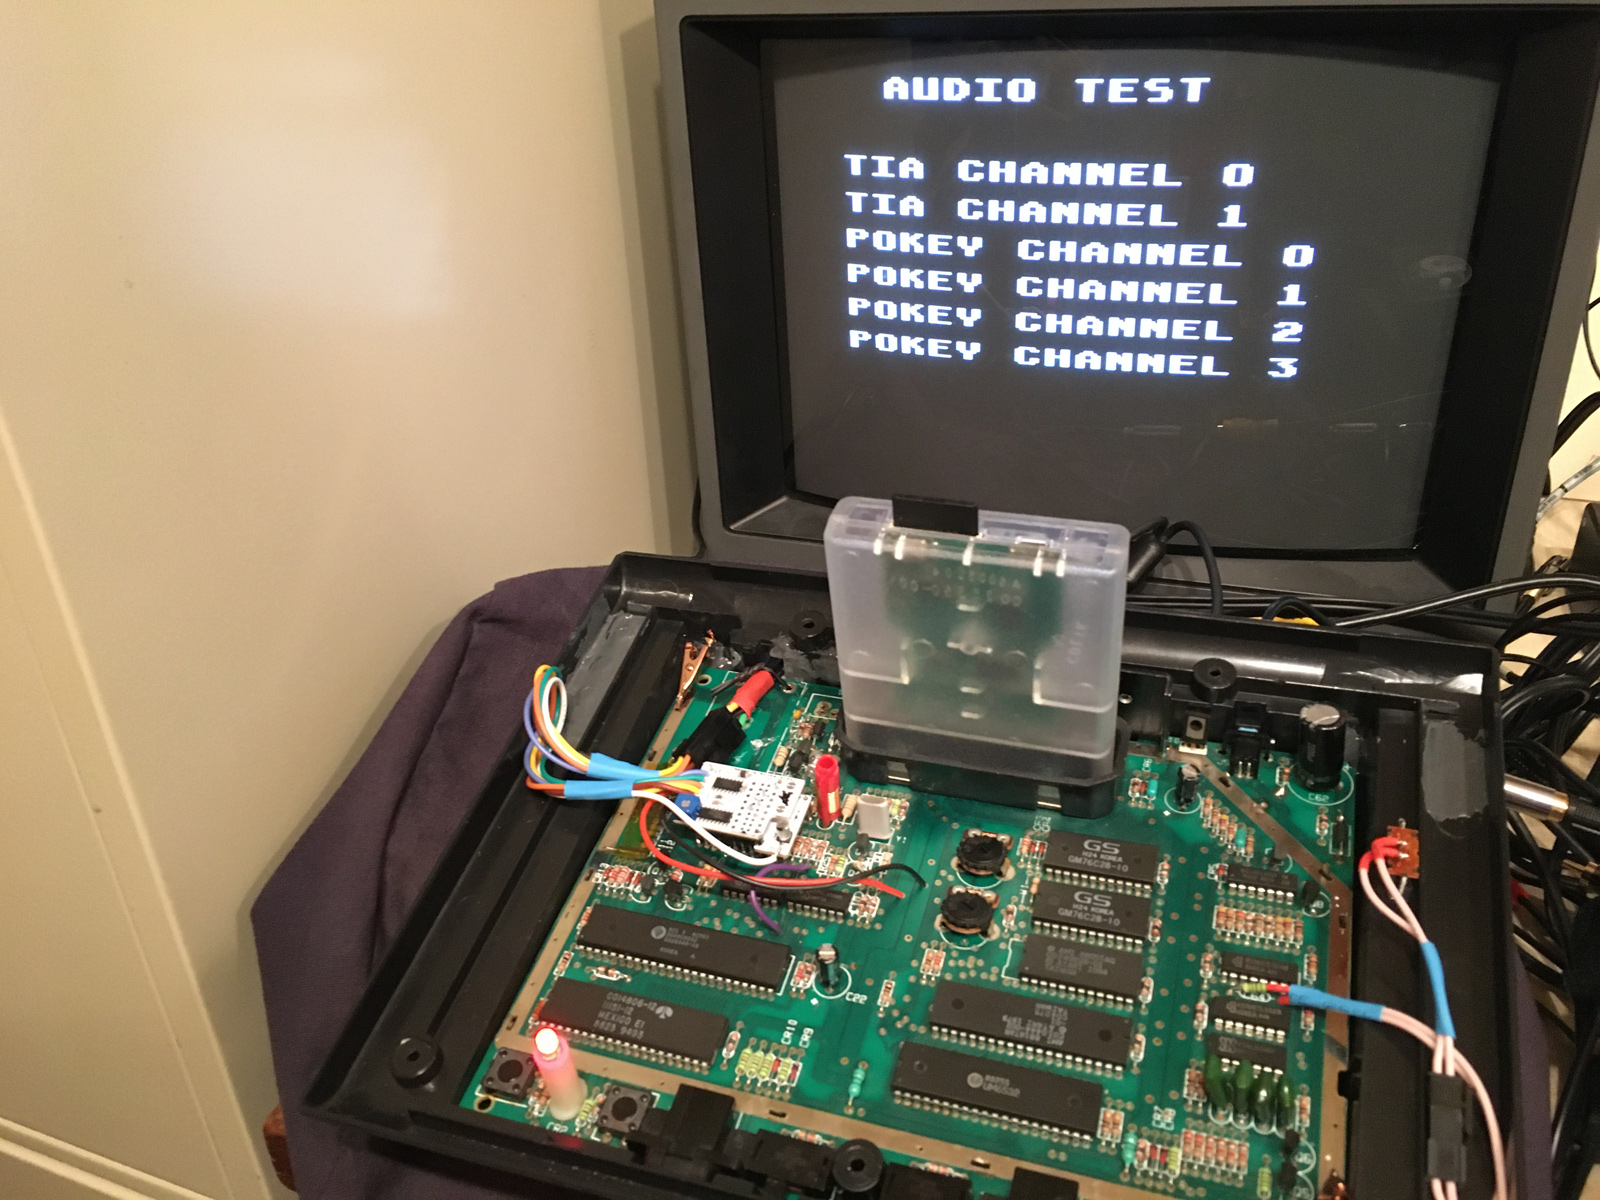
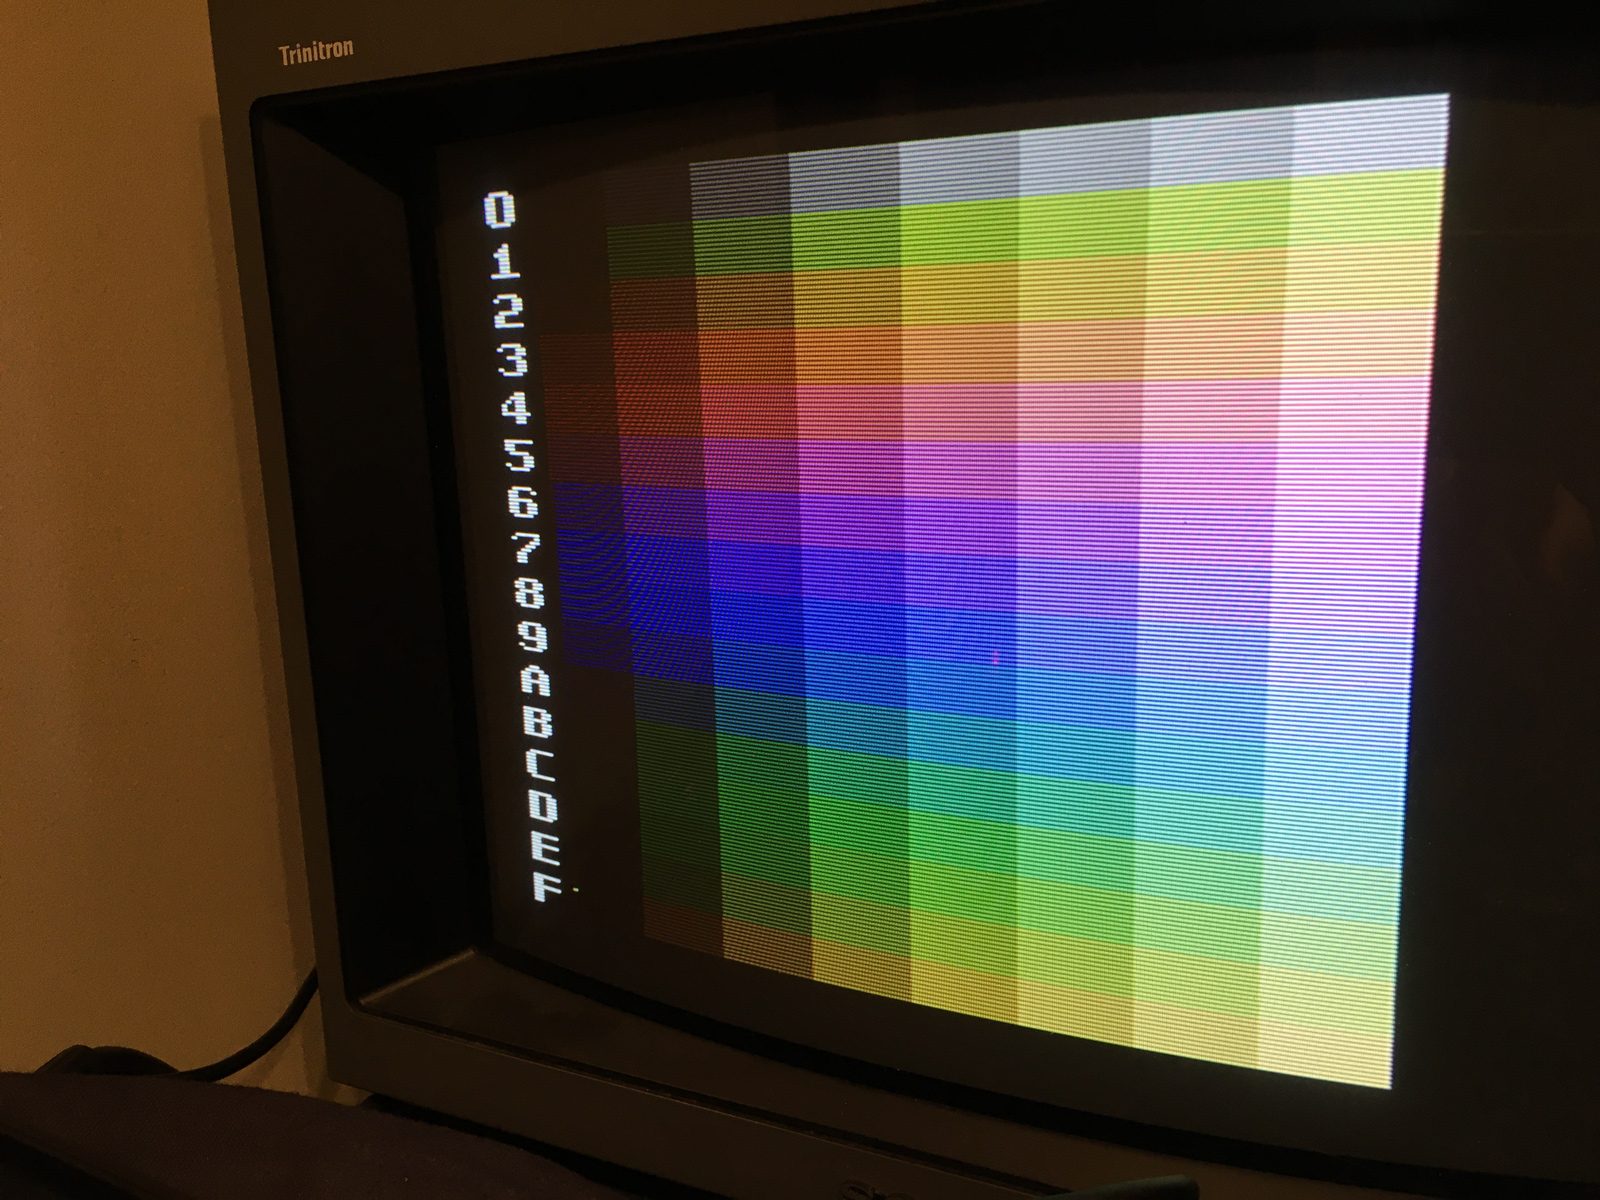
2600 video looks good:
45-2600_color_adjust.jpg
46-2600_color_grid.jpg


7800 video looks good!
47-7800_color_grid.jpg


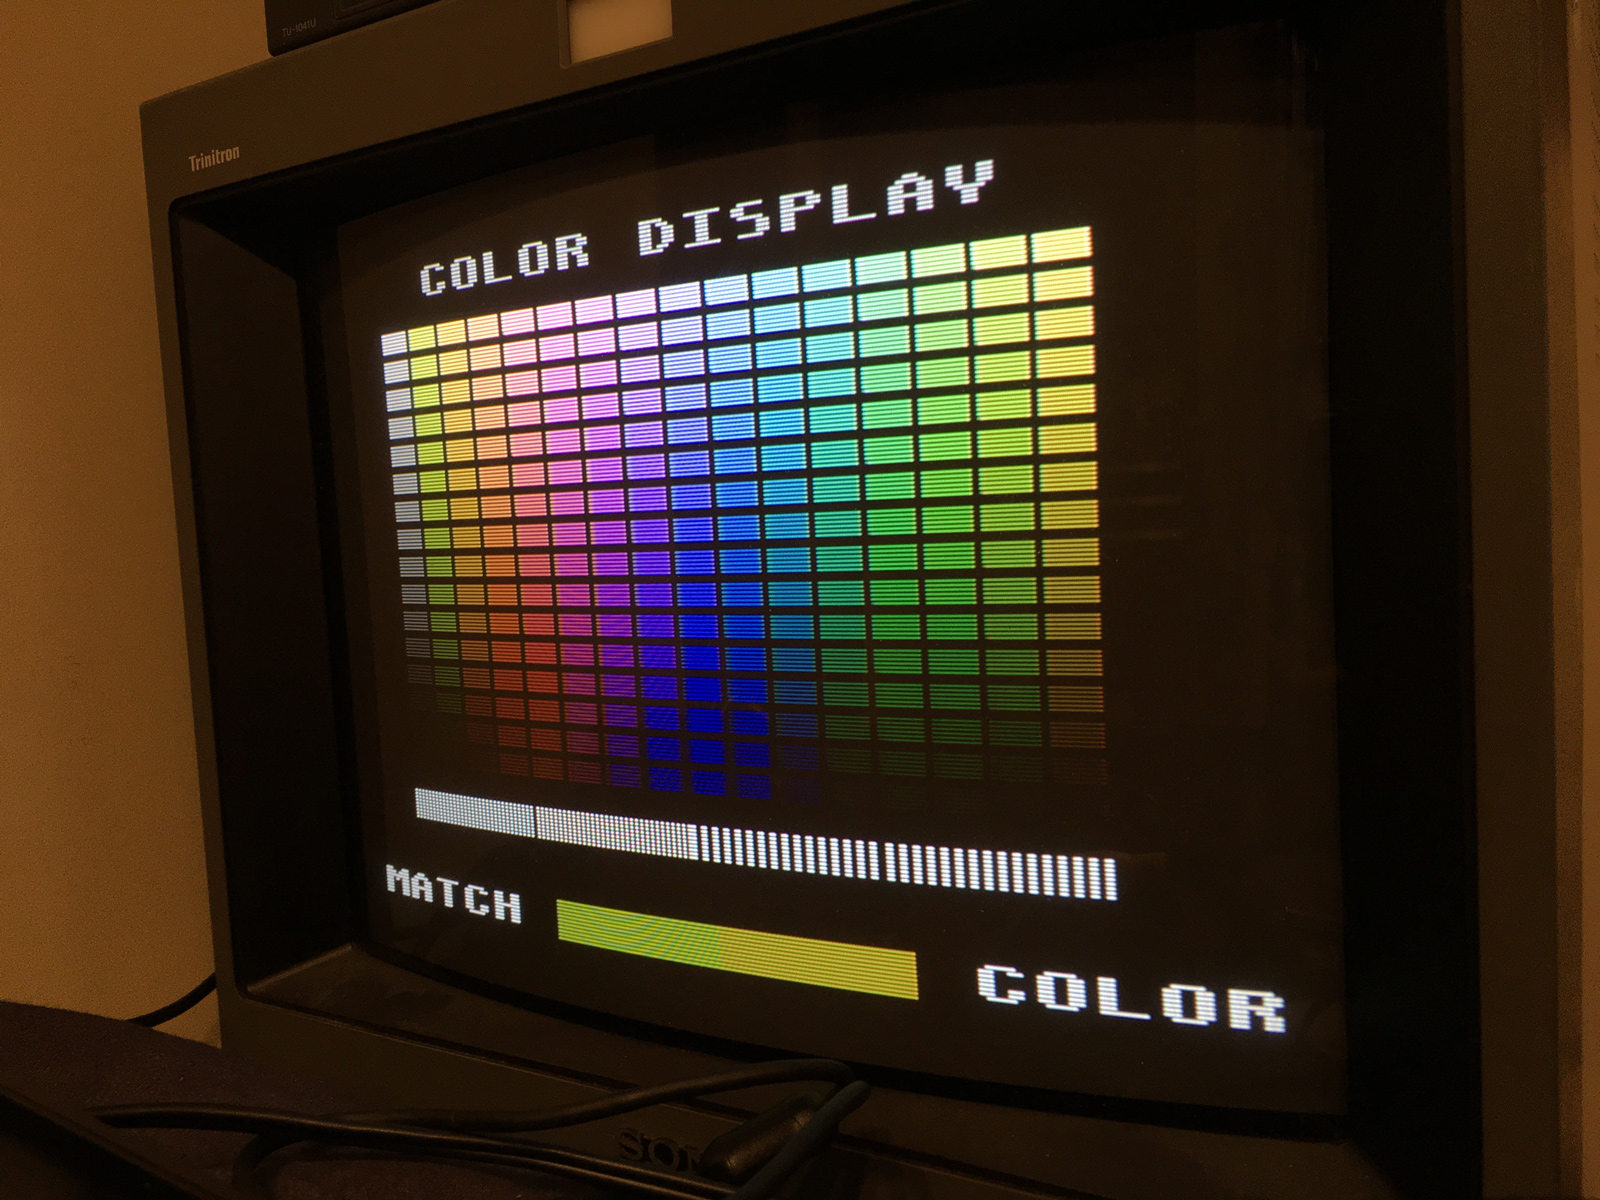
Right - time to put this back together! But first... I'm missing a screw. Rather, the 7800 is. Fortunately, Atari used the same sized screws for other things - in this case, CX-40 joysticks. So I grabbed a spare screw from a broken joystick, colored the top of it black to match the rest, and NOBODY WILL EVER KNOW!! Unless they read this. So, like... five people.
49-screwed.jpg


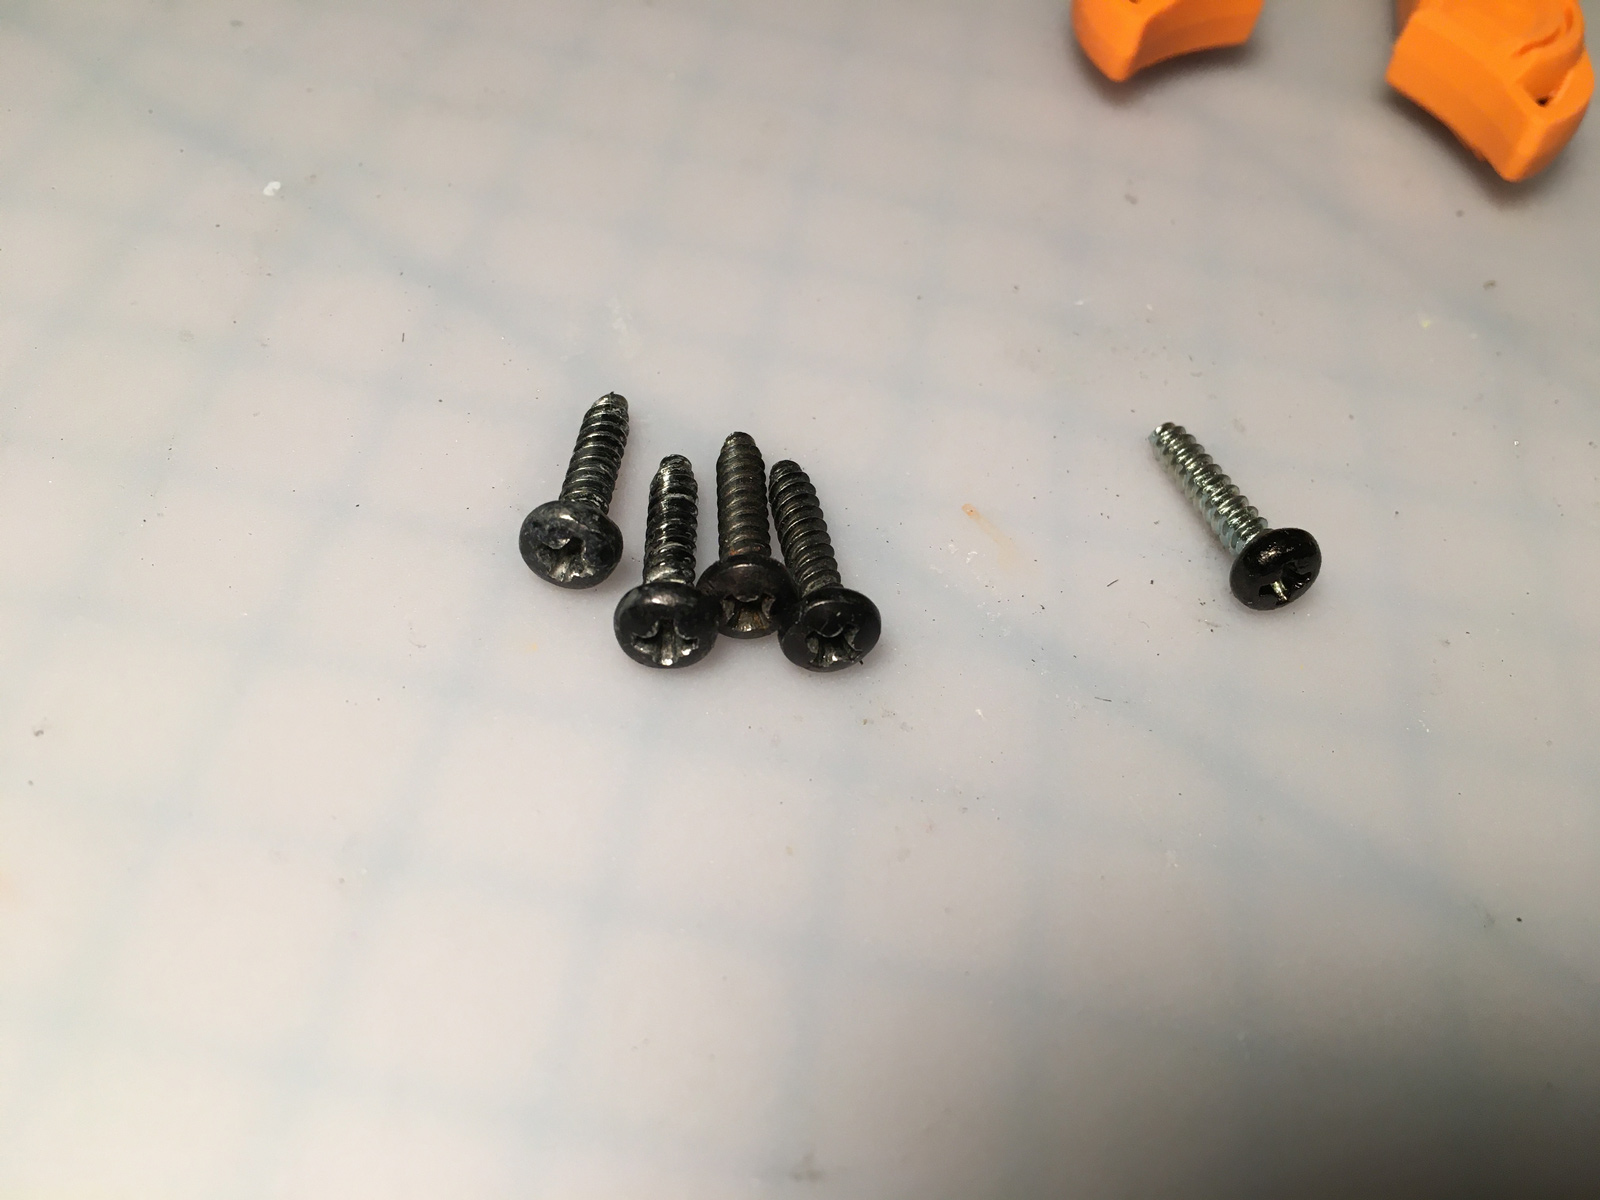
Cables are routed... RF shield is reattached... time to button 'er up!
50-ready_for_the_top.jpg


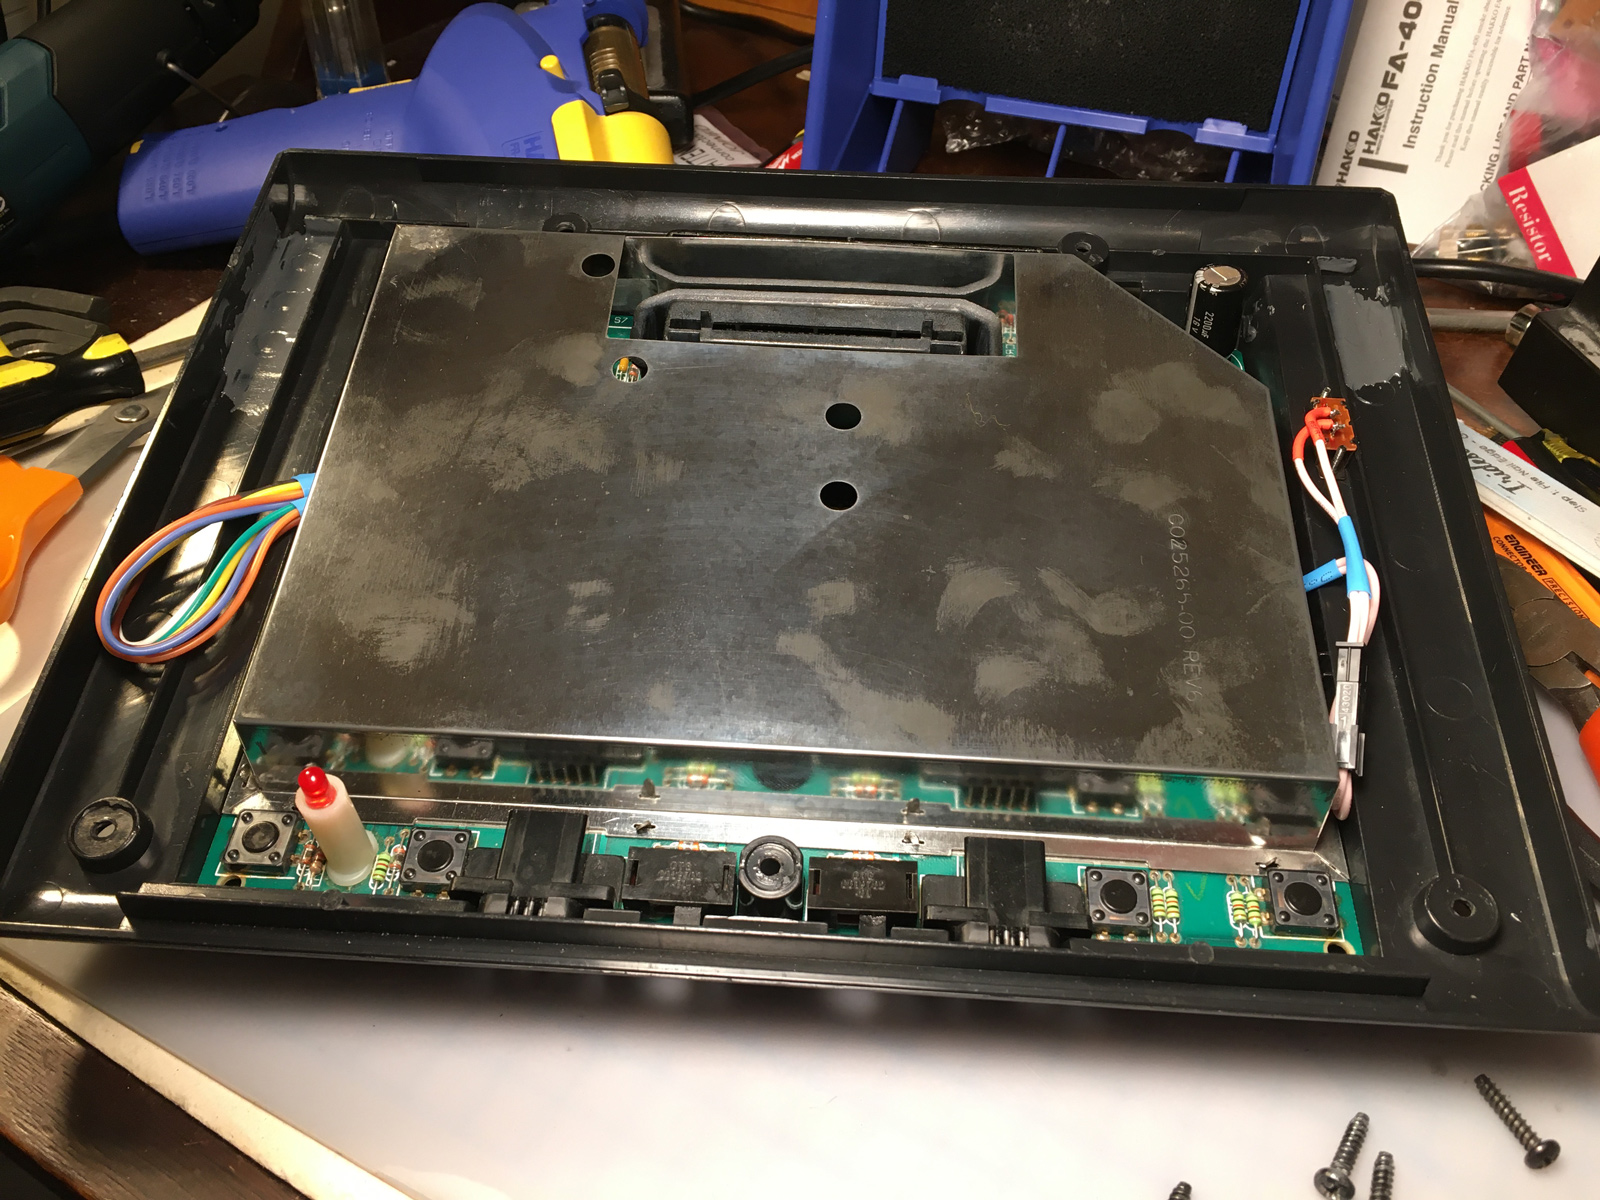
Underneath, showing where the cables exit. Also, in case anybody wants to add this to the list...
51-finished_underside.jpg


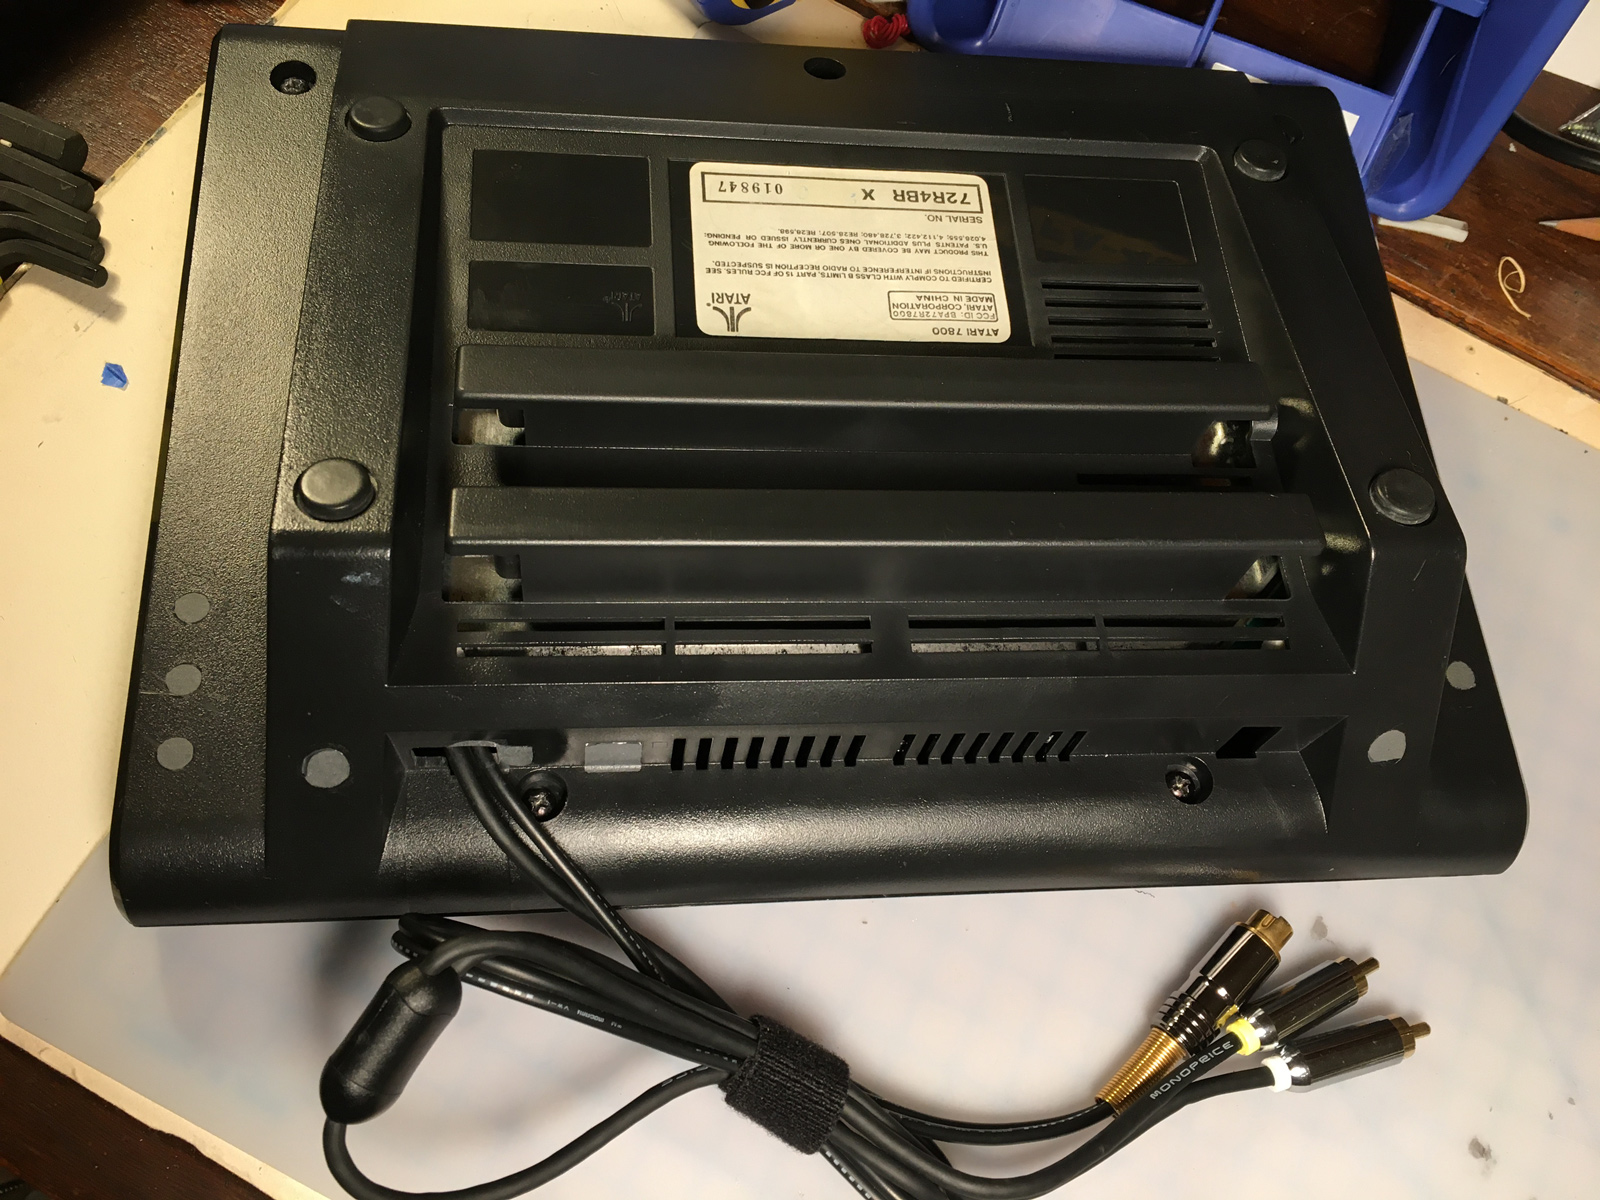
The Magic Switch of Compatibility™! FWIW - every Activision game I've tested works with the switch in either position. :roll: However, I've been testing them on a Harmony cart, since my real carts are still packed away. But hey - it has the switch!
52-finished_switch.jpg


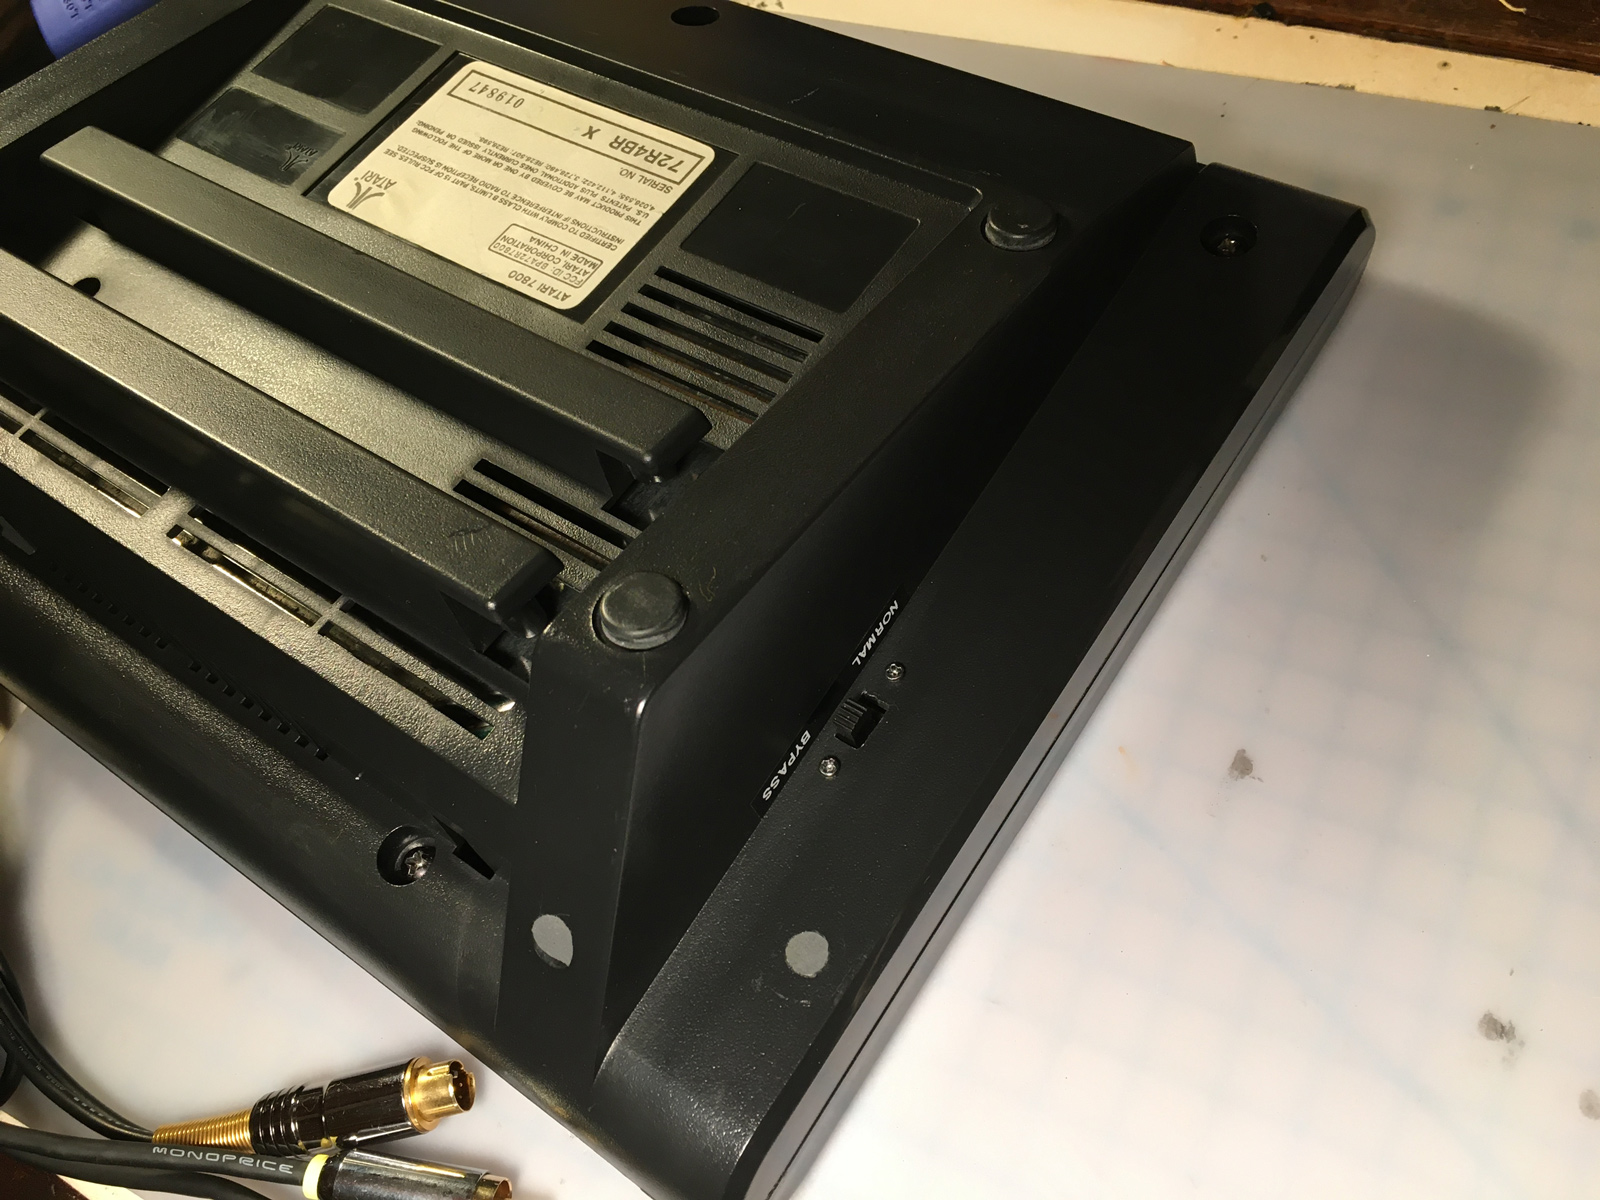
One more thing to add... it's always driven me up a wall that Atari didn't even care enough to label the difficulty switches. They barely even get mentioned in the manual, and even there they got them backwards! So this fixes that little problem:
53-diff_switch_labels.jpg


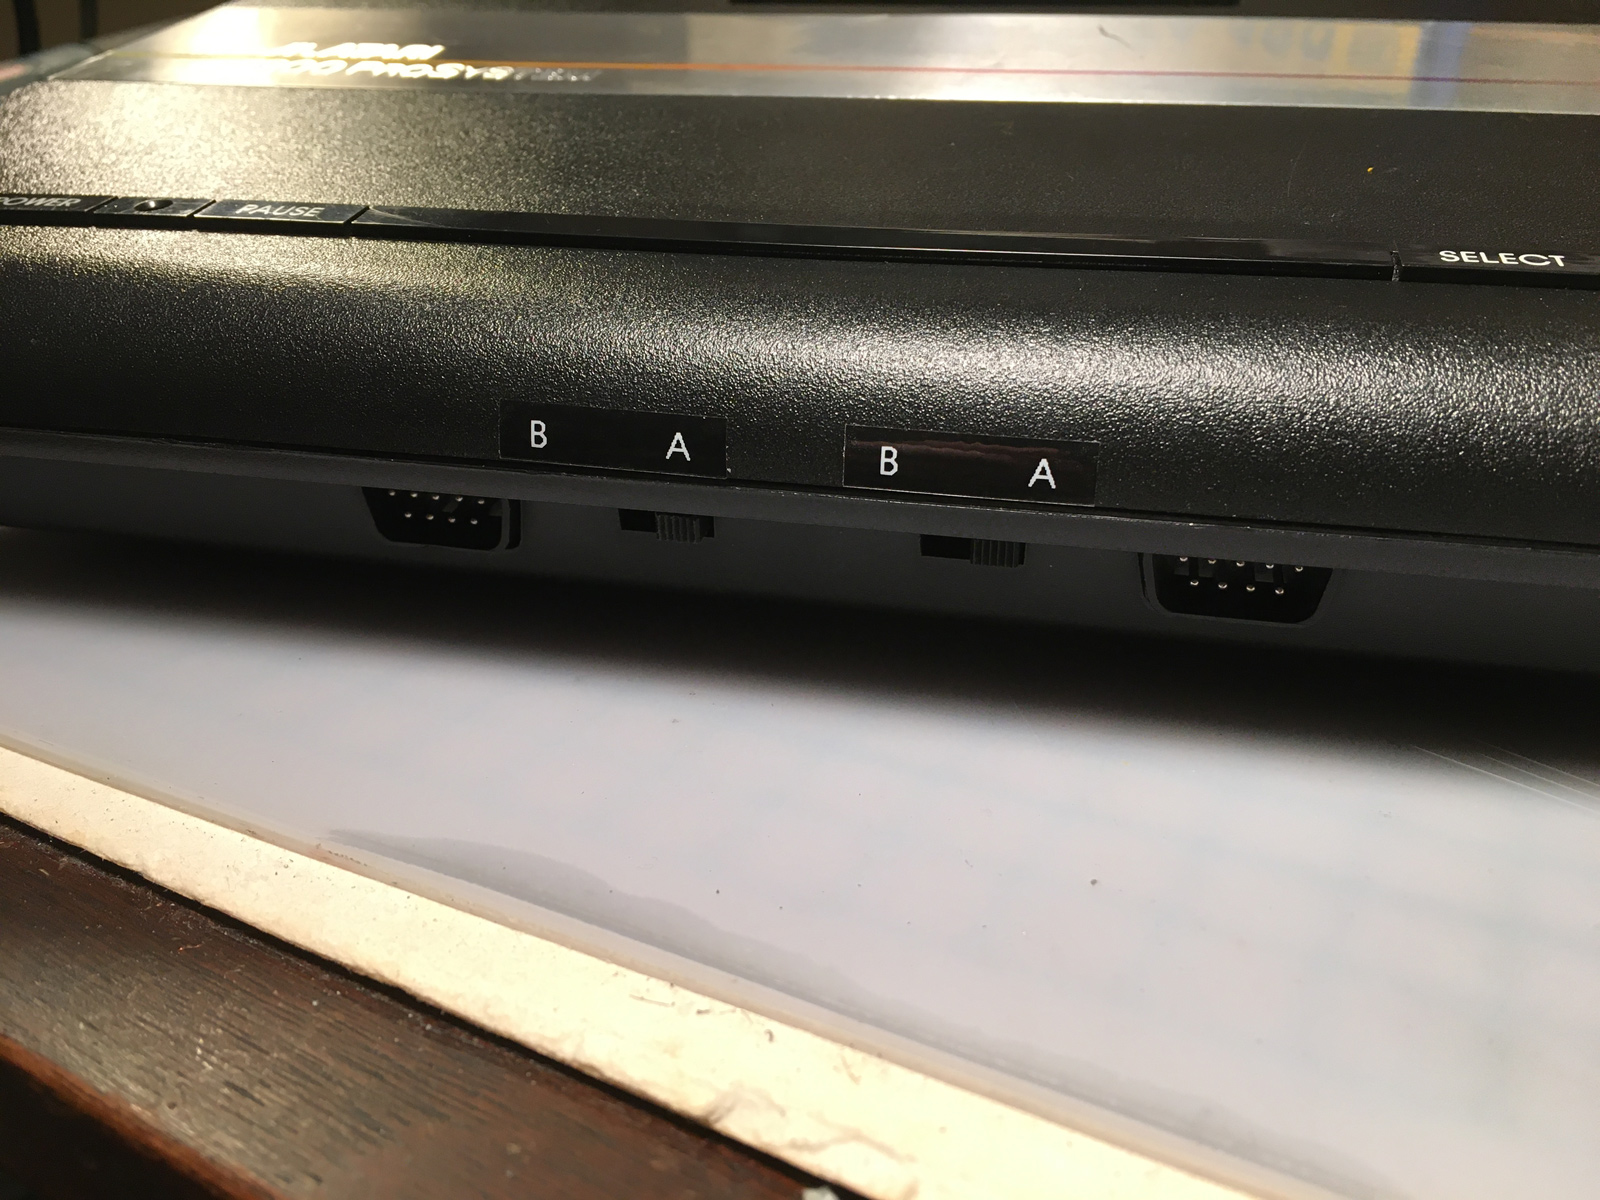
And the final, finished console! All cleaned up, fixed up, re-modded, and ready to play all of the awesome 7800 homebrews, Food Fight, and... well, the rest of the 7800 library is pretty-much crap. But it plays 2600 games, too!
54-beauty_shot.jpg


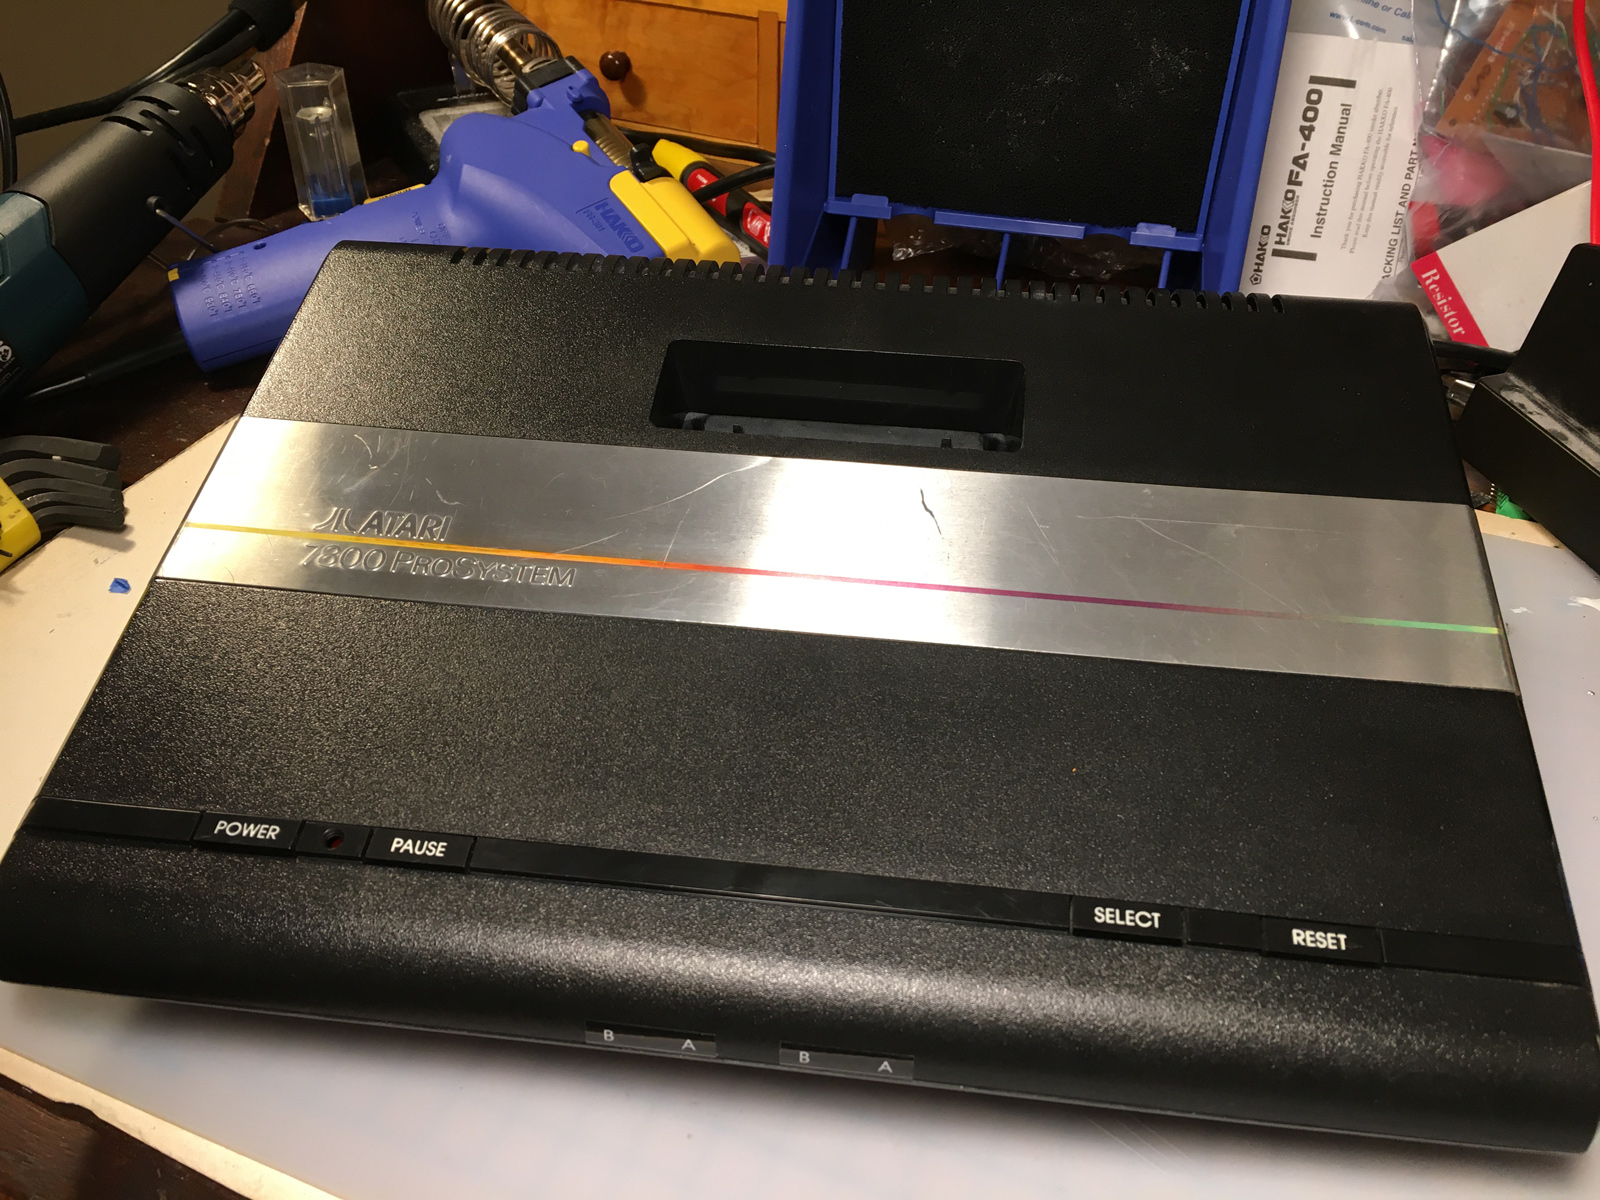
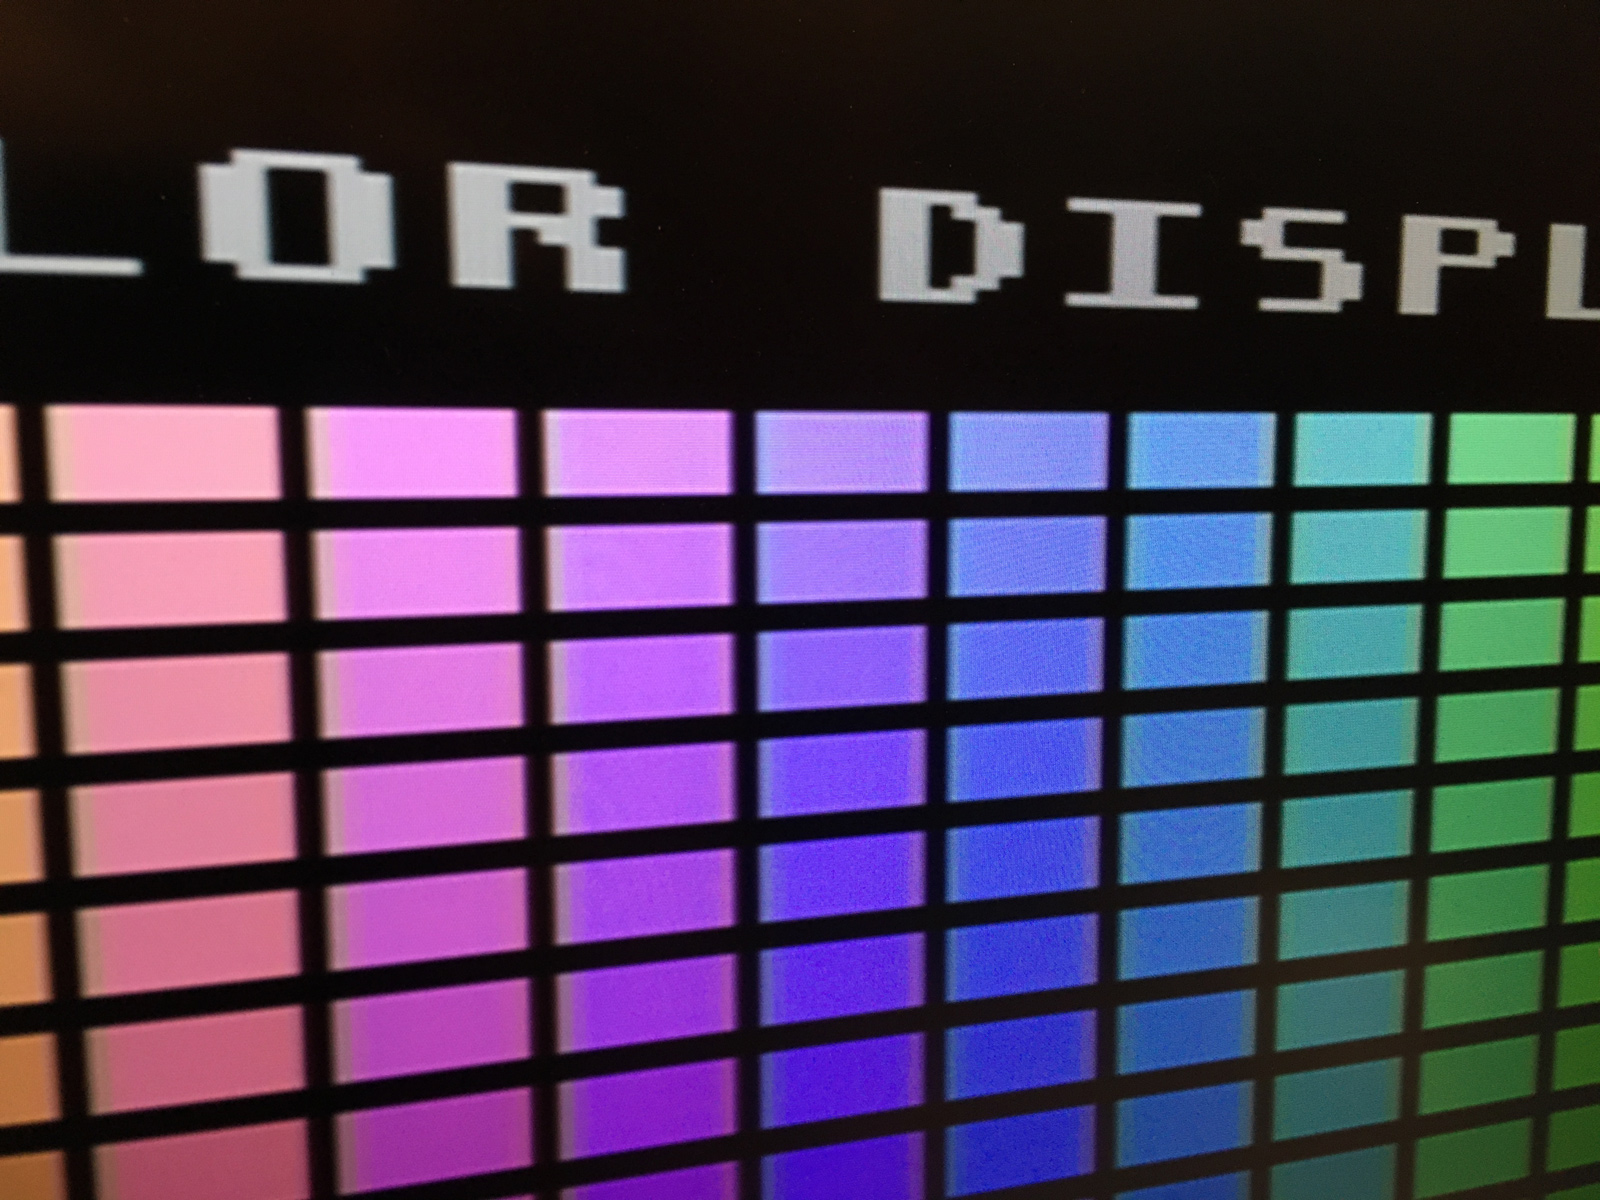
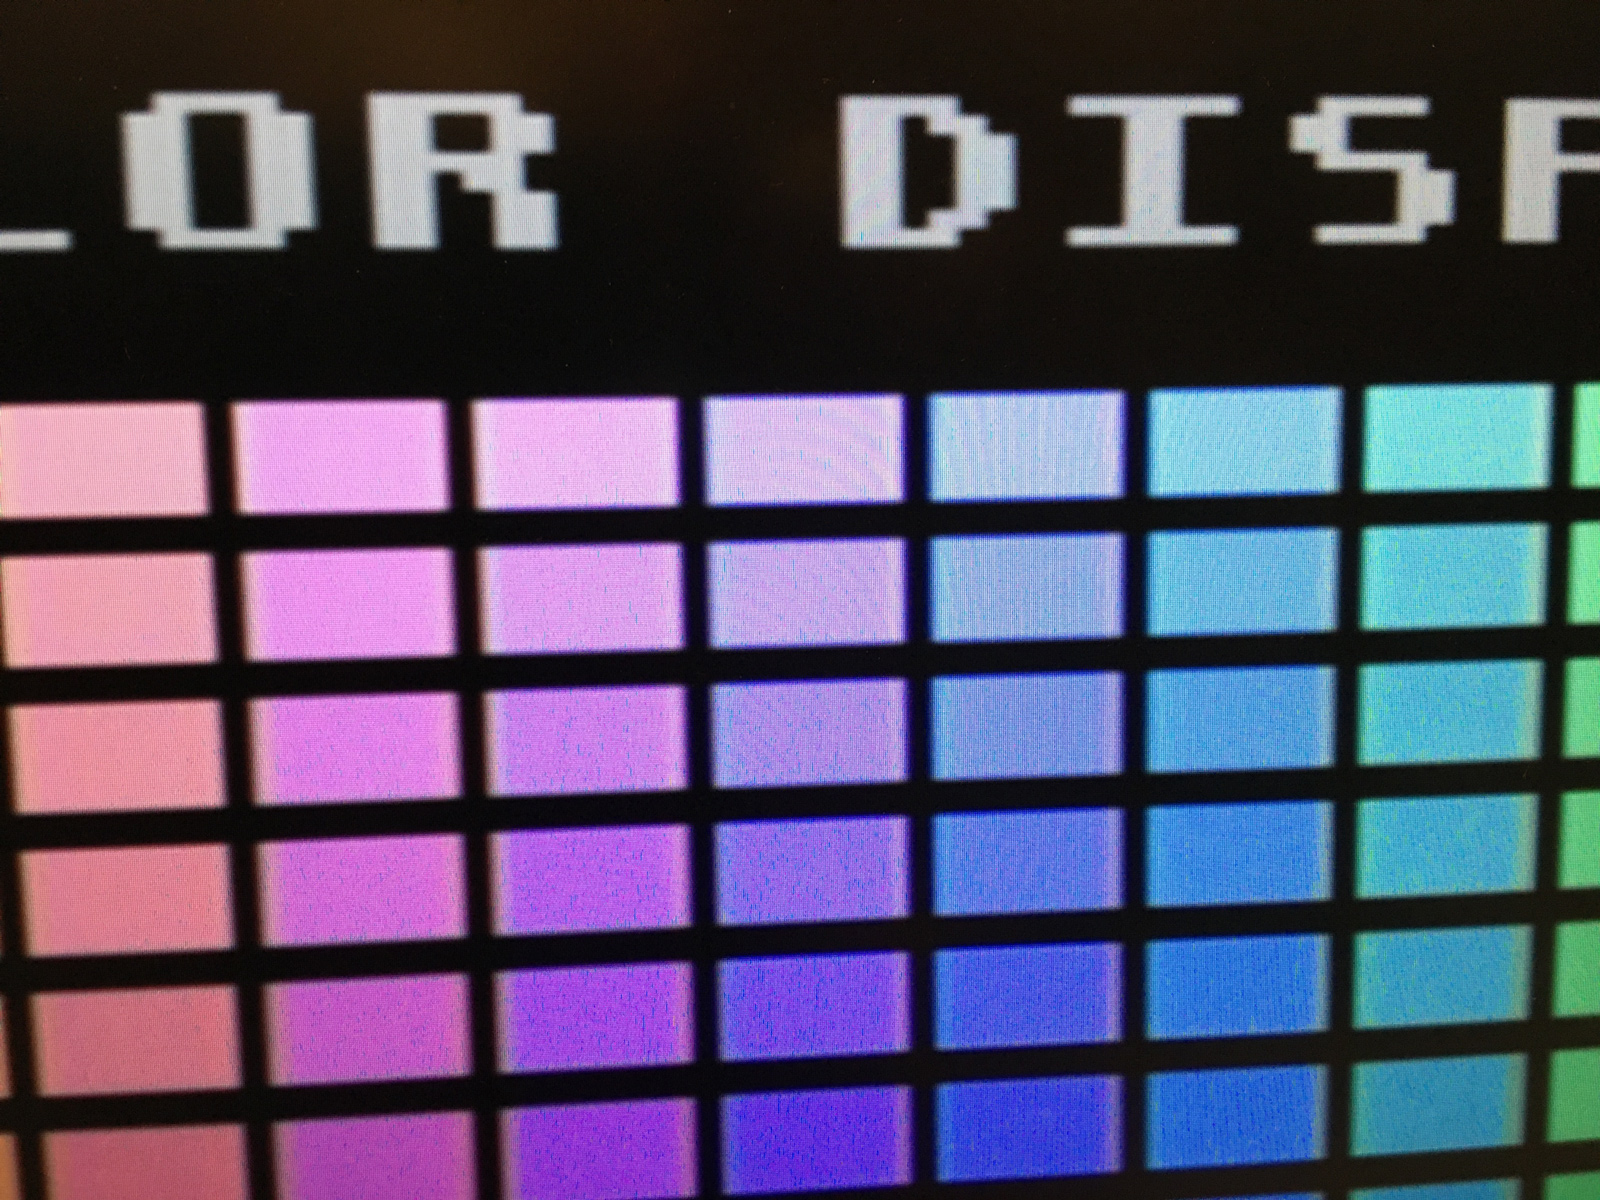
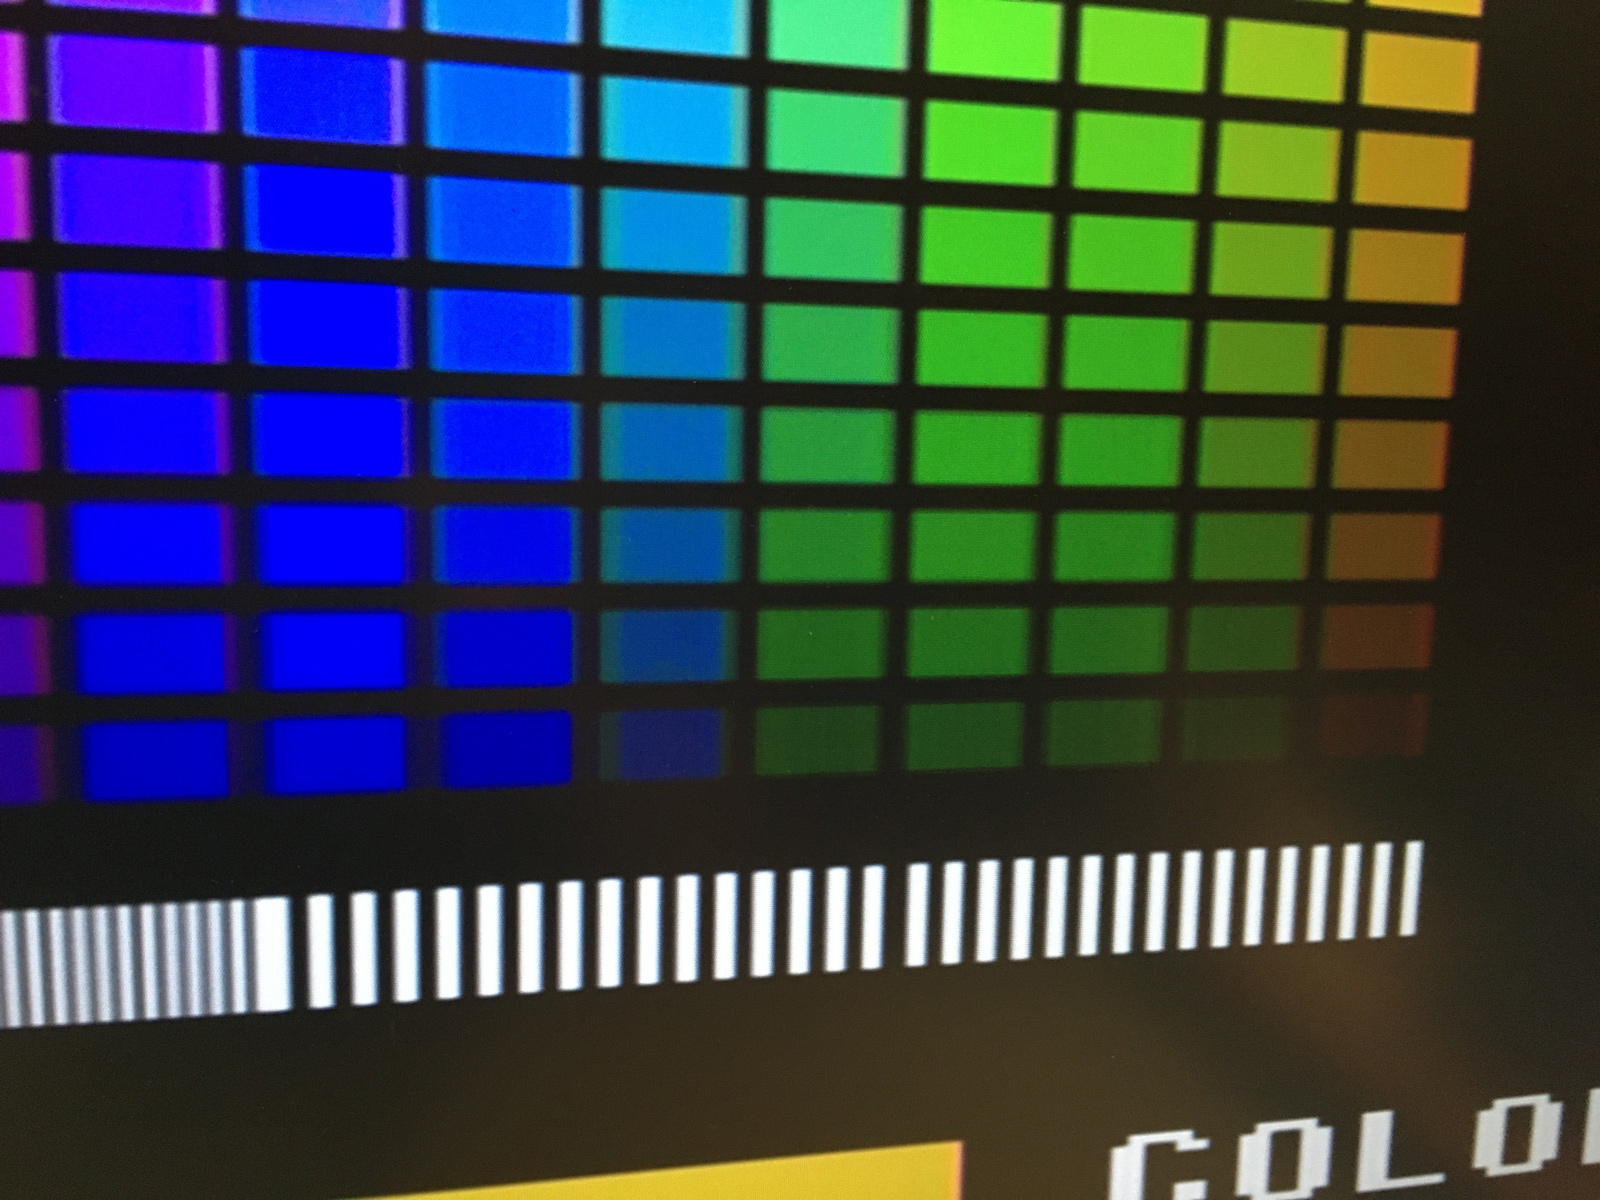
One final thing to check... how does the S-Video output look scaled up to HDMI? For reference, you can revisit Part 1.


The RetroTink 2X-Mini:
55-tink_hdmi.jpg
56-tink_closeup.jpg
57-tink_closeup_2.jpg


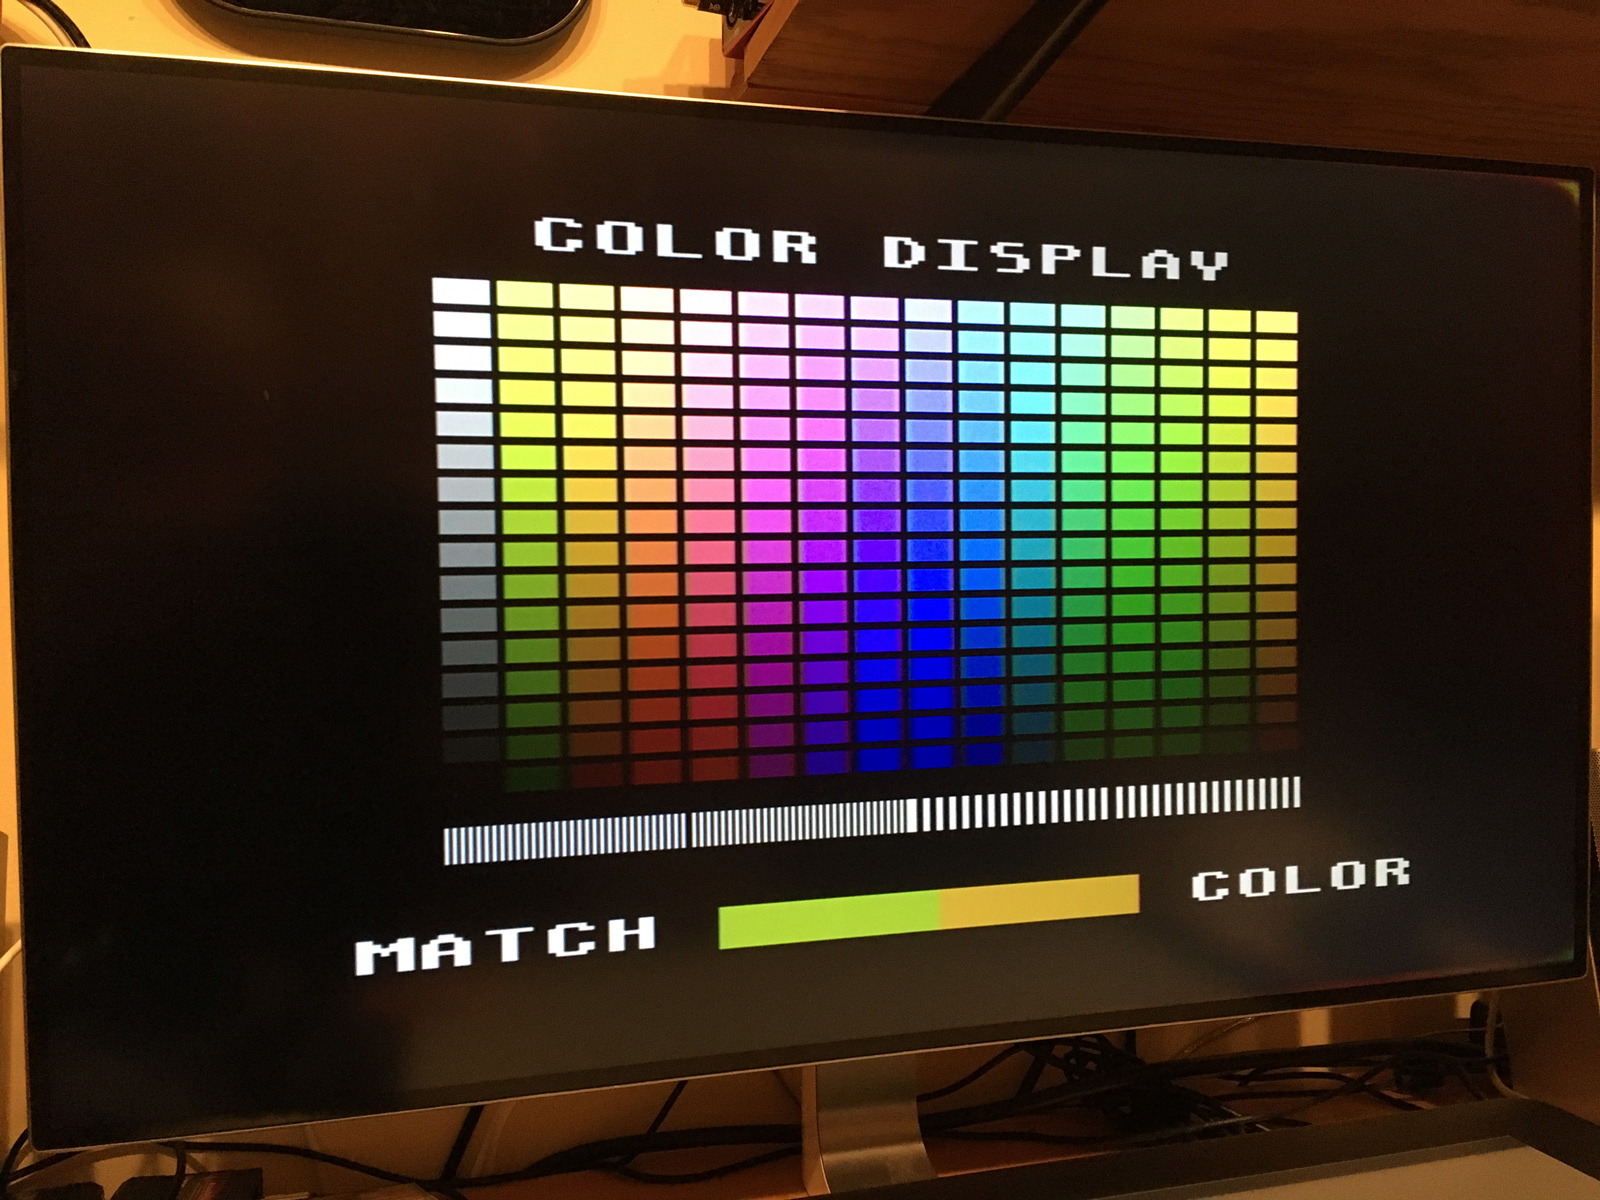
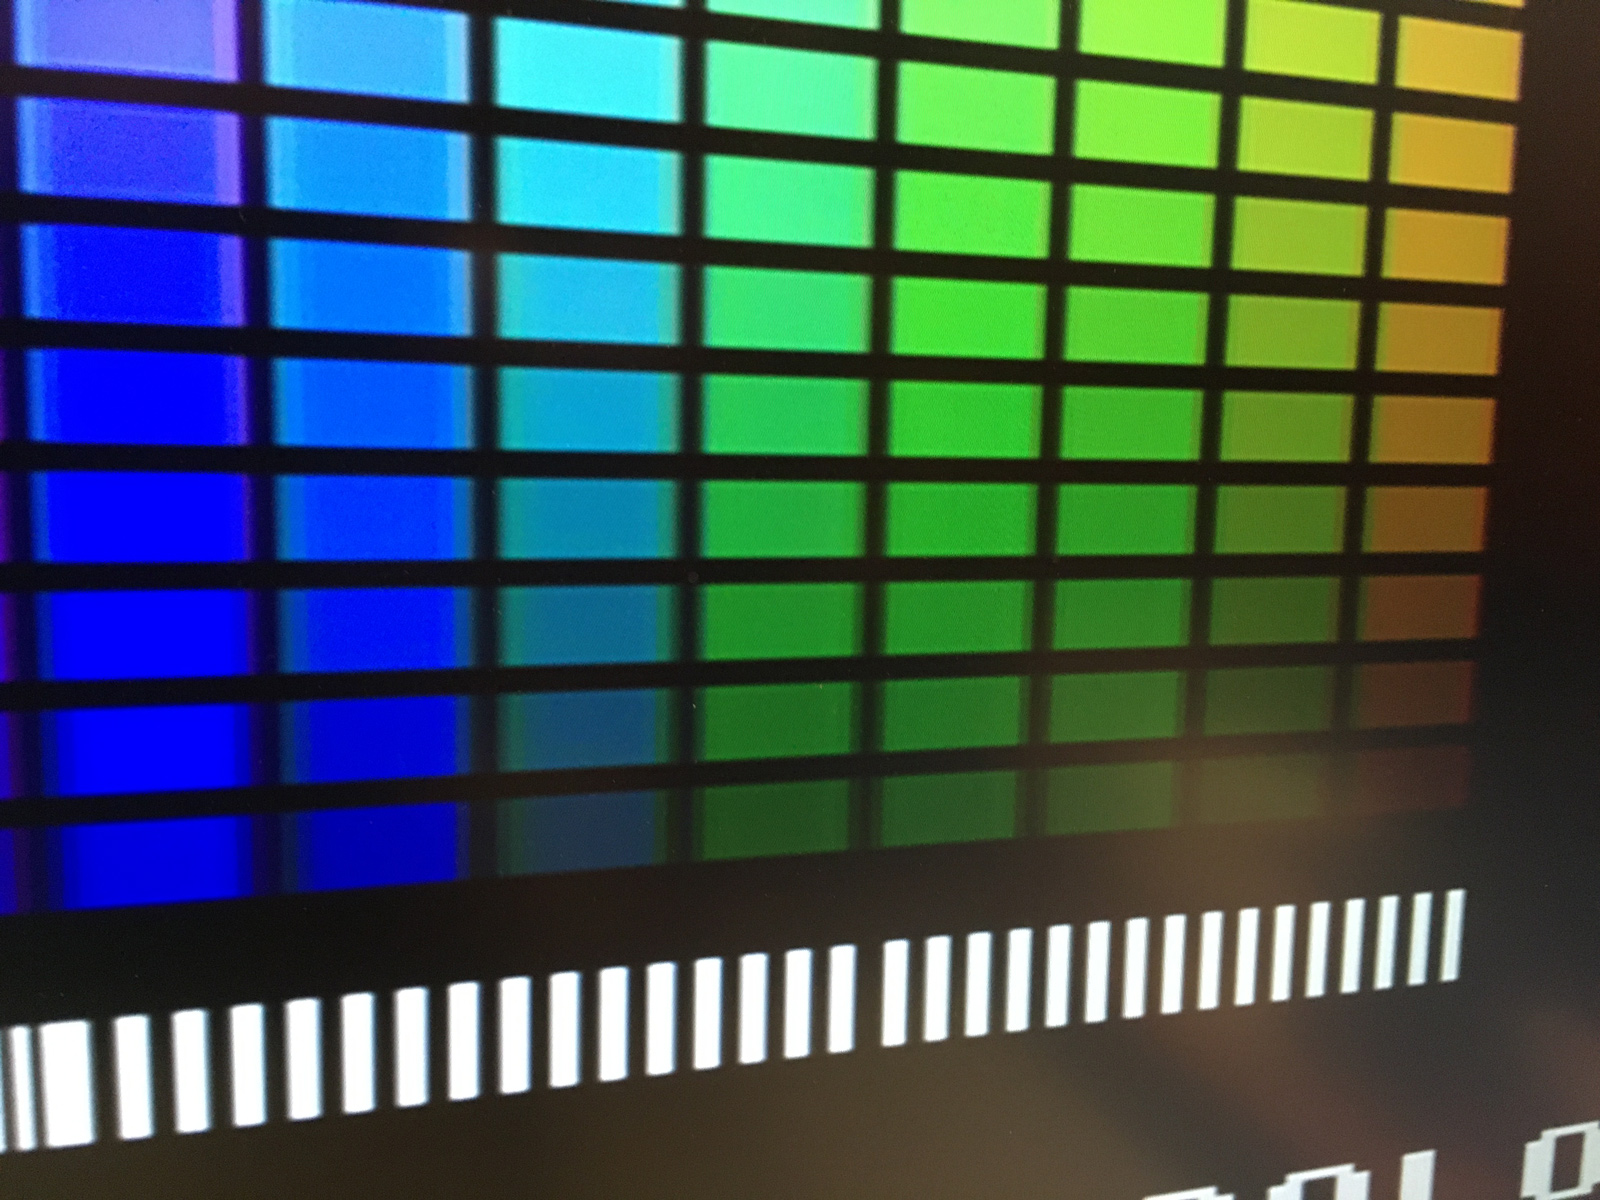
And the Gefen GTV-COMPSVID-2-HDMIS:
61-gefen_hdmi.jpg
62-gefen_closeup.jpg
63-gefen_closeup_2.jpg


And since I got to play the real Qix the other day... I just had to fire up the Champ Games 2600 version - Qyx:
64-_qyx_crt.jpg


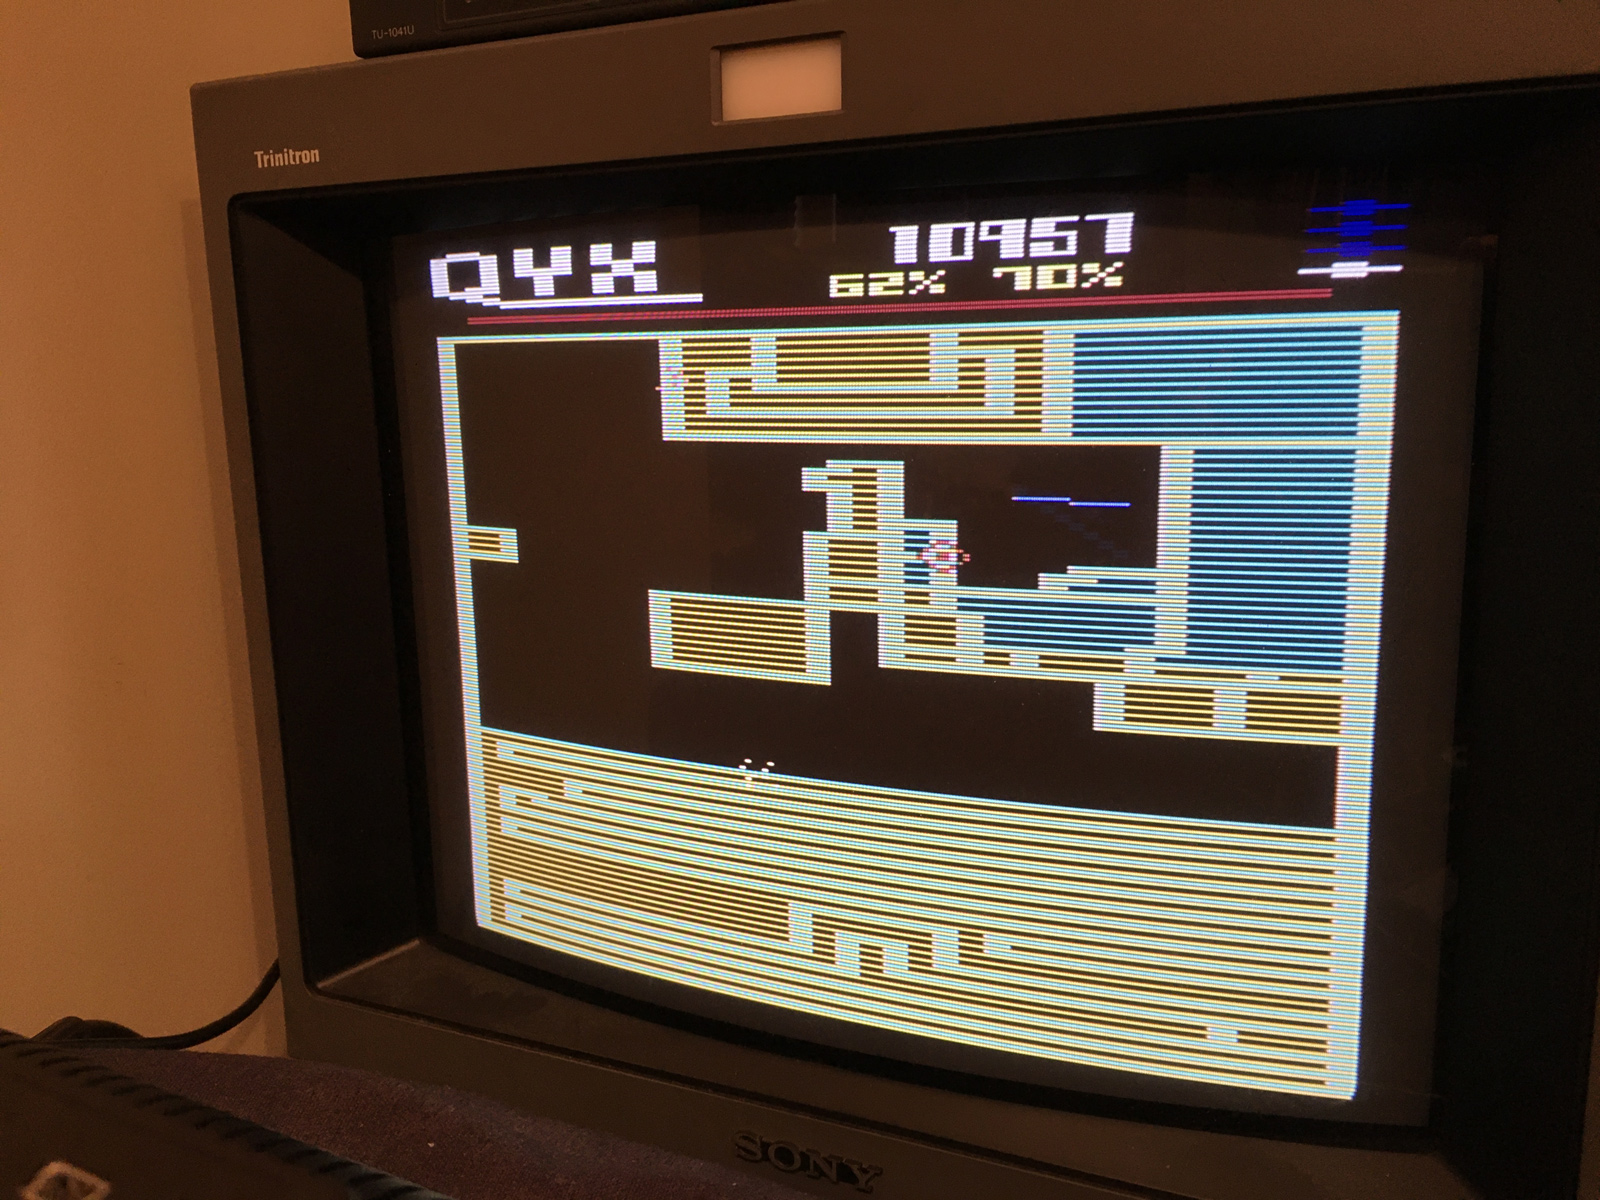
And of course, Baby Pac-Man:
65-baby_pac_crt.jpg


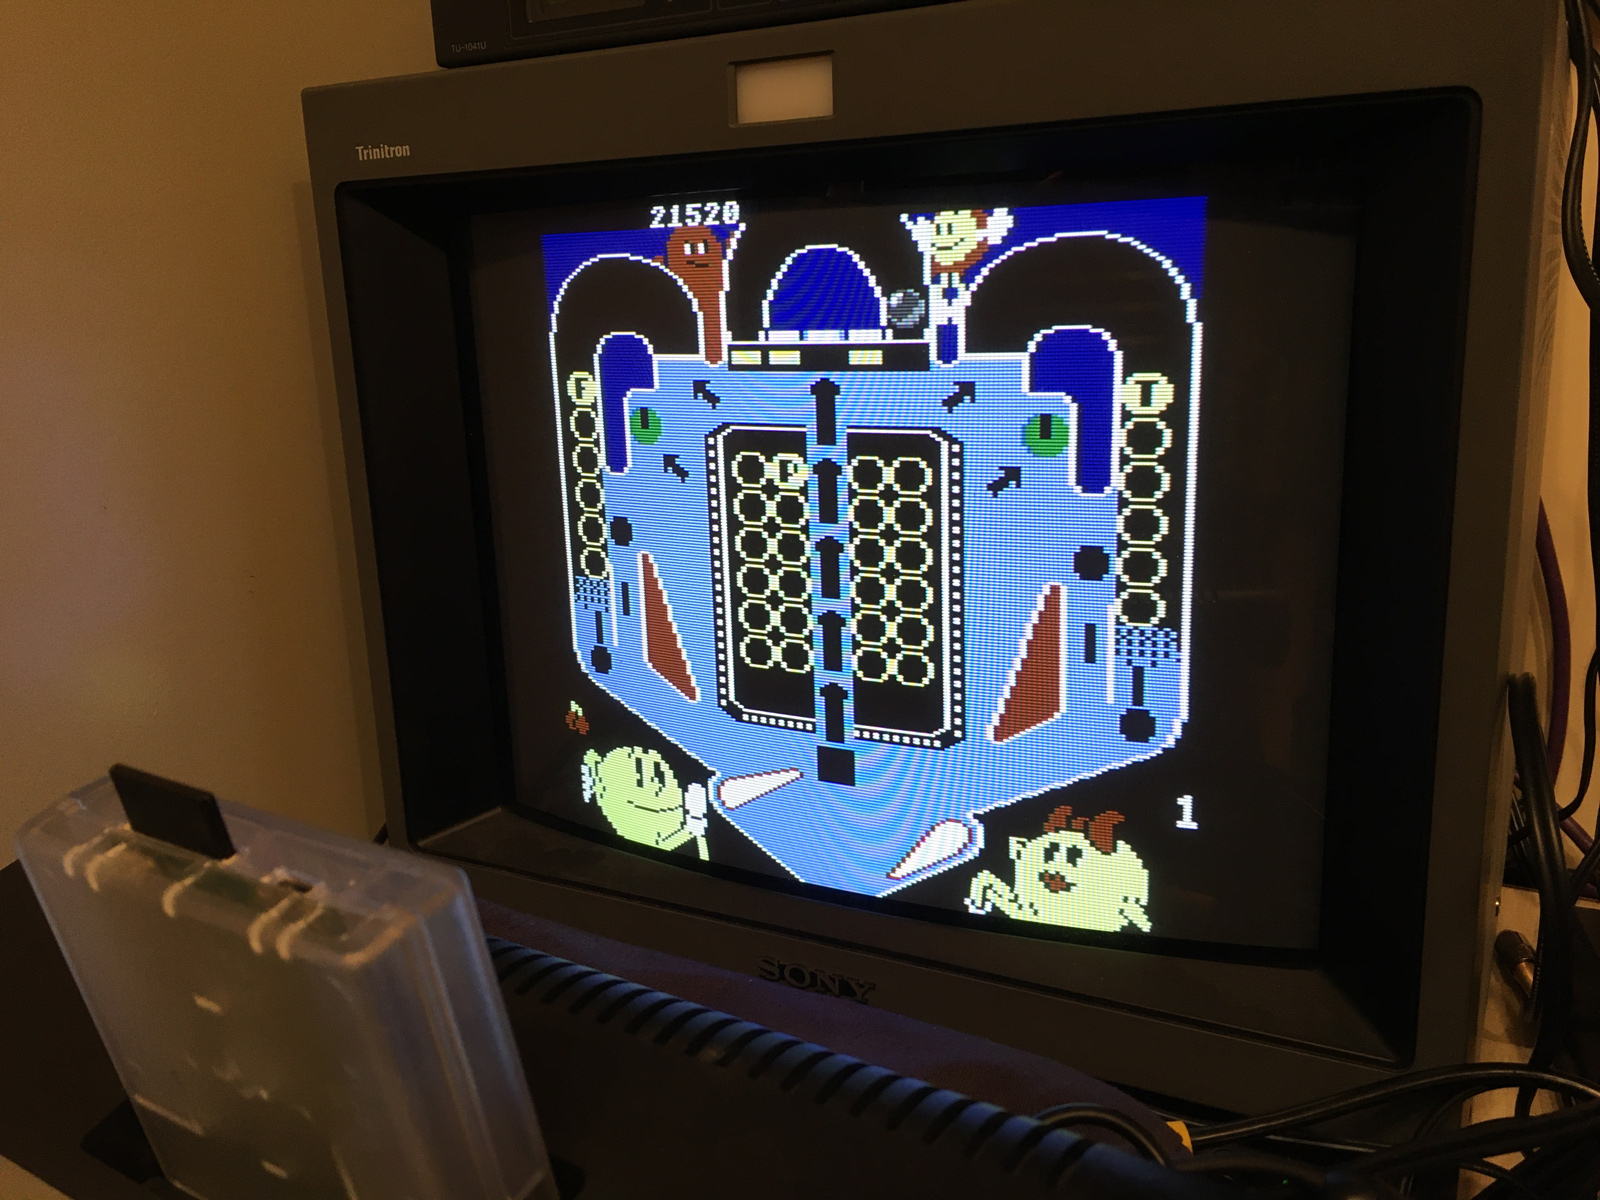
Looks great in HD, too!
66-baby_pac_hdmi.jpg

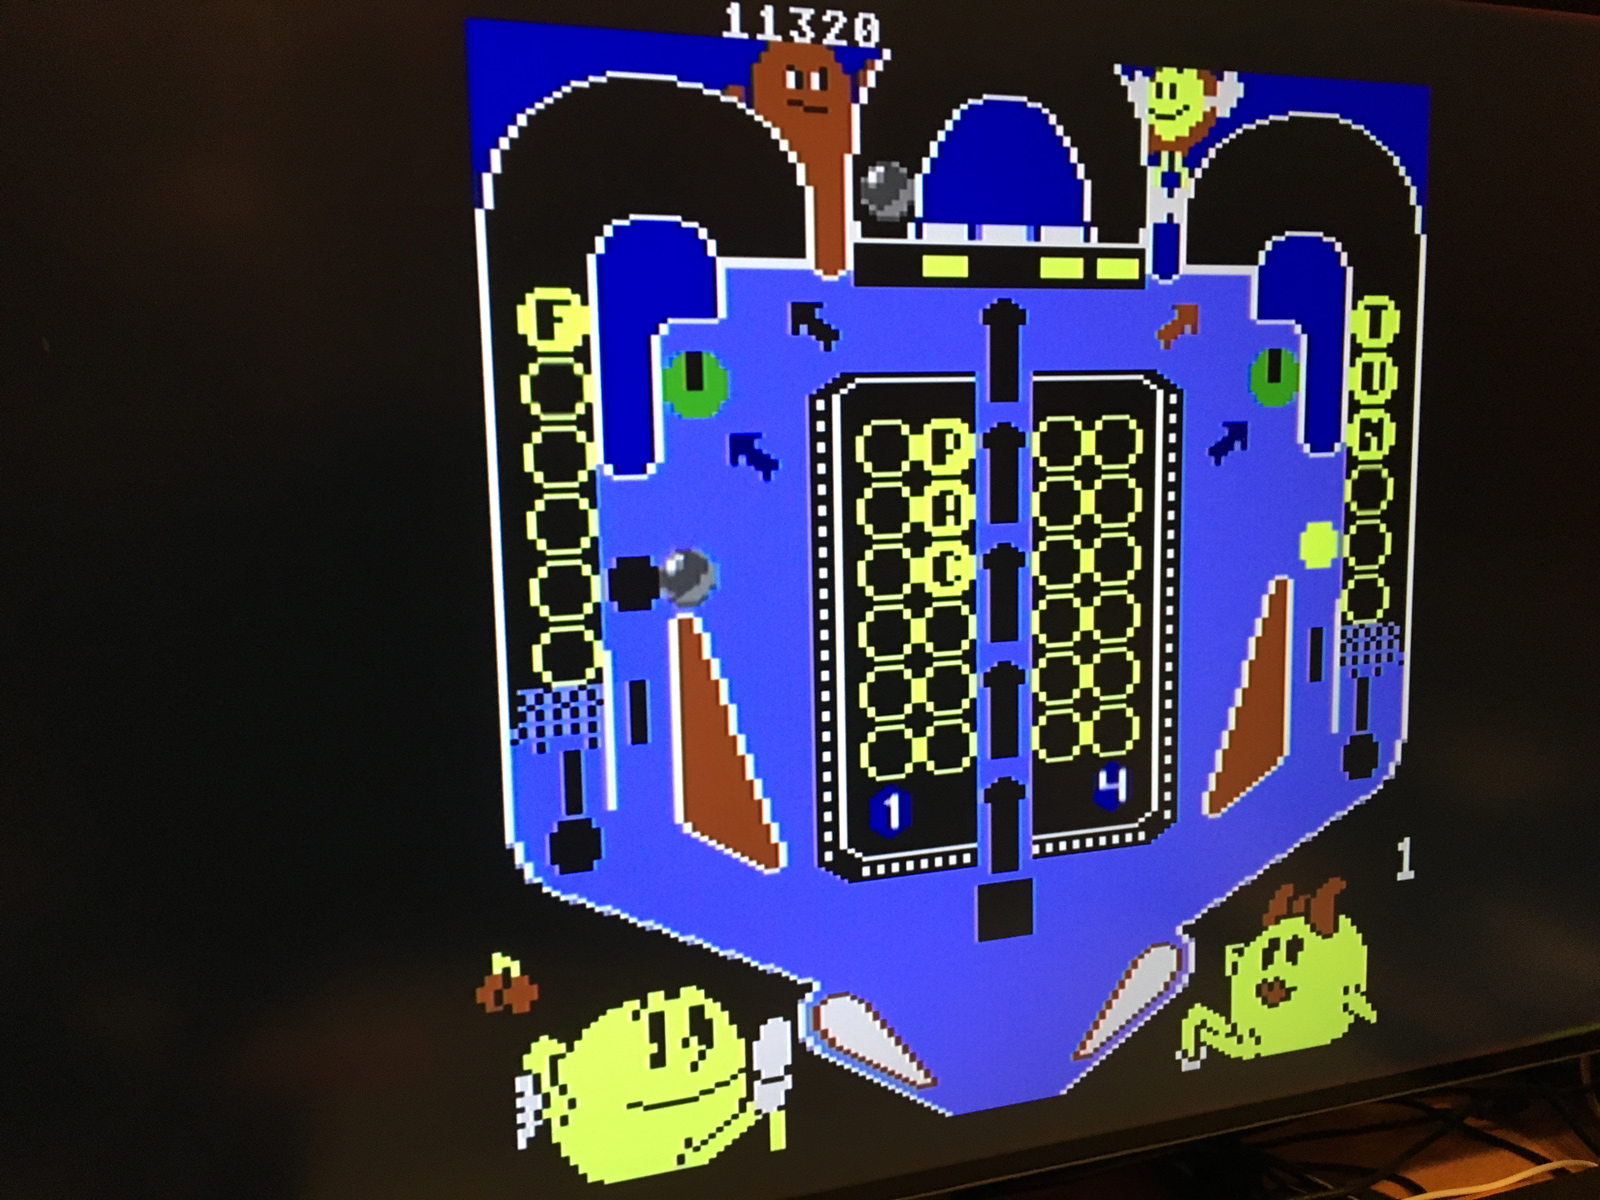
And yes... my HD monitor is having some light leak issues at the corners. Guess I'm going to have to get a new one pretty-soon. :ponder: 


Edit: Whoops! Forgot to show what the finished console looks like in action, featuring the not-blinding-plain-old-red-LED:

67-re-led-ed.jpg

Much better!


Well - that wraps up the 7800 Mod Mixedup Messup Whatever Fixit Thingy! Special thanks to -^CrossBow^- and alex_79 for their help with this project - working on a 7800 is new territory for me, and I really appreciated their insight, experience and advice. That kind of support from the AtariAge community is one of the reasons I've stuck around here for over 20 years!


But we're not done with John's consoles just yet. Stay tuned... as next time I fix (and mod) a 2600 Junior!


Hopefully, that one will be a lot shorter. :roll: 


Published 1/29/23, 2:22 PM

  • Like 3
  • Thanks 1

17 Comments


Recommended Comments

Wow - that picture looks sweet! :thumbsup:  I'm excited to hook this up to my HD TV with the RetroTink 2 and play some relaxing 2-player RobotWar:2684 with my son Joey - he'll be thrilled! :D 


Let's hope that Junior isn't as much of an ordeal as the Frankenstein 7800 I sent you! :lol: 👾


Thanks so much Nathan!

  • Like 1
Link to comment
20 minutes ago, johnnywc said:

Wow - that picture looks sweet! :thumbsup:  I'm excited to hook this up to my HD TV with the RetroTink 2 and play some relaxing 2-player RobotWar:2684 with my son Joey - he'll be thrilled! :D 

I thought you already had a modded 2600 for that. :ponder:  :) 

20 minutes ago, johnnywc said:

Let's hope that Junior isn't as much of an ordeal as the Frankenstein 7800 I sent you! :lol: 👾

The UAV mod instructions for the Jr. aren't encouraging. But at least I don't have to undo any damage first. Just one minor repair (which I've already done).


And lots of cleaning... :woozy:

20 minutes ago, johnnywc said:

Thanks so much Nathan!

You're welcome! Here's hoping you don't have any more lightning strikes, or bad eBay sellers! ;) 

Link to comment
17 hours ago, Nathan Strum said:

I thought you already had a modded 2600 for that. :ponder:  :) 


OH yes, that modded 4-switcher is connected to my 6000 pound CRT and is for 1-player only sessions.  This 7800 will find it's home connected to the HD TV. :D 📺  

17 hours ago, Nathan Strum said:

The UAV mod instructions for the Jr. aren't encouraging. But at least I don't have to undo any damage first. Just one minor repair (which I've already done).

Well, that's good news about the minor repair! :D 

17 hours ago, Nathan Strum said:

And lots of cleaning... :woozy:

I think I got that Jr. in a 'lot' sale.  Those don't tend to be too clean... apologies in advance! 😊 

17 hours ago, Nathan Strum said:

You're welcome! Here's hoping you don't have any more lightning strikes, or bad eBay sellers! ;) 

I now unplug all of my electronics when there is lightning approaching (should have done that to begin with) and I forgot my eBay password, so I think we're safe (for now...) 😛  


Thanks Nathan!

John


Link to comment
1 hour ago, johnnywc said:

OH yes, that modded 4-switcher is connected to my 6000 pound CRT and is for 1-player only sessions.  This 7800 will find it's home connected to the HD TV. :D 📺  

I have yet to reconnect anything to an HDTV. Maybe someday.

1 hour ago, johnnywc said:

I now unplug all of my electronics when there is lightning approaching (should have done that to begin with) and I forgot my eBay password, so I think we're safe (for now...) 😛  

I'd highly recommend a Tripp Lite Isobar Ultra, as well:

https://tripplite.eaton.com/isobar-6-outlet-surge-protector-6-ft-cord-3300-joules-diagnostic-leds~ISOBAR6ULTRA


They make them in different sizes/flavors. But we've used these at work for years and I've never lost a piece of equipment that's been plugged into one. I use them at home for my computer/videogames/work area. Pricey, but worth it.

Link to comment

Yes for some reason, most of the issues with the activision games only seem to happen with actual carts due to the extra timing circuit while the flash carts seem immune to this. That or the ROMs you are using are already patched to work regardless? That said, two games I use to test for this are Robot Tank and Space Shuttle. 


But as I also advised separately, it helps with the bus stuffing code as well with it disabled. The Parrot bus stuffing test really shows this as you can literally flip that switch on/off to see a scrambled picture...proper picture...scrambled...proper. Without having to even reset the console as the change happens in real time.

Link to comment

Unfortunately - I don't have real carts of either Robot Tank or Space Shuttle, and as far as I know, my ROMs aren't patched.


The Parrot bus ROM (attached) that I have works fine on my Harmony and Encore with the switch either way. Maybe it wasn't one of the affected consoles in the first place... :ponder:  (Or maybe it was somehow hacked by the previous modder.) It'd be nice if there was a diagnostic ROM that could detect the presence/absence of that circuit. I tested continuity, so I know the switch is connecting/disconnecting that capacitor leg. But maybe it's really doing nothing.


Anyway, the Radio Shack switch gives that console way more street cred than it used to have. ;) 

parrot_20161231_NTSC.bin

Link to comment

Back in my "collecting days" when I first got back into the 2600, I acquired many carts including both RT and SS so I'll be able to test these (as well as many others) once the system is here.  I'll put that Radio Shack switch to good use, that's for sure! :D 

  • Like 1
Link to comment

That is definitely the extra timing circuit in place as it has the extra IC installed for it and it isn't being bypassed. I also wonder if the extra length of wire by adding in the switch is changing it somehow? I usually just desolder that right leg and put a bit of shrink tubing over it and leave it disconnected. As I've stated, I always disable it when I see it and don't even mention having done it. After over doing 100 of these 7800 consoles with UAVs, and many of them having that circuit, I've yet to have anyone come back to complain about something not working. Which Harmony cart do you have? Maybe it is the fact that I still use an original Harmony and not the Encore version? Maybe that newer cart does something to allow the ROMs to work properly regardless?


Now, one game to test although again I'm not sure if it will do this with a Harmony or not, is the 2600 version of Dark Chambers? Apparently that circuit was put into place to correct for timing issues with that game and also for the 2600 version of Kung Fu Master. With the exception of Matt's 7800 when I did his, all the others would no longer play those two games after disabling the circuit.


Again, that circuit was only put into place to allow some of the newer 2600 games to work on the 7800 at the expense of killing some of the older Activision titles. That circuit being enabled or not has no bearing on the 7800 games.


Link to comment

I've tried Robot Tank, Space Shuttle, Kung Fu Master and Dark Chambers; on an original Harmony Cart and an Encore. All work with the switch in either position. I have none of those games on original carts.


However... !


Pitkat only works with the switch in Bypass (on the Harmony and Encore)! So the switch does indeed work. At least in one case. So I'll take it. :D 


Bypass:

IMG_1469.thumb.JPG.da15e778d6cdfd76d110c1816e82043c.JPG


Normal (one of several ways it fails - sometimes it's this, sometimes it's a garbled mess):

IMG_1470.thumb.JPG.626dd8d337e2be26ce40478ebd42415a.JPG

Link to comment

Seems so, although since I don't have those original Activision carts, it's hard to say what the results would've been without it. I like to think that it would make a difference. :) 


That said, I probably could've just disconnected it and called it done. I don't think John is a die-hard Robot Tank must-play-on-an-original-cartridge-at-all-costs obsessive fanboy. At least, not that I'm aware of. :ponder: 


Anyway... Radio Shack! It's got a Radio Shack switch! That has to up the nostalgia value on this console alone by what... four or five bucks? Totally worth it.

Link to comment
11 minutes ago, Nathan Strum said:

I don't think John is a die-hard Robot Tank must-play-on-an-original-cartridge-at-all-costs obsessive fanboy. At least, not that I'm aware of. :ponder: 


LOVE ROBOT TANK, WILL ONLY PLAY ACTIPLAQUE ORIGINAL CARTS! :P 


It's nice to know that after 17 years I can still surprise you. :) 


Seriously though, I'll put this thing through the ringer when it arrives - I have over 250 carts in my collection. :D  I should say that I *am* a big fan of 2600 Kung Fu Master, so as long as that works on cart or ROM I should be all set, or I can just play on the 5 other systems I have. ;) 


  • Haha 1
Link to comment

2600 Kung Fu at least the actual cart will NOT work with that cap disconnected. But again, the 7800 version is better so why would you want to play the 2600 version on a 7800 is my question? The crazy thing about the extra timing circuit is that it doesn't actually effect the game logic. It just effects the video timings. Because with something like Kung Fu master or the parrot demo, I can clip that cap and the games or demos work. But if you press the lead back down to make contact while the game or demo is running, the graphics go crazy on the screen. Left the cap lead back up and the graphics snap back into shape. So it does seem to only effect the video timings or rather something to do with the timing to the RAM.


Likewise, have that cap connected and run those games or programs and you get nothing of a scrambled looking screen. Lift the cap leg off while it is on and the graphics snap on the screen into place. So... yeah odd. Later revs of the 7800 starting sometime in '88 started to remove and bypass this circuit. So it was really only in place for like a year and a half during production it seems.


Link to comment
4 hours ago, -^CrossBow^- said:

2600 Kung Fu at least the actual cart will NOT work with that cap disconnected. But again, the 7800 version is better so why would you want to play the 2600 version on a 7800 is my question?


I didn't realize there was a 7800 version lol. ;)  Plus, I don't have the 7800 cart and no way to play ROMs on my 7800 yet (need to pick up a Concerto).  ( :idea: actually I have a CuttleCart 2 somewhere that would do the trick!)

Link to comment
1 hour ago, Nathan Strum said:

Might wait for the 7800 Game Drive... see how that stacks up. I already own a Concerto, but I'm still going to pick up a Game Drive anyway.

Good idea.  I need to figure out if it supports ARM games first, or if they plan on adding that support in the future. ✔️

Link to comment
Guest
Add a comment...

×   Pasted as rich text.   Paste as plain text instead

  Only 75 emoji are allowed.

×   Your link has been automatically embedded.   Display as a link instead

×   Your previous content has been restored.   Clear editor

×   You cannot paste images directly. Upload or insert images from URL.

Loading...
  • Recently Browsing   0 members

    • No registered users viewing this page.
×
×
  • Create New...