

2600 Chewnyor Fixit & Mod kit - pt. 1
Entry posted by Nathan Strum in 2600 repair
303 views
So, remember how Sean Connery would pronounce "Junior" whenever he was talking to Harrison Ford in "Indiana Jones and the Last Crusade"?
Well, there you go! I'll be repairing and adding a UAV mod to John Champeau's 2600 "Chewnyor". ![]()
Let's take a look at this crusty, disgusting thing, shall we? In all fairness to John, he thinks he picked it up like this either as part of an eBay lot or from a yard sale. It looks like it had been buried in a yard... ![]()
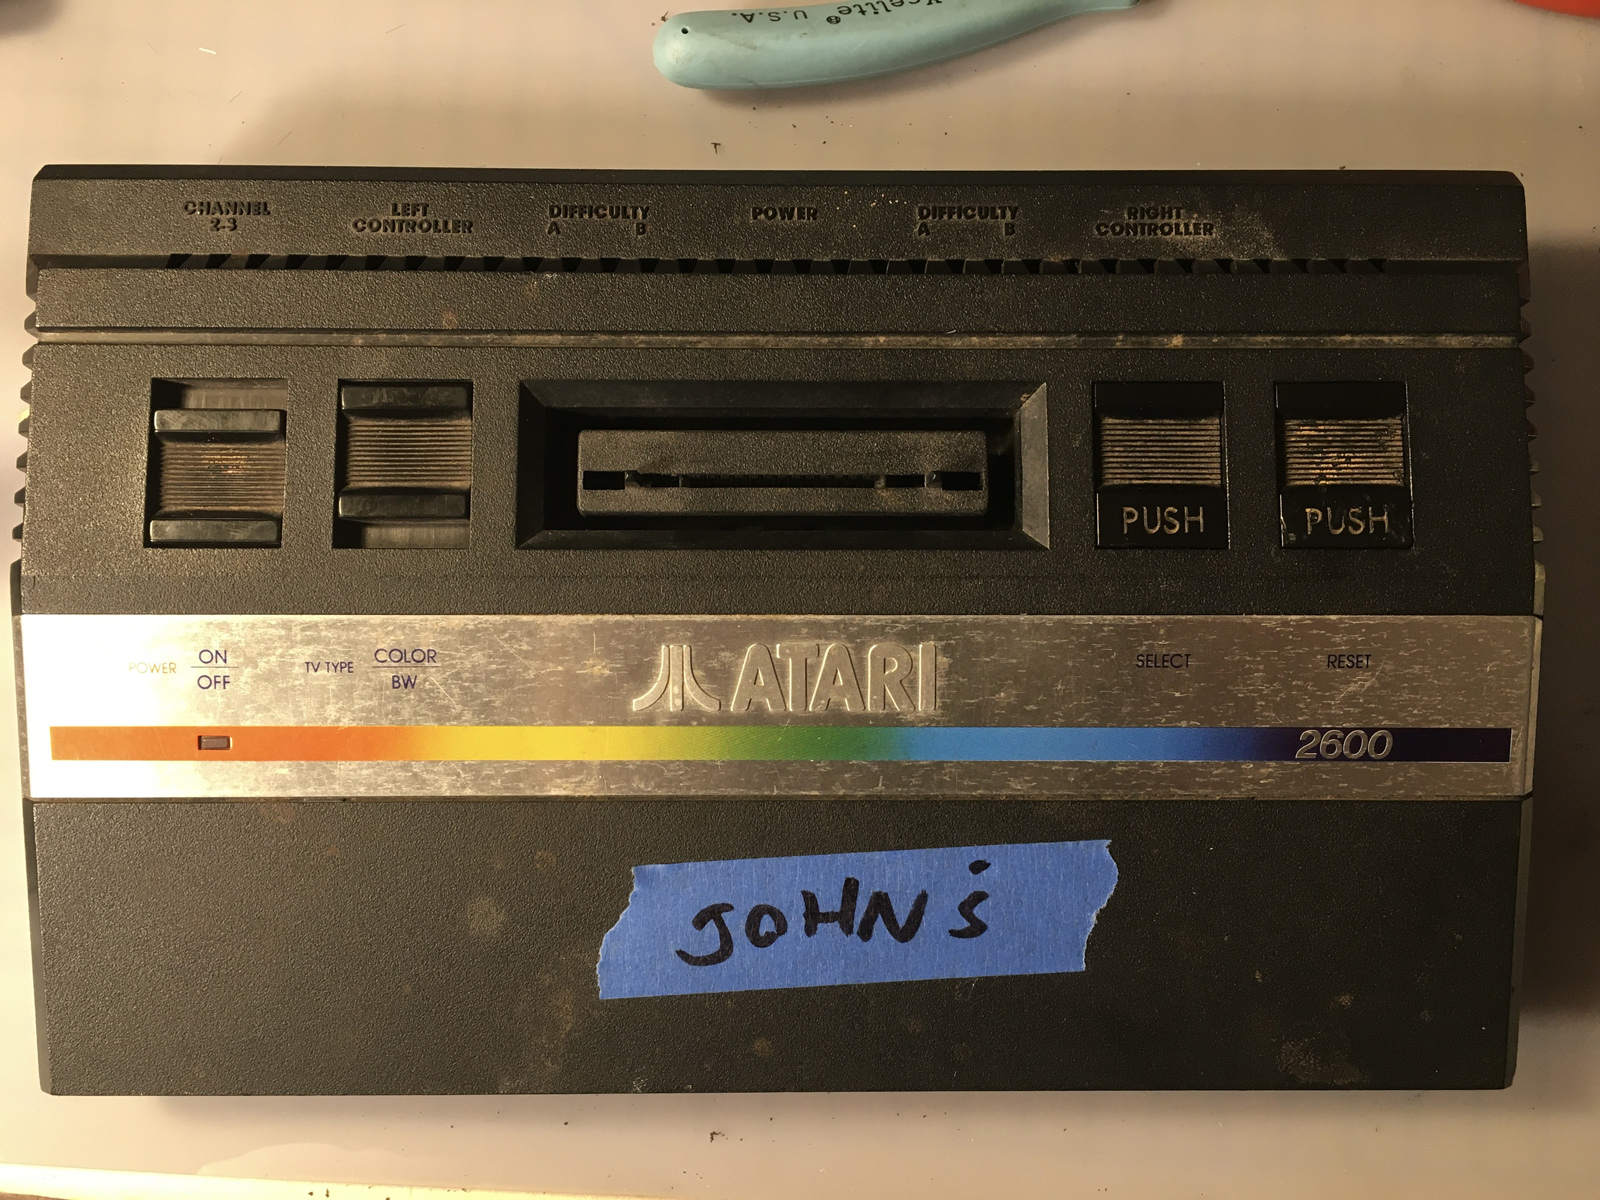
It's certainly been well used... the power switch actually has a worn-out spot on it. And a lot of... "patina" ![]() . The switch also doesn't work reliably - so that's going to be one of the first things to get fixed.
. The switch also doesn't work reliably - so that's going to be one of the first things to get fixed.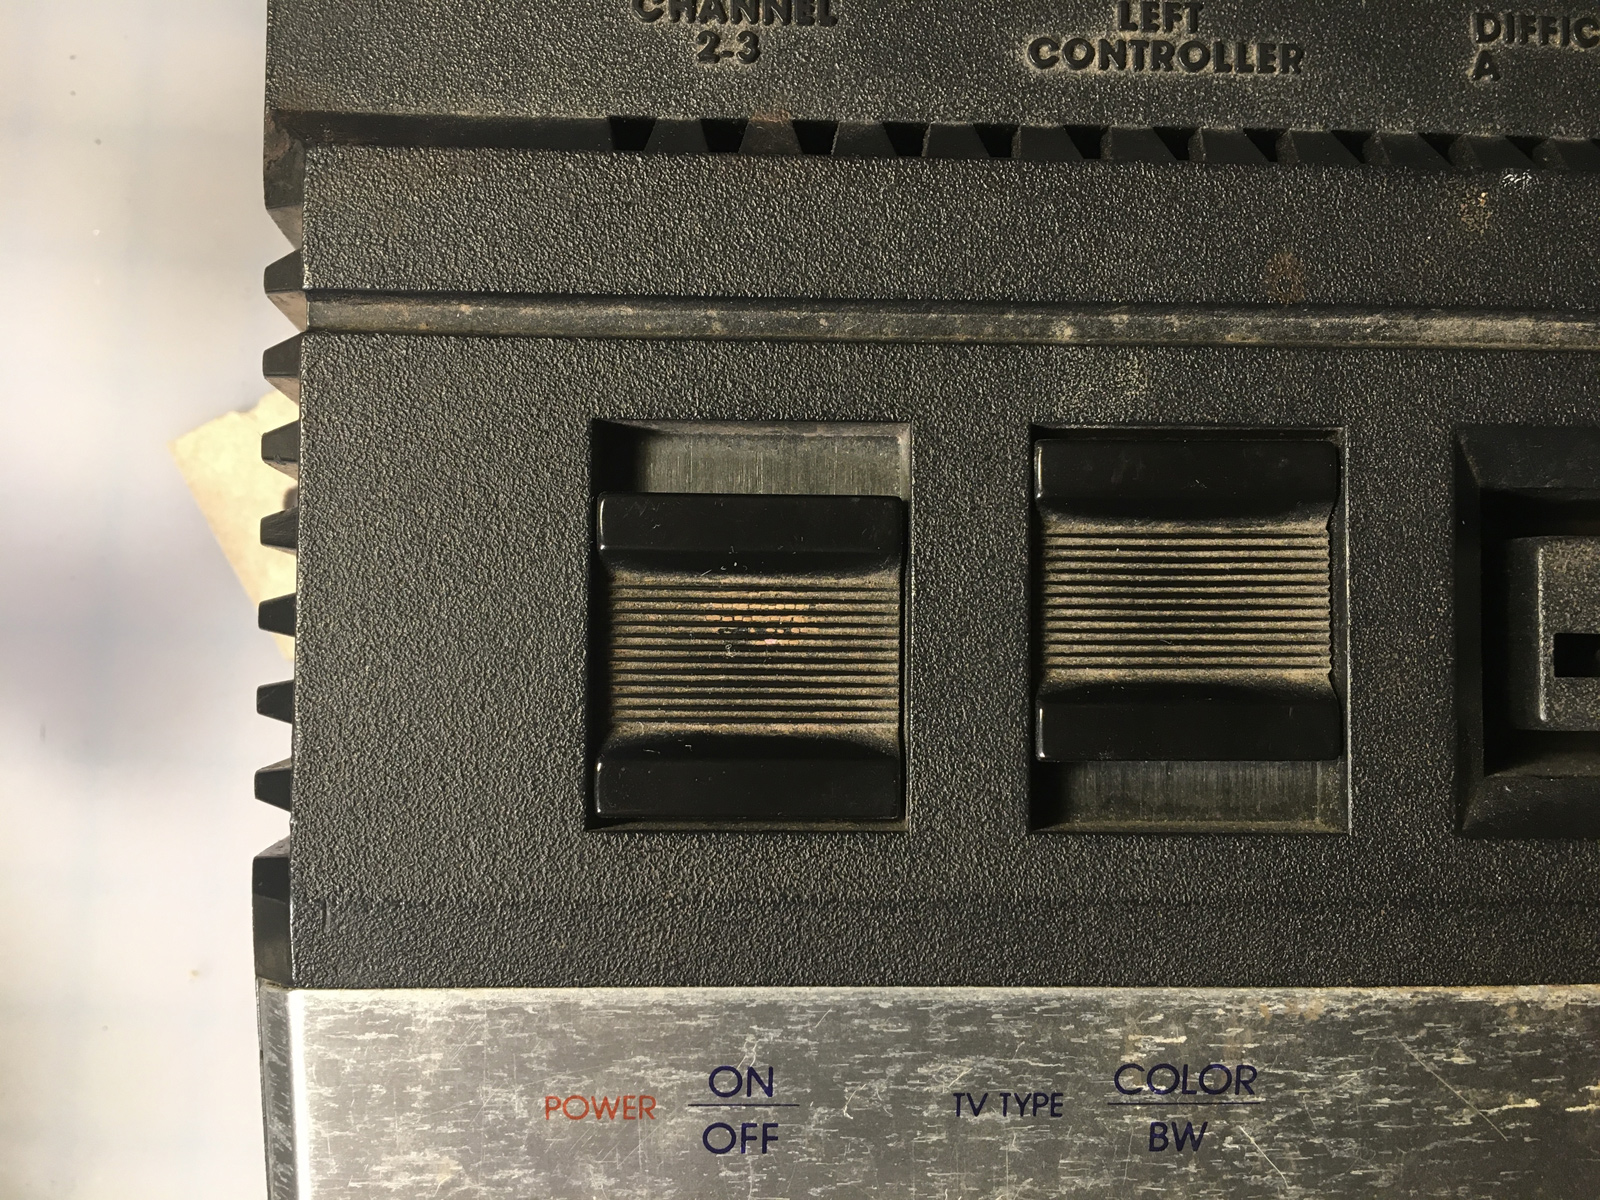
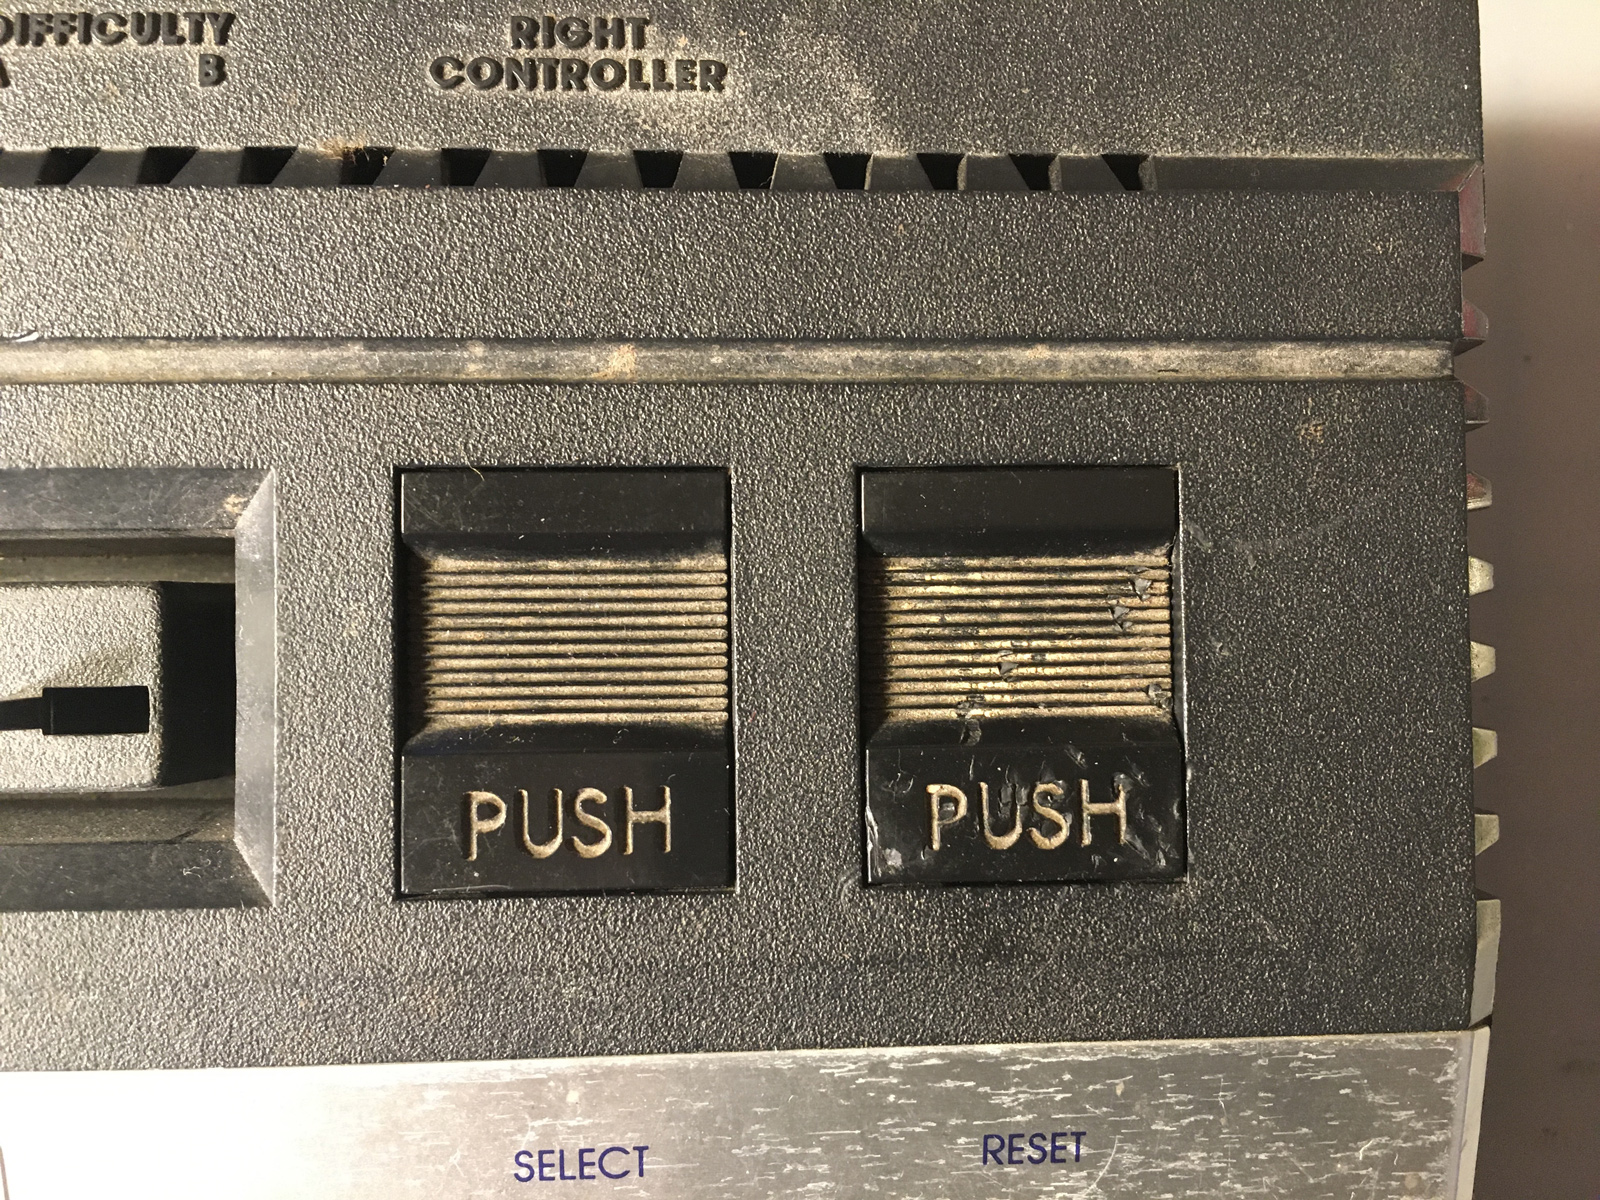
The other switches are just... gross. And the Reset switch doesn't work at all. It must have been getting progressively worse over time, since you can see gouges in it where someone stabbed it with something trying to make it work. Can't imagine someone getting that upset at a Reset switch. ![]()
So first things first - I took the shell off, removed the switches (actually, they're just switch covers), and gave everything plastic several really good cleanings. Toothbrush, dish soap, whatever it took. That really highlighted the gouges in the Reset switch. But I decided instead of replacing it, to try and just fix it up a bit. Why? Well, for one thing, the cover was functionally fine. And also, at the time I started working on this (which overlapped the 7800 project), Best Electronics was limiting orders to only three items per order, and I needed the replacement power switch from them, plus I was ordering a new 7800 power supply and one of their upgraded Pro-Line controllers as well. So that ate up my three items.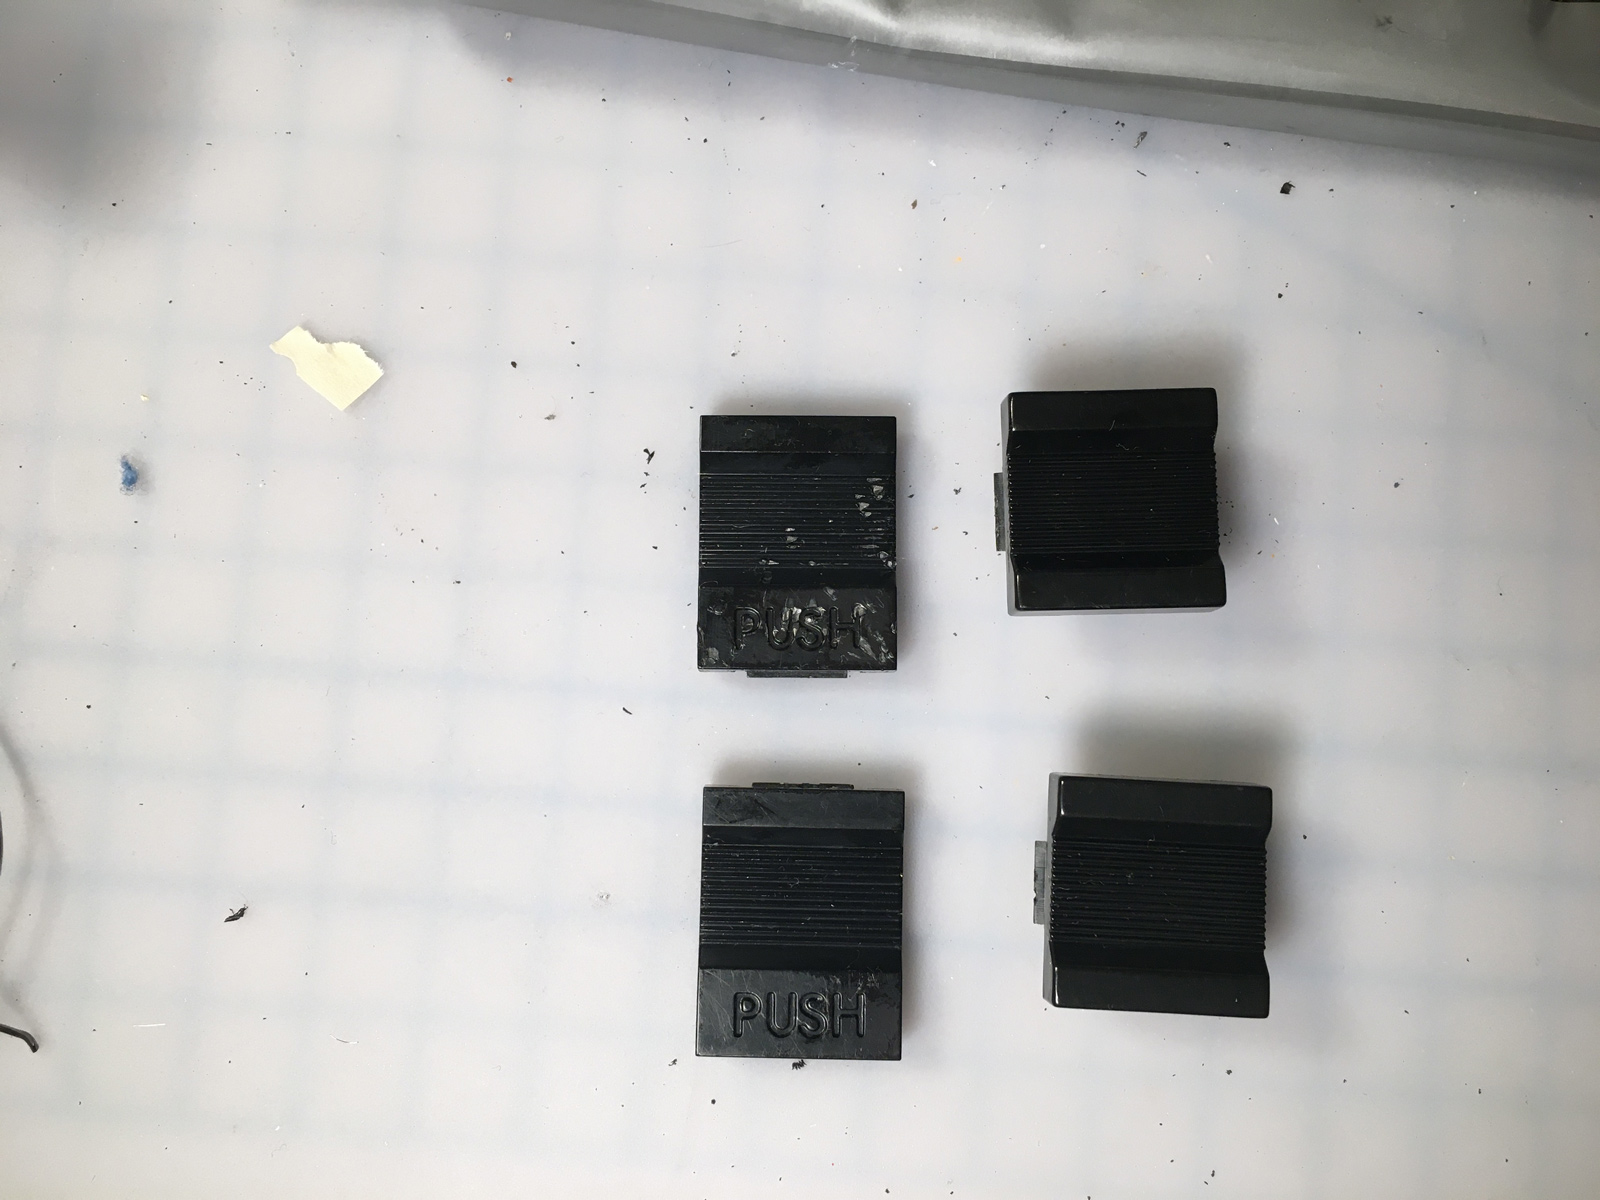
Incidentally, I documented how the upgraded Pro-Line controller didn't work properly. I exchanged several emails with Best about it (which included several implications from them that something had to be wrong with the consoles on my end, because clearly the joystick worked perfectly before they shipped it ![]() ), but after including photos and a thorough recount of exactly what was happening and how I tested it, they agreed to take it back as a return. So I shipped it off to them and waited for what I thought would be a replacement. And waited... And waited...
), but after including photos and a thorough recount of exactly what was happening and how I tested it, they agreed to take it back as a return. So I shipped it off to them and waited for what I thought would be a replacement. And waited... And waited...
Eventually, what I got, was a refund on my credit card. No further emails. No replacement. No "yes we tested it, and it's just as you said". Nada.
Now, I like many of Best's products. Their upgraded 7800 power supply is very nice (although I had to do a bit of filing to the plastic, because the connector is too tight of a fit). And I've bought 2600 joystick upgrade/rebuild kits from them, a Lynx replacement speaker, and more spare Atari OEM parts than I can count.
But I'm not going to waste my time (or money) on their Pro-Line upgrade again. Not unless they come up with better installation instructions than:
QuoteTake the Cigarette lighter (set on a low to medium flame setting) and heat the underside of each actuator arm slightly one at a time (between the dome contact pusher tit and center clear drum and actuator arms attach to). Do this heating process on each actuator are for about 1/4 to 1/2 second only. You want to slightly warm up each arm, but not over heat (melt, burn, distort the plastic arm) / over bend the clear plastic arm. When the arm is heated up, use your thumb and push down on actuator clear arm end and hold it in its new position so it ends up about 86 to 87 degree down angle to the metal shaft until the heated plastic cools down. We are trying a put a slight downward memory in all of the plastic actuator arm angles, but not heat up the arm to much where is starts degrade (white stress marks in the plastic) the clear plastic properties. You may find that some of the bent arms will eventually slowly go back to the normal 90 degree angle.
Even if they manage to make a better kit that doesn't require a cigarette lighter, I've played the 7800 enough recently to realize that even if working properly, the 7800 controllers are an absolutely terrible design. They've earned their nickname "Pain-Line" very well. So I'm going to do something else.
But that's for another blog entry, on another day. Meanwhile, back to Chewnyor...
I used a four-way emery board to sand out, refine, and polish the worst of the gouges on the switch: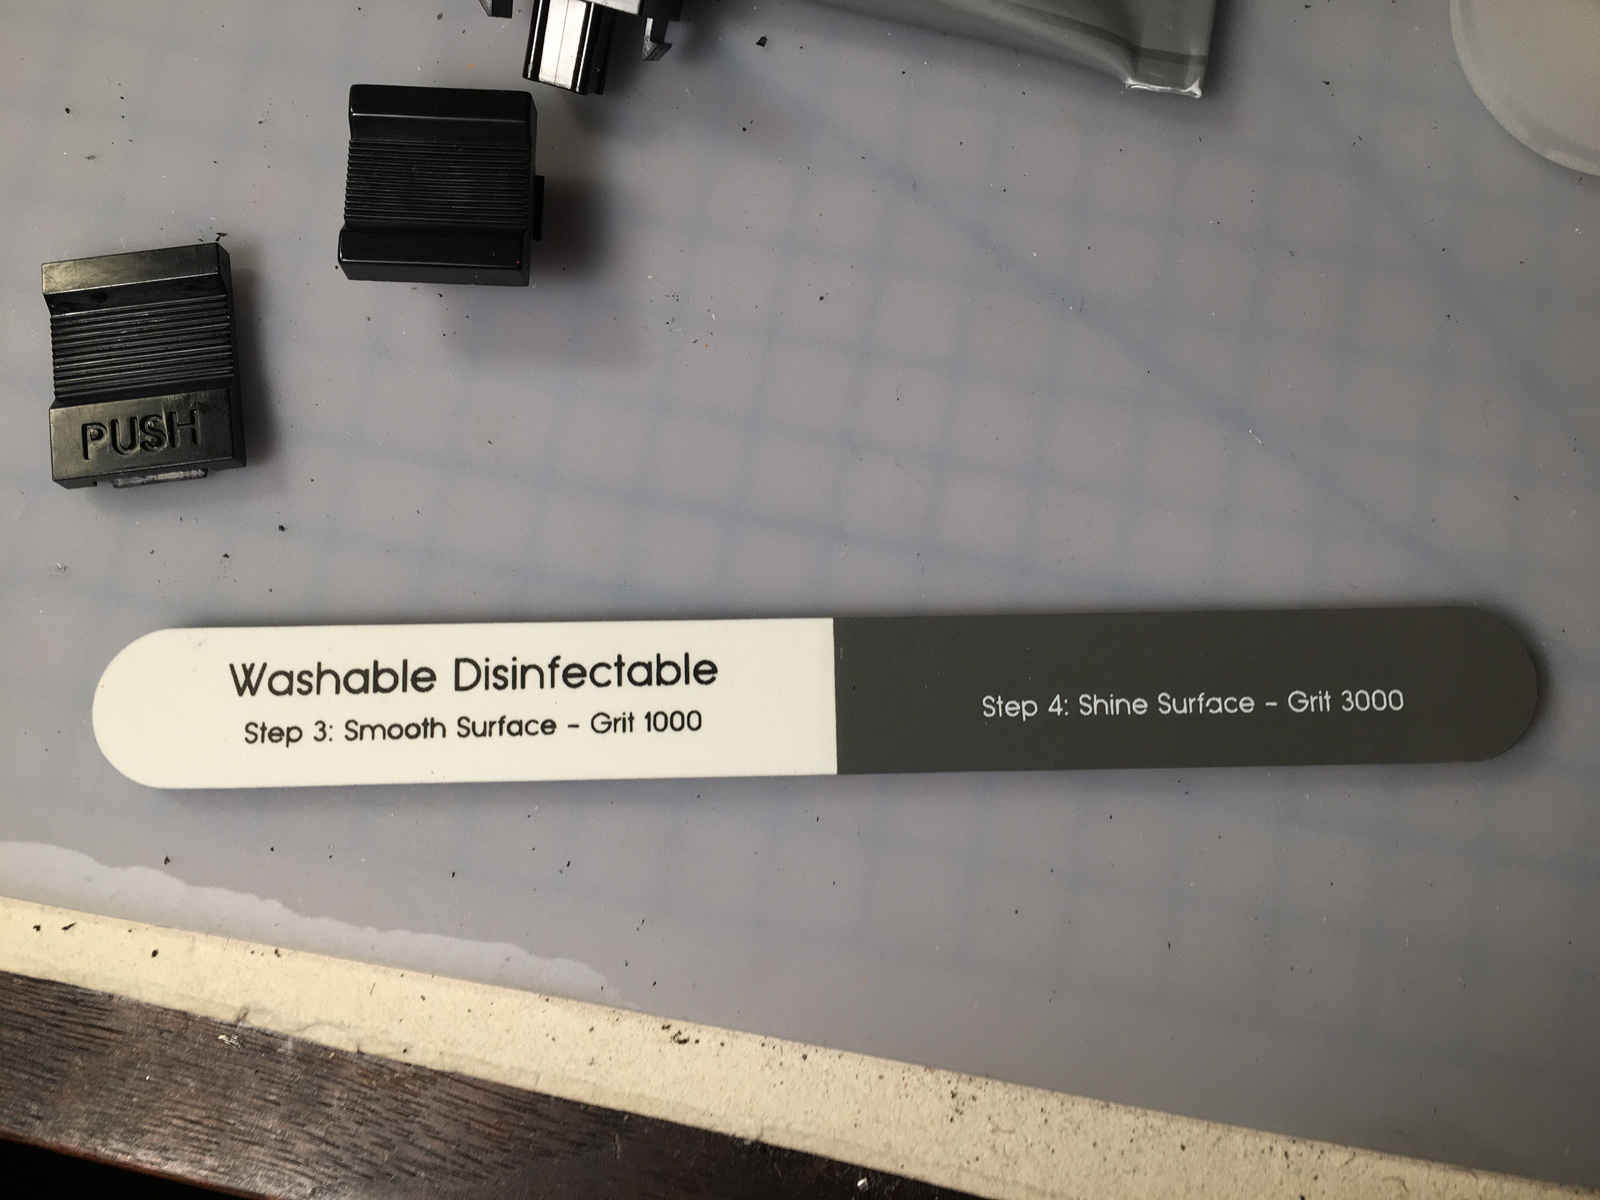
In the end, it turned out pretty-well. Certainly worth salvaging: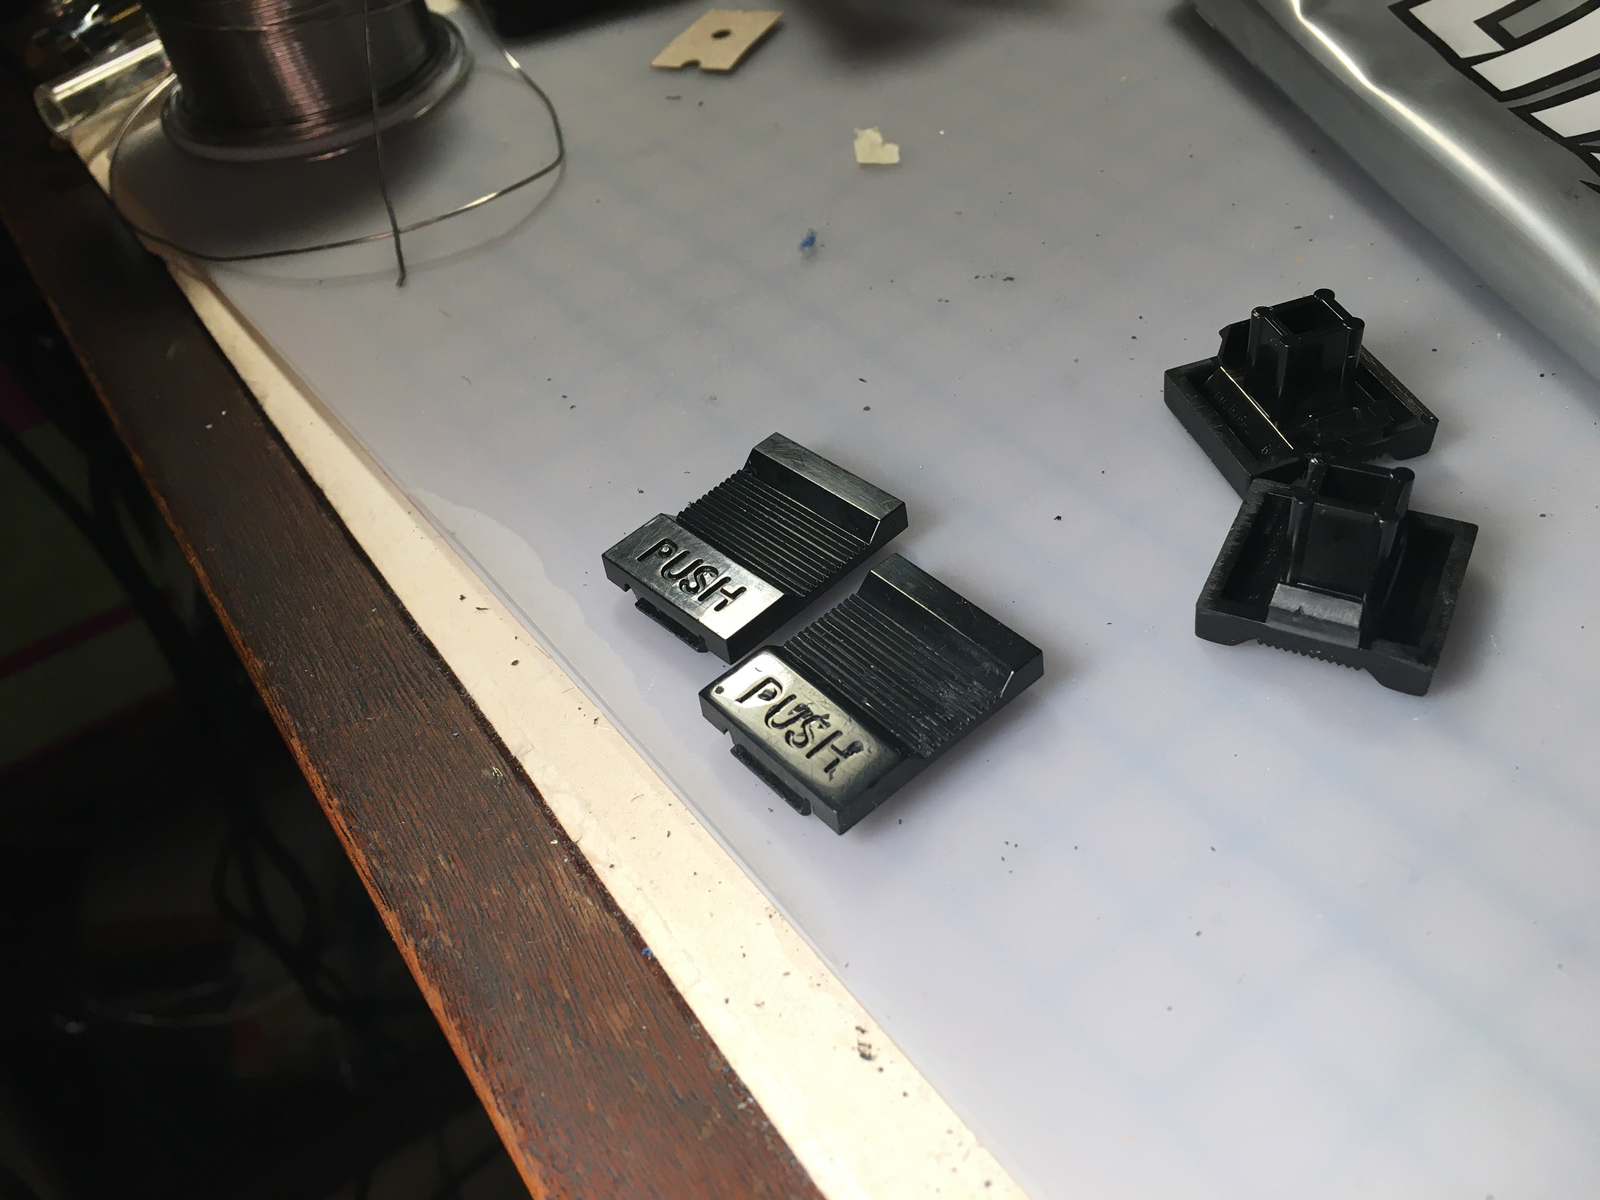
Now... about making the Reset switch actually work.
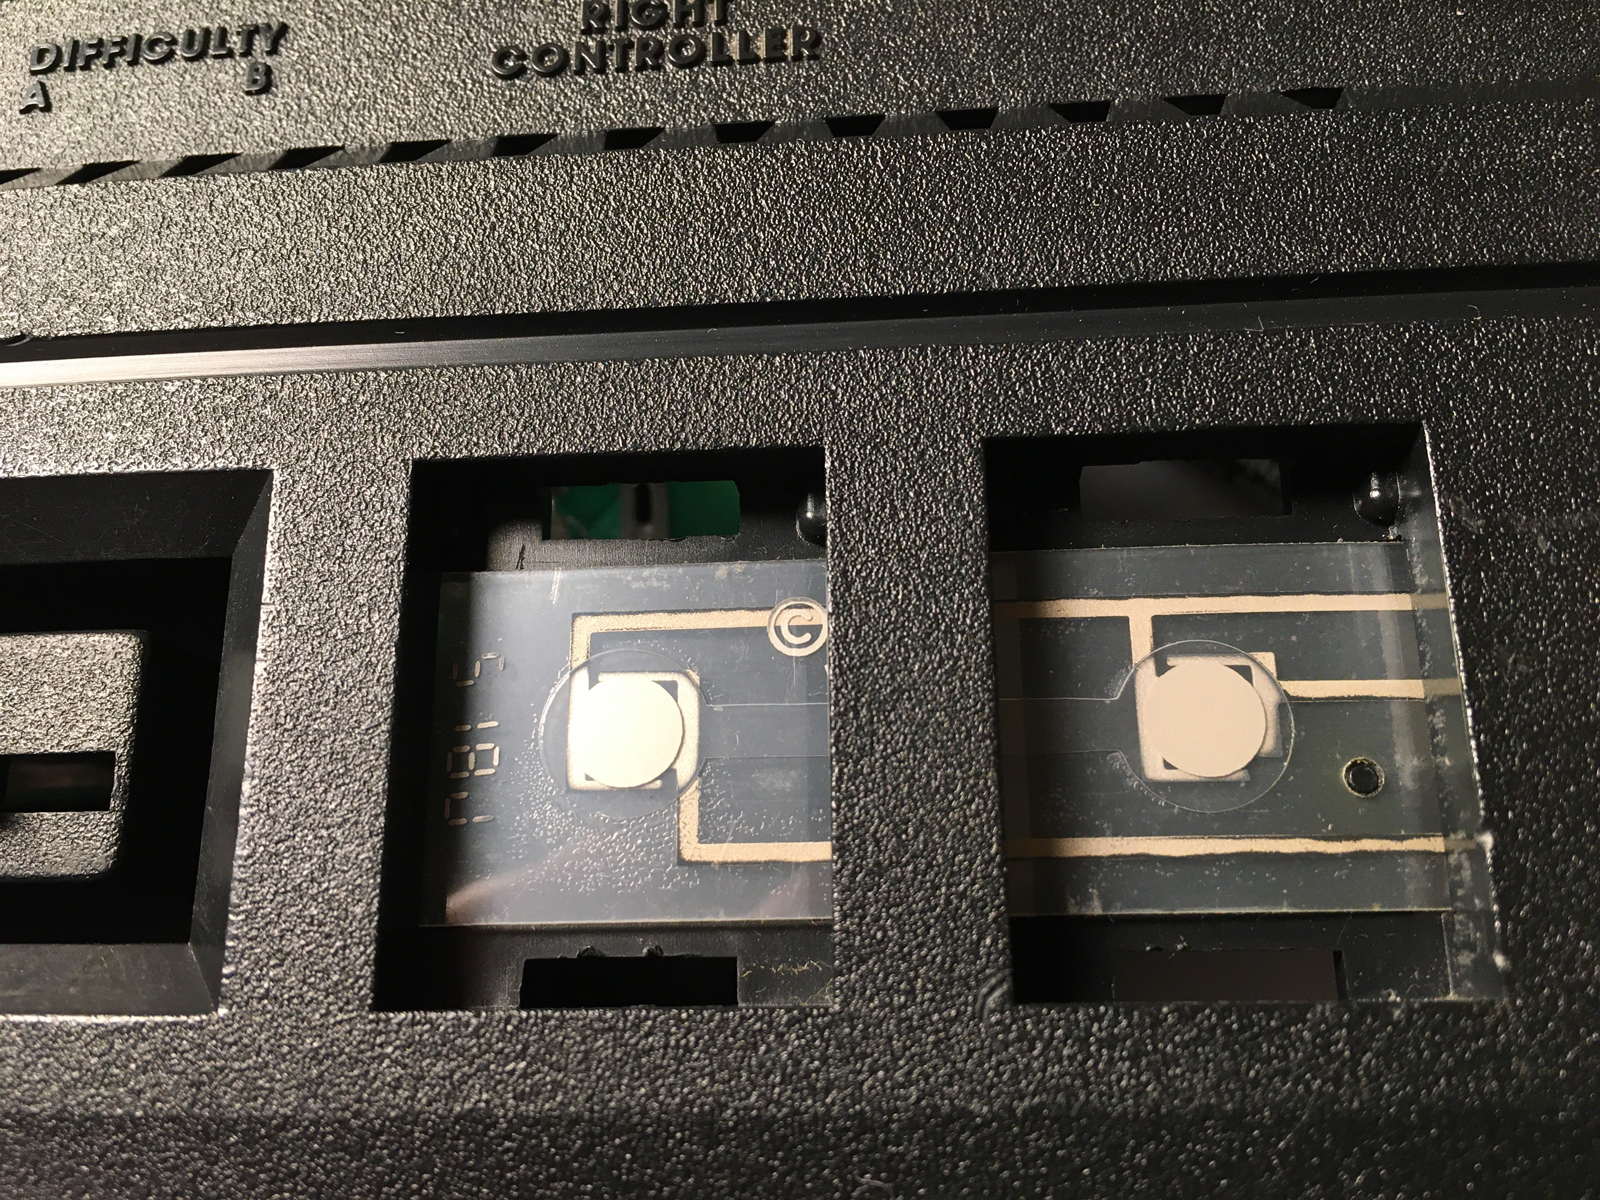
With the switches (actually, switch covers) removed, what you end up with are a couple of very thin mylar switches:
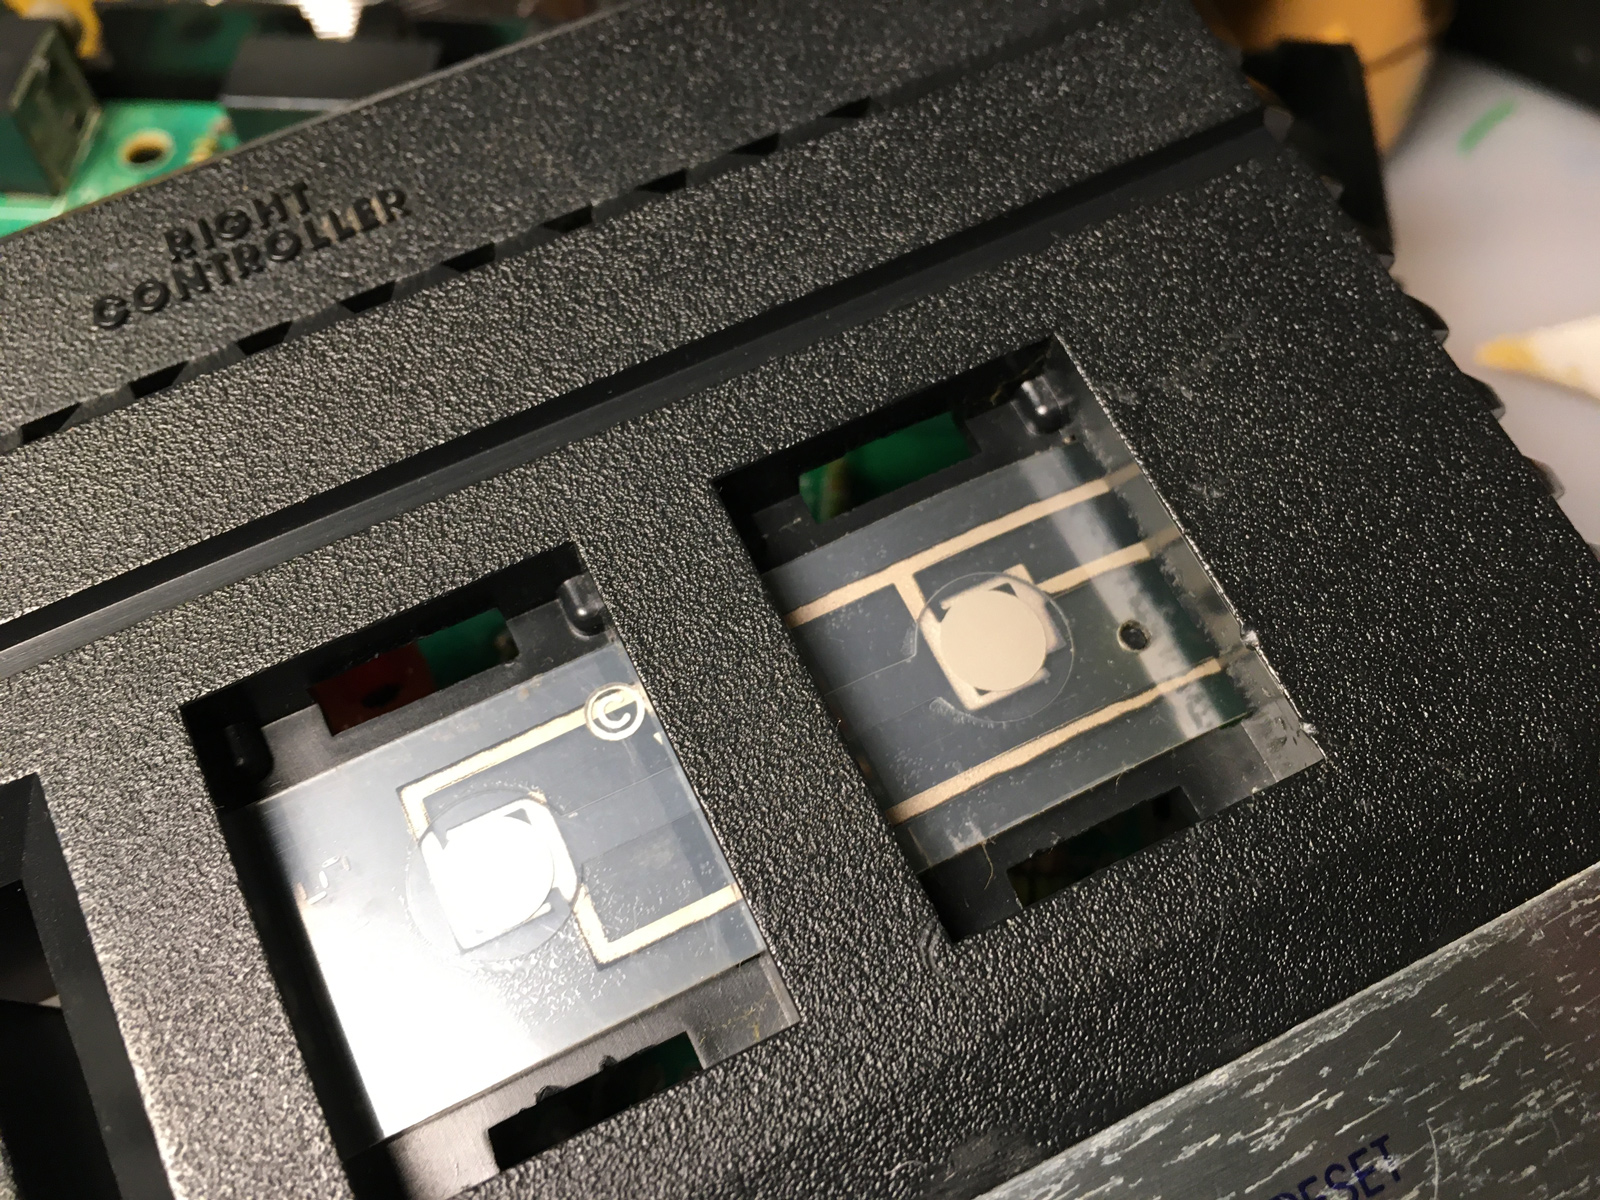
Just tapping on these with my finger triggered them without any issues. So the mylar switch itself seemed fine. (Replacements are available from Best, but again - three-item limit. ![]() ) I clipped on a multimeter so I could test them without going to the hassle of hooking the console back up:
) I clipped on a multimeter so I could test them without going to the hassle of hooking the console back up: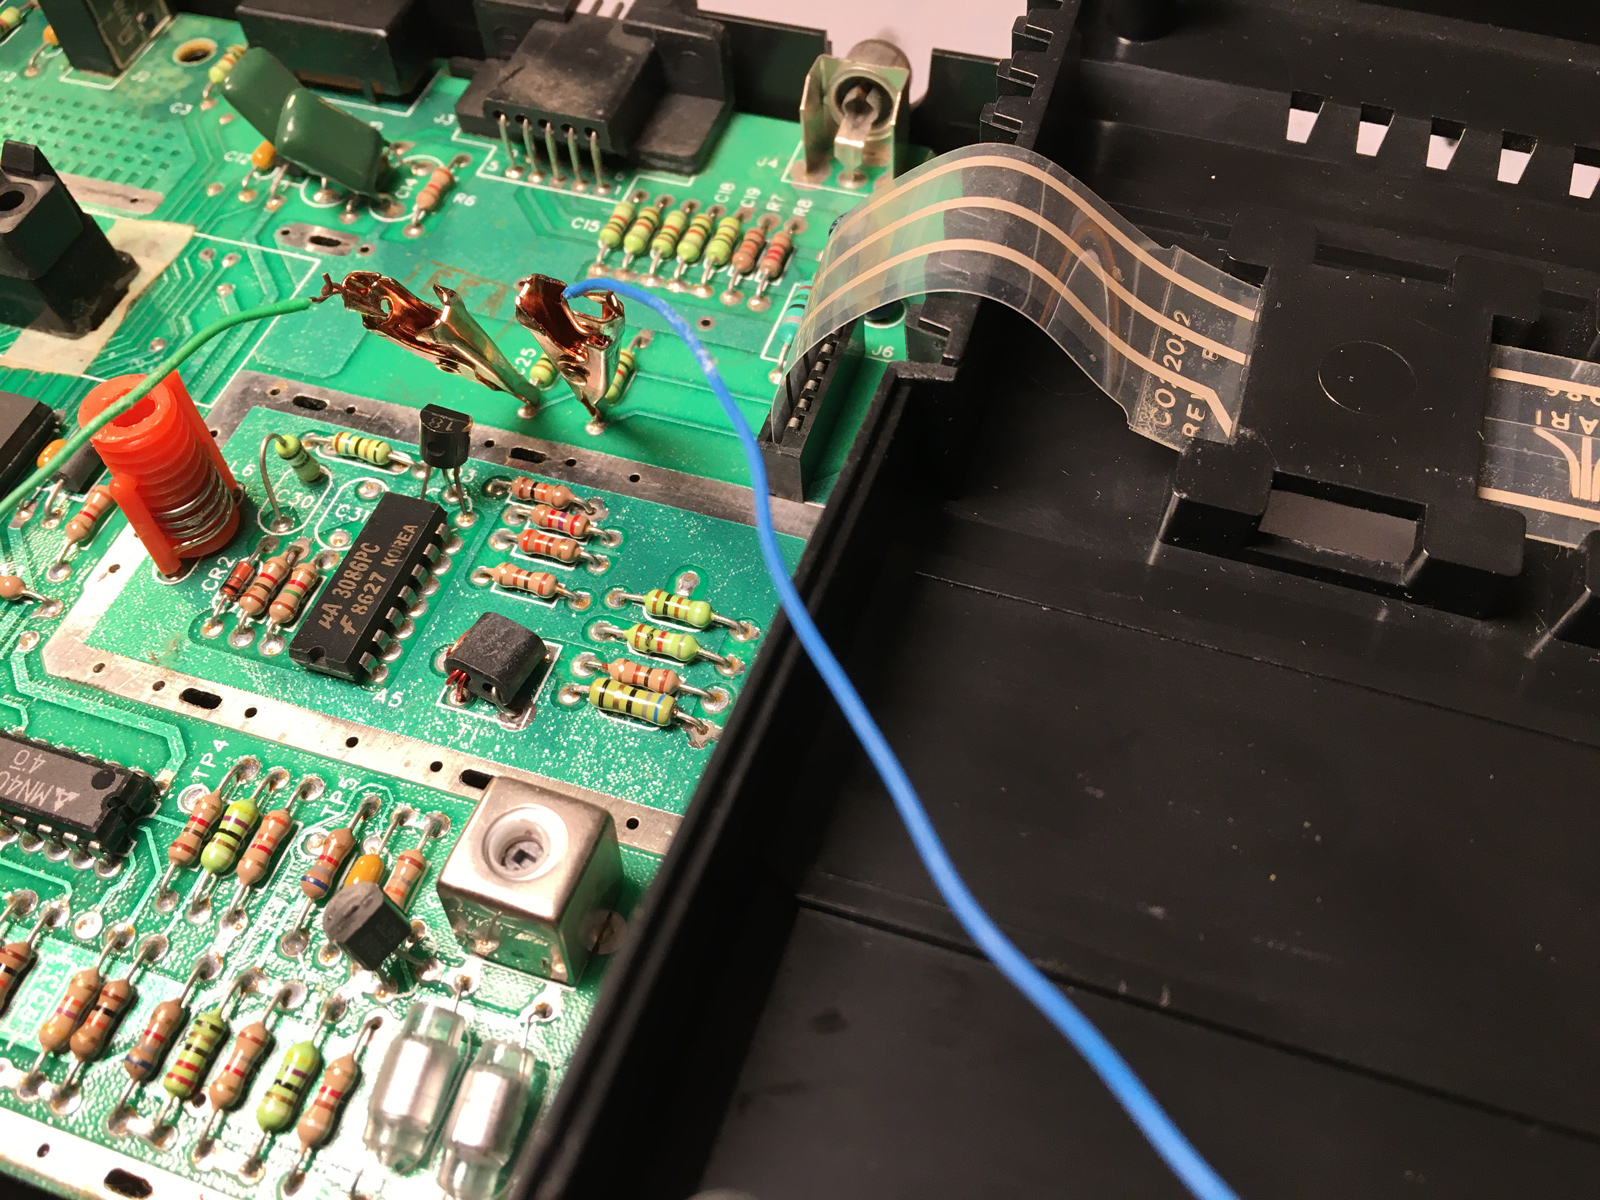
When I swapped the Select and Reset switch covers, the problem went with the covers. So the mylar switches, again, just fine. The switch covers use foam rubber "springs" that are stuck with double-sided tape to their underside. This gives them enough rebound so they're not always "down". But these have been worn nearly flat - the Reset one is on the left. When I swapped just the foam springs, the problem followed the foam. So the switch covers and switches - both fine. So maybe the foam had spread out just enough to prevent the switch cover from actuating the switch. Or it was so compressed, it no longer had any give to it. At any rate, they needed to be replaced.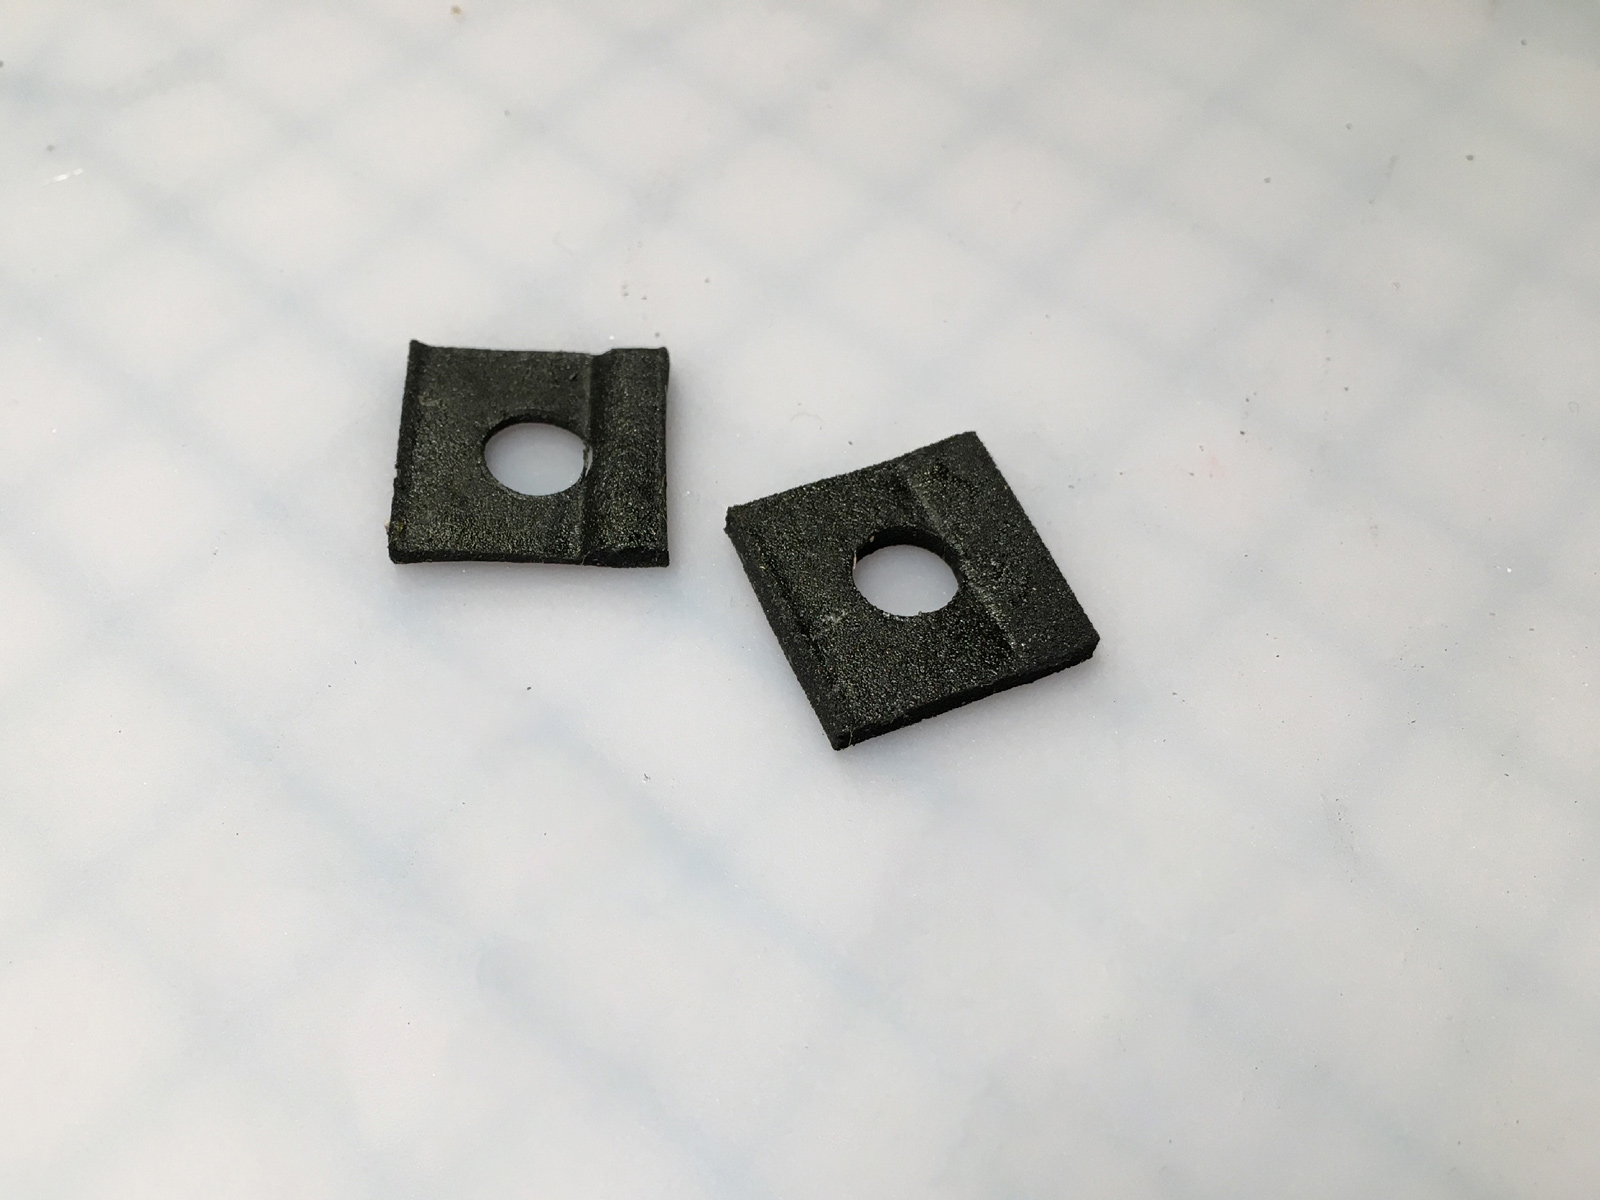
Now these are one thing Best doesn't sell. Which is odd, because they're easy to make. I went to a local craft store and picked up a couple of sheets black craft foam. One with an adhesive backing, one without (since I didn't know how well it would stick, and I might have to use other double-stick tape):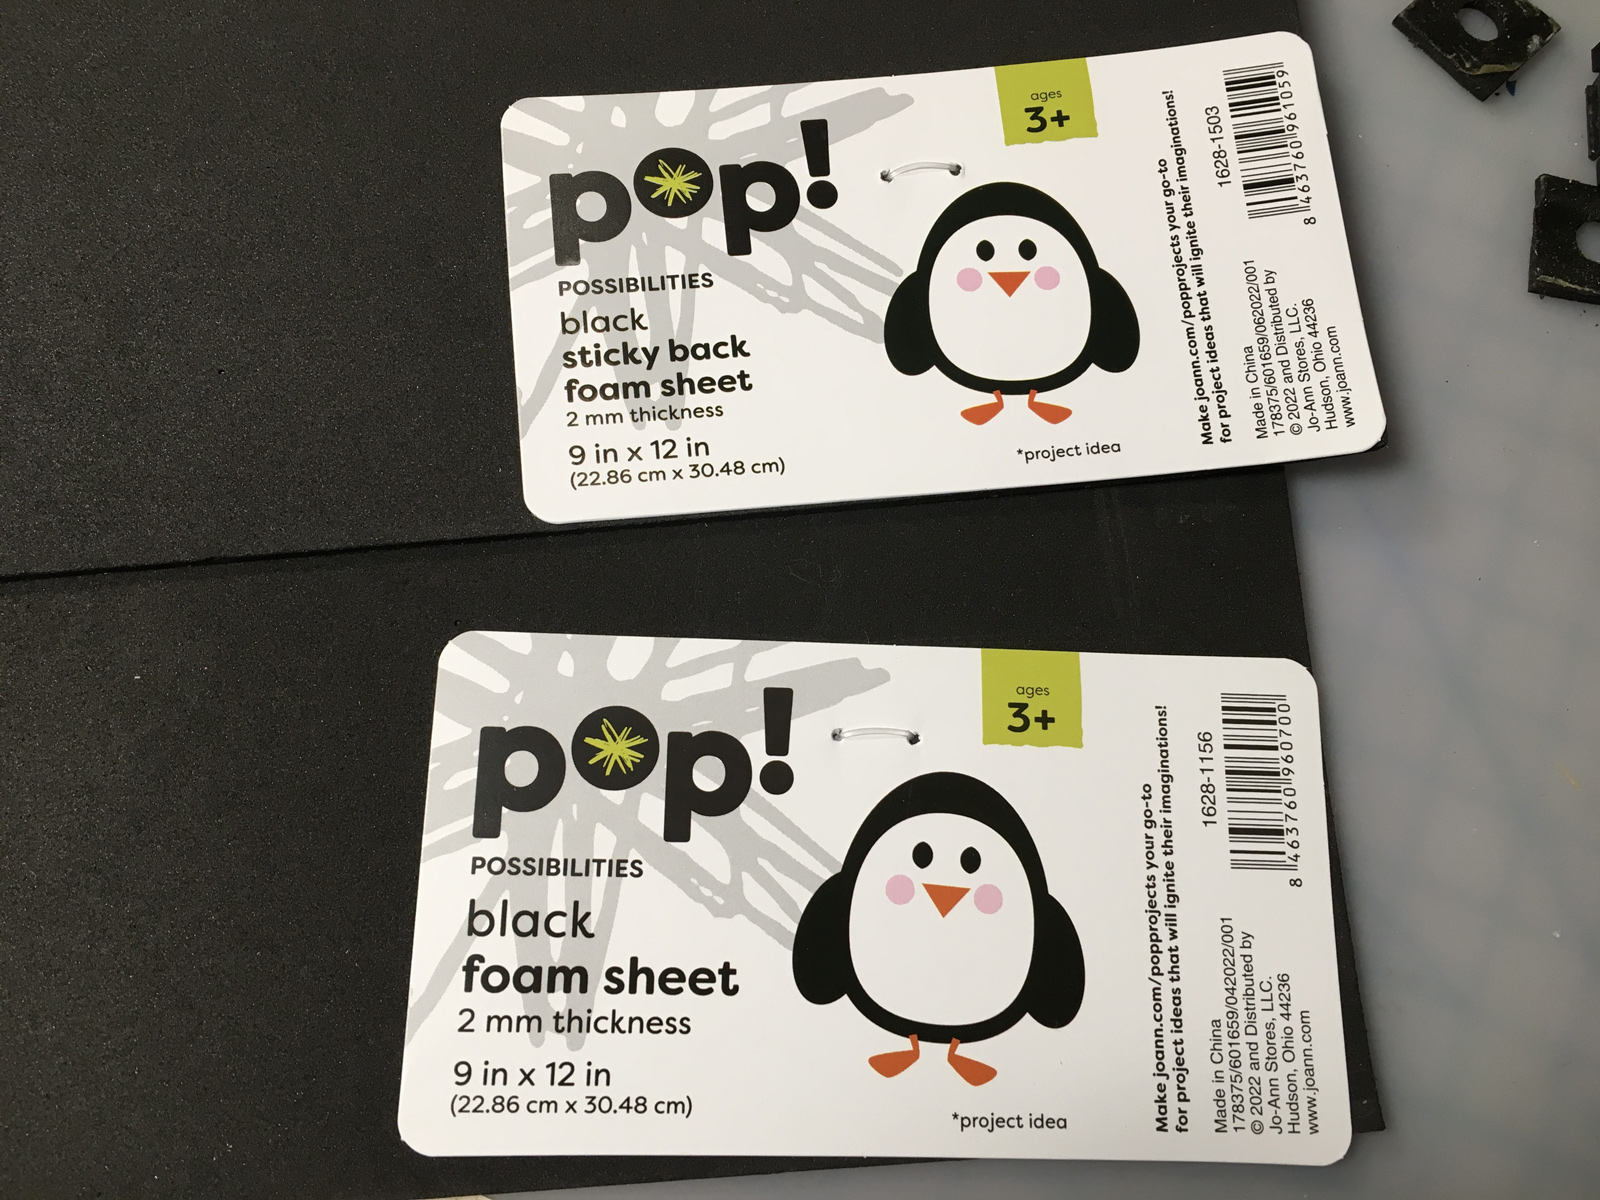
2mm is just the right thickness to match the un-squished original foam: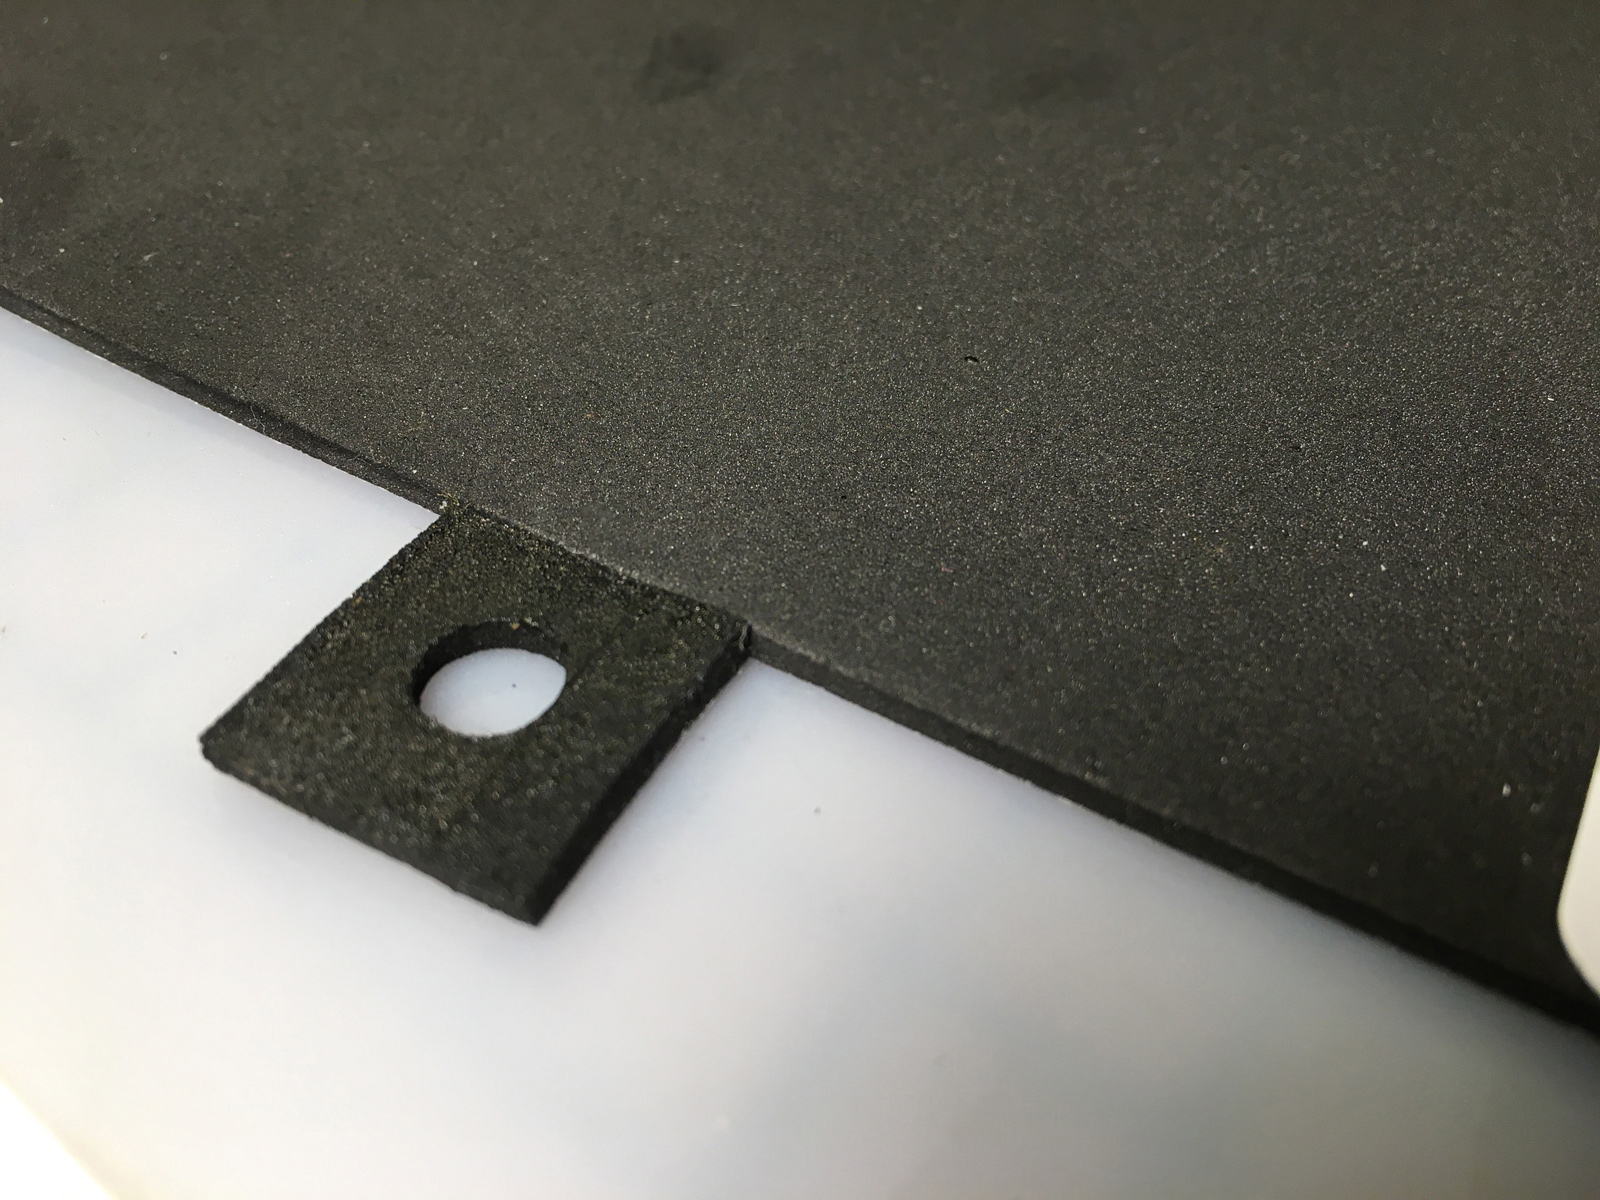
So I measured and marked out the foam (including the centers of each square):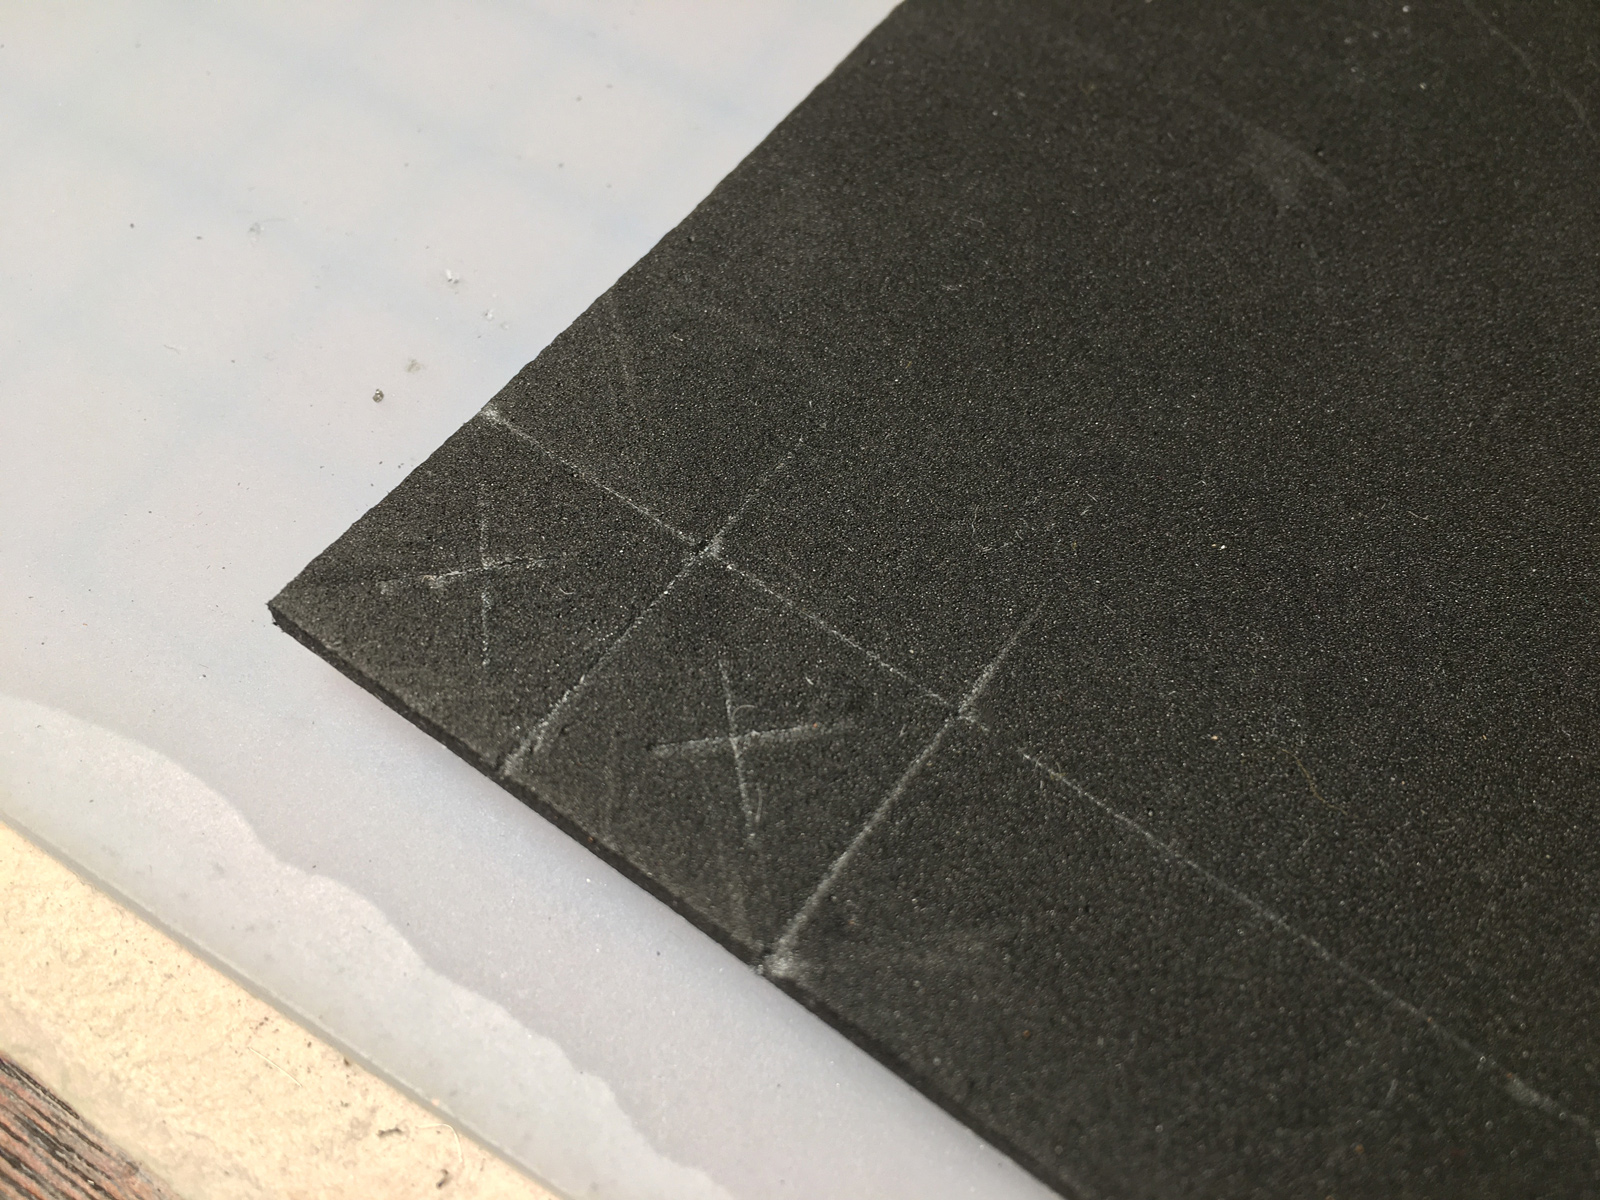
The "X" was so I could align a 5/16" hole punch. 1/4" would be too small to leave any space around the post on the switch cover. You can get a 5/16" punch off Amazon pretty cheaply. I didn't. ![]() (To be fair - I bought mine at the craft store, and it was the only 5/16" one they had.)
(To be fair - I bought mine at the craft store, and it was the only 5/16" one they had.) 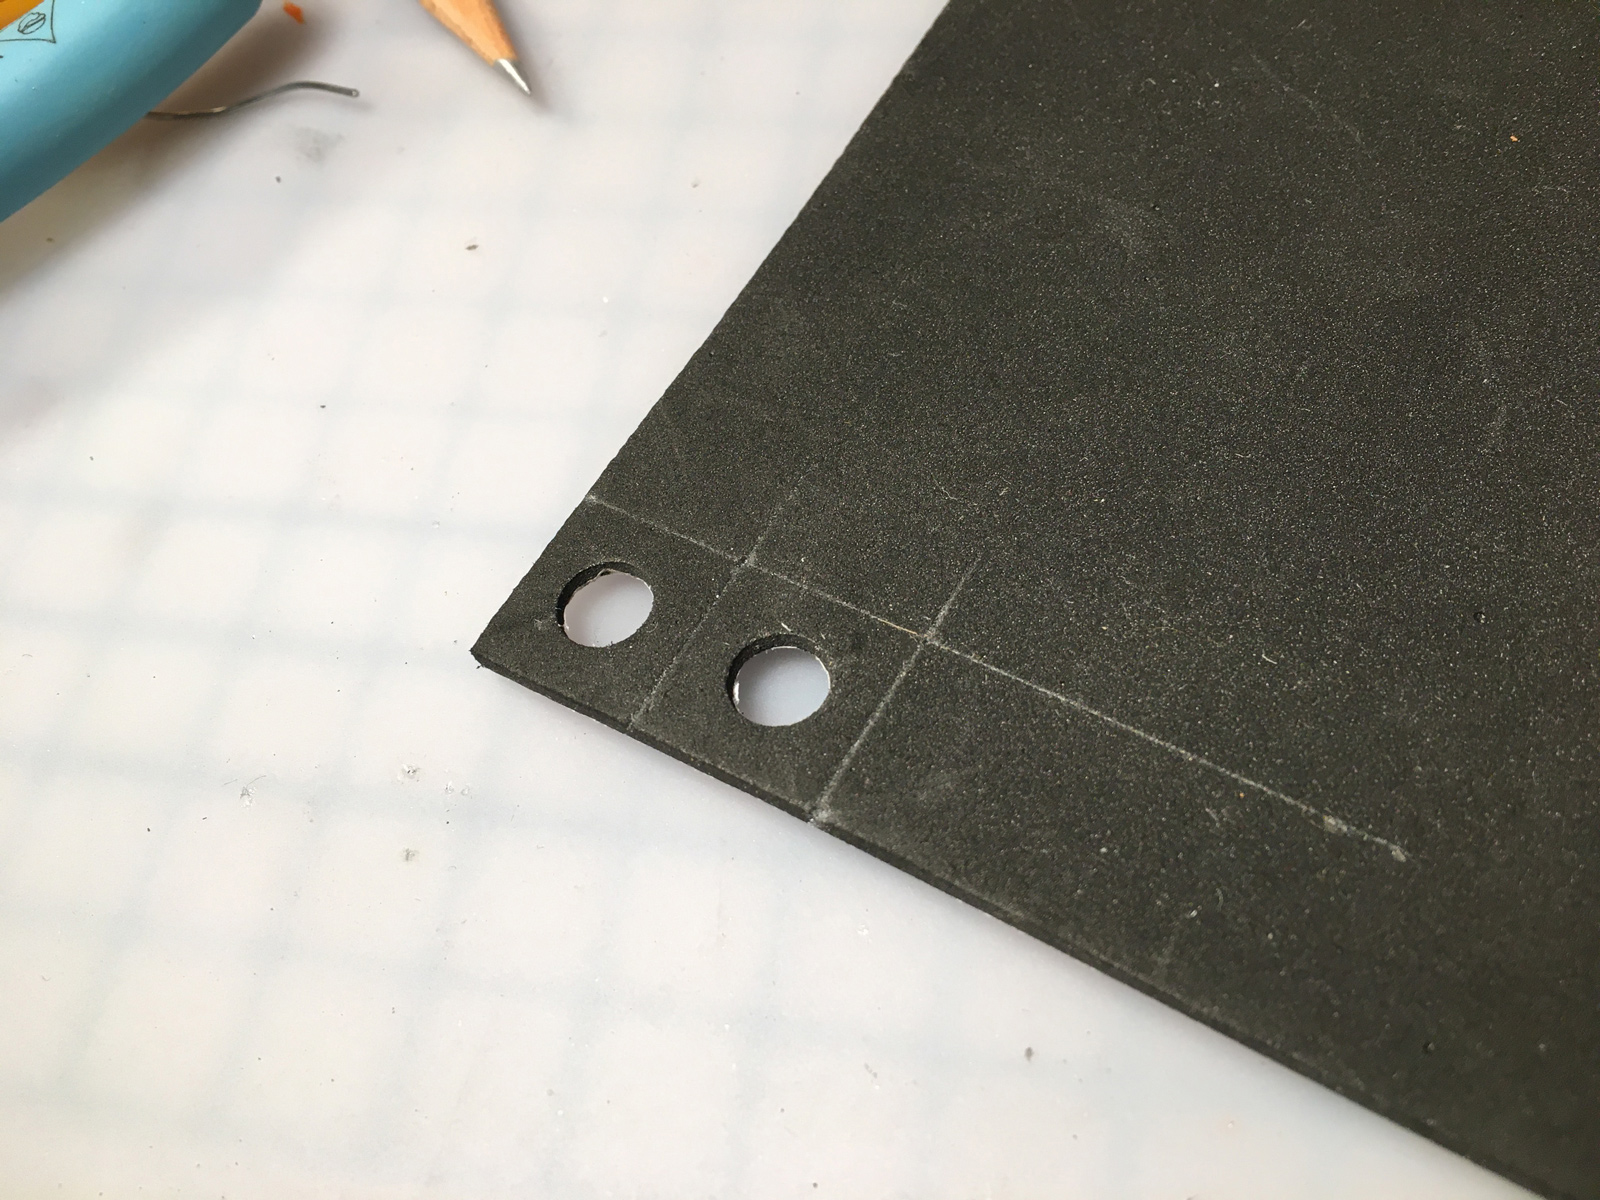
A little cutting, and presto! New sponge spring-things! I made a few attempts at these, but these are the final ones.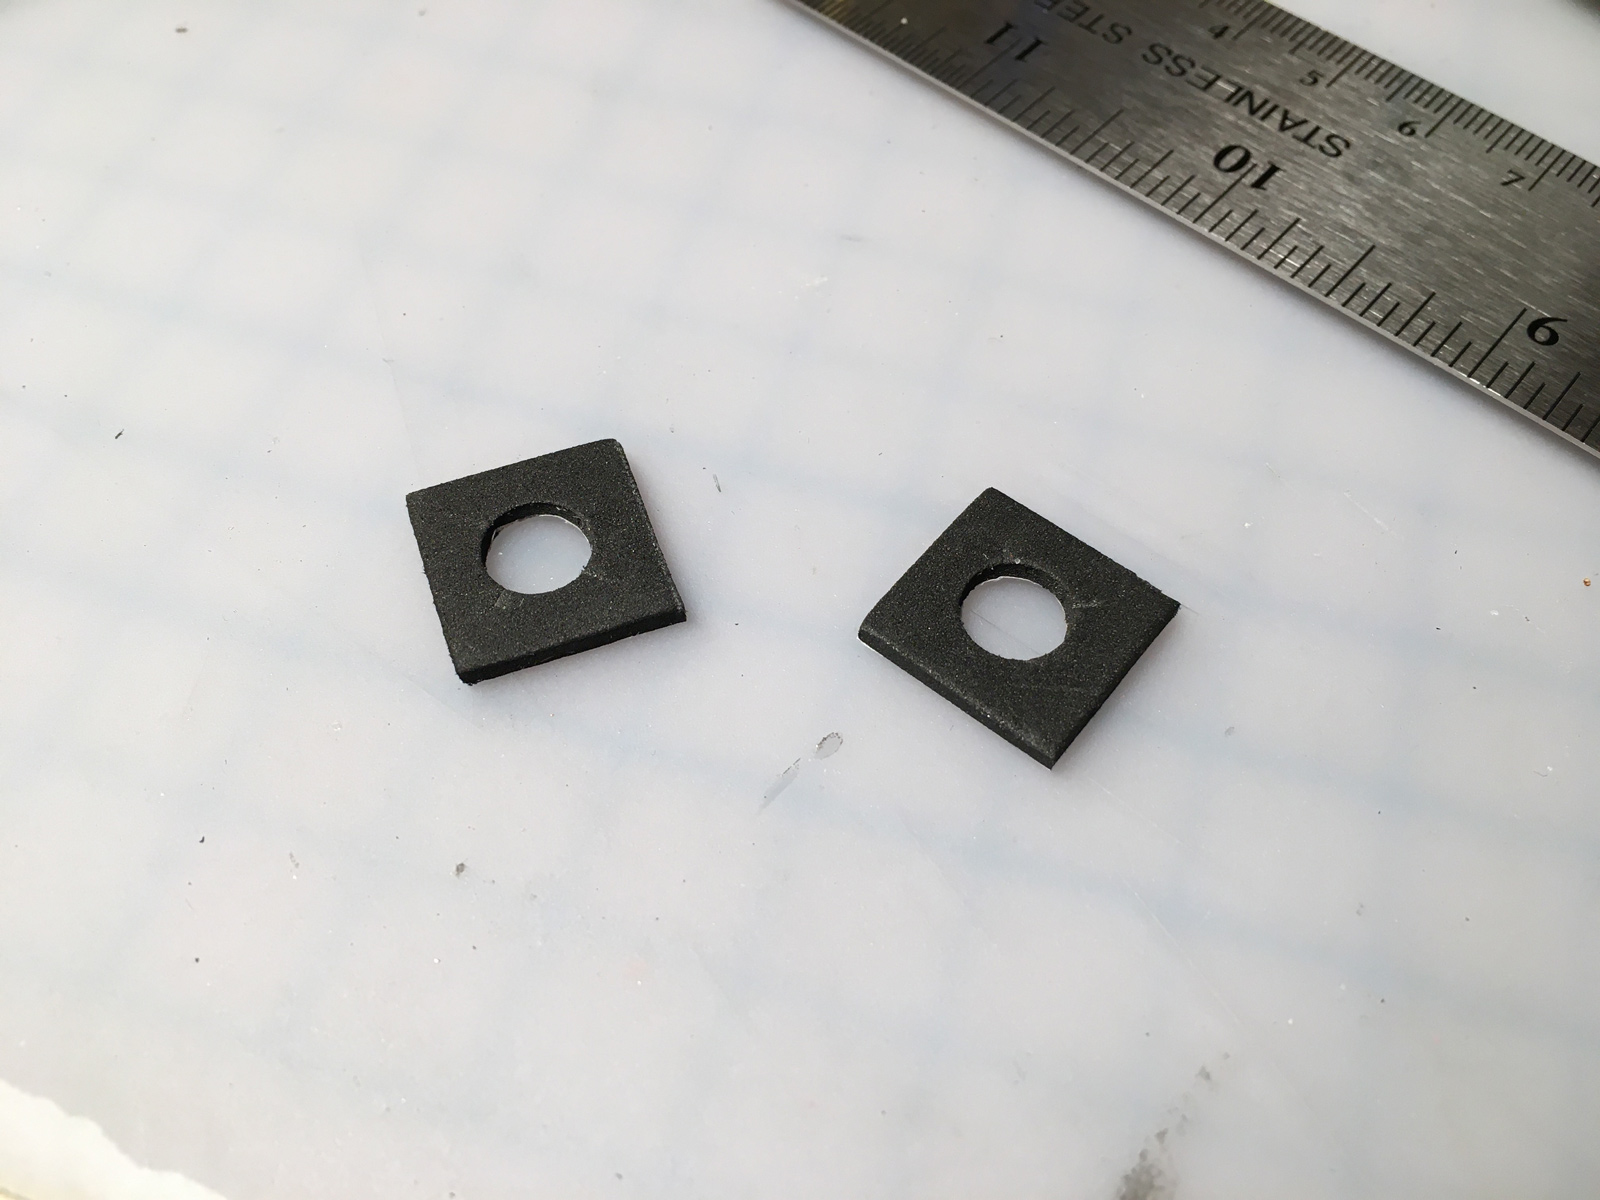
I cut these just a tiny bit smaller than the originals, so there wouldn't be any clearance issues as they compressed over time. The adhesive backing worked just fine!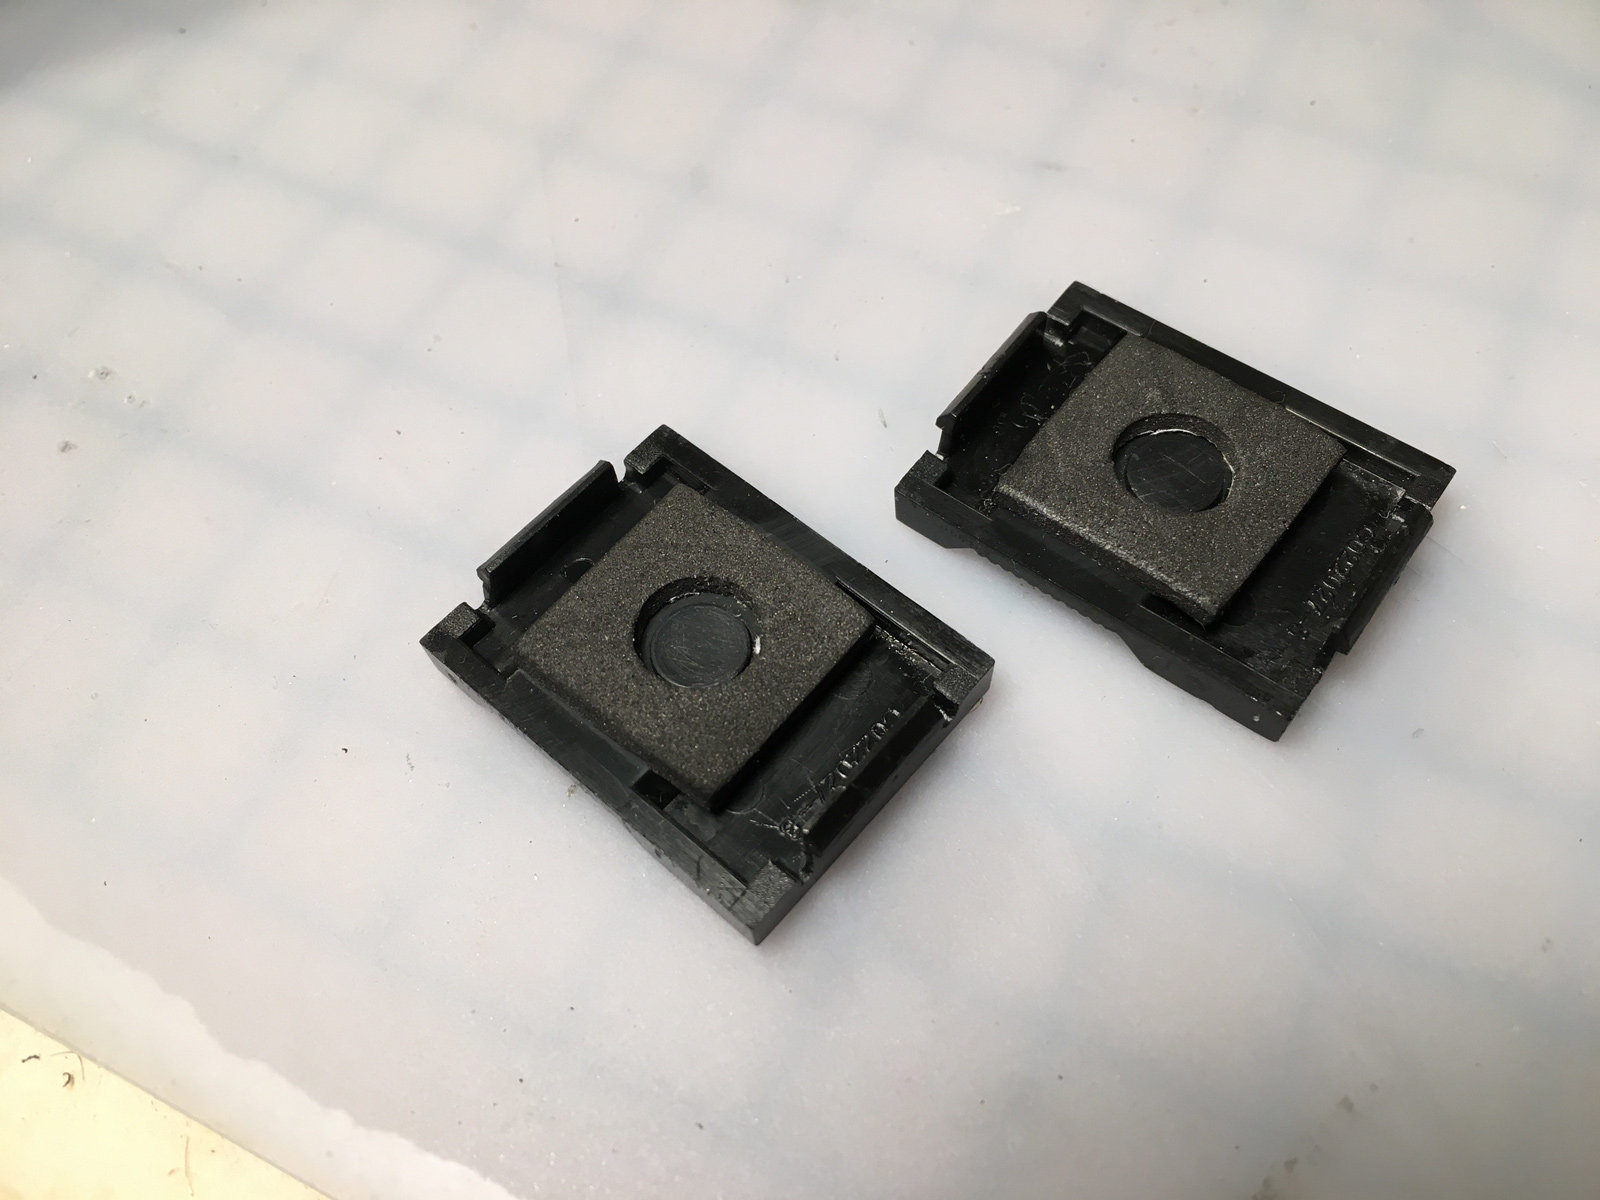
So I installed them, and Select worked just fine. Reset, however, didn't. I could press it pretty hard and get it to work, but that wasn't going to cut it.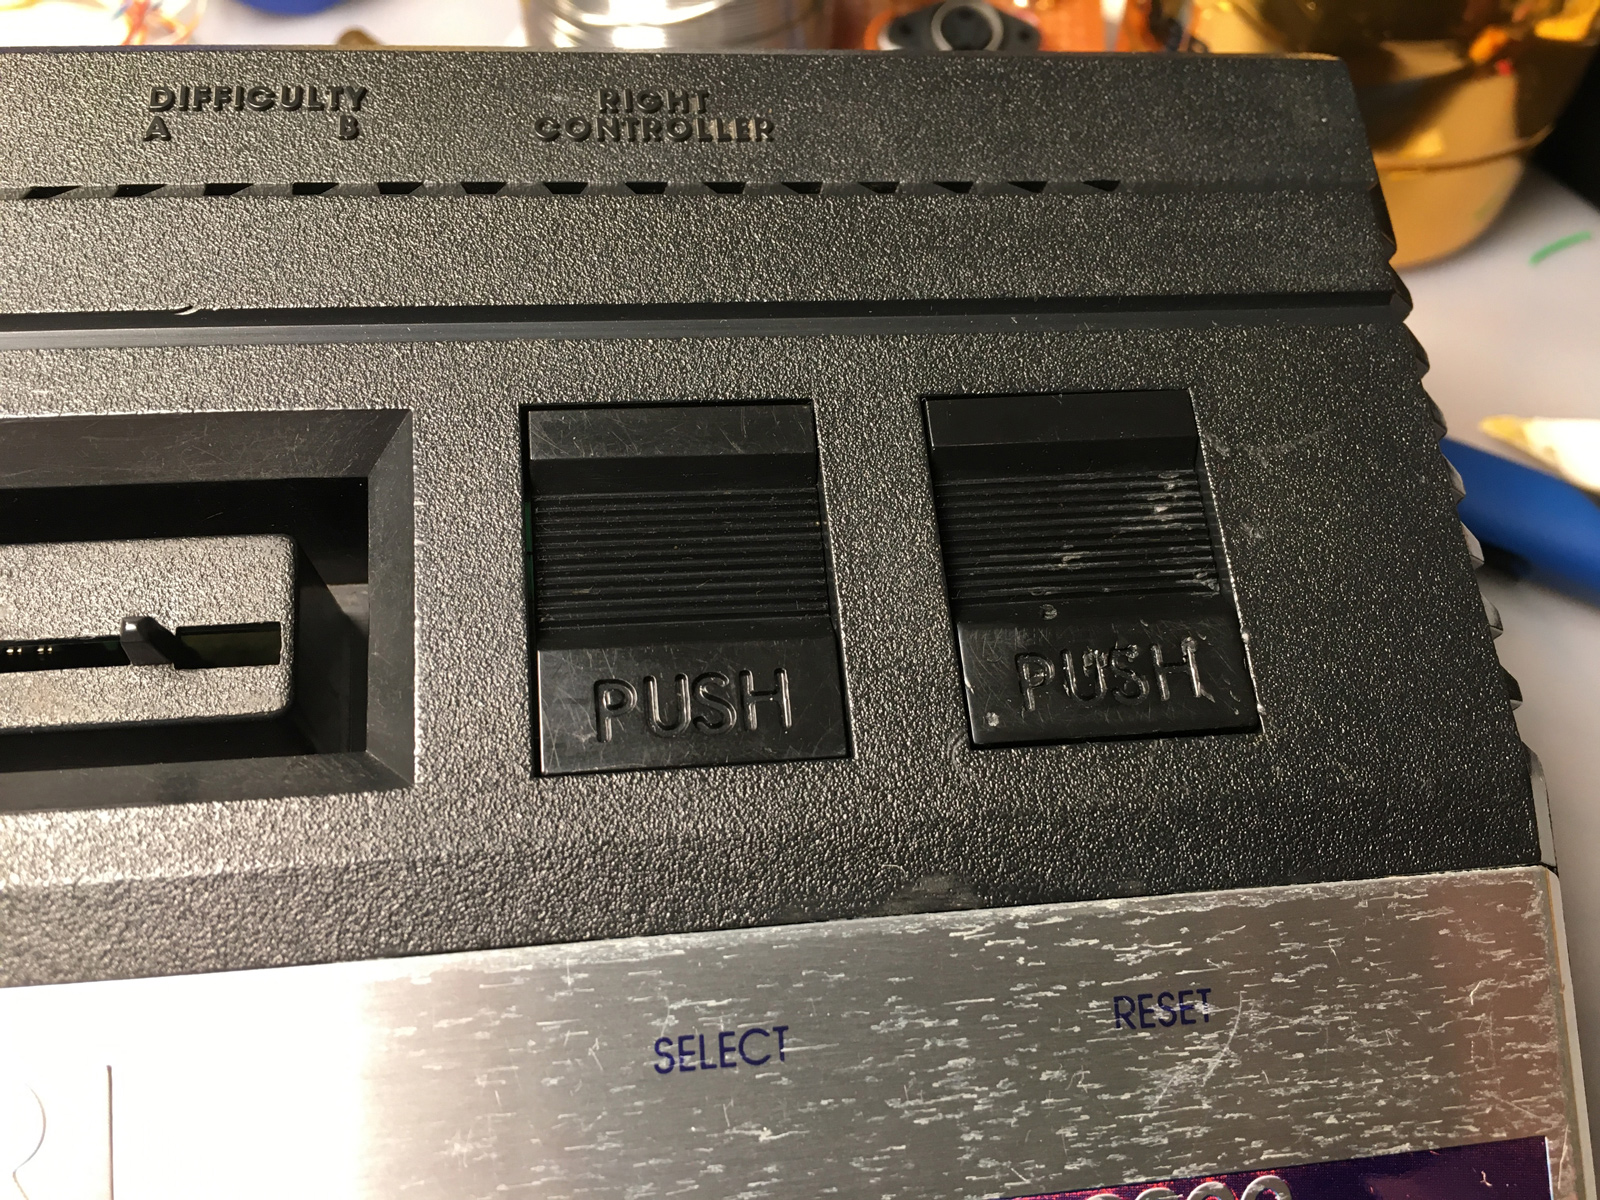
Taking it back out, I noticed a small, round dent along one edge (near the lower right corner). Something was keeping the switch cover from fully depressing.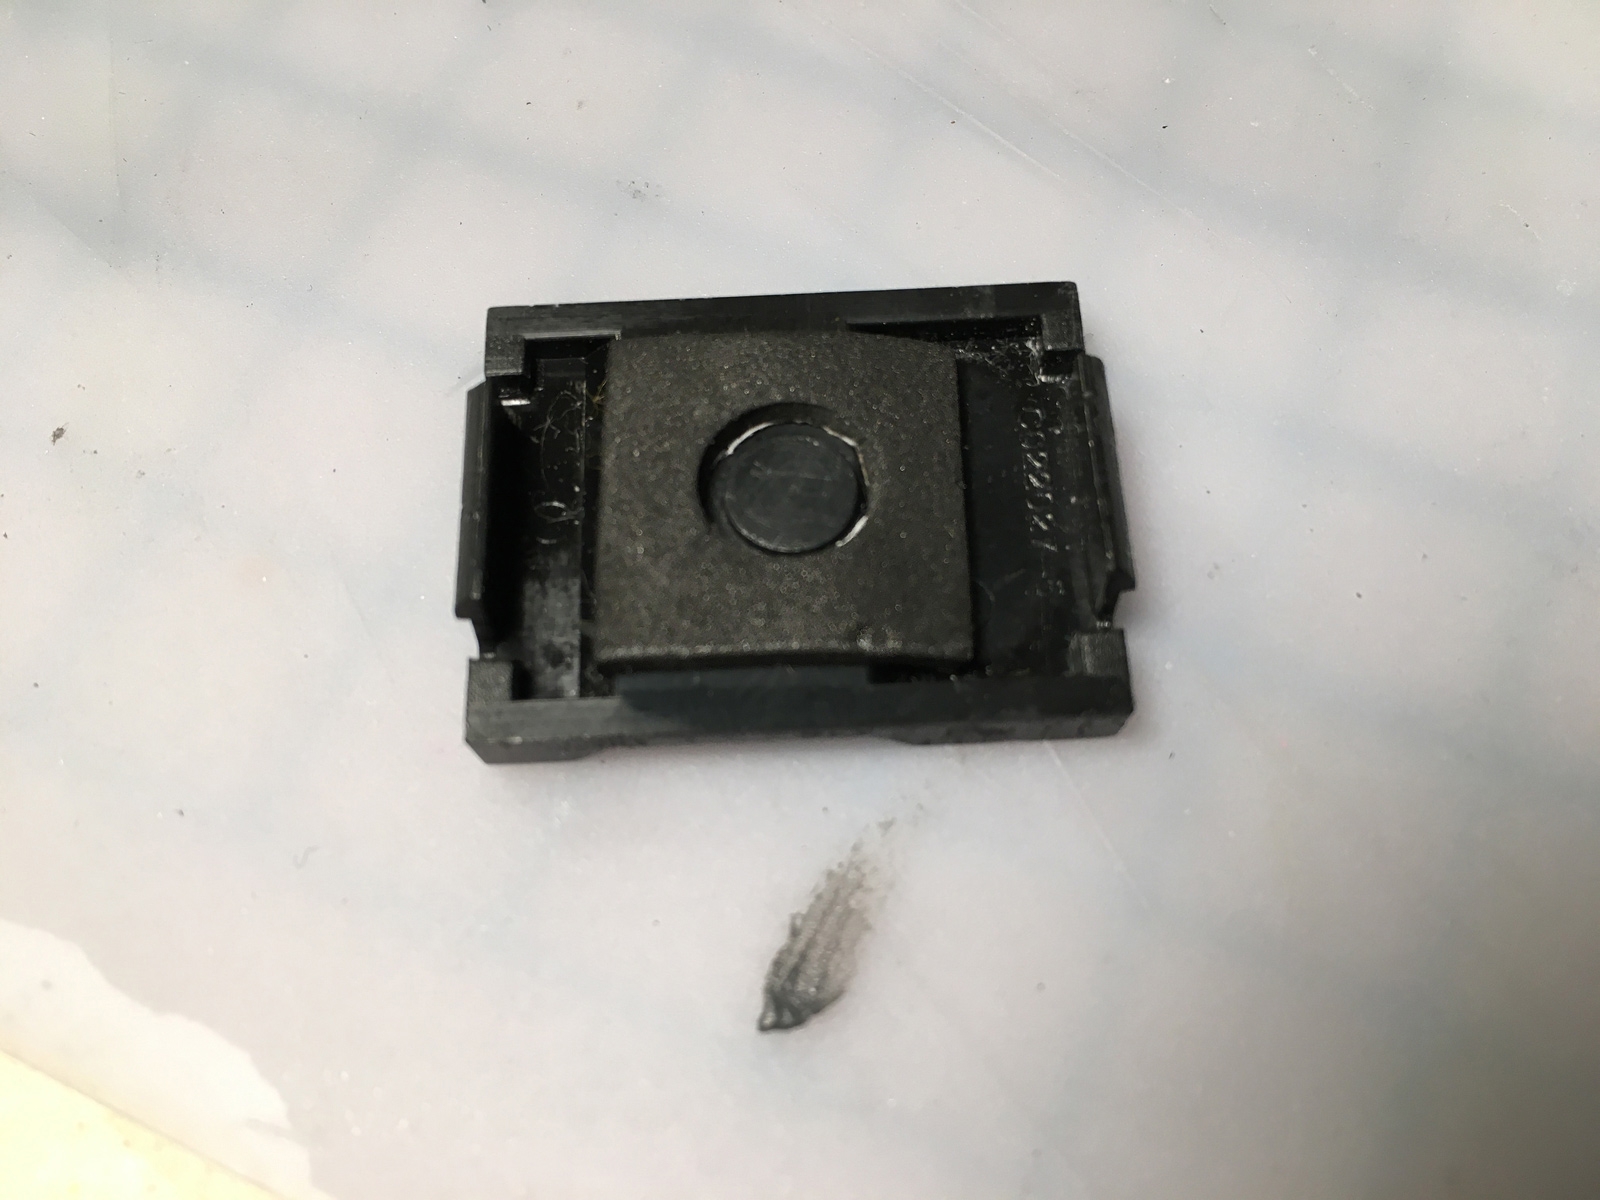
Turns out, there's a round "key" of sorts, that sticks up: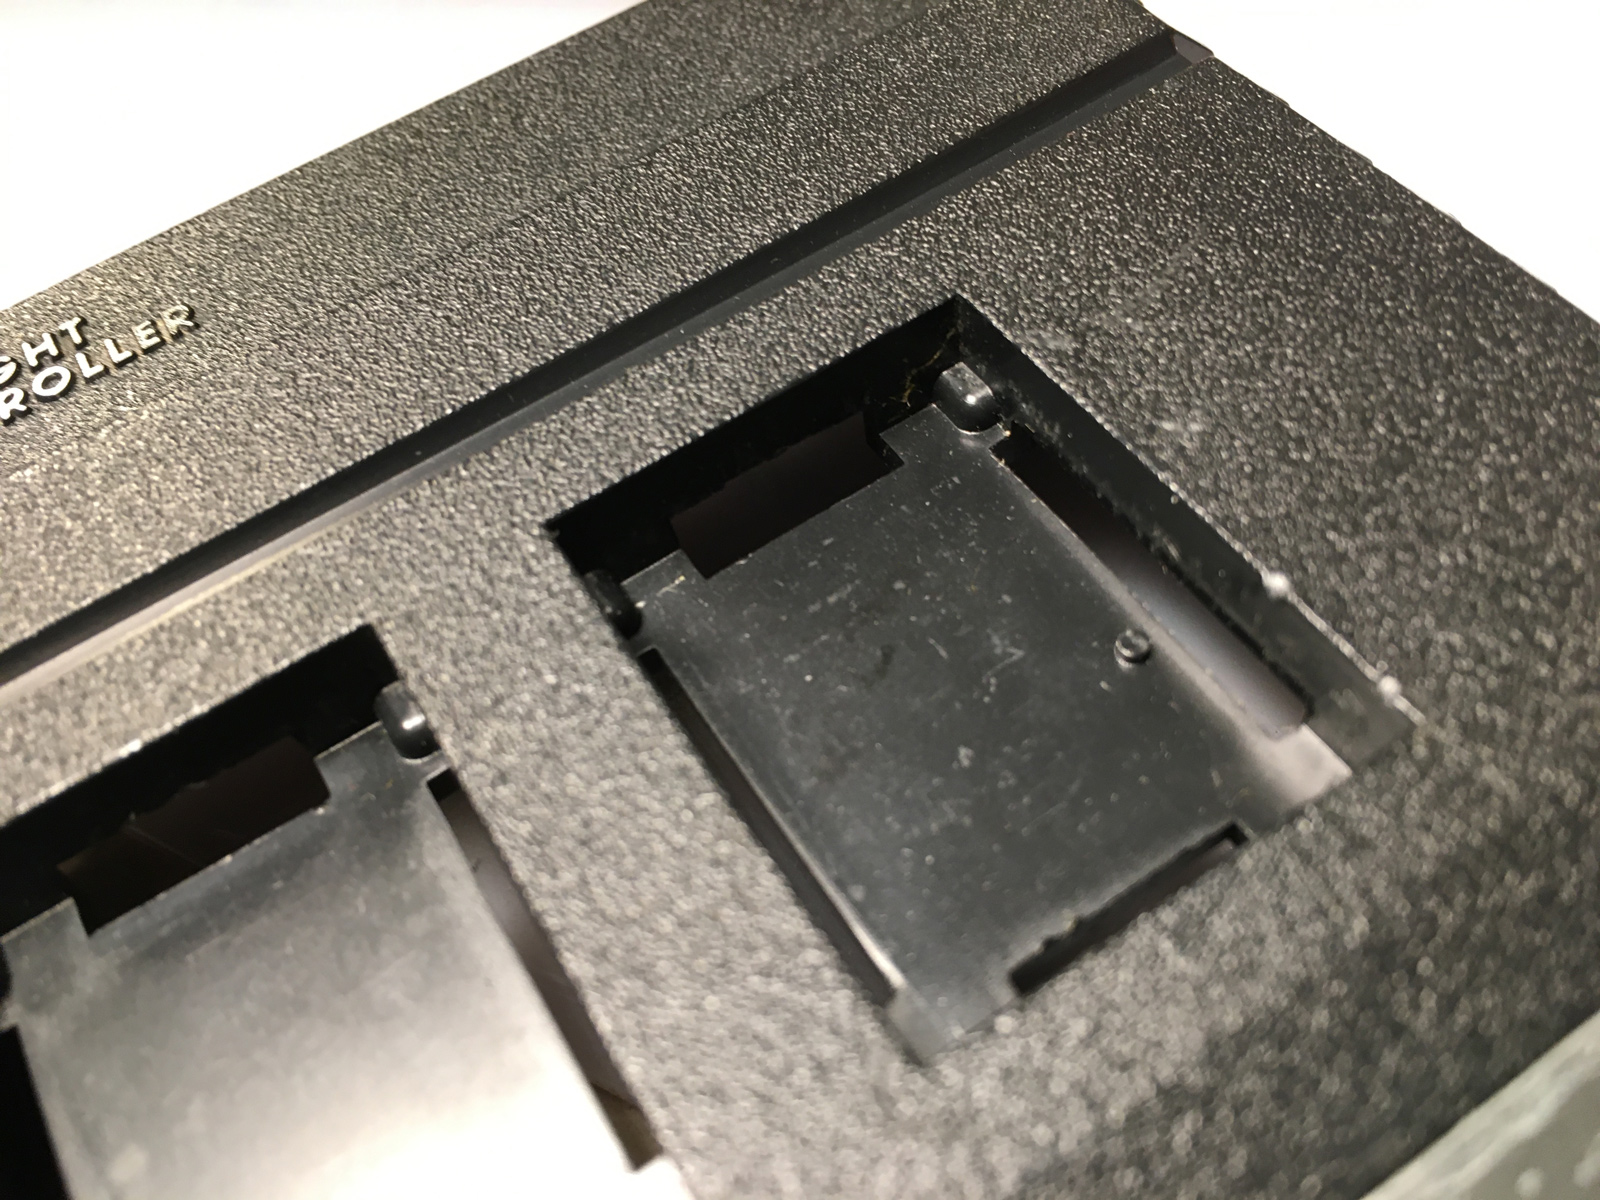
This holds the mylar switch in position:
So, I cut a notch around it, figuring that would fix it. And it did! It worked great - but not for the reason I was expecting...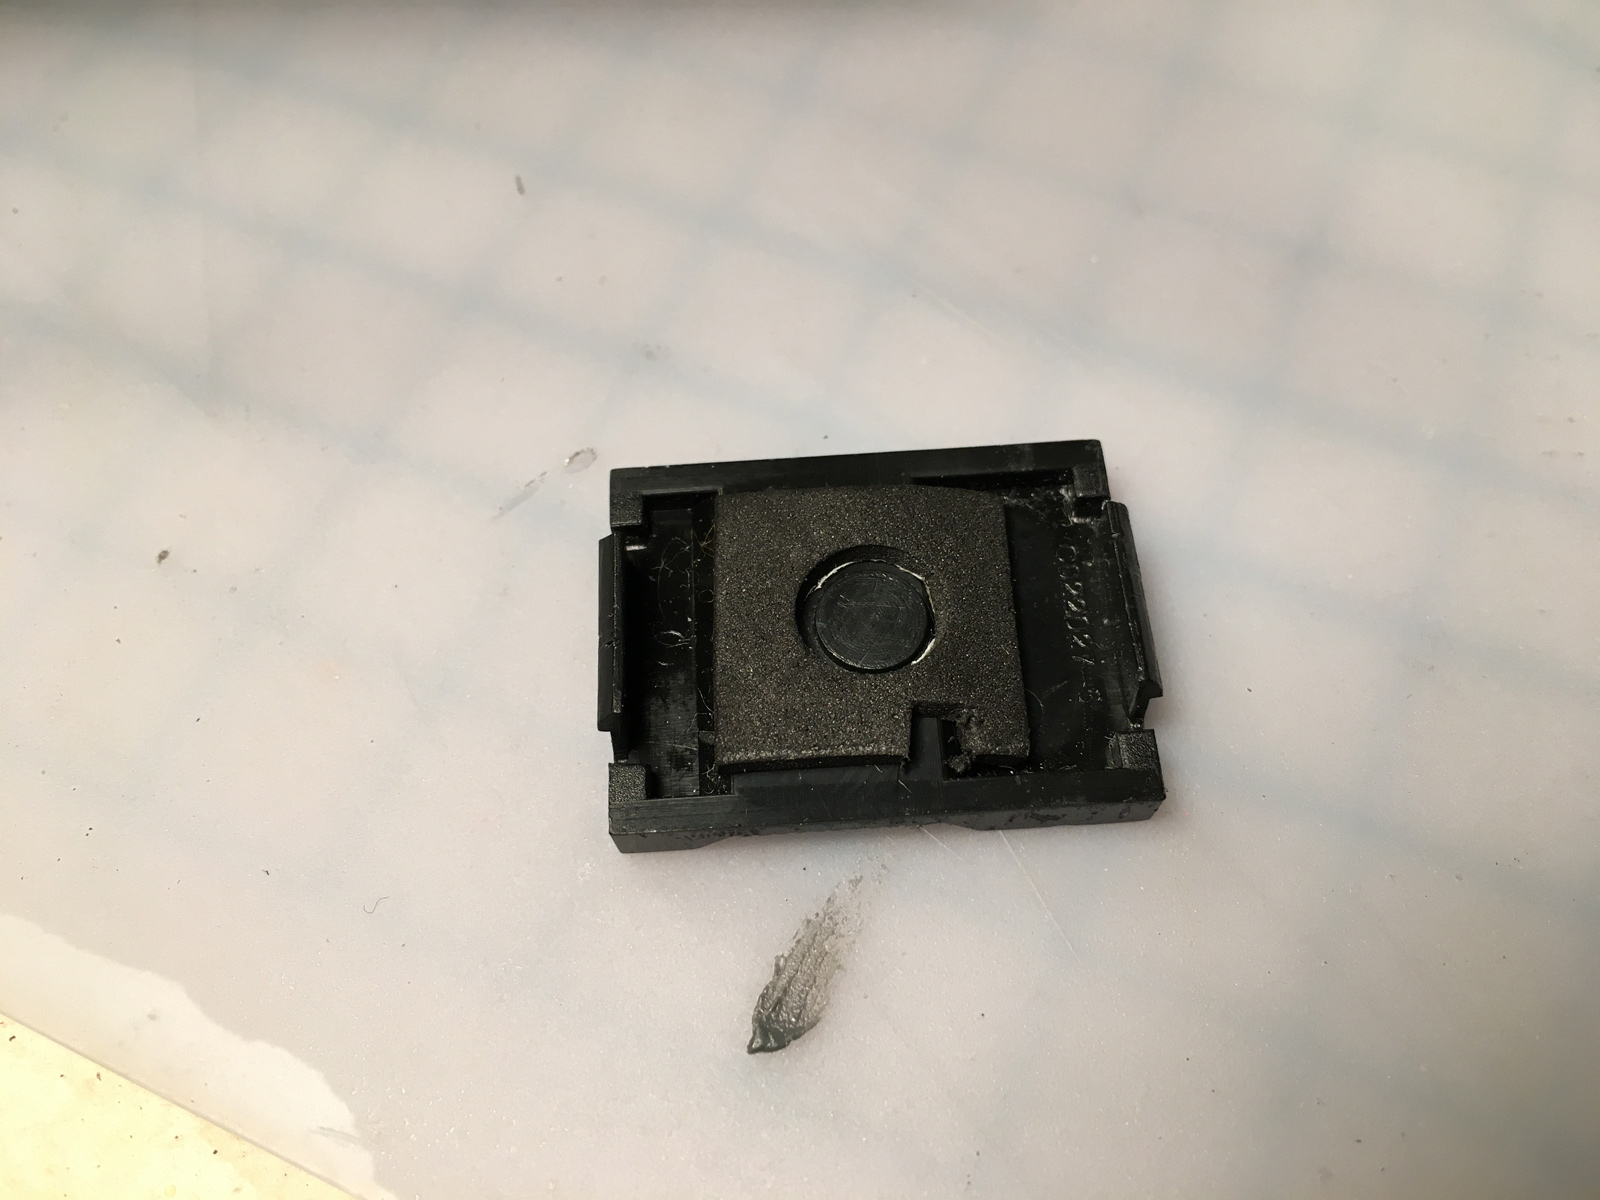
When I looked back at the mylar switches again, they had slid out of position. Bother.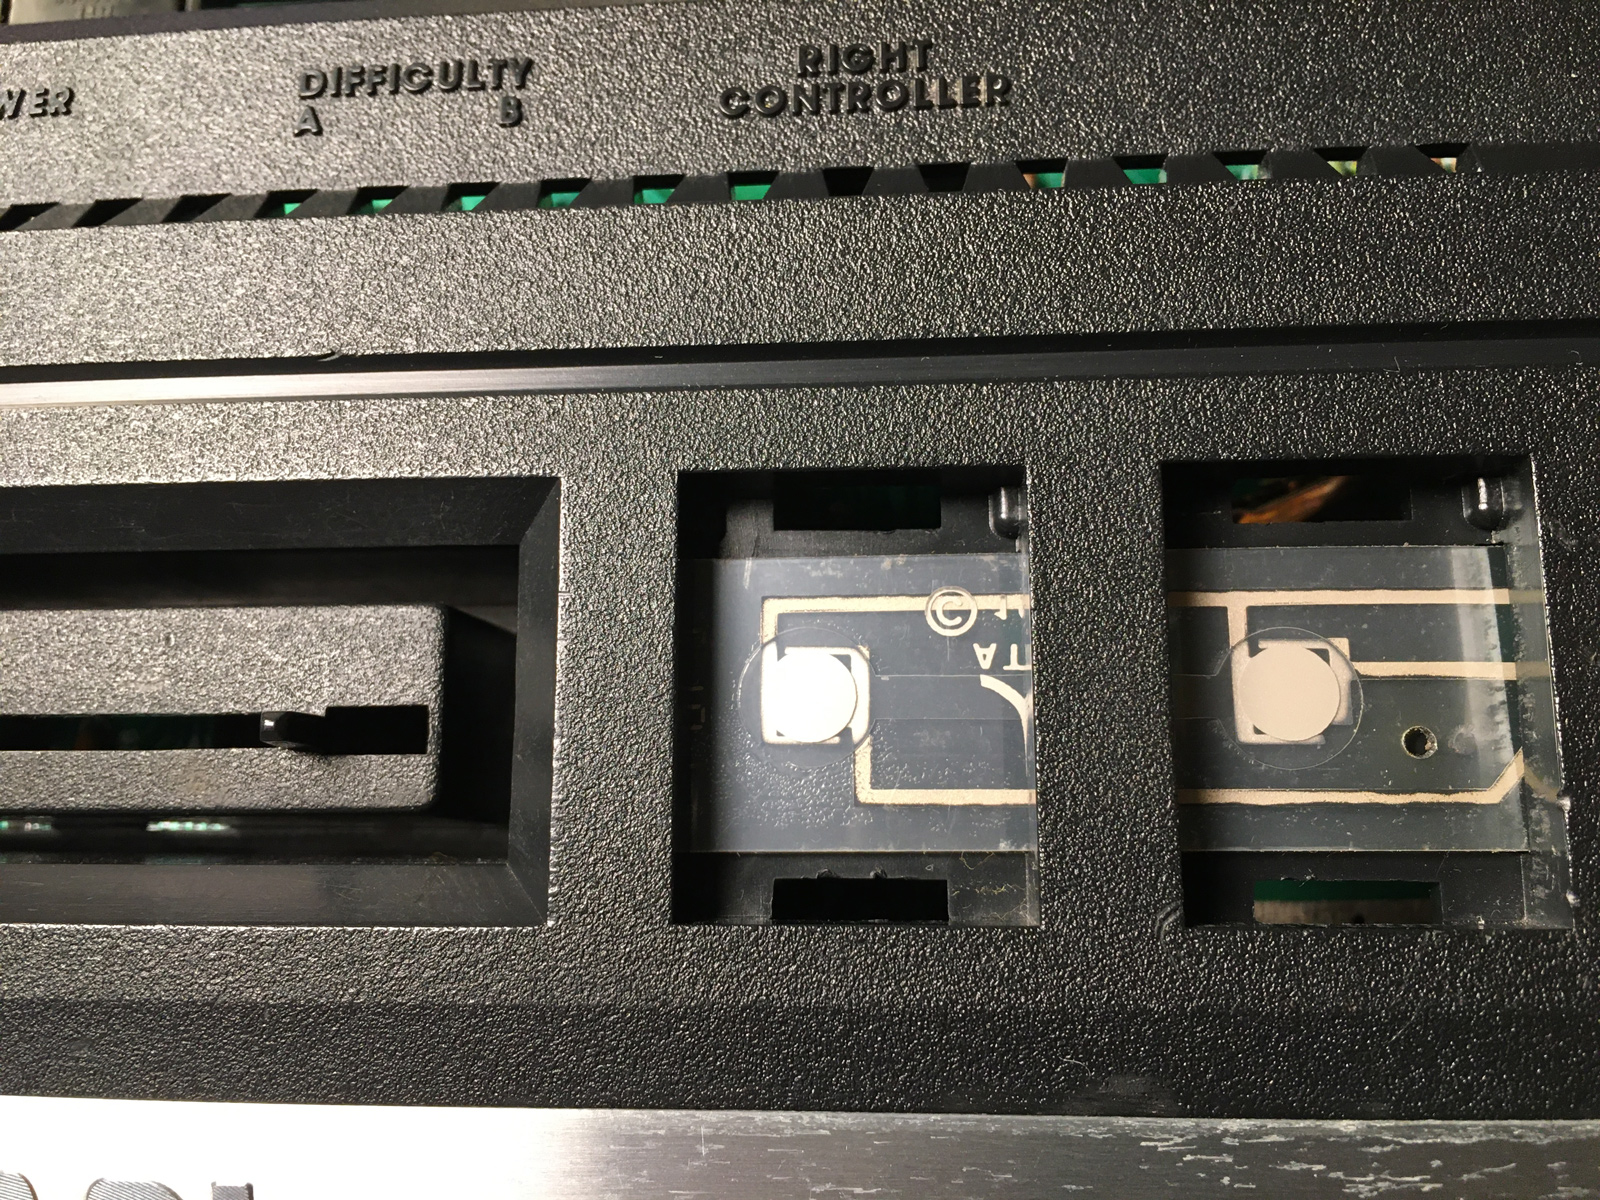
So I put them back where they belonged, and taped them in place: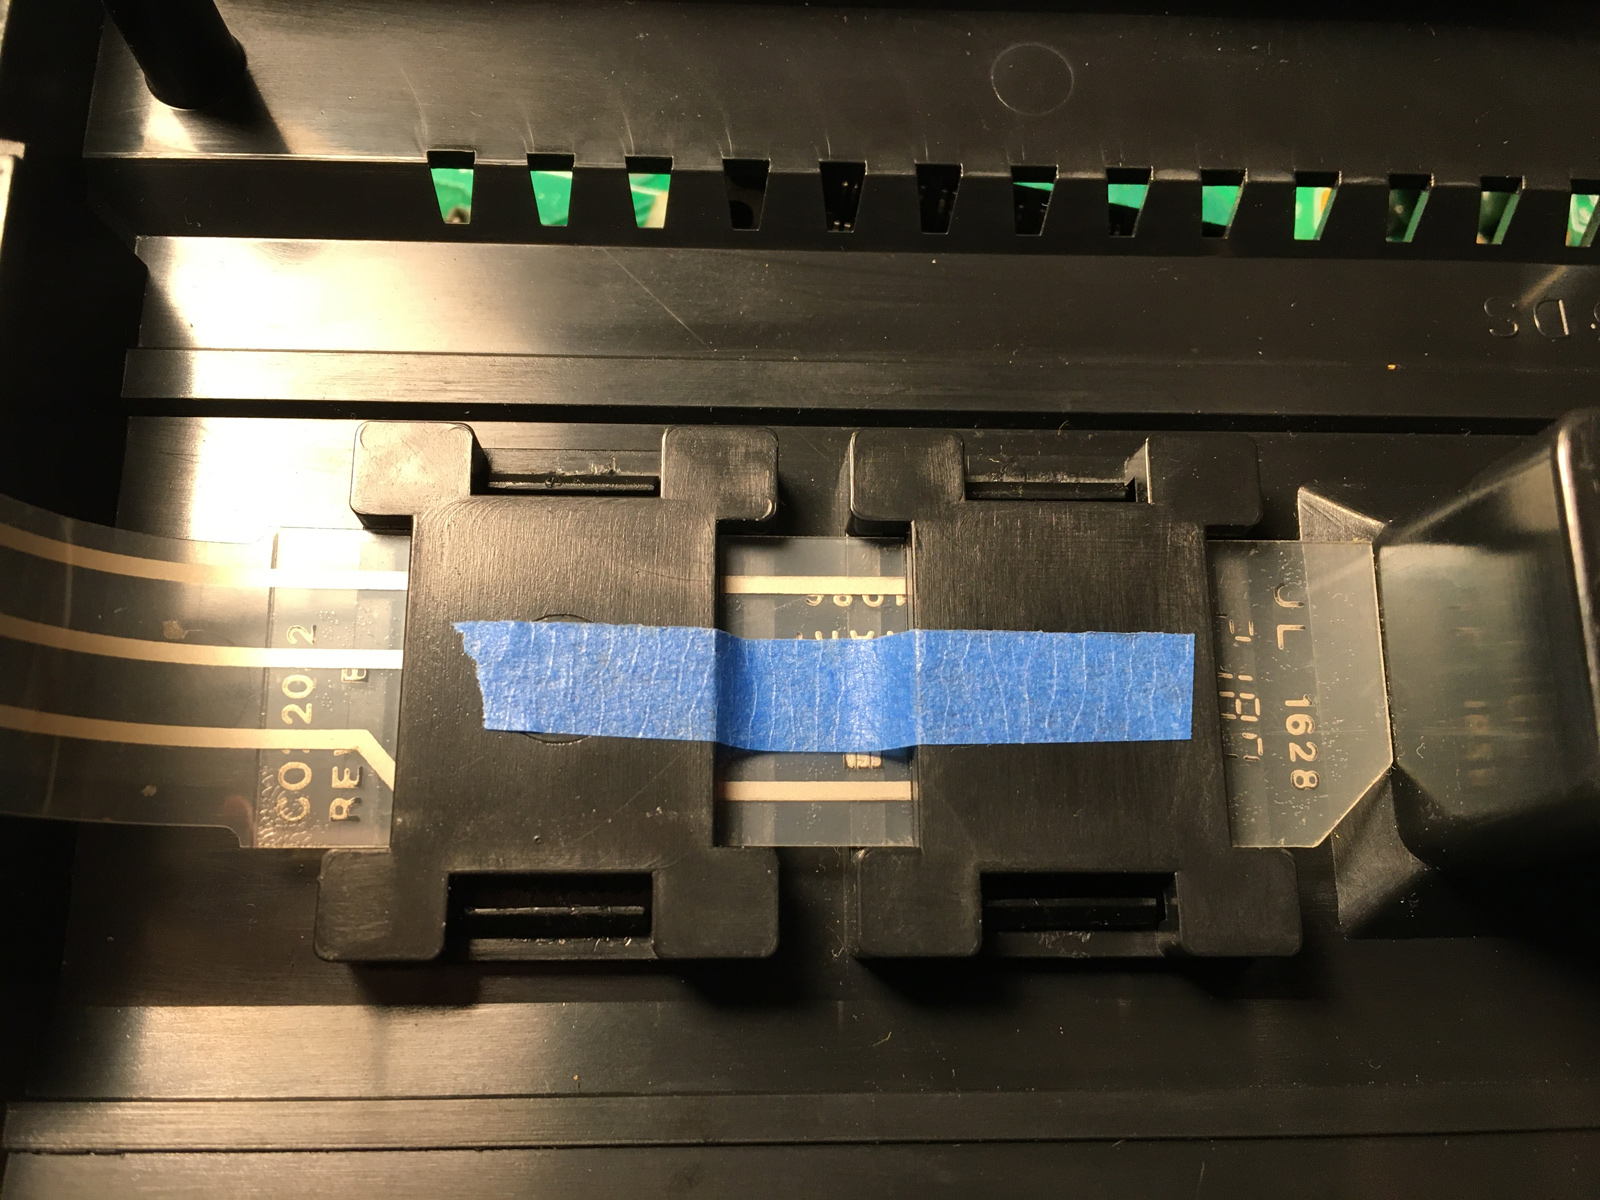
However, now Reset didn't work again without applying a lot of pressure to it. When it was slightly off-center, it worked perfectly fine.
So... go with what works. I punched a new hole to reposition the mylar switches (who's laughing at my overpriced multi-punch now?), and that fixed it. Both switches now work with just a tap (yes... you can just "tap" a Reset switch - you don't have to stab it). 
At some point, the mylar switch may indeed need to be replaced. But that's an easy enough fix later, if needed. As long as you only need to order two other things. ![]()
So up next... time to get inside this thing. Atari made it quite compact. And kind-of cheap. Long-gone are the industrial tank-like components of the heavy-sixer.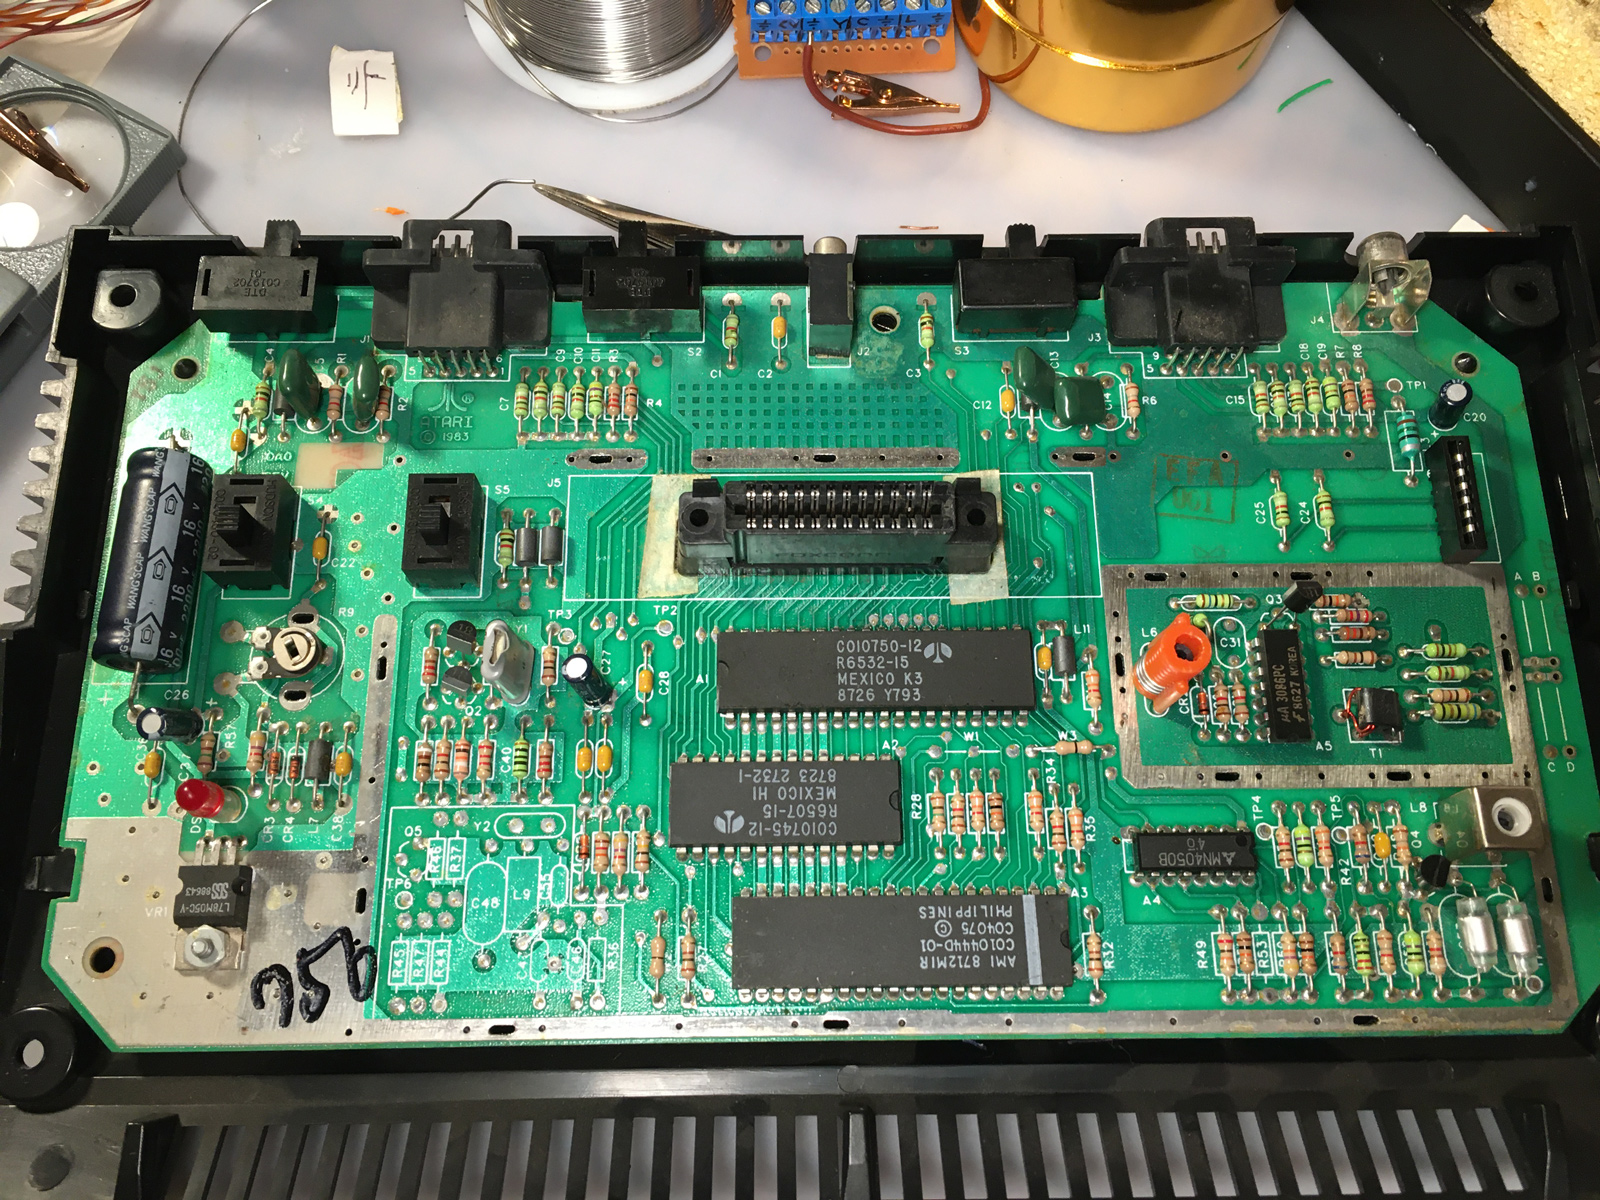
Here's what will be going inside it, at least in part. From left: a Console5 recap kit (including a new voltage regulator and power jack), a UAV mod and internal audio board from The Brewing Academy, and replacement power and TV Type switches from Best. (You can order multiple quantities of your three items. So I figured I might as well replace both switches.)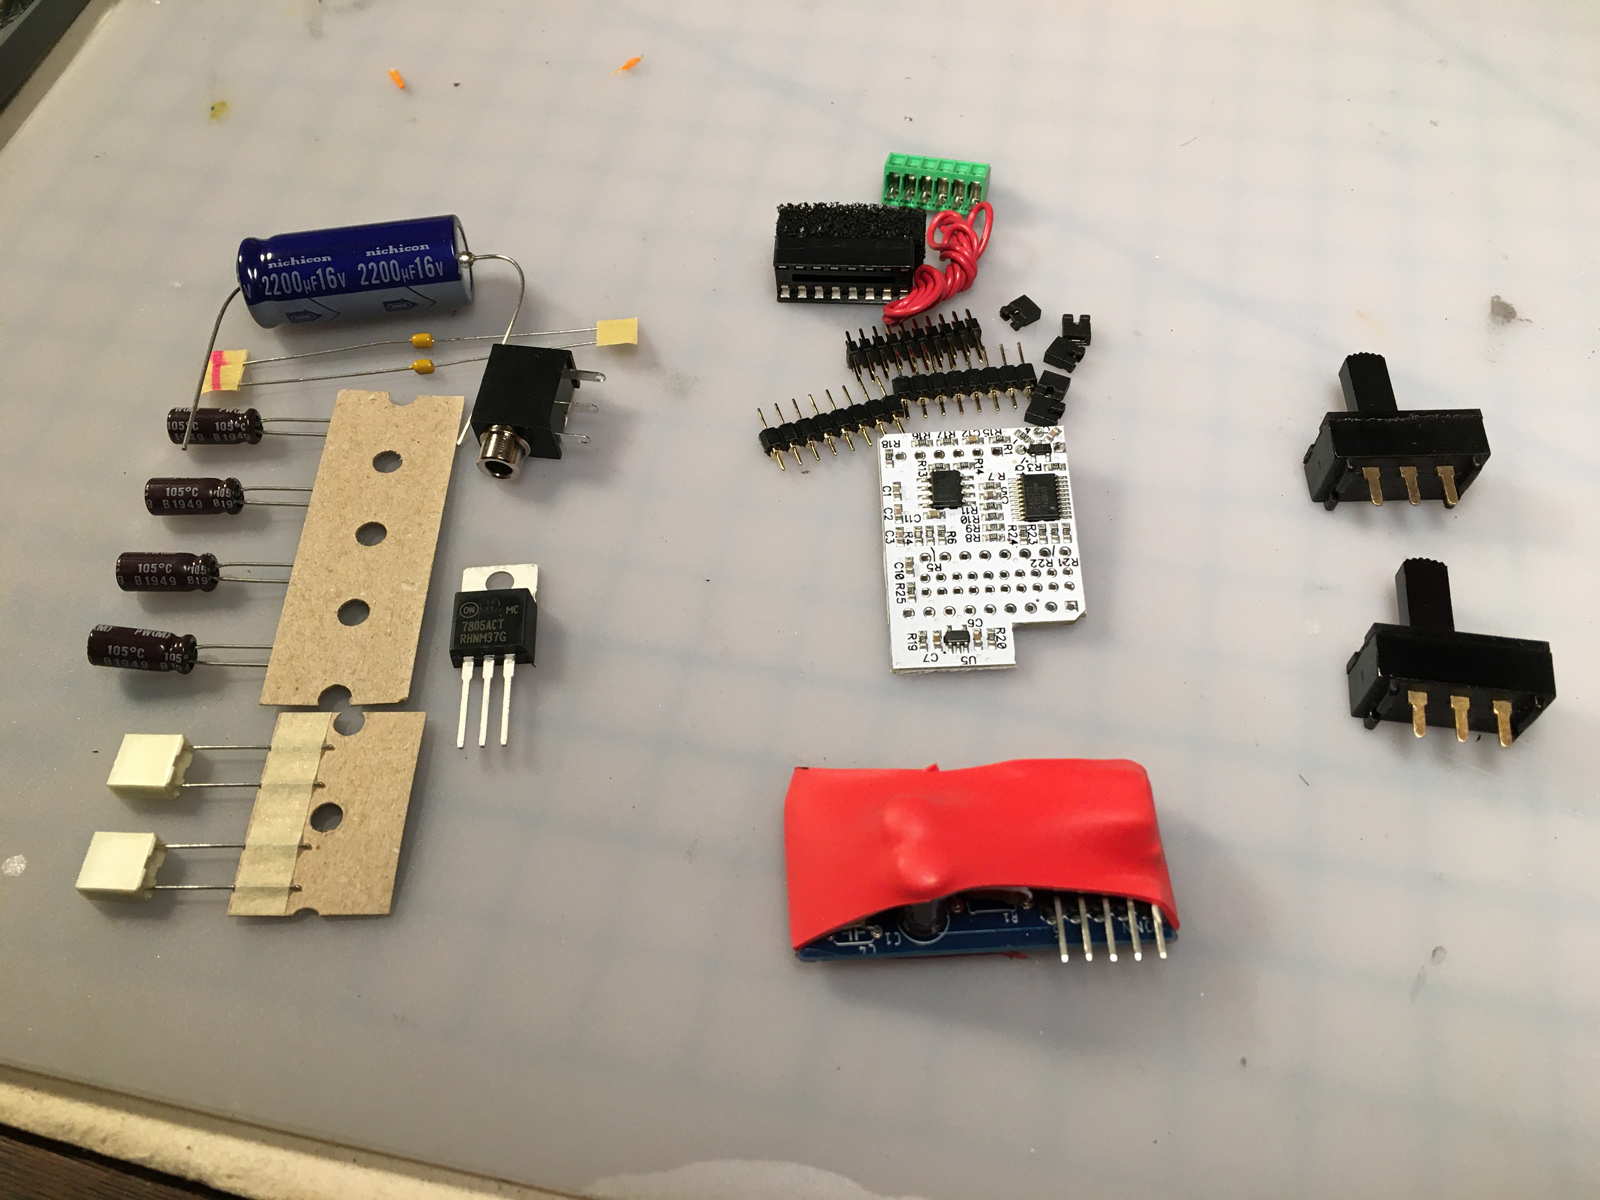
First up, the switches. I had tried cleaning the power switch, but it was just worn out. It would turn on, but the slightest nudge would cause the power to flip back off.
The newer switches (bottom) have quite a different profile than the originals. This was a bit of a concern at first...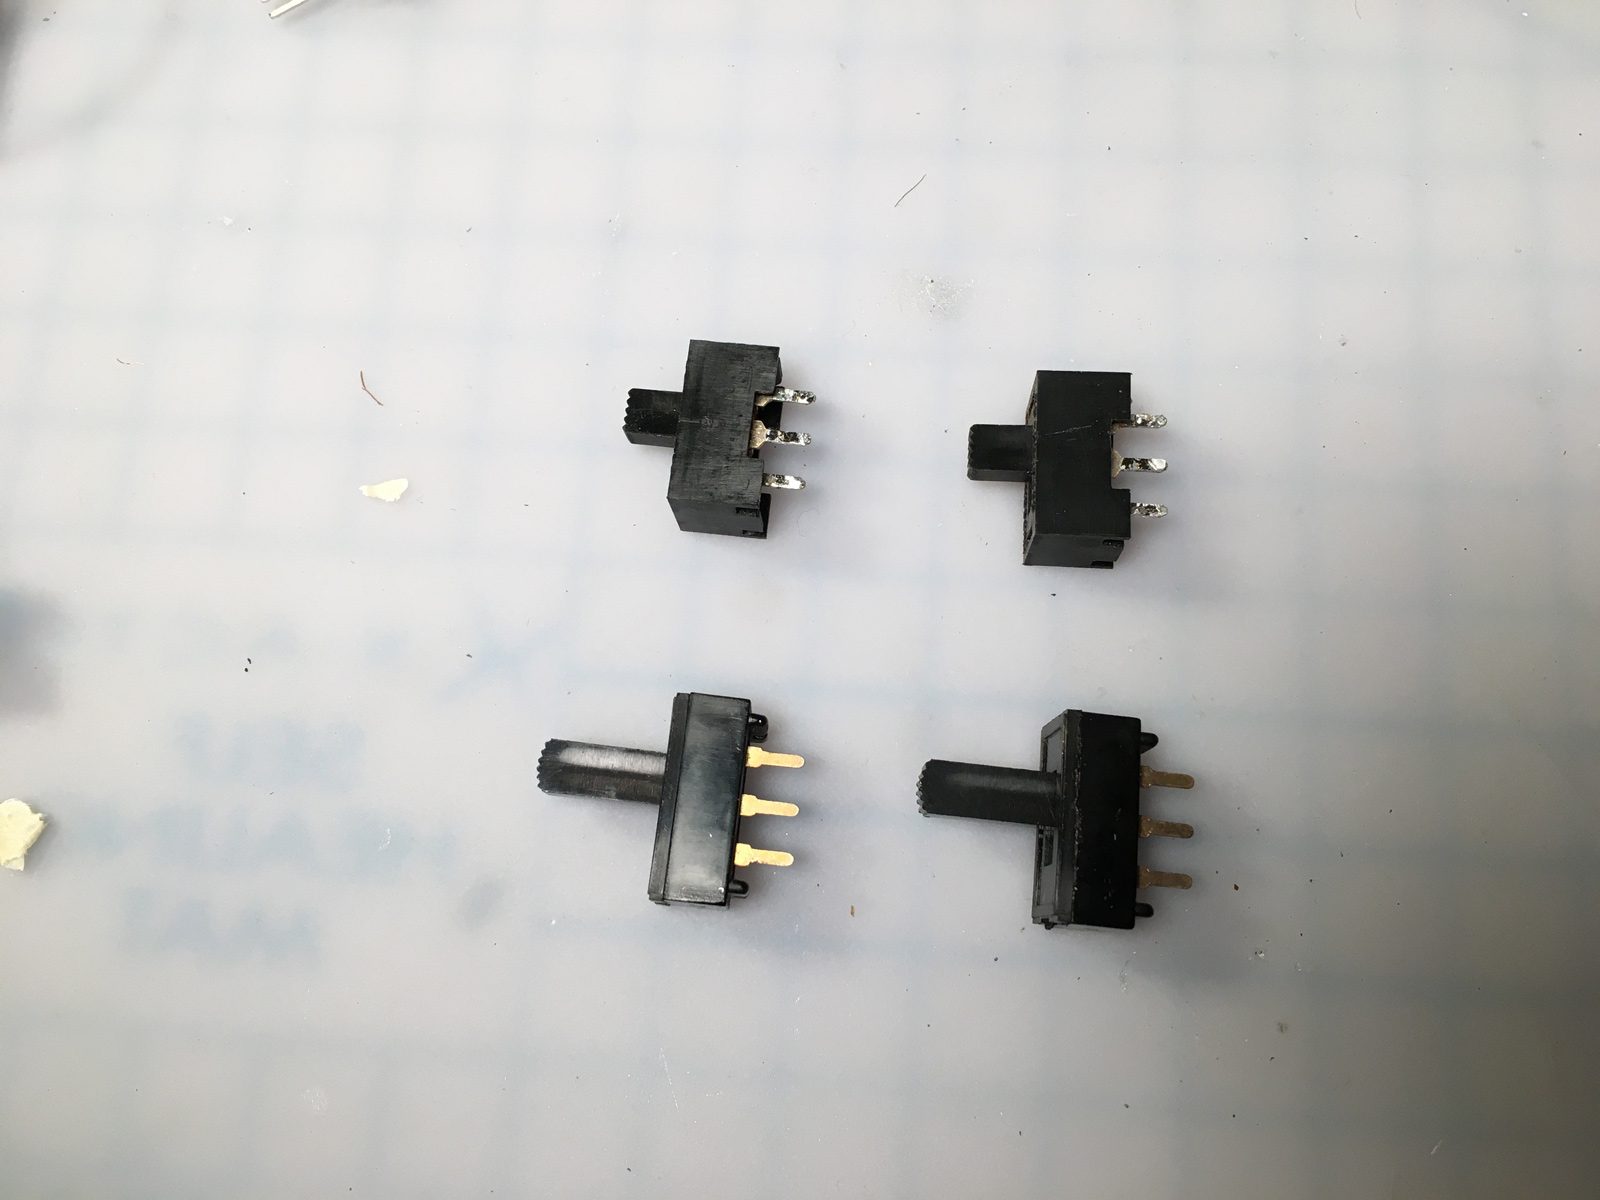
But, there's plenty of height in the switch covers to accommodate them: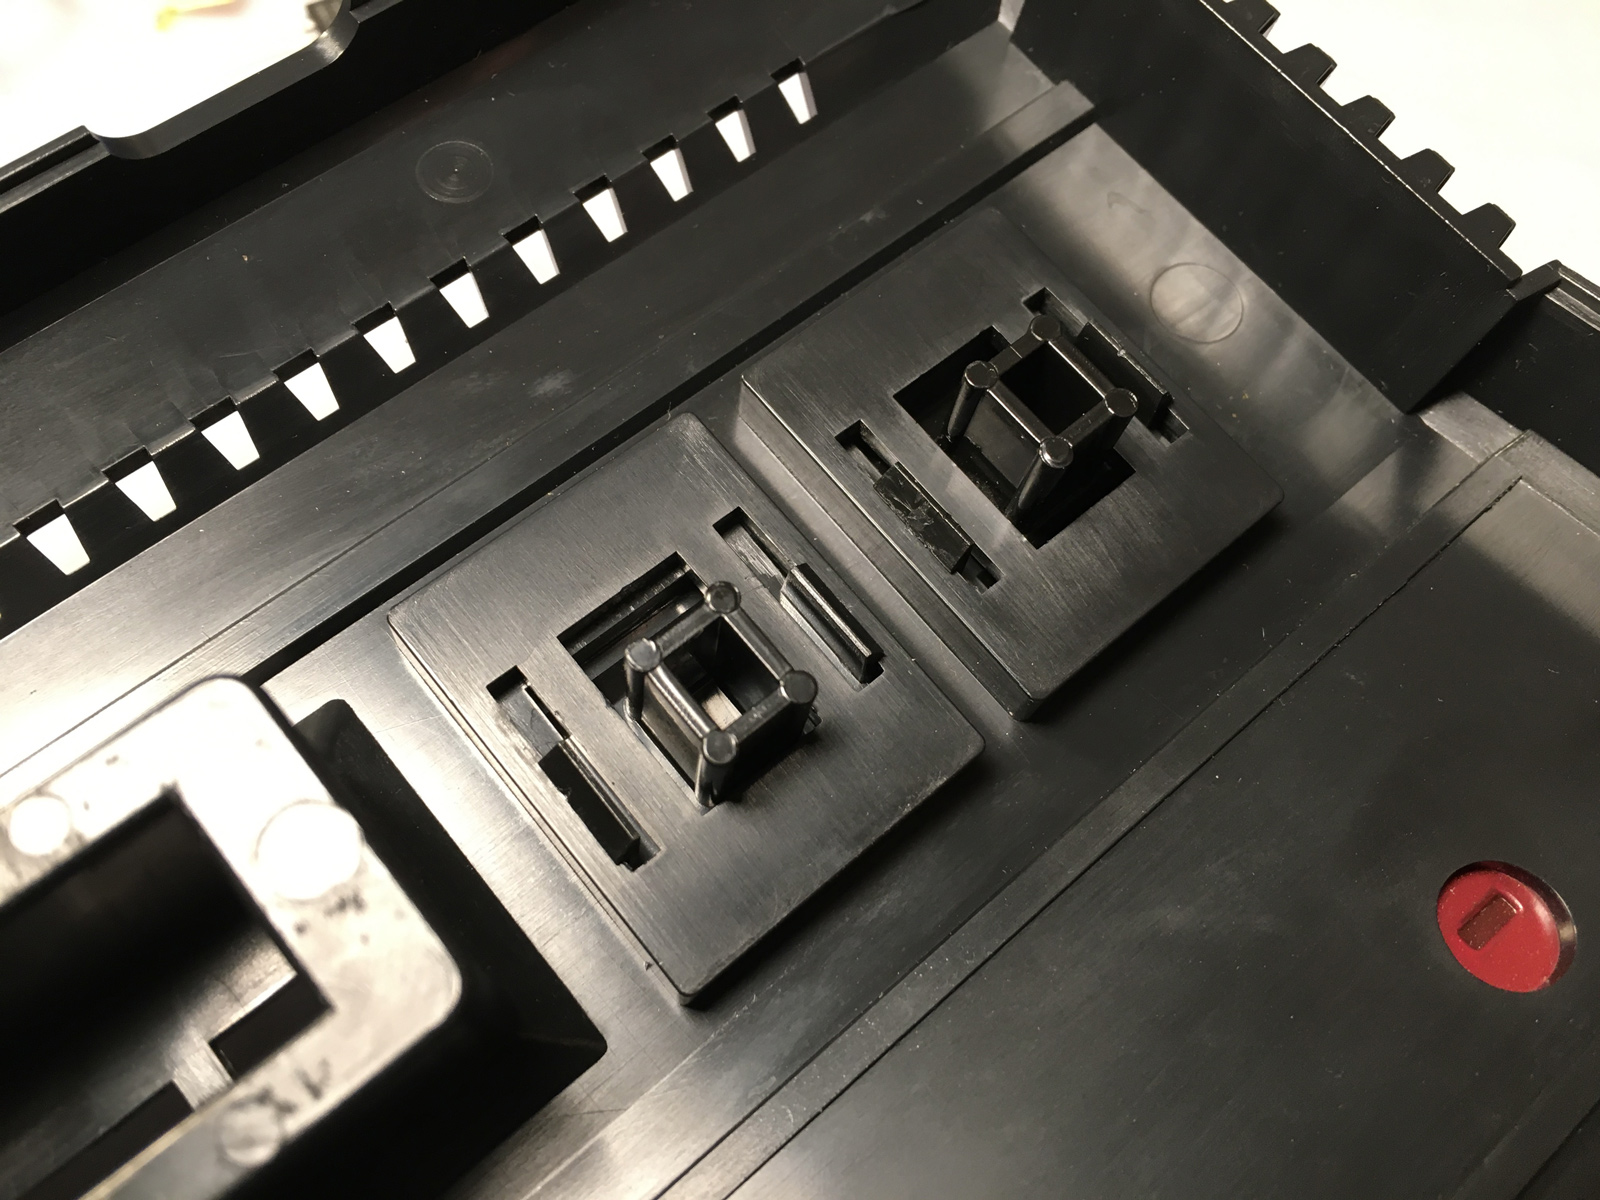
Here's the difference between new (left) and old (right):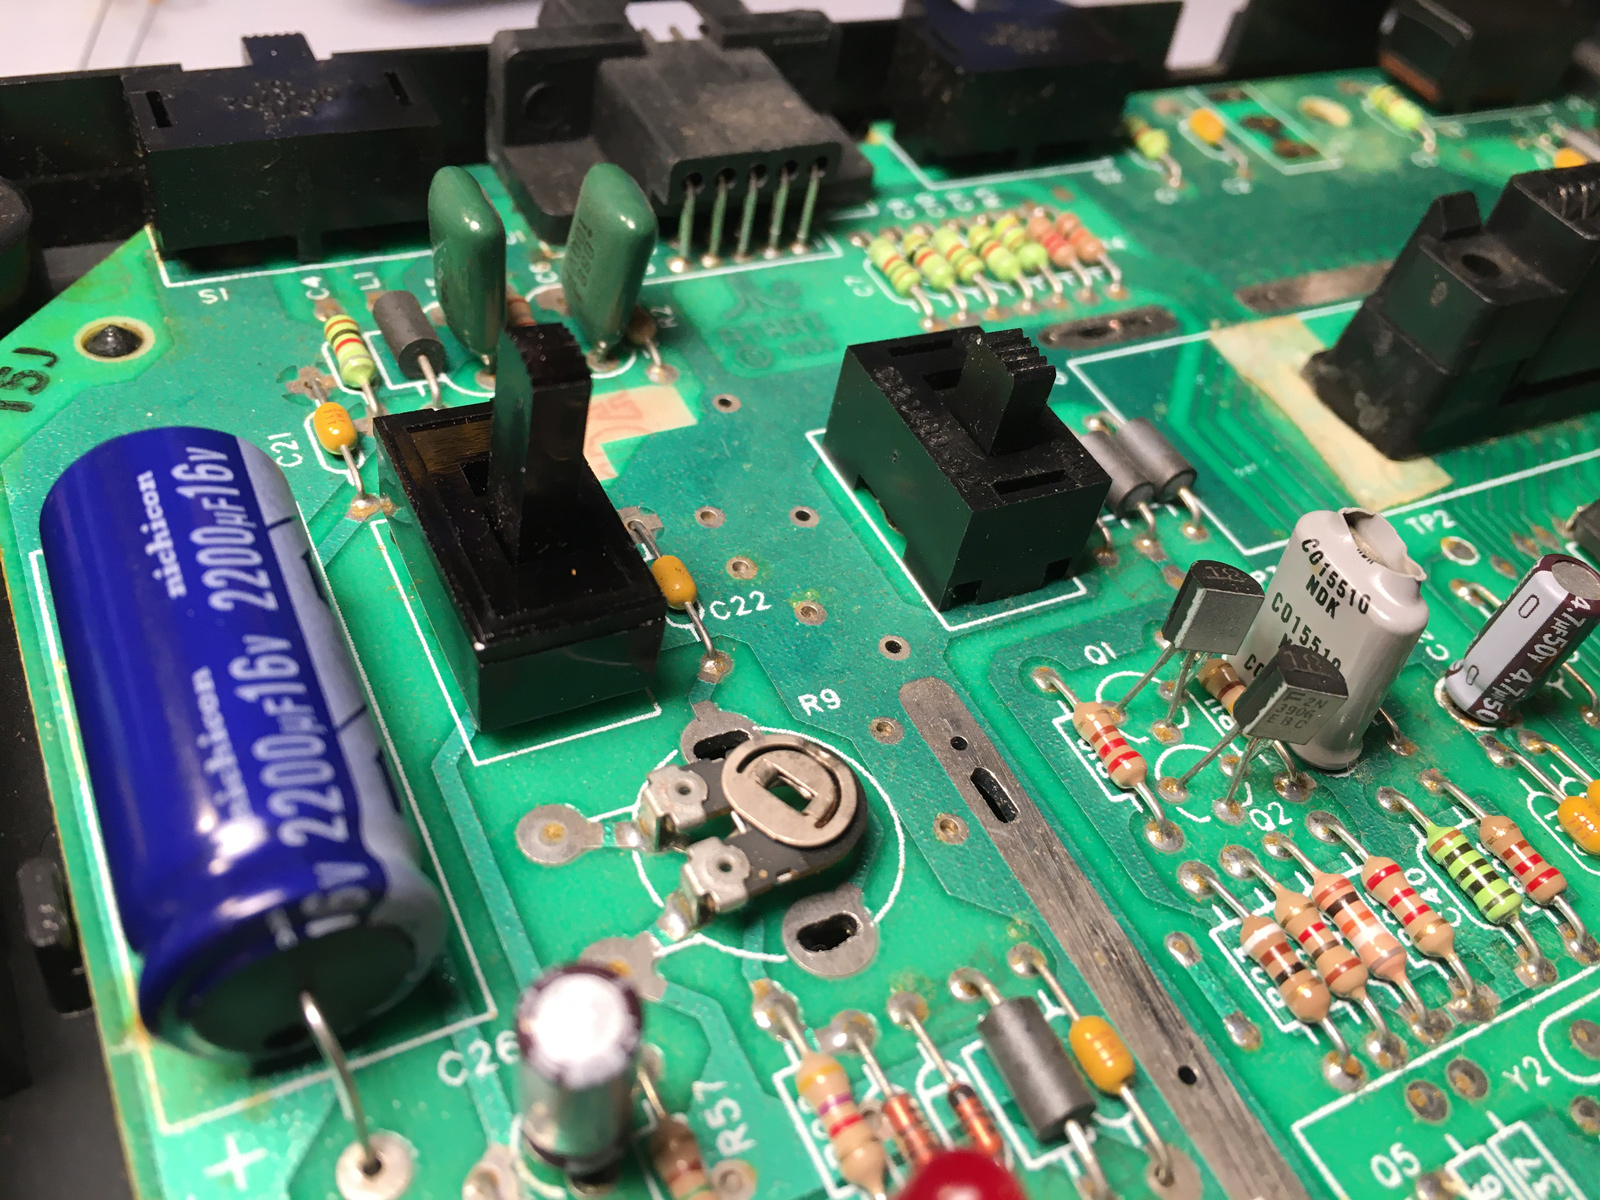
And with both replaced. Note that the caps have also been done at this point (along with the power jack and regulator):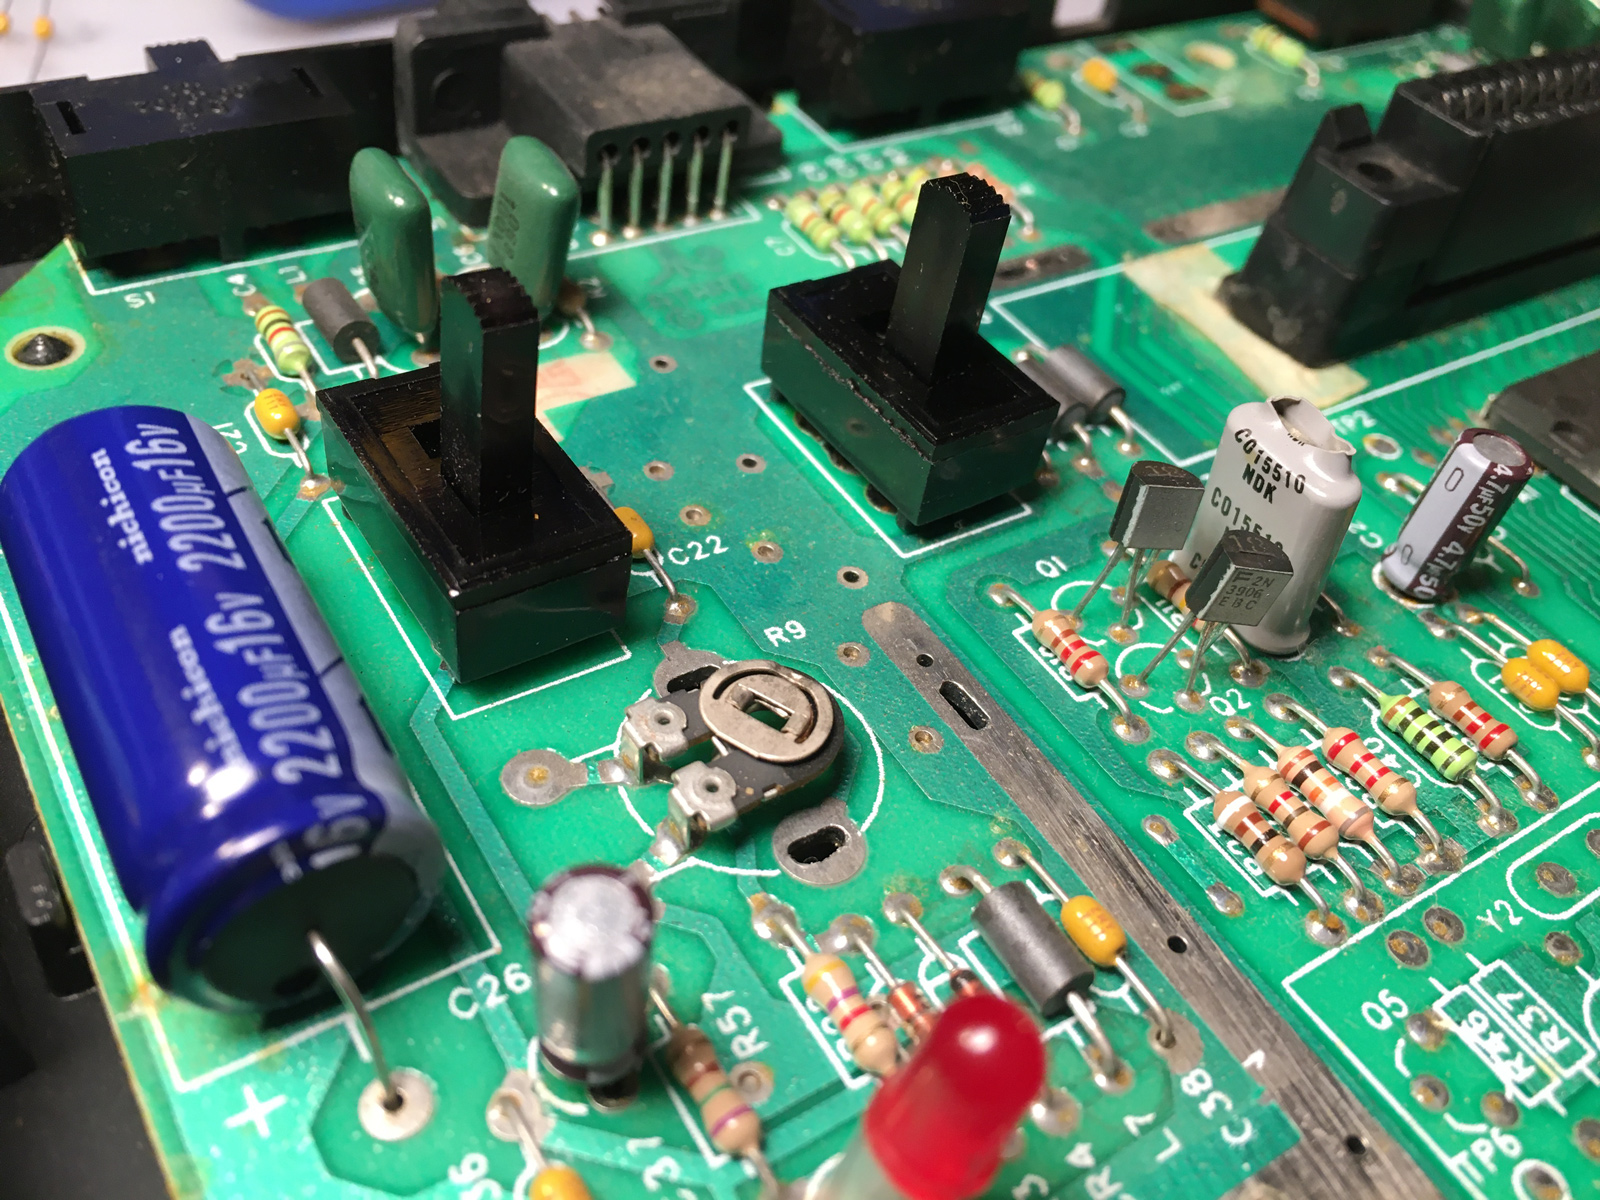
One oddity about this Jr., is that the difficulty switches were different from each other. The channel switch (far left) and left difficulty (center) are the same. But the right difficulty switch is a different model entirely, and worked much more stiffly than the others.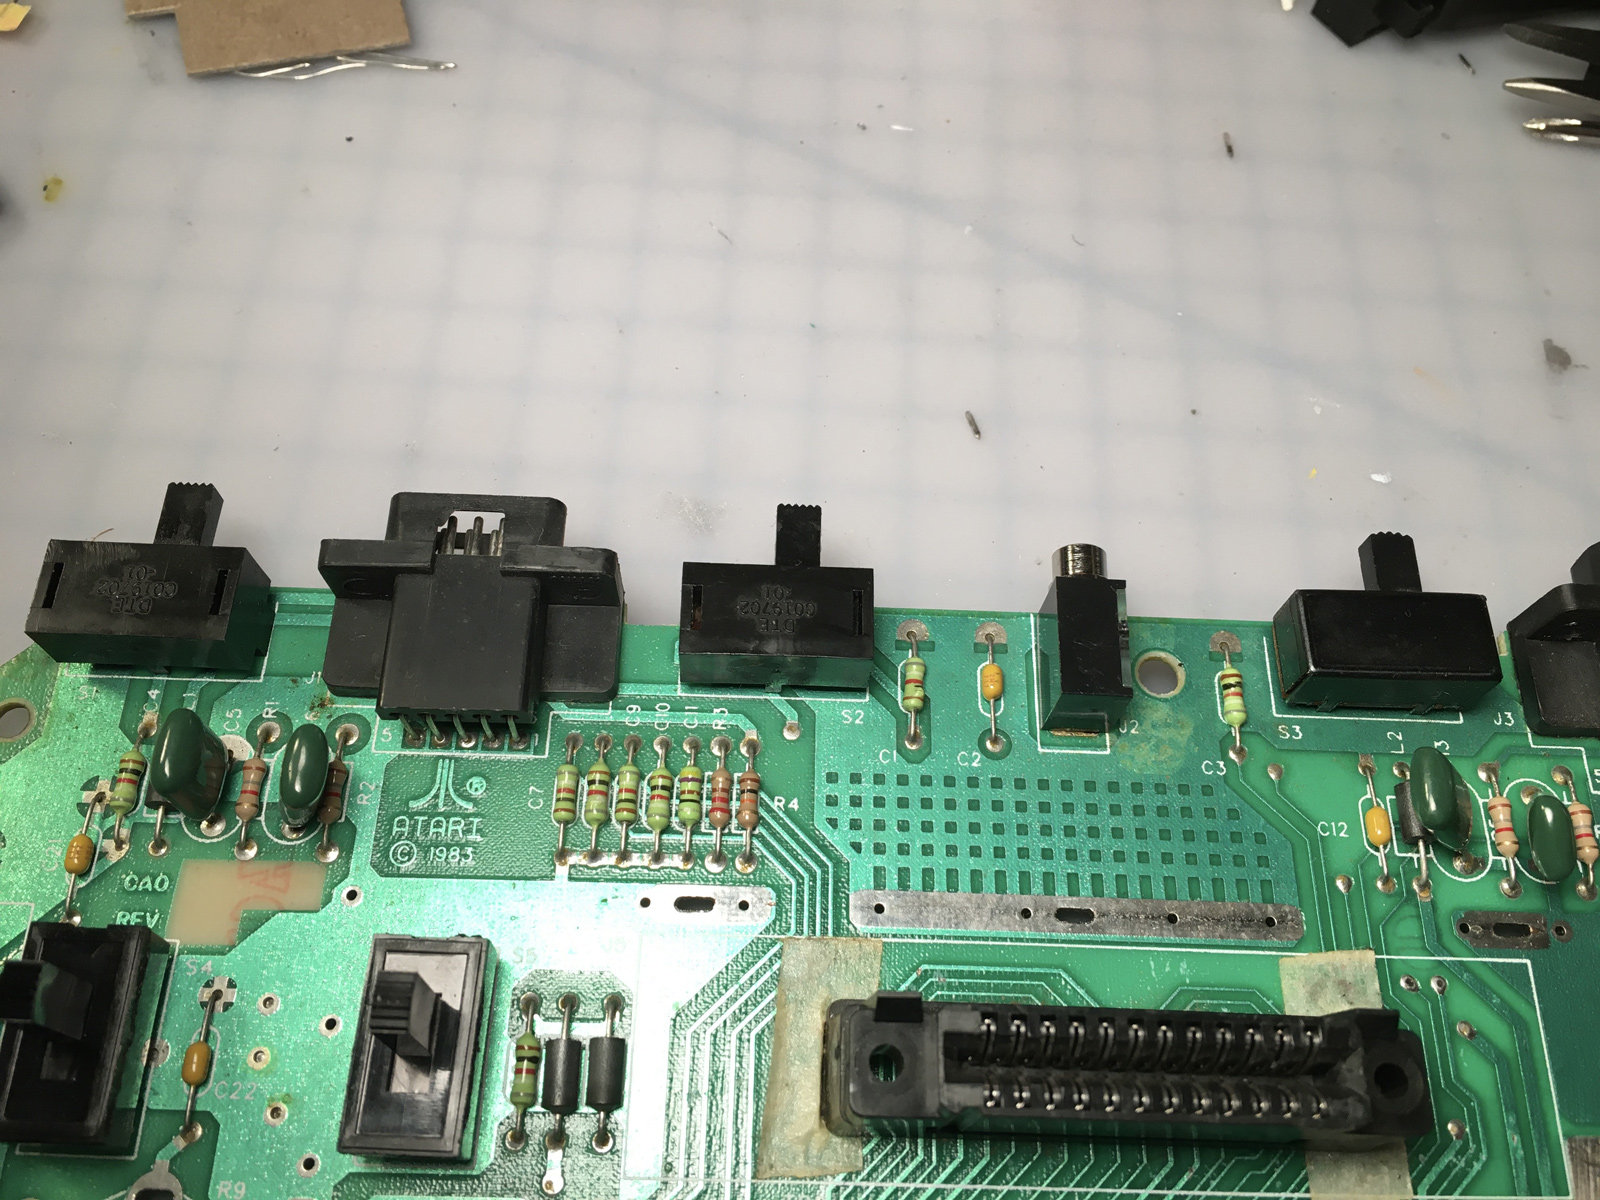
So since the right difficulty switch gets used a lot more than the channel switch, I swapped them around: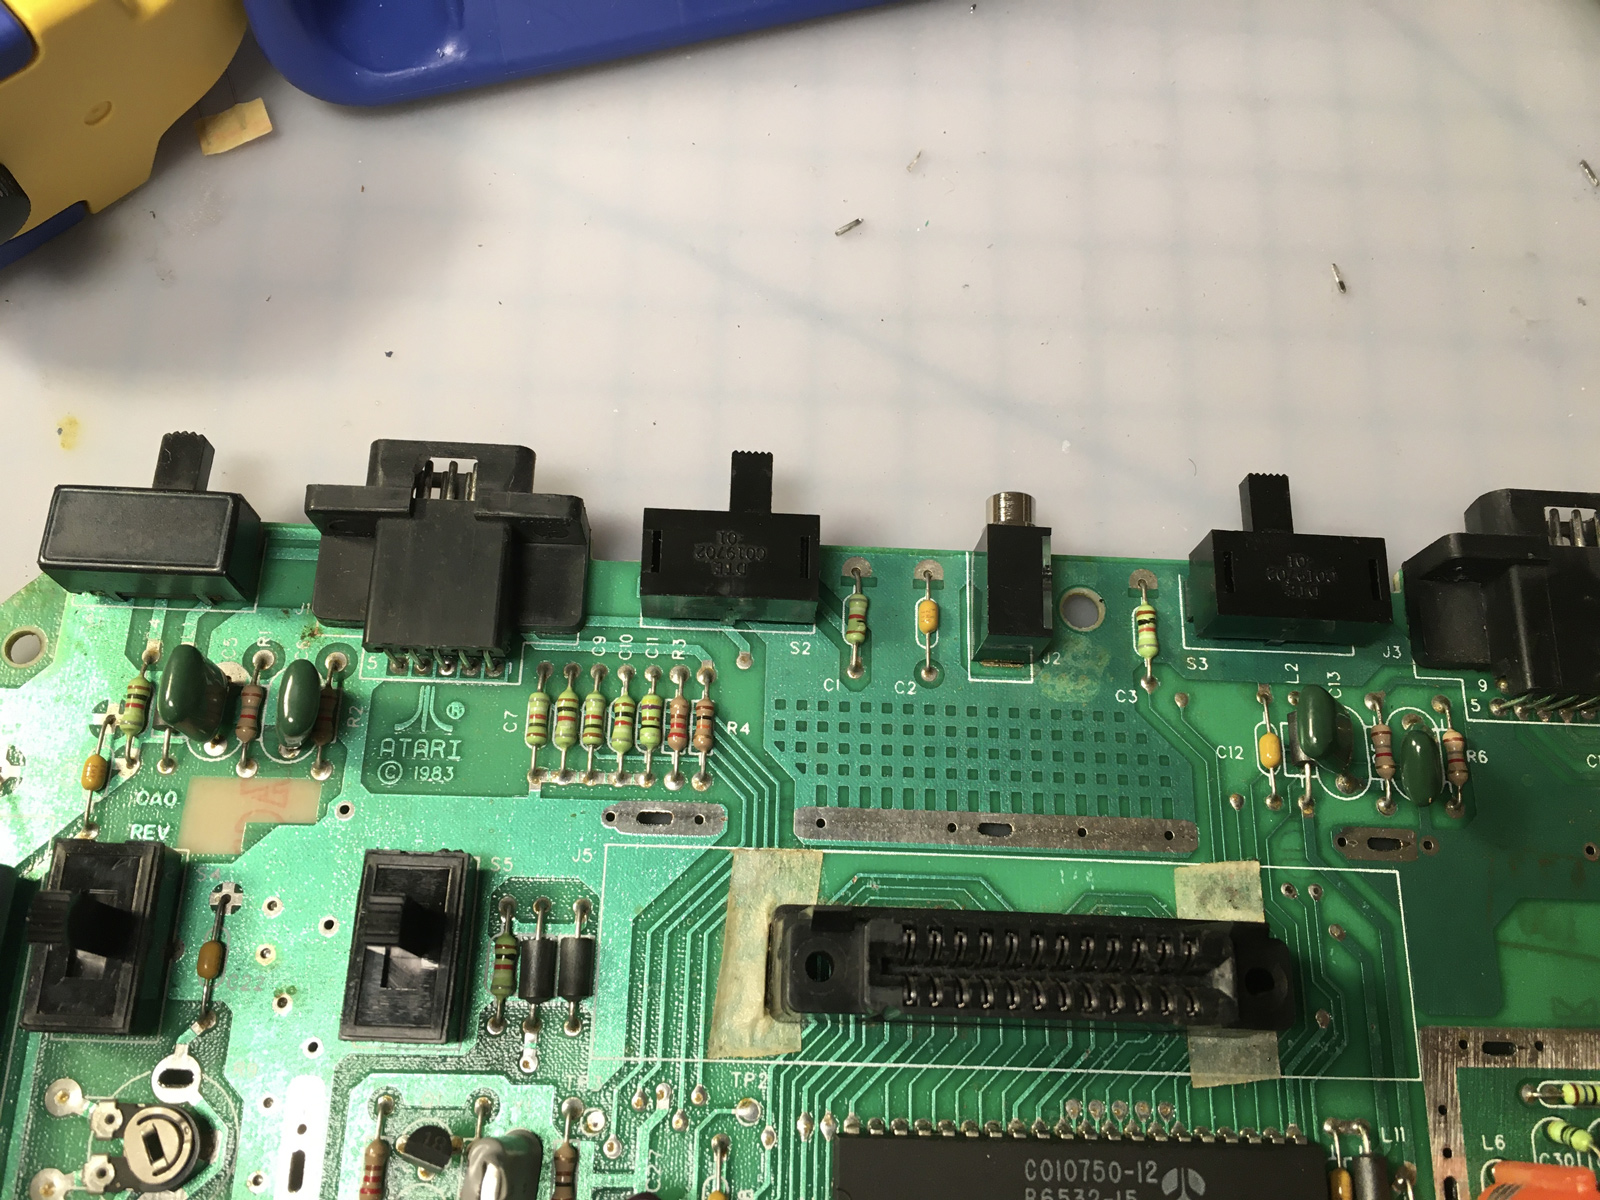
The last bit of maintenance/repair work to do, was clean that nasty cartridge slot! Canned air only gets you so far. Time to break out the cardboard!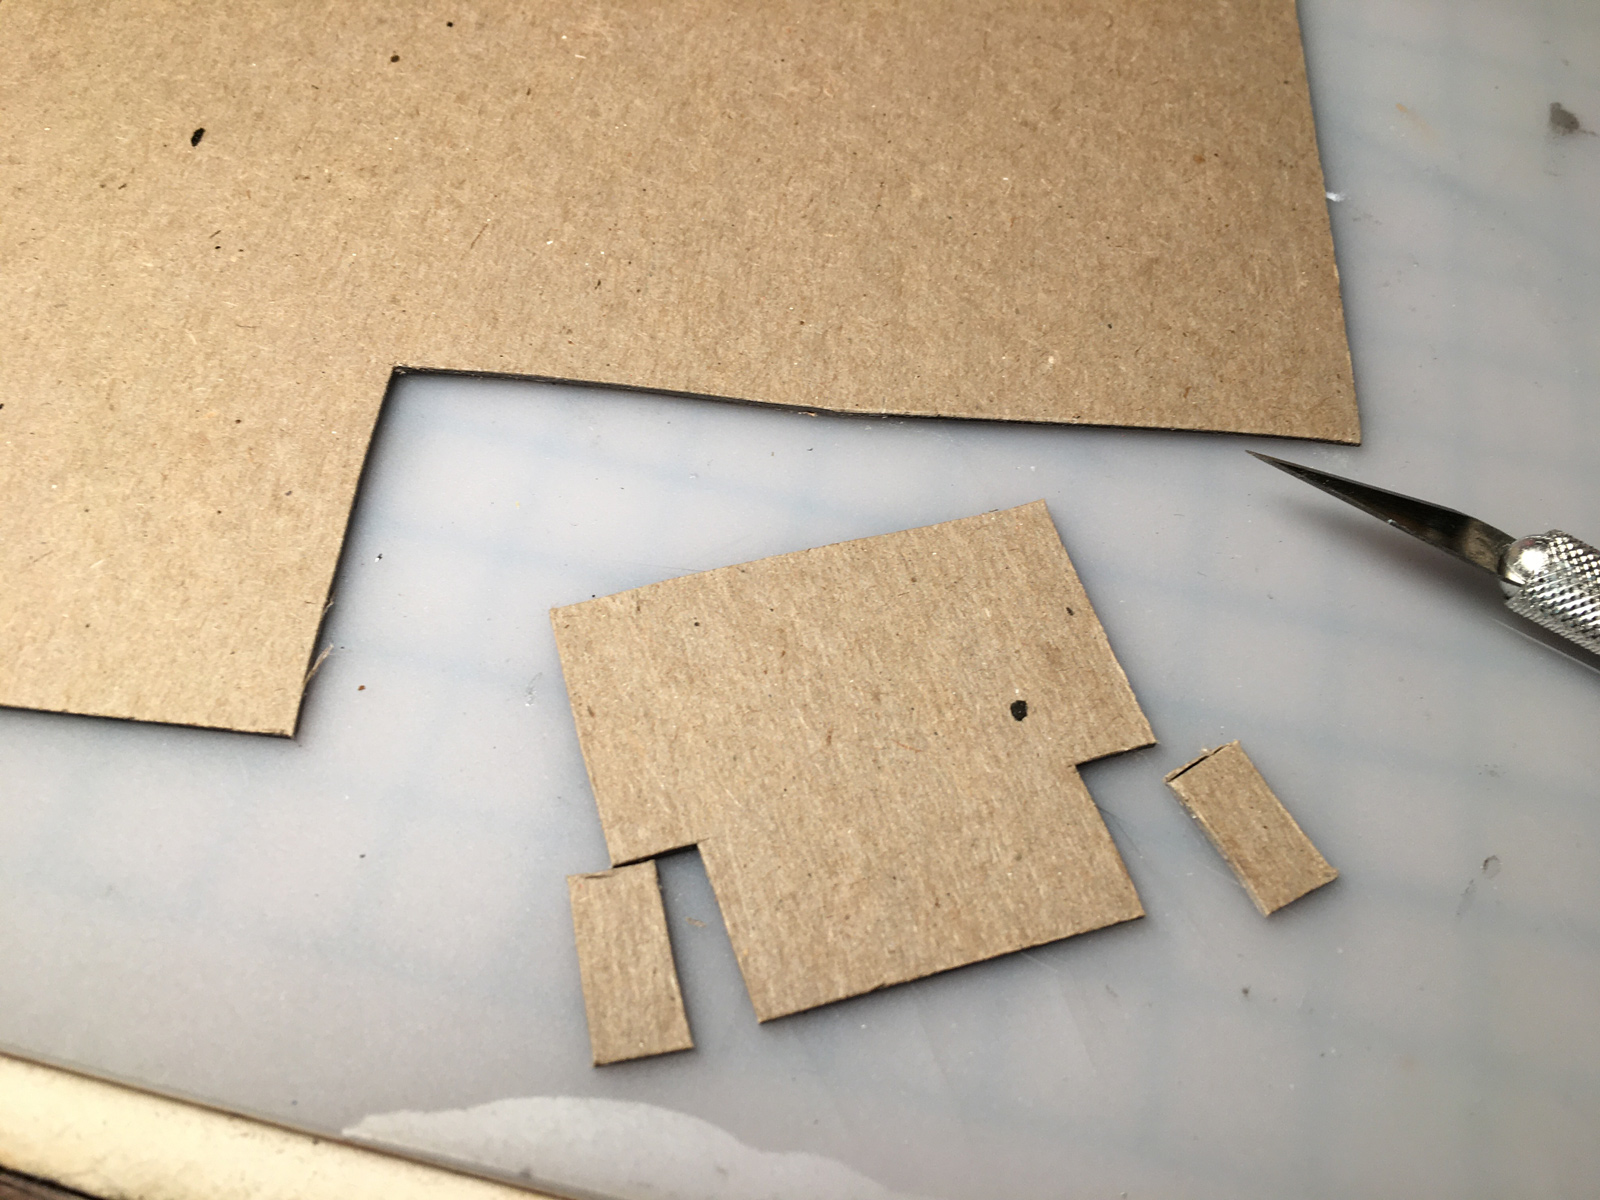
Just find a piece no thicker than a typical 2600 cart's circuit board. After soaking it in electronics cleaner (isopropyl alcohol would also work) and working it in and out of the slot a few times, you can see how gungy the contacts were: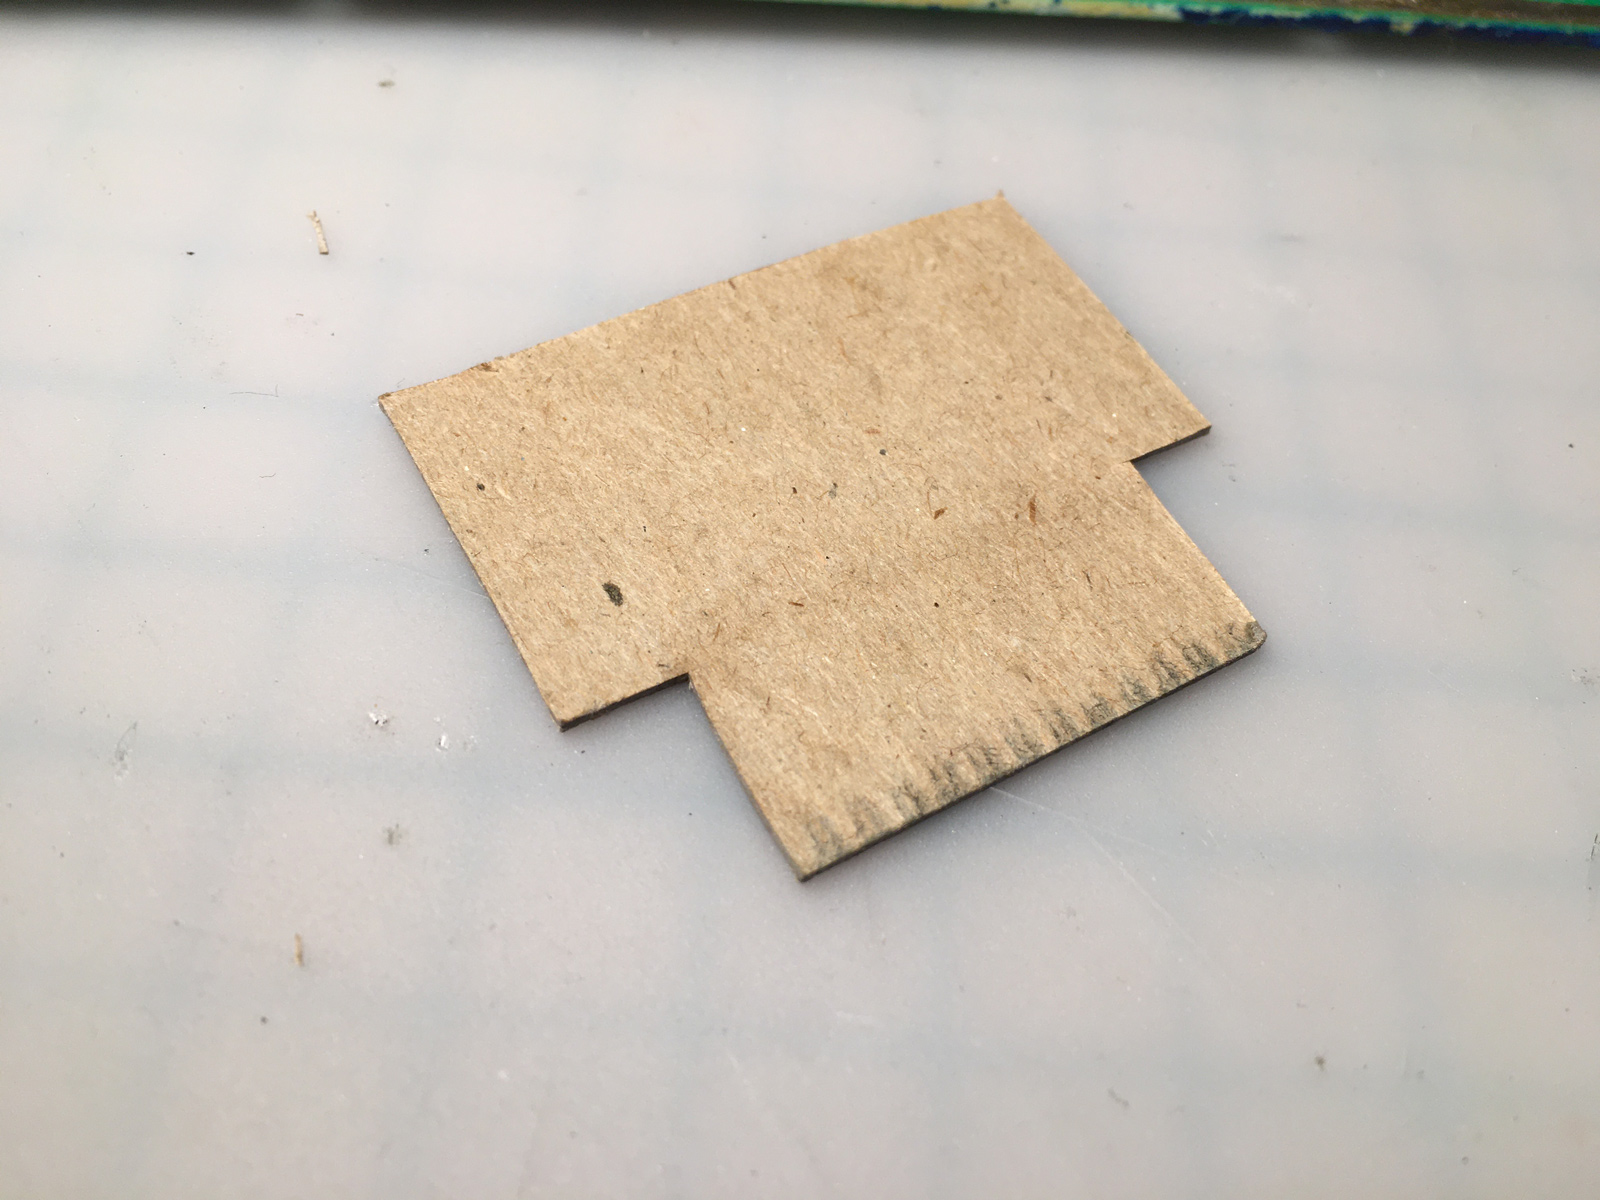
No need to throw it out though - I can re-use this, just by snipping off the dirty part: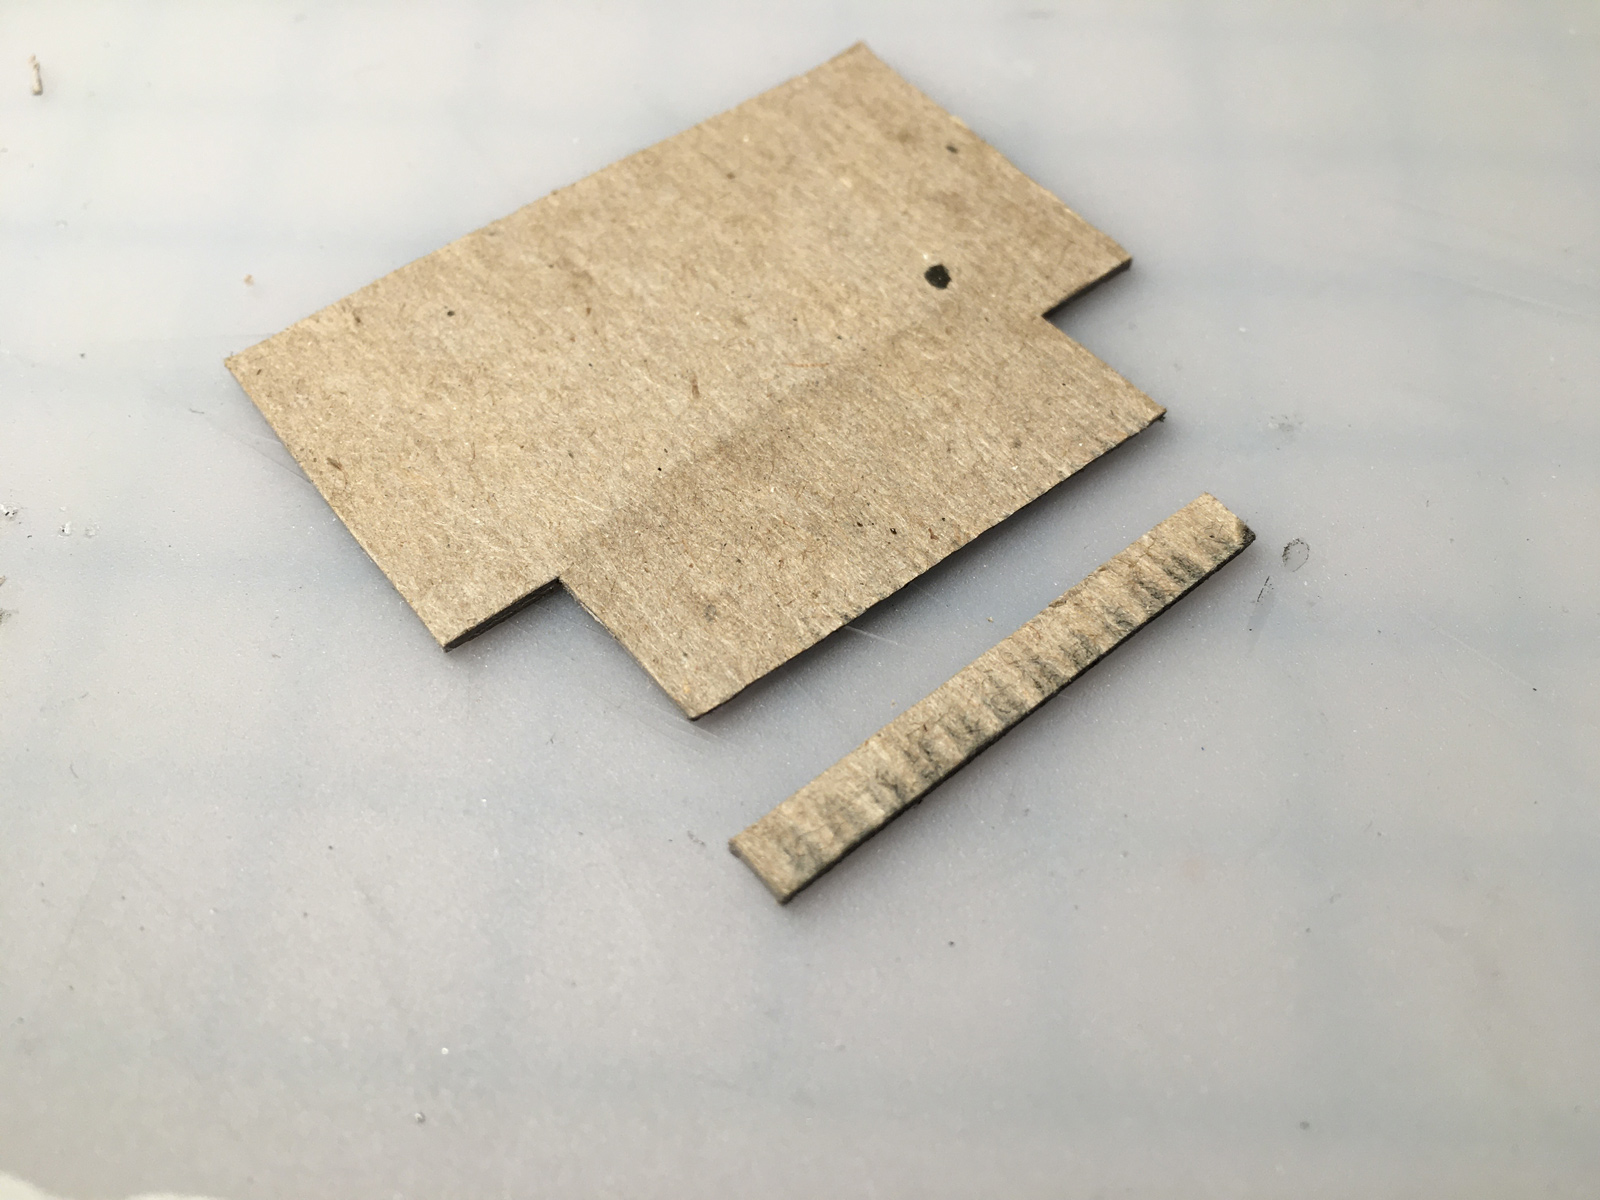
Here's the Jr.'s RF output. That's with a stock Atari RF cable. It'd be a bit cleaner with a proper one. Look at how dim that power LED is though... you can hardly tell it's on. May have to address that.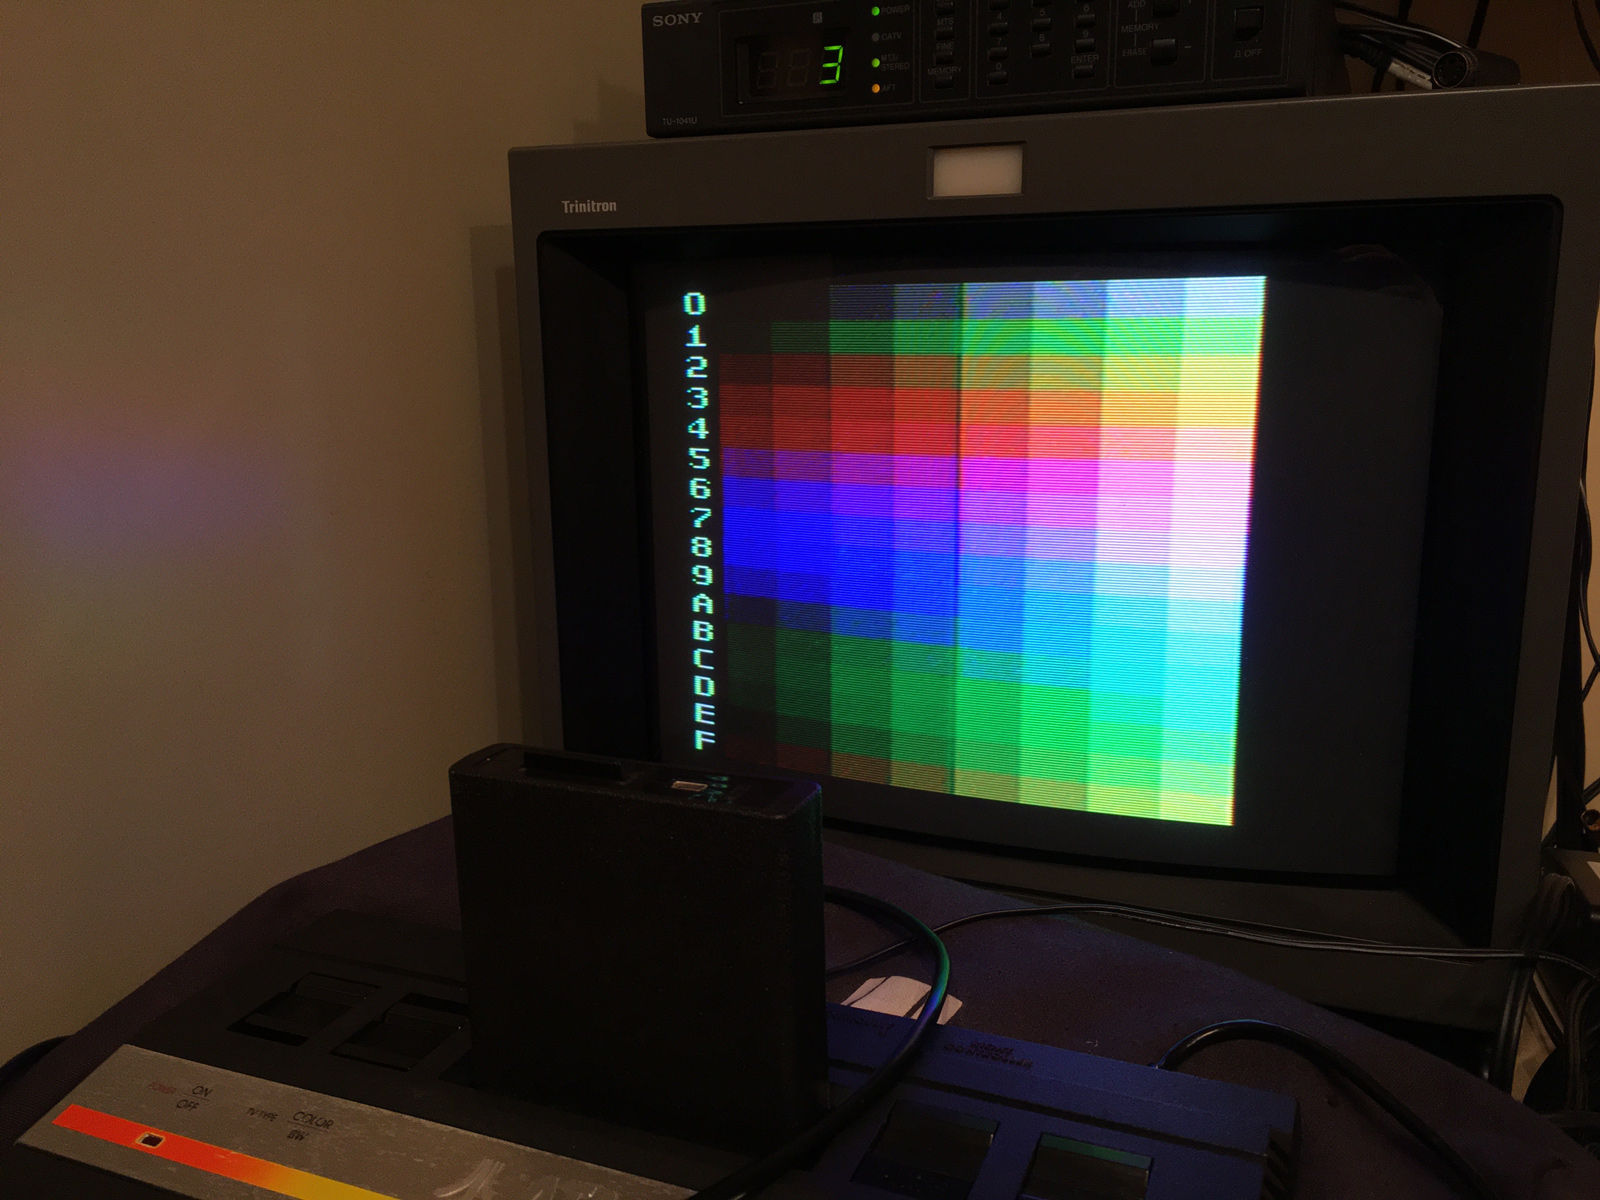
And this Jr. does bus-stuffing, too. Not that it will likely ever get used... but it's nice to know.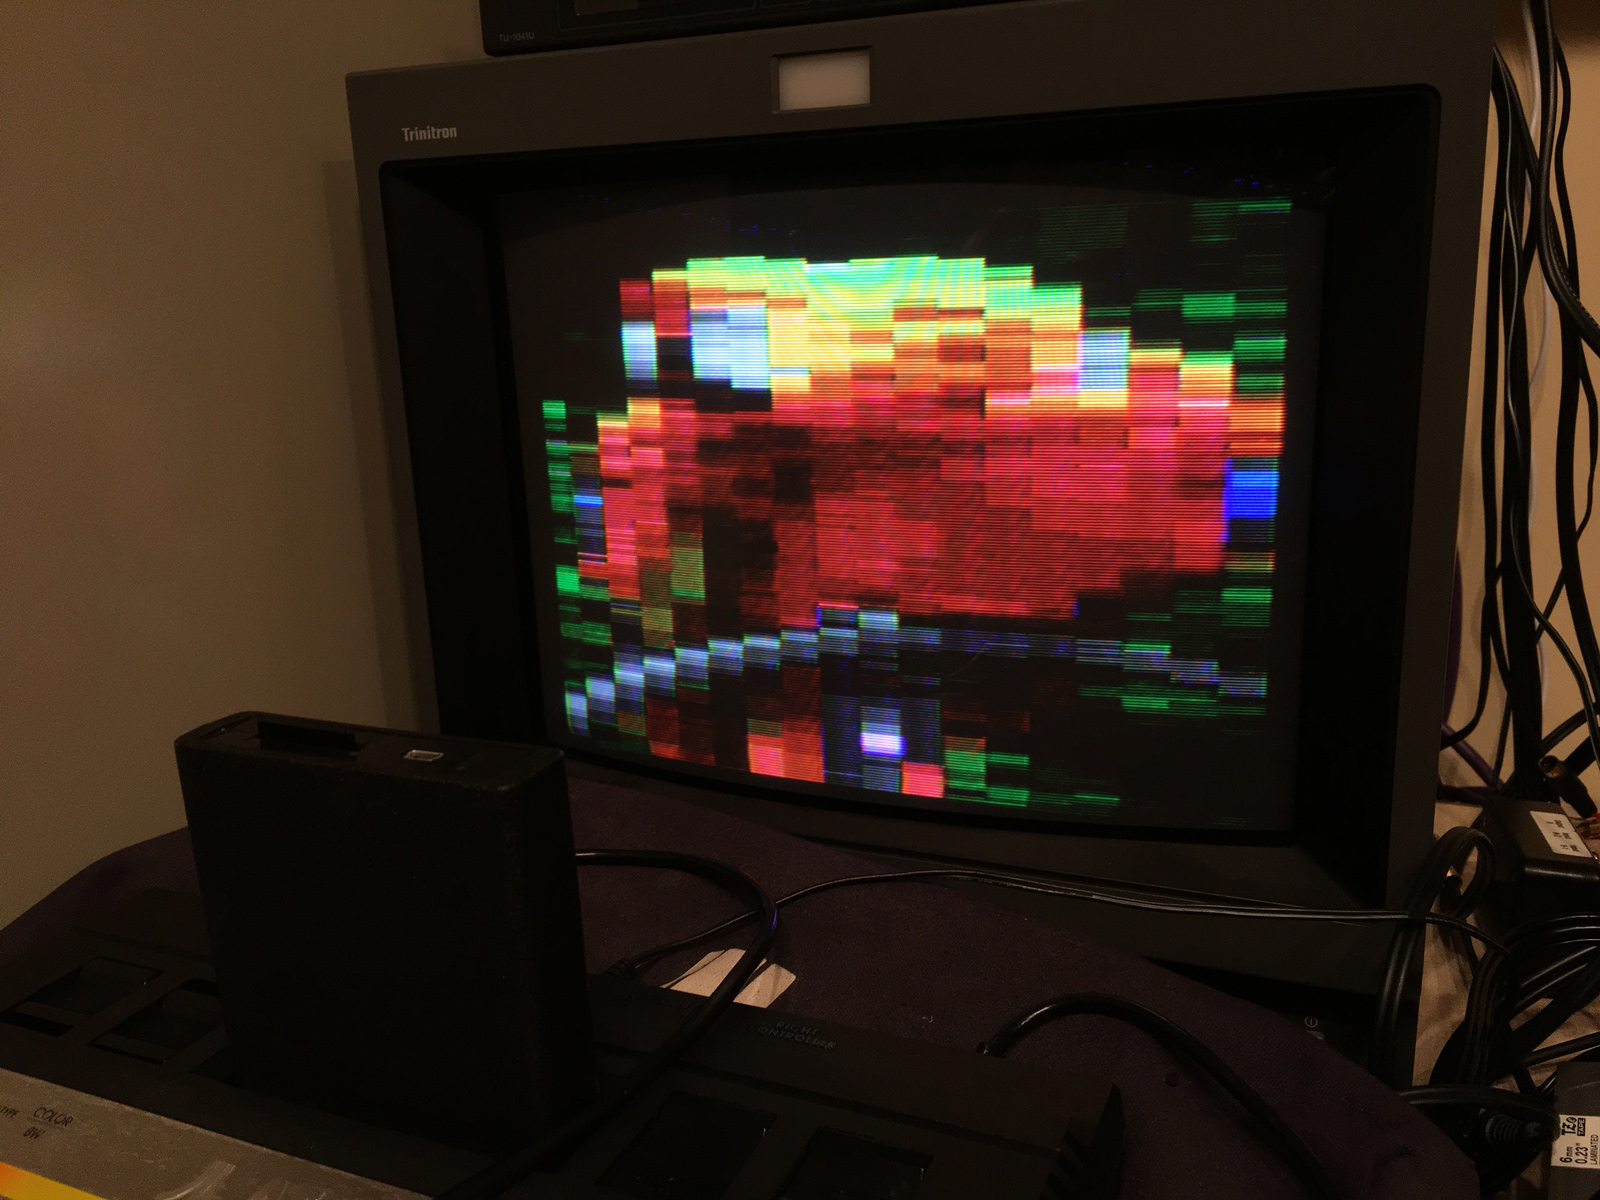
Here it is, all cleaned up:![]()
Up next: adding a UAV mod. (Spoiler alert: it's not going to be fun.)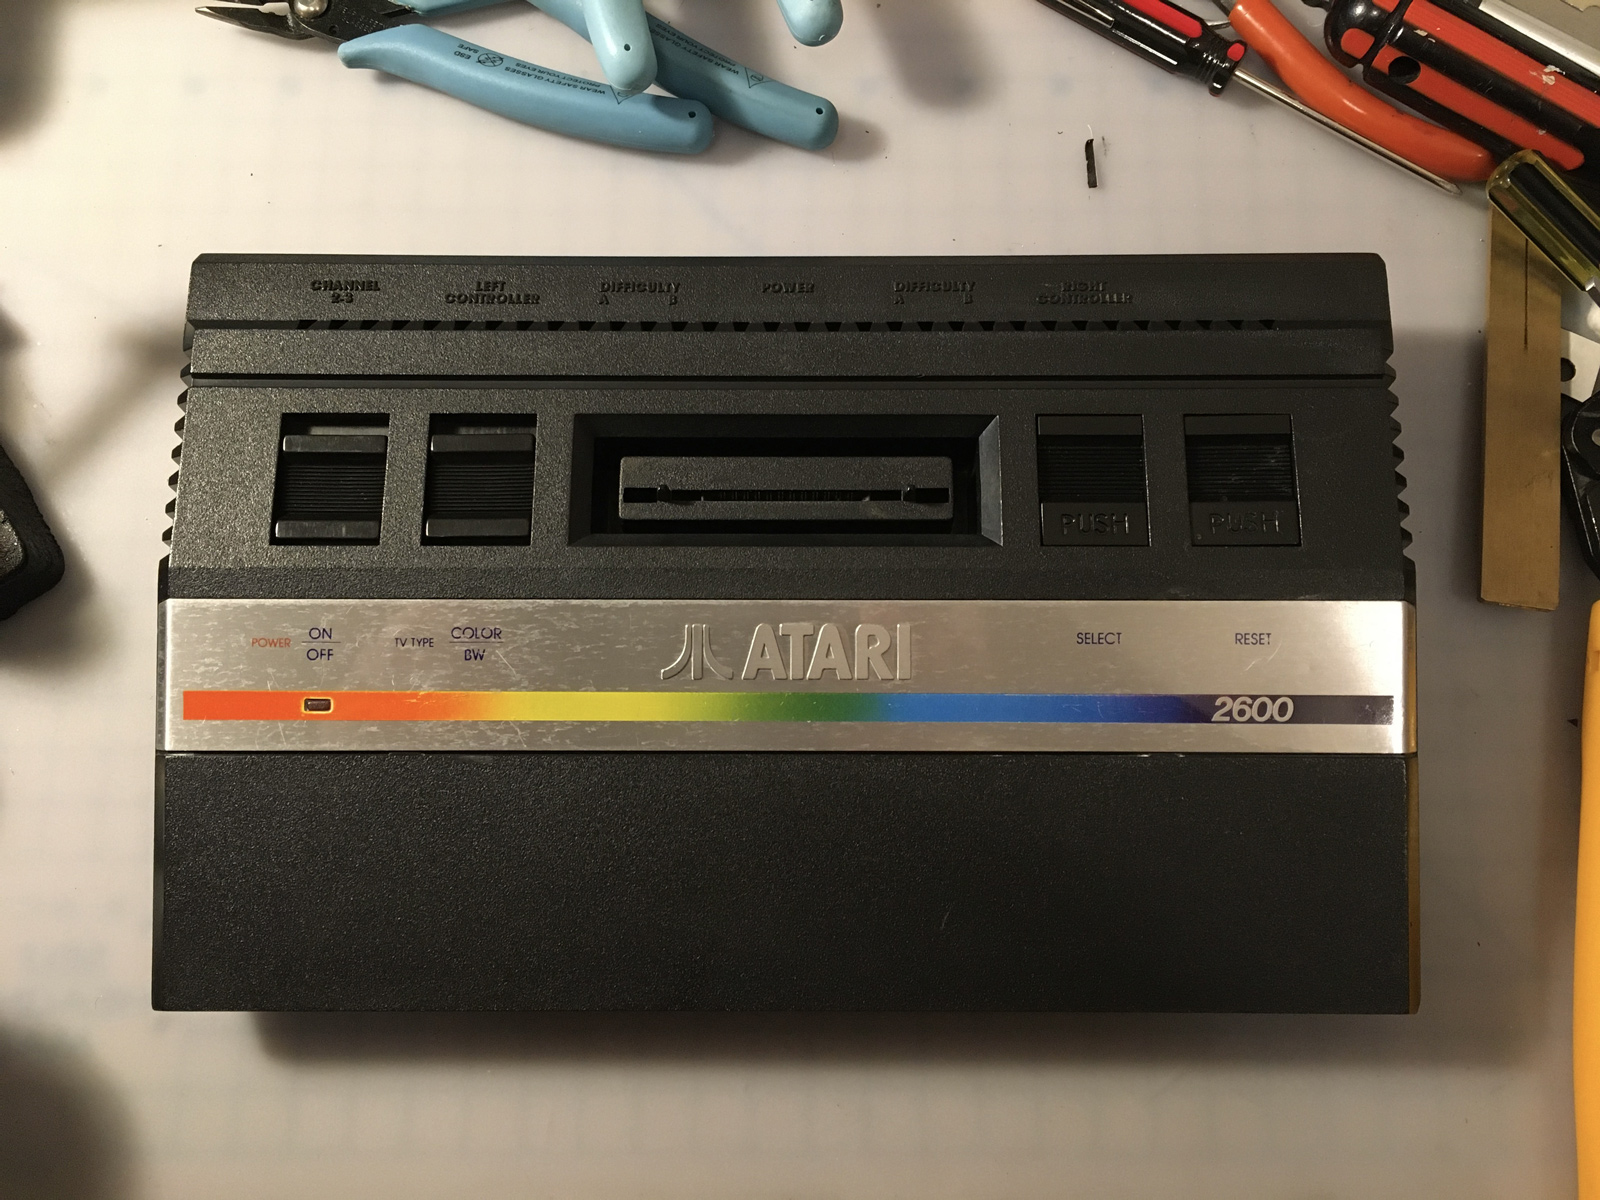
Published: 2/23/23 2:47PM
-
 4
4

0 Comments
Recommended Comments
There are no comments to display.